How Removing Tough Stains and Keeping a Sink Clean?

Sprinkle baking soda. If your bathroom sink is still dirty after you’ve done a light clean, you should sprinkle baking all over the sink. Cover as much of the surface as you can. The abrasive force of the baking soda will help remove tough stains. Make sure the sink is dry before you sprinkle the baking soda. Use as much baking soda as you need to cover the surface area of the sink. Take care to sprinkle some baking soda into the grout ring around the drain.

Scrub the sink. Take a clean cloth and scrub the sink down. You may have to apply a lot of pressure in areas that are particularly dirty. Without scrubbing your baking soda into the sink, you won’t be able to remove all stains. Swirl your cloth around in circles while you rub the baking soda into the surface of the sink. Consider using a regular cotton cloth. Microfiber may not have the abrasive power you need to remove some stains. In some instances, you may need to use a mildly abrasive dish sponge.

Rinse the sink. After you’ve scrubbed the sink, you need to thoroughly rinse it to remove all leftover baking soda. If you don’t rinse it immediately, some of the stains may re-set and all your work will be wasted. Make sure to run the water until all the baking soda has washed down the drain. If your sink doesn’t drain properly, you may need to wipe the baking soda out with cloth rags or paper towels.

Rinse the sink after every use. By rinsing the sink after every use, you’ll make sure that dirt and soap residue are washed out of the basin into the drain. This is important, as the dirt in your sink accumulates on a day-to-day basis. Run the water after you brush your teeth, otherwise toothpaste and toothpaste residue will build up in your sink. Make sure you use enough water to wash soap and soap residue down the drain after you wash your hands. If you notice any grime in your sink after you use it, run the water.

Don’t wash hair shavings down the sink. One of the easiest ways to keep a bathroom sink clean is to avoid washing hair shavings down it. Hair shavings not only dirty your sink, but they can partially clog your pipes. As a result, normal dirt and grime will build up in the basin. If you shave in front of the sink, put a towel over the sink so your hair falls into the towel. If you do wash hair down the drain of the sink, your sink will eventually clog up. When this happens, you’ll have to remove the accumulated hair with a coat hanger, or use a chemical clog removing product.


How to Clean a Bathroom Sink?

Bathroom sinks get a lot of use. Not only do you use them in the morning to get ready for work or school, but you use them throughout the day. Because of this, your bathroom sink may accumulate a lot of dirt and grime. Thankfully, there are many ways to effectively clean your bathroom sink. By doing routine cleans, taking steps to remove tough stains, and taking steps to keep your sink clean every day, you’ll have a cleaner bathroom.

Wipe down the sink. Take a clean, wet cotton cloth or dish sponge and wipe down the interior of the sink. Try to get as much debris and grime as you can. Make sure to wipe around the drain. If your sink is especially dirty, you may need to switch out for a fresh cloth. In many cases, it is best to wipe the sink down when it is dry, so you’ll be able to remove hair, grime, and other debris easily. Wipe down the sink on a daily basis, if needed.

Rinse the sink. Make sure to rinse the sink before you use a bathroom cleaning product. If you don’t rinse the sink, you’ll have to contend with a lot of dirt when you spray the sink down. Turn on the faucet and run hot water into the sink. Hot water will loosen soap scum, grime, and dirt. Splash the water around the surface – including the sides – of the sink. You may need to use a clean cotton cloth to wipe down the sides of the sink with hot water.
Spray the sink with a cleaner. Choose a bathroom cleaner of your choice and liberally spray the sink. Make sure to get all parts of the sink, including the faucet and behind the faucet. Most bathroom cleaners are formulated to clean bathroom sinks. You may be able to use a tub and tile cleaner or a cleaner formulated for the type of material you sink is made of. In most cases, this is porcelain. Make sure the cleaner is a disinfectant. This is important as bathroom sinks can potentially accumulate a variety of germs.

Wipe the sink. After spraying your cleaner, take a clean cloth and wipe down the entire surface of your sink. Pay special attention to especially dirty areas and apply pressure when you need. You may need to use several clean cloths. If you need to spray more cleaner while you’re wiping the sink down, do so.


The Knowledge of Replacing an Undermount Sink

Secure the sink in position with a piece of lumber and a bar clamp. Cut a section of 2 in × 4 in (5.1 cm × 10.2 cm) lumber so it’s at least a few inches/centimeters longer than the width of the opening for the sink in the countertop. Lay this piece of wood across the opening. Then, while a second person lifts the new sink up into place from beneath, feed the bar clamp up through the drain opening of the sink so that one of its clamps holds up the sink from below. Secure the other clamp to the piece of wood and tighten it.

Make sure the clamp is tight enough to make the some of the silicone caulk squeeze out between the rim of the sink and the underside of the counter. Wipe away this excess caulk with a damp rag. Secure the included clips in place with screws or epoxy. Your new undermount sink will come with support clips to place around the underside of the sink where it meets the underside of the counter. In some cases, these clips may attach with screws. If so, drill pilot holes and use a screwdriver to secure the clips in place. Otherwise, use the brand or type of epoxy recommended by the sink manufacturer.

In most cases, the clips are adhered in place with a 2-part epoxy that hardens in about 10 minutes after being combined. Follow the product instructions carefully and apply the proper amount to each clip. Then press them into place as per the installation instructions for your sink.

Wait 24 hours, then install the drain. Even though the epoxy should be fully set in 10 minutes, it’s important to give the silicone adhesive time to cure fully. Leave the piece of lumber and bar clamp in place for a day before removing them. After that, you can put the drain in place and continue with the installation.

Like faucets, drain installations vary by type and brand, but the process is DIY-friendly if you follow the instructions carefully. You could rely on the epoxy to hold everything in place after 10 minutes and not wait the full 24 hours before proceeding, but this is not recommended. Be patient.

How Replacing an Undermount Sink?

Cut through the caulk that connects the sink to the underside of the counter. Reach into the sink from above and run the blade of a utility knife through the bead of caulk, all the way around the rim of the sink. Work carefully so you don’t scratch the lip of the opening in the countertop. This caulk helps to hold the undermount sink in place but is primarily there to prevent water from getting between the sink rim and the underside of the counter.

Remove the holding clips under the sink while supporting it from below. Although it will be a tight fit in the sink cabinet, this is safer and easier with a second set of hands helping you. While the second person holds the bottom of the sink, remove the several clips (often 4-6) that pin the sink rim against the underside of the counter. They will either be screwed or epoxied into place.

If they’re attached with screws, simply use a screwdriver to remove them. If they are stuck in place with epoxy, use a putty knife to scrape, pry, and wedge the clips apart from the underside of the counter. Once you remove the clips, the sink will be free to fall, so make sure it’s being held up by someone.

Lower the sink down and out of the cabinet. Now that the caulk and the clips have been removed, simply guide the sink downward and out of the cabinet. If you are reusing the existing faucet and drain, remove them now. But it’s more likely that you’ll want to install new ones with your new sink.

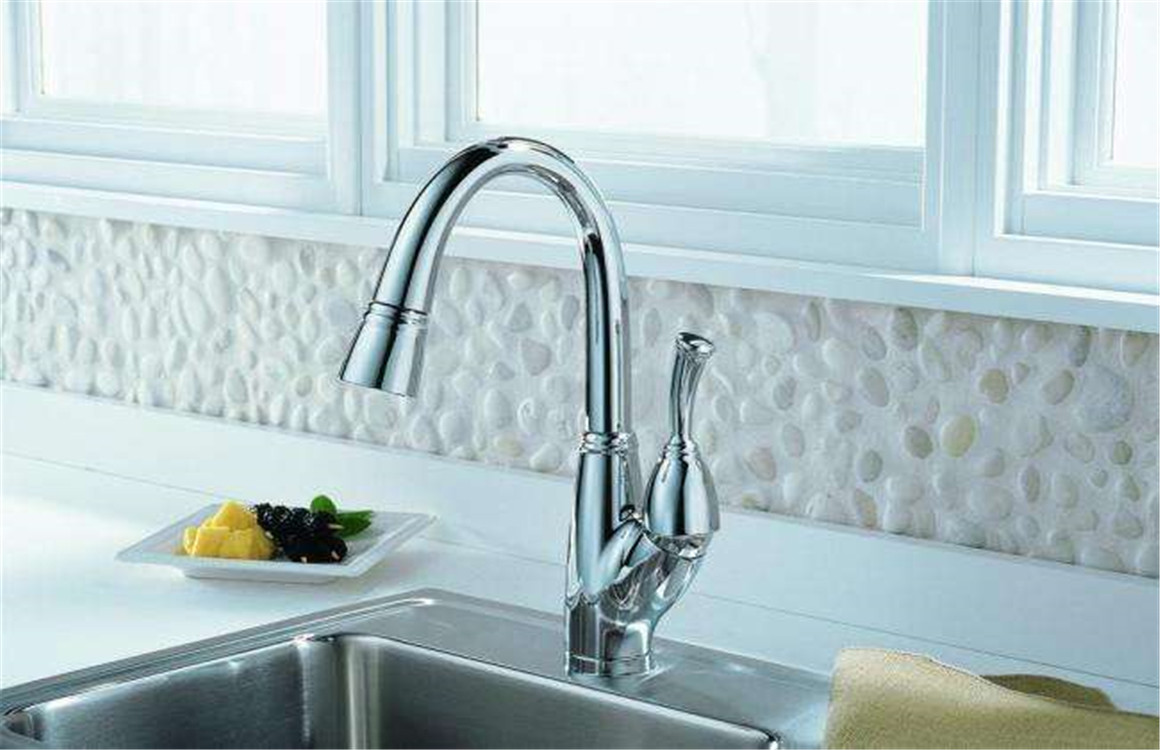
Install the faucet, but not the drain, in the new sink. Unlike with a top-mount sink, don’t install the drain before installing an undermount sink. But it’s easier to install the new faucet now instead of having to work from inside the sink cabinet. Installing a faucet is within the skill set of most DIYers, but the process differs based on the type and model of faucet. Closely follow the instructions that come with the new faucet.

Apply a bead of silicone caulk around the entire top rim of the sink. Use a silicone caulk designed for bathroom applications. Make sure the bead is continuous around the entire rim of the sink. Like the stuff you removed from the old sink, this caulk is mostly there for waterproofing, but also helps hold the sink in place.

Replace Your Bathroom Sink

Because they get heavy everyday use, bathroom sinks can easily become chipped, stained, or scratched over time. When this happens, you may want to install a new sink to enhance the ambience of your bathroom and create a fresh, clean look. While replacing a bathroom sink takes a bit of time, and replacing the faucet is a separate but essential element of the process, the overall job is manageable for most DIYers.

Choose a silicone caulk intended for use with bathroom fixtures. Don’t use acrylic or other non-silicone caulks. Lower the sink into the hole in the countertop. Lift the sink carefully and slowly drop it straight down into the opening. Once it’s in place, push down on the sink and wipe off any excess silicone that squeezes out with paper towels.

This job may be a bit easier if you have a second person reach up from inside the cabinet to support the sink from below. Attach the sink to the underside of the counter with fastener clips. Follow the instructions that come with your new sink regarding the placement of the clips. Either tighten them by hand or with a screwdriver, as indicated by the instructions. Once secured, they’ll apply pressure to hold the sink tight to the underside of the counter.

Not all sinks require clips for installation. If your model does use clips, they should come in the package with your new sink. If you’re missing a clip or 2, it’s possible that the clips from your old sink may work.

Run a bead of caulk around the rim of the sink where it meets the countertop. Your goal here is to create a waterproof barrier between the rim of the sink and the countertop so that water can’t seep in under the sink rim. Once you’ve run the bead of caulk around the sink rim, wet your index finger and run it around the entire bead to smooth the caulk in place. Then use damp paper towels to wipe away any excess. Use the same silicone caulk you used to adhere the underside of the sink to the countertop.

How Replacing a Top-Mount Sink?

Remove the clips under the sink that hold it against the countertop. Many, but not all, sinks have clips underneath them that create a pressure connection against the underside of the counter. If your sink has them, loosen them either by hand or with a screwdriver. If your new sink requires clips, it should come with them. However, you may want to keep these old ones for the time being, just in case they might come in handy.

Cut any sealant between the sink and the countertop with a utility knife. Carefully run the blade of the knife between the rim of the sink and the countertop. Doing so will slice through the caulk or other sealant that secures the sink and countertop together. Work slowly and carefully so you don’t cut into the countertop, especially if it’s made of laminated wood. Of course, if you’re replacing the countertop as well, you can be as messy as you like.

Lift out the old sink from the counter. If you can get a good grip from above, you can lift it straight up and out. Otherwise, have a second person push up from below, then lift out the sink when it pops up. Once the old sink is out of the way, scrape away any residual caulk or sealant on the countertop. Use a plastic putty knife for scraping, then clean up any residue with a rag dipped in mineral spirits.

Install the faucet and drain on the new sink. You can either remove the faucet and drain from the old sink and reuse them, or buy a new faucet and drain to go with your new sink. If you are not experienced with this type of project, you may be better off with a new faucet and drain, since they will come with detailed installation instructions.

Faucet and drain installations will vary quite a bit based on the particular brand and model you select. However, with a good set of instructions, it is a project most DIYers can handle. Otherwise, contact a plumber. Apply silicone caulk to the underside of the new sink’s rim. Squeeze a steady strip of caulk all the way around the underside of the rim. This will hold the sink in place and prevent water from dripping down into the cabinet.
 

How to Decorate a Bathroom?

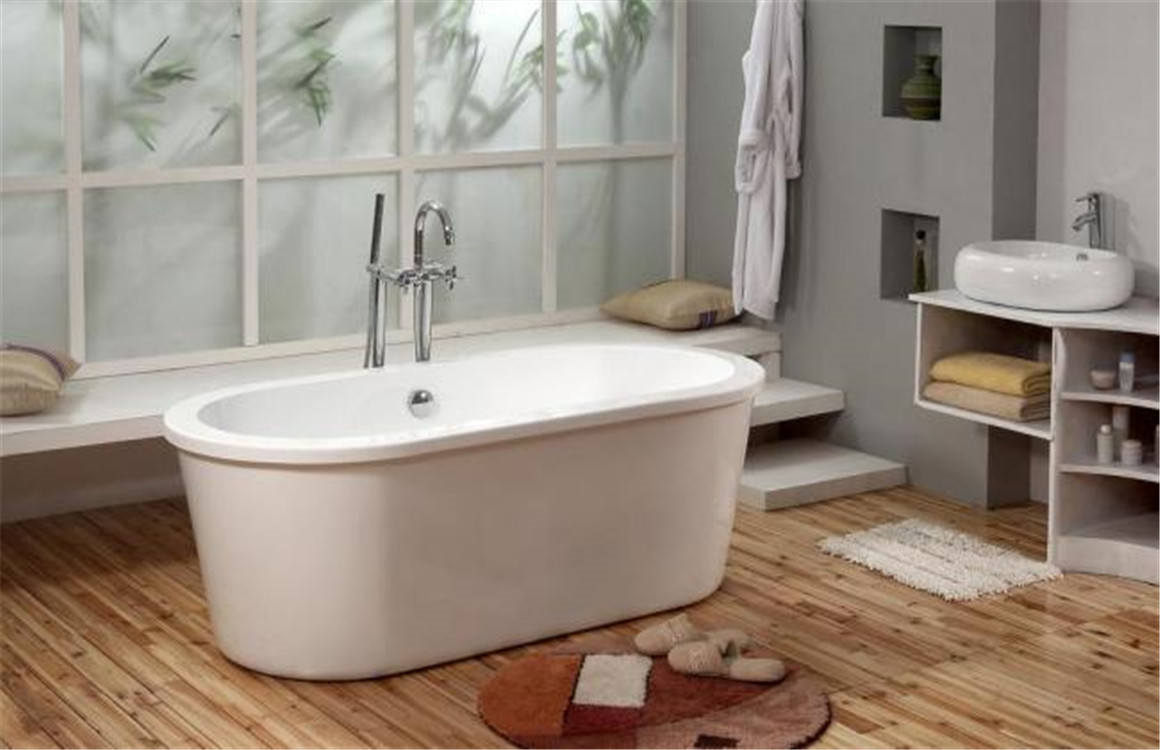
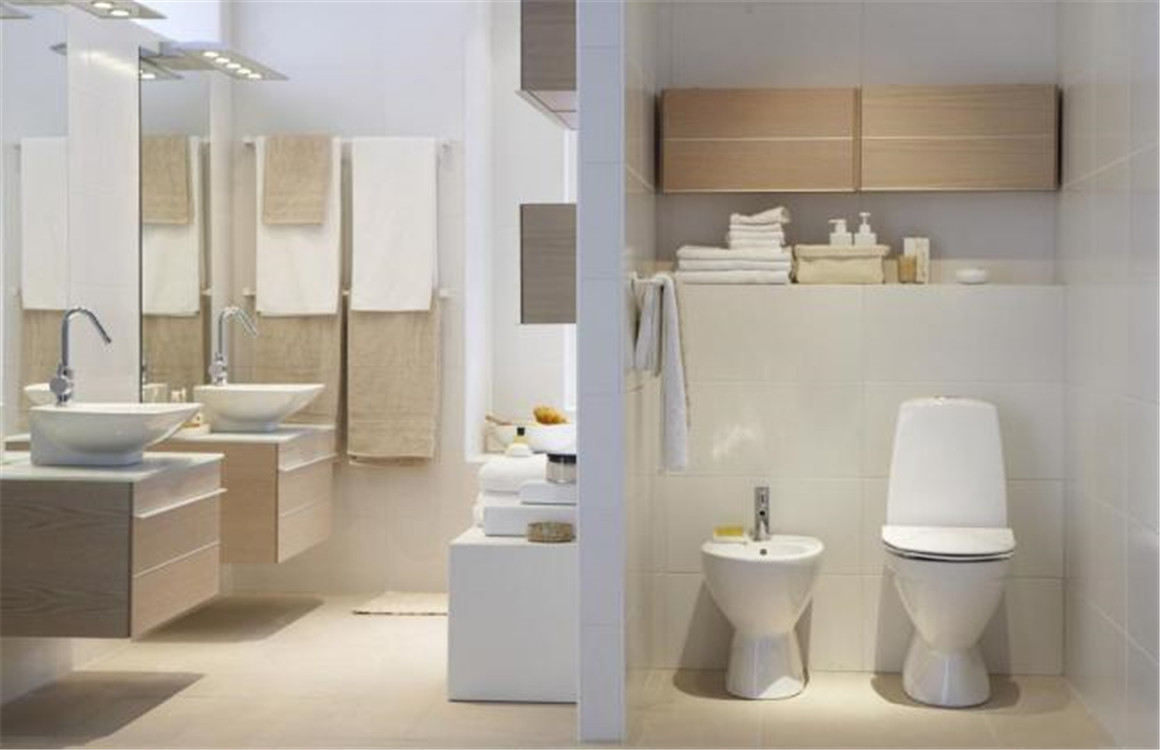
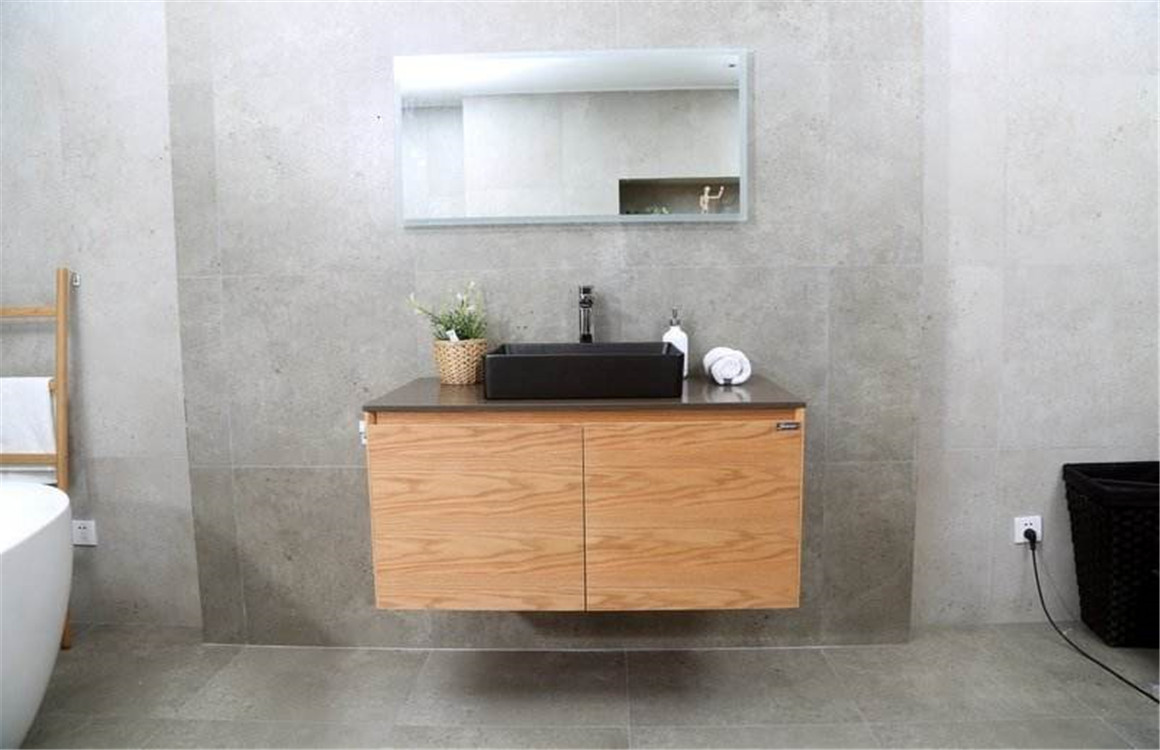
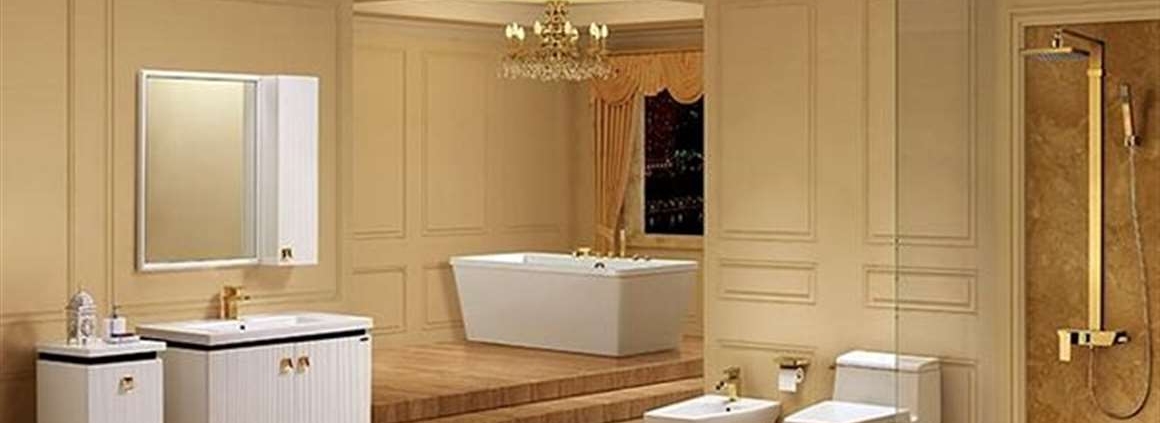
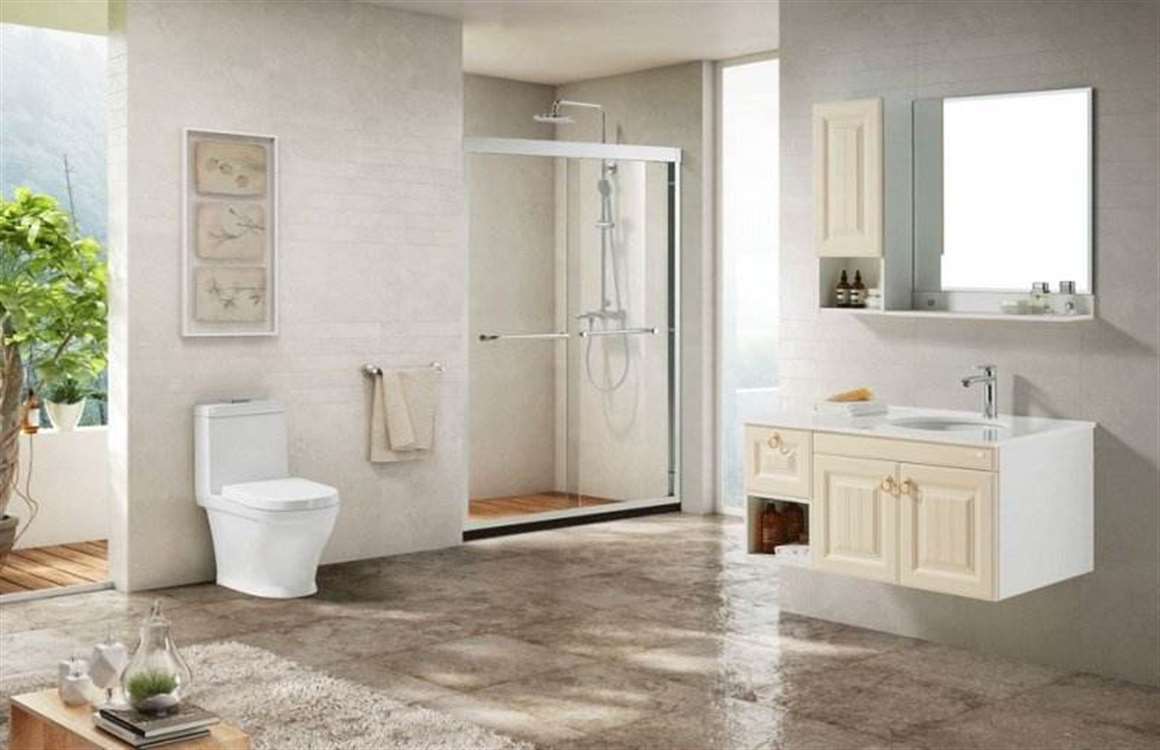
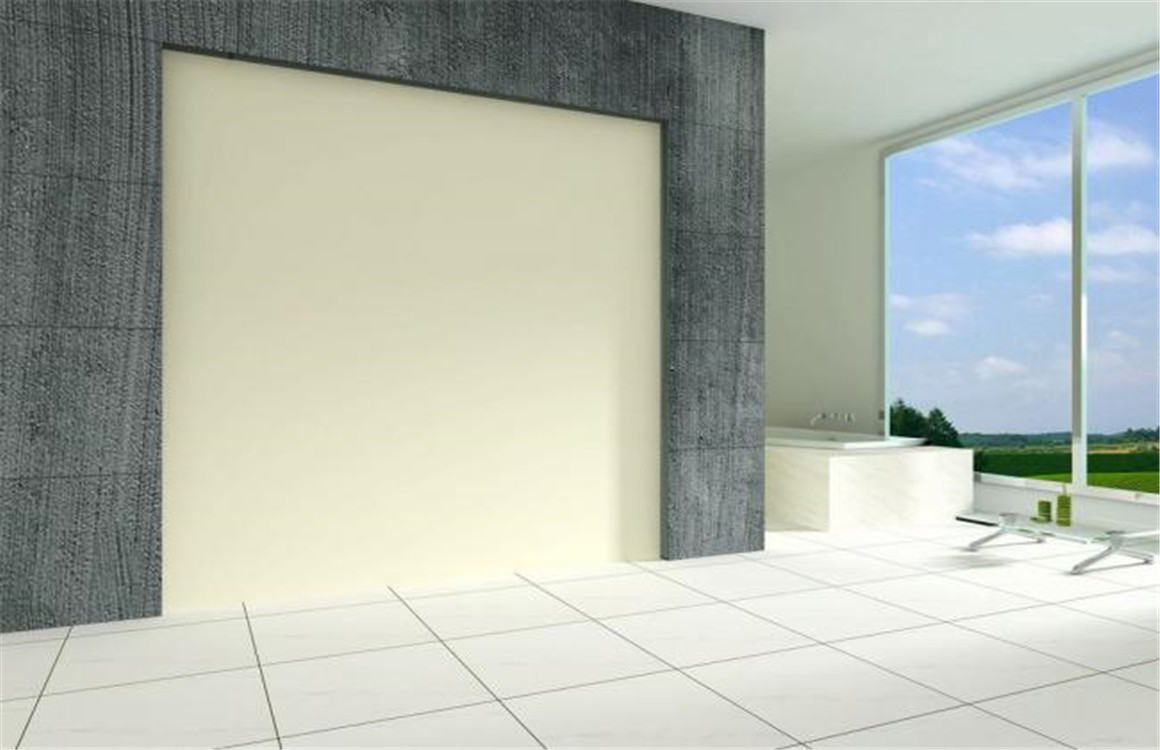
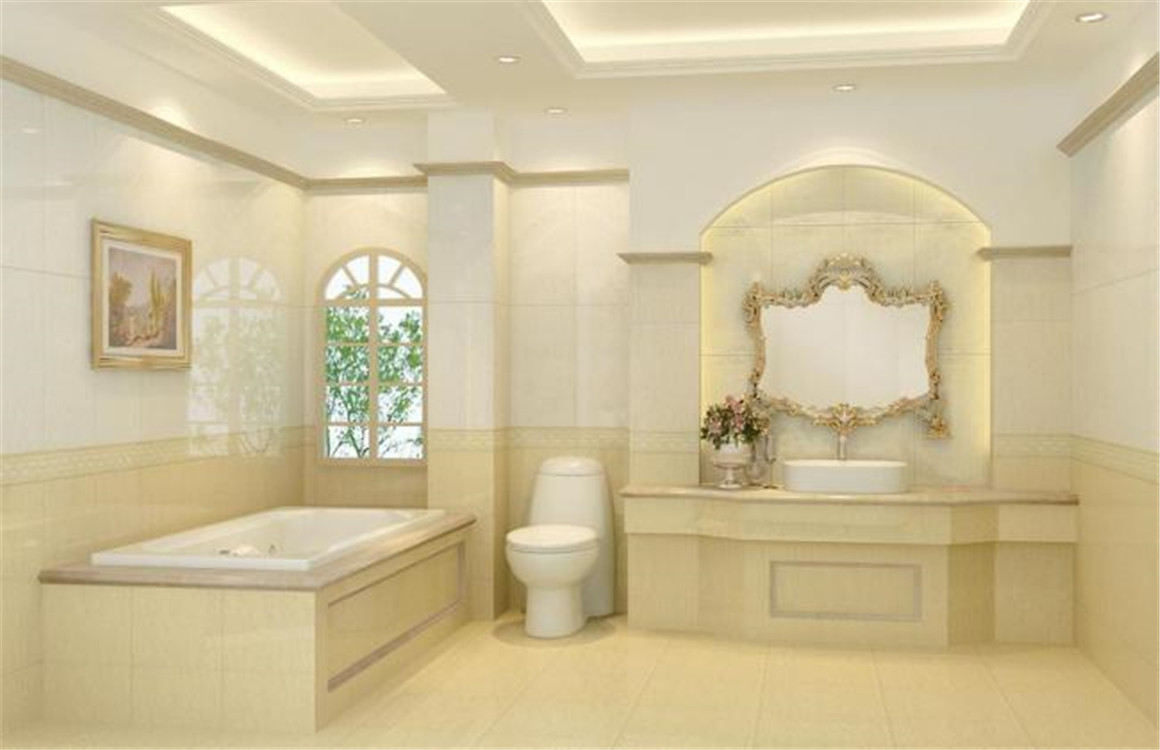
Change the fixtures in your bathroom for a more adventurous project. This can be difficult for someone who has not done it before, so if the task is too intimidating for you, hire a handyman. Make sure that the colors go well with the overall theme of your bathroom. For example, if your bathroom is ornate with lots of burgundy and gold, consider gold fixtures. If your bathroom has a modern or Zen theme, try matte silver fixtures instead.

Keep cotton balls, Q-tips, and other toiletries in glass jars or vessels. Instead of leaving these items in the cabinet, transfer them into glass or clear acrylic containers, then keep the containers on your bathroom counter. Use 1 container for each type of item.

For example, keep your cotton balls in a tall jar and your Q-tips in a squat container. Consider a vase or apothecary-style jar for extra bath bombs, mini lotion bottles, or hand soaps. Tiered cupcake stands and cake stands make cute displays for perfumes, nail polish, and other cosmetics.

Old Mason jars are a great, low cost option for storing your items! If you don’t like the look of them plain, add a ribbon or piece of fabric to make them match your decor. As another option, you could paint the jars, though you wouldn’t be able to see into them anymore.

Make use of soap dispensers and toothbrush holders. Instead of keeping your liquid hand soap in the plastic bottle it came in, pour it into a glass or ceramic soap dispenser. If you prefer to use solid soap, keep it in a little dish or tray instead. Keep your toothbrushes in a toothbrush holder. Make sure that it matches your soap dish or soap dispenser. If you like to use mouthwash, consider pouring it into a glass vessel or bottle instead. Have some paper cups nearby, so that you have something to pour the mouthwash into.


How Adding Accessories and Storage?

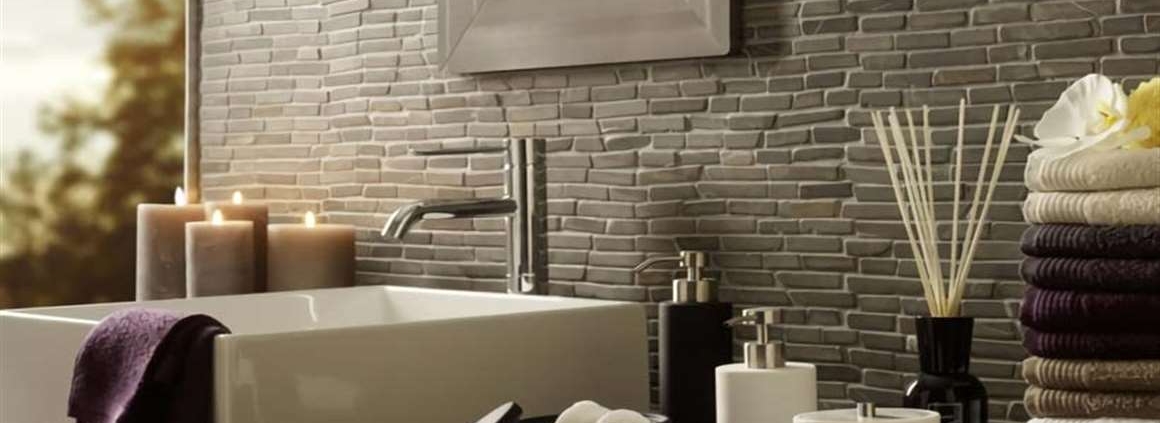
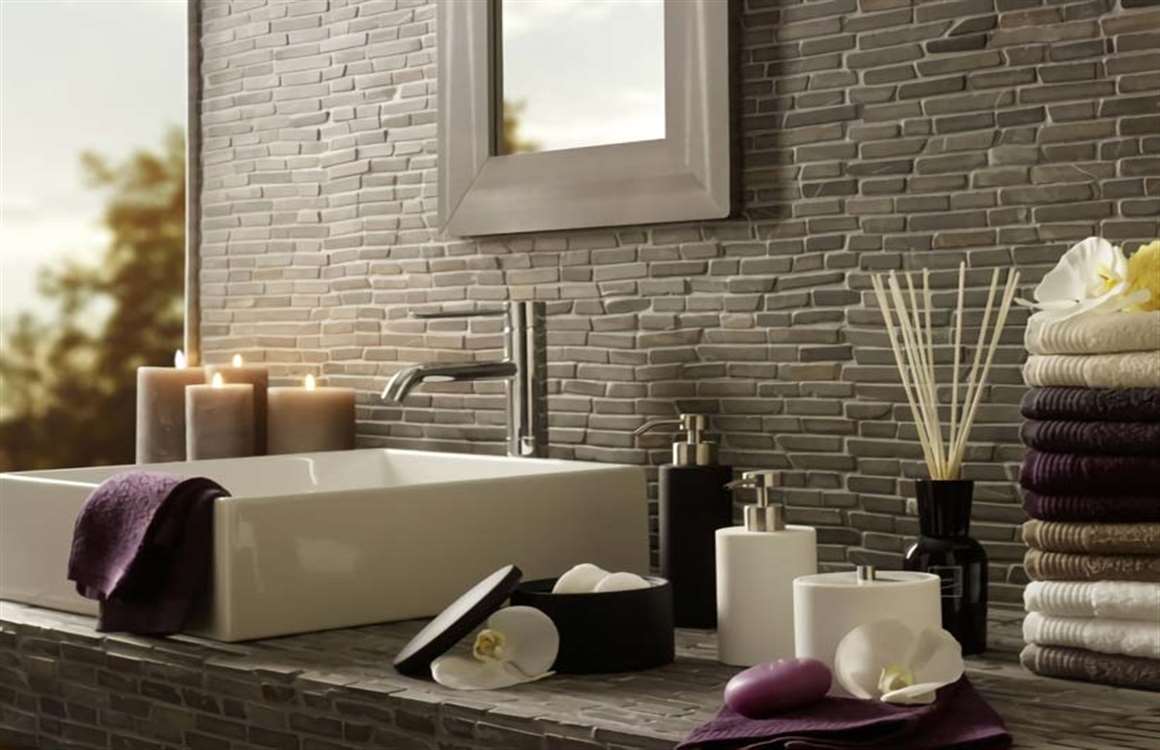
Bring some character with candles or decorative items. Things like pillar candles, figurines, and vases all make great bathroom accents. Find some items that match the color and theme of your bathroom, then display them in an out-of-the-way area, such as a side table, a shelf, or the corner of the counter. If you are getting pillar candles, consider getting 3 candles that are the same color, but different heights and thicknesses. This will create some interesting variation. Make sure that the items you choose can withstand humid conditions. Avoid using breakable items, such as glass, if you have curious children or pets.

Bring in some greenery with a plant or 2. Choose a plant that requires low levels of sunlight. Even if your bathroom has a window in it, it likely won’t provide enough sunlight for your plant. Match the pots to your bathrooms tiles, towels, mat, or shower curtain.

Every so often, move your plant into a bright window for a day or 2 so that it can absorb sunlight. Air plants are a great option for your bathroom! They’ll thrive in the humid bathroom environment and require little care. Hang some fake, green floral garlands along the ceiling. Ivy is a classic choice, but you can also try ferns or wisteria.

Store extra towels and toilet paper in baskets. Instead of keeping towels and toilet paper stacks on a shelf, put them into decorative storage baskets instead. Measure the depth of your shelf or cabinet first, then purchase some square or rectangular baskets that match those dimensions.

You can also use wire or canvas baskets. Container stores, fabric stores, and craft stores generally have a vast selection. If you have space next to your sink or toilet, you can keep the baskets there as well. You are not just limited to towels and toilet paper; you can store other items that you want to keep out of sight too, such as hair styling tools.

How Updating Fixtures and Lighting?

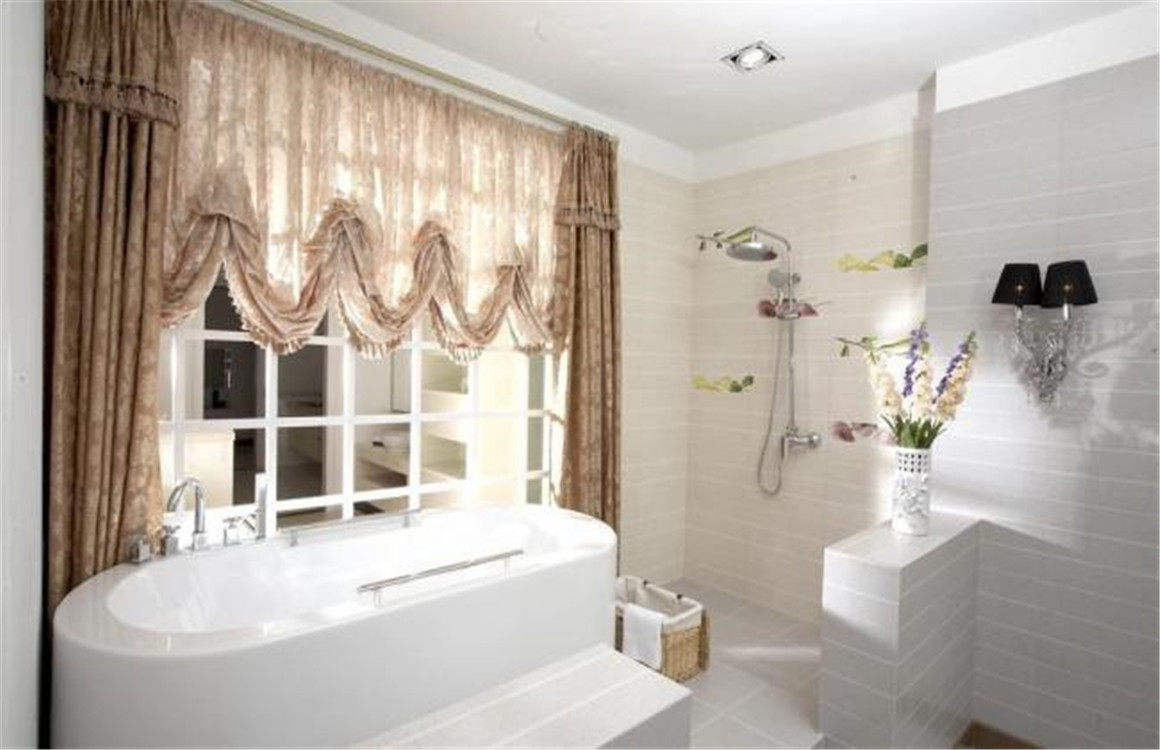
Take advantage of natural lighting if your bathroom has it. Some bathrooms have windows in them. These are great of bringing in natural daylight and giving your bathroom a fresher look. Clear the area in front of the window, wipe the window clean, and repaint the sill, if needed. Decorate your window with opened curtains or plants, but keep it minimal so that the light can pass through. On the other hand, if your bathroom has a grand, luxurious theme, hanging heavy curtains in front of the window may work better.

Trade out the light bulbs for something new. If you have lights above your bathroom mirror, consider switching them out for different ones. This can be as simple as changing the old, bright bulbs for frosted ones. It can be as fancy as getting actual lights with fancy covers or fixtures around them.

If your lights have fixtures or covers, make sure that they match the other metallic elements in your bathroom. If you like to do makeup in your bathroom, choose lights with a bright, white glow. Avoid lights that give you a hazy, golden glow; it’s not good lighting for makeup. If your bathroom is too dark, high-efficiency LED lights can give your bathroom a bright, white glow.  Switch out the towel racks for something new. Make sure that the new towel racks match the other metal fixtures in your bathroom, however. For example, if you have gold faucets, you should get gold towel racks–not silver ones.

Towel racks don’t always have to look like horizontal rods or bars. You can get ones shaped like hooks or loops instead. If you can’t afford to replace your towel racks, you can paint them instead! Simply take them off the wall and bring them outside. Use a metal spray paint to coat them in a new color. You could choose something metallic or mix it up with a fun shade that matches your bathroom, like a blue.

Change your mirror, or put a frame around it. If your mirror looks plain, see if you can find a fancier mirror. Oval mirrors or mirrors with beveled edges are a great option. If you can’t change your mirror, consider framing it instead. You can use an actual frame, or you can use glass mosaic tiles instead. If you are framing the mirror, use colors that match the other colors in your bathroom.

How Preparing the Old Sink and Buying the New One?

Turn off the water supply and empty the lines. The shutoff valves are usually located in the cabinet under the sink. Turn both the hot and cold valves clockwise until they resist further turning. Then, turn on the hot and cold faucet taps to empty the faucet lines. If the shutoff valves won’t stop the flow of water completely, you’ll have to replace them. Unless you have some plumbing experience, this may be a job best left to a professional.

Disconnect the P-trap portion of the drain pipe. If the P-trap is made of PVC, loosen the slip nut that connects it to the underside of the sink drain by hand. If the P-trap is made of metal, loosen the connecting nut with channel locks.

You don’t need to remove the P-trap to replace the sink, but you may want to remove it temporarily so you can clear it of debris. To take it out, unscrew the nut (by hand or with channel locks) that connects the bottom of the P-trap to the drain line below. Place a bucket or heavy towel at the bottom of the cabinet to catch any dripping water.

Unfasten the hot and cold water lines with a crescent wrench. These are flexible lines that run from the shutoff valves to the underside of the faucet. Disconnect them right above the shutoff valves. Some types may have nuts you can loosen by hand, but you’ll often have to use a crescent wrench. You can reuse these water lines if you want—just disconnect them from the underside of the sink later, then reattach them during installation. But this is also a good time to replace them.

Measure the dimensions of the old bathroom sink with a measuring tape. If you want to reuse your existing countertop, makes sure you get a new sink that will fit in the same spot as the old one. Write down the length, depth, and width of the sink, as well as the length and width of the countertop. You’ll likely have to replace the countertop as well if you want a new sink that’s a different size.

Buy your new sink at a home improvement store. Bring the measurements of the old sink and countertop with you. This helps to ensure you purchase the correct size before putting in a bathroom sink. Make sure the replacement sink is the same type (top-mount or undermount) as the old one. Ask an employee for assistance if you need help selecting a new sink. Most bathroom sinks are still made of ceramic, but there are other options, and many colors to choose from beyond the traditional white.