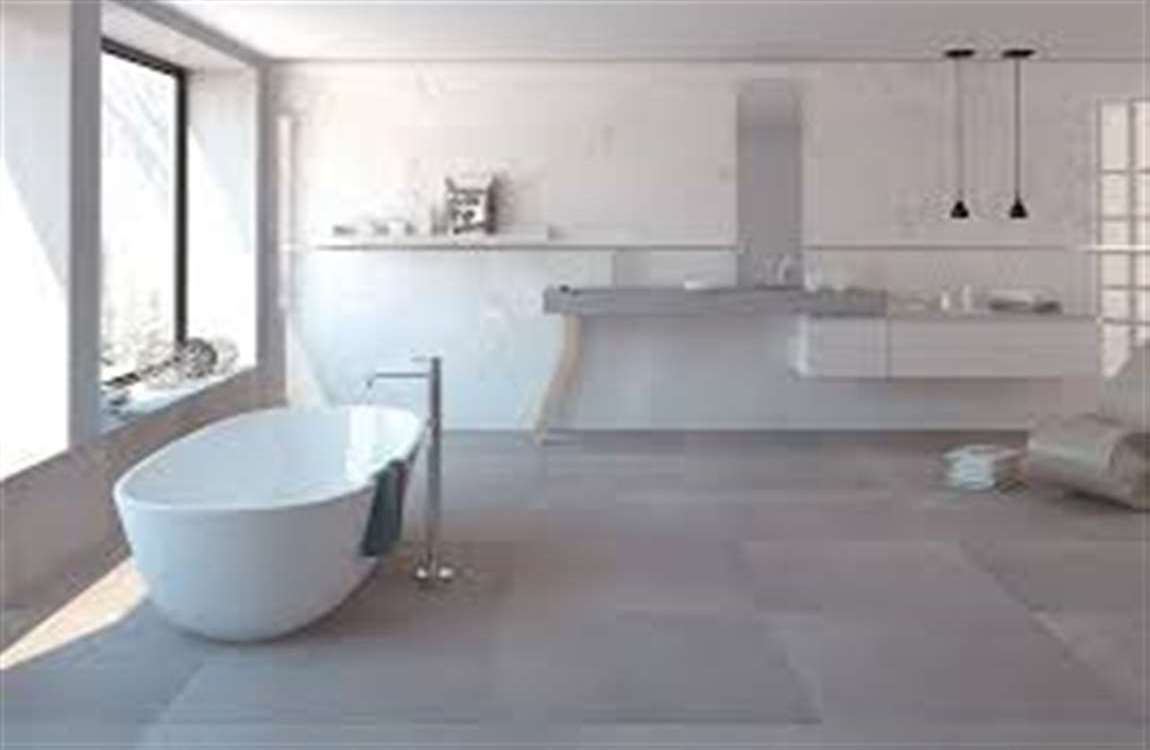
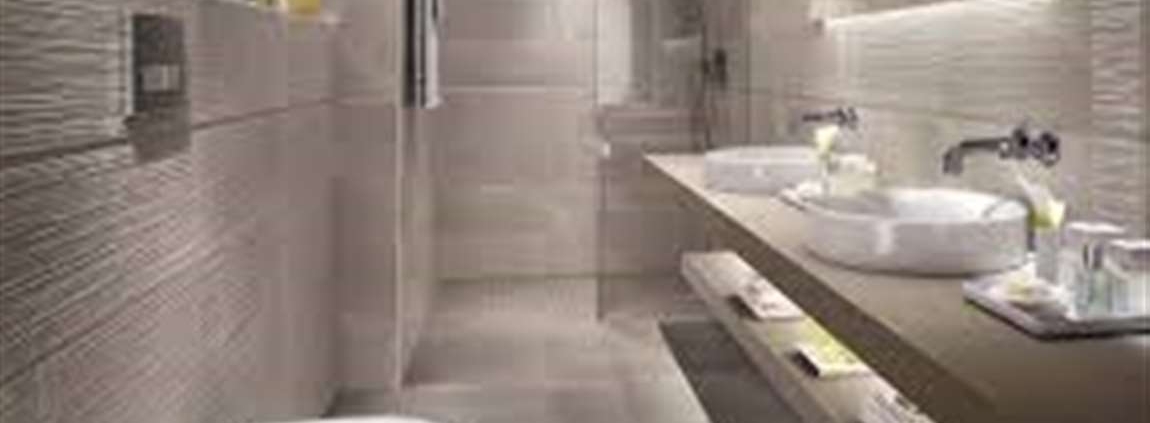
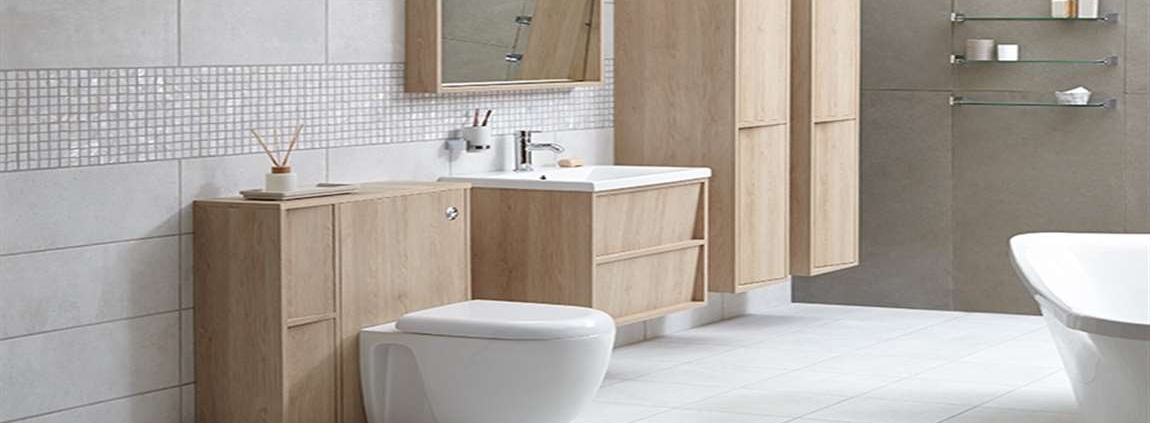
How Decorating Your Bathroom?

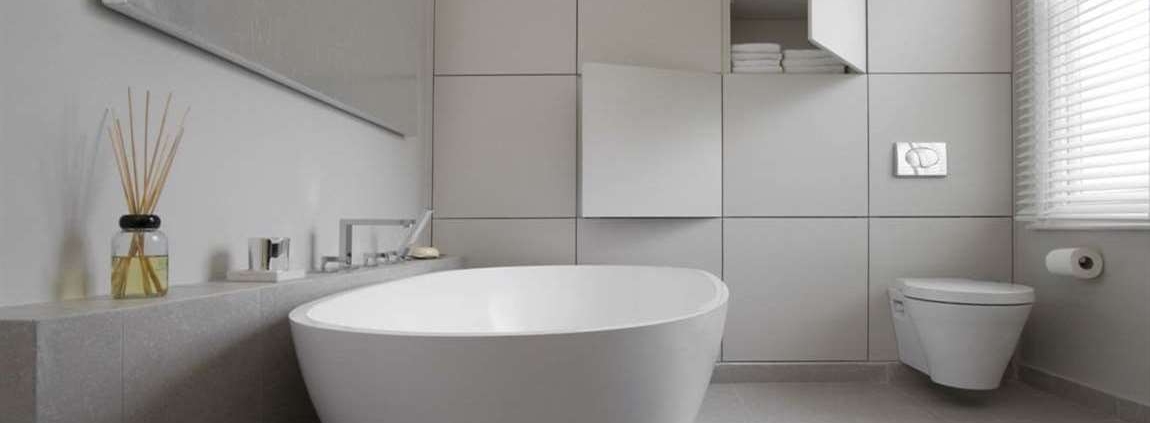
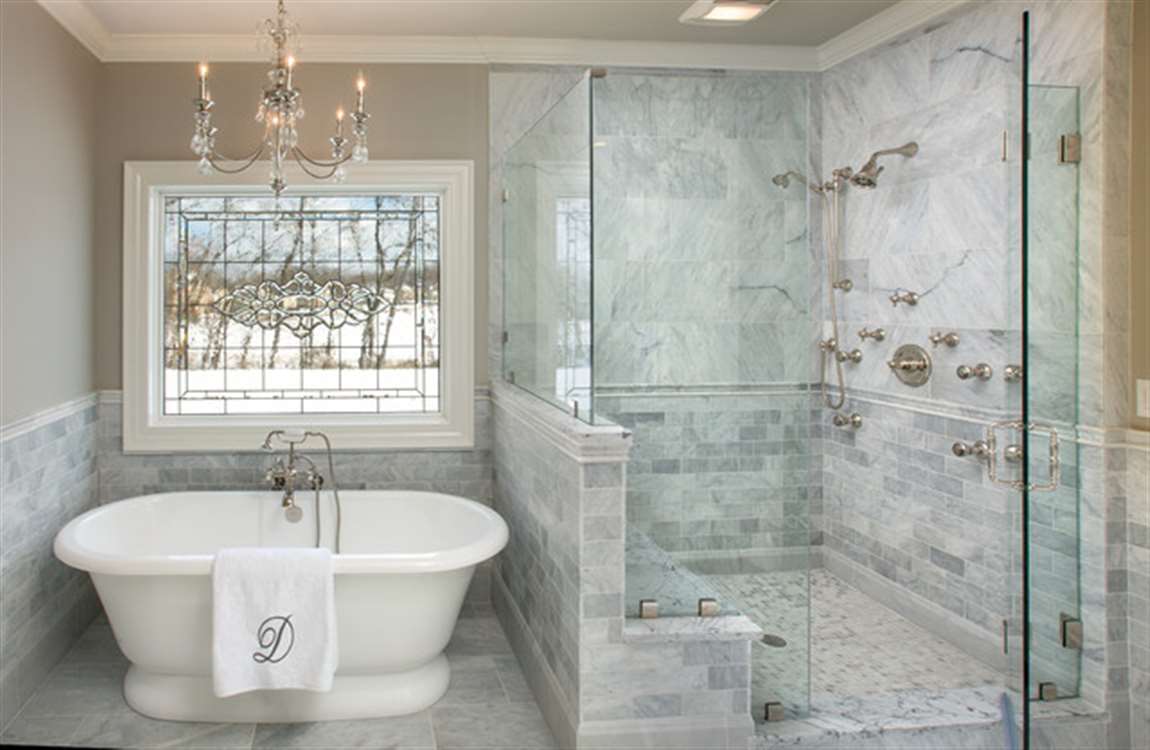
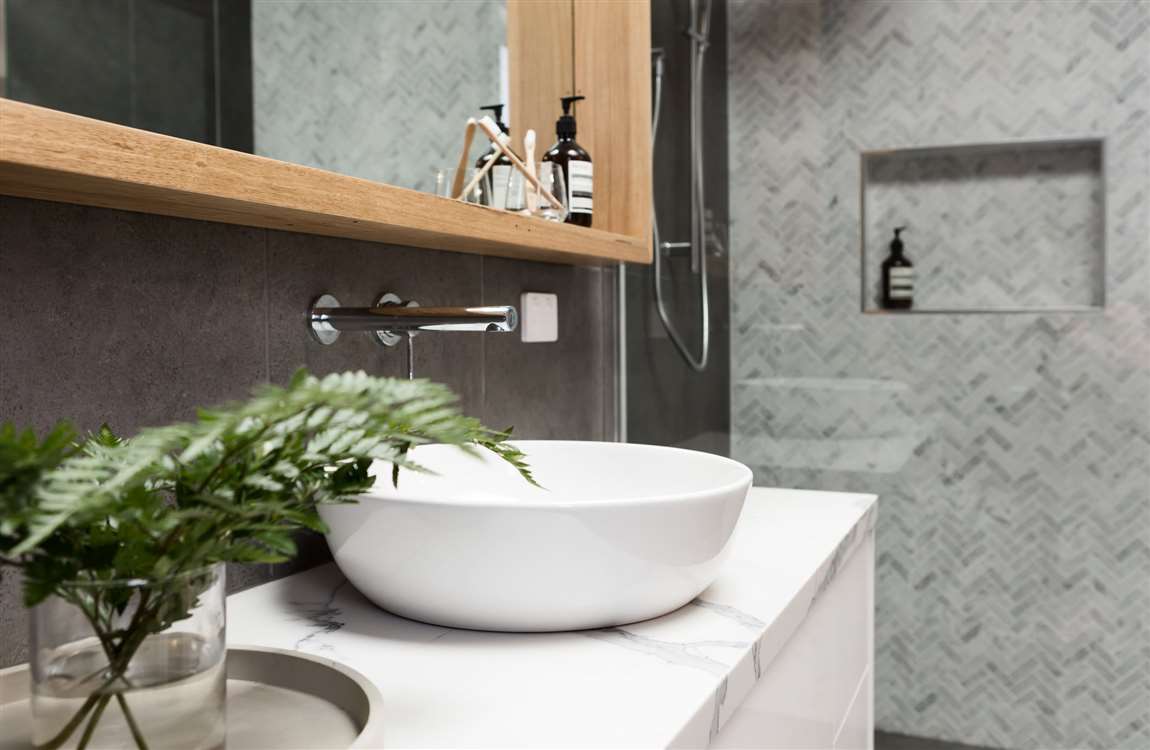
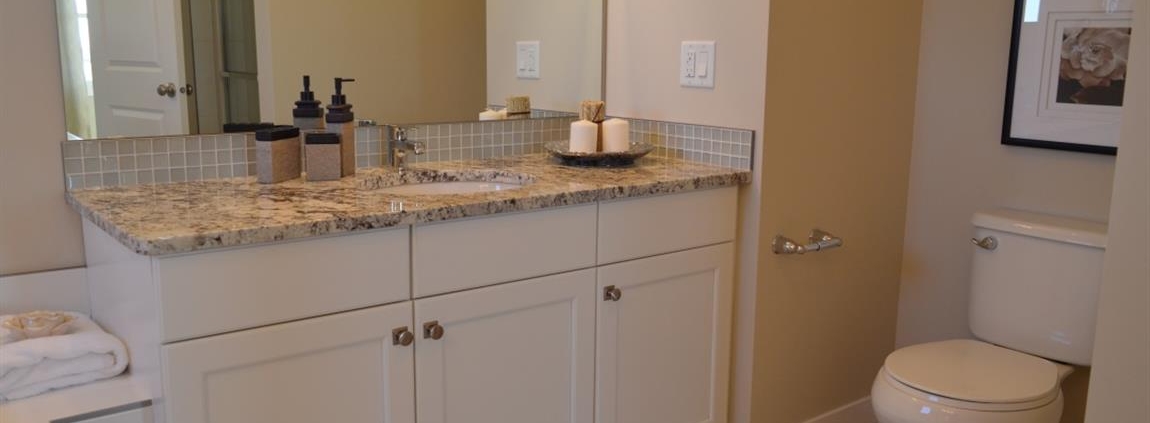
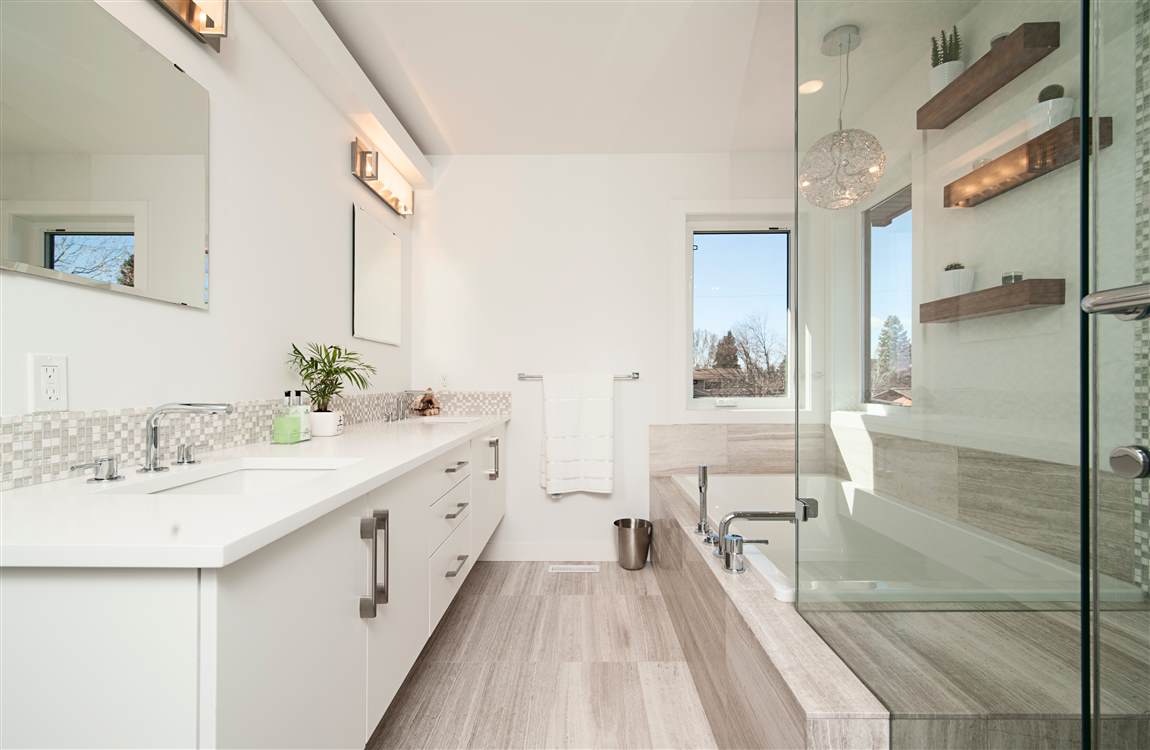
If you have a small bathroom, consider adding a single, narrow shelf just above the bathroom vanity. Store your perfumes, cosmetics, and toothbrushes on it. If you have a small bathroom, consider getting a mini metal shelving unit that you can place on your bathroom counter or hang above the toilet.
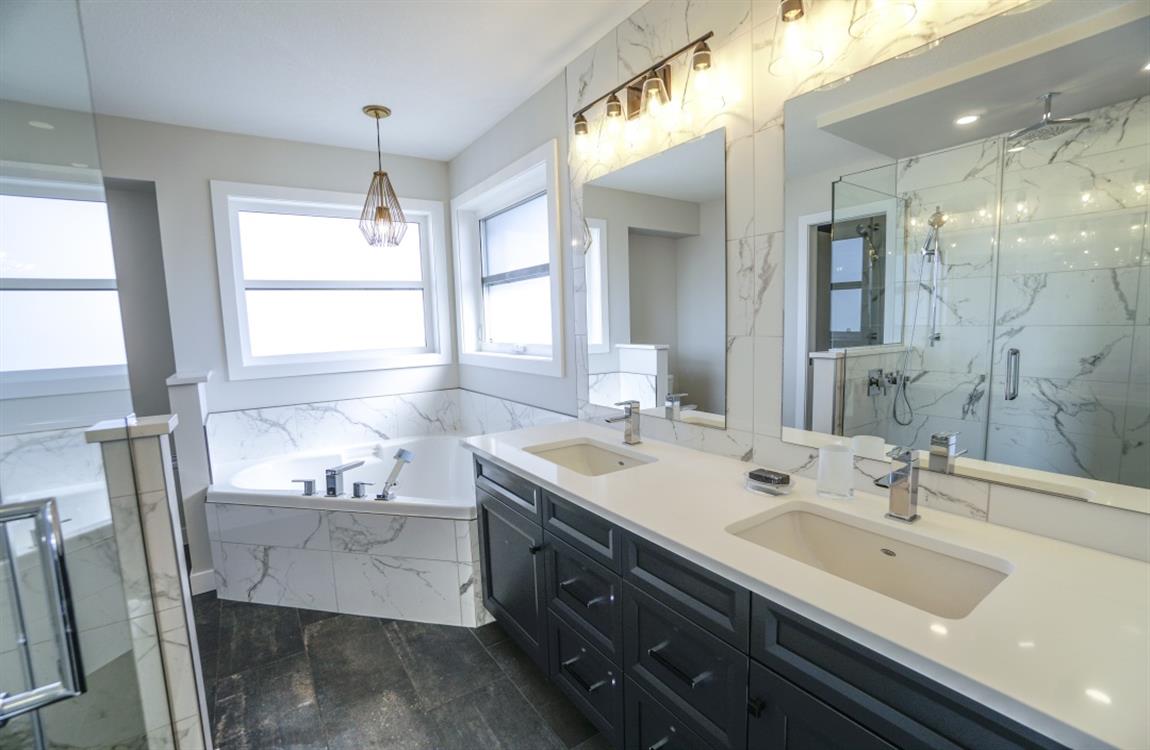
Another option for shelving is floating shelves, which are great if you don’t have the space for a unit. You can hang your floating shelves over your toilet or, if there’s no shower, above the bathtub. Use your shelves for extra towels, rolls of toilet paper, personal care items, or decorations.
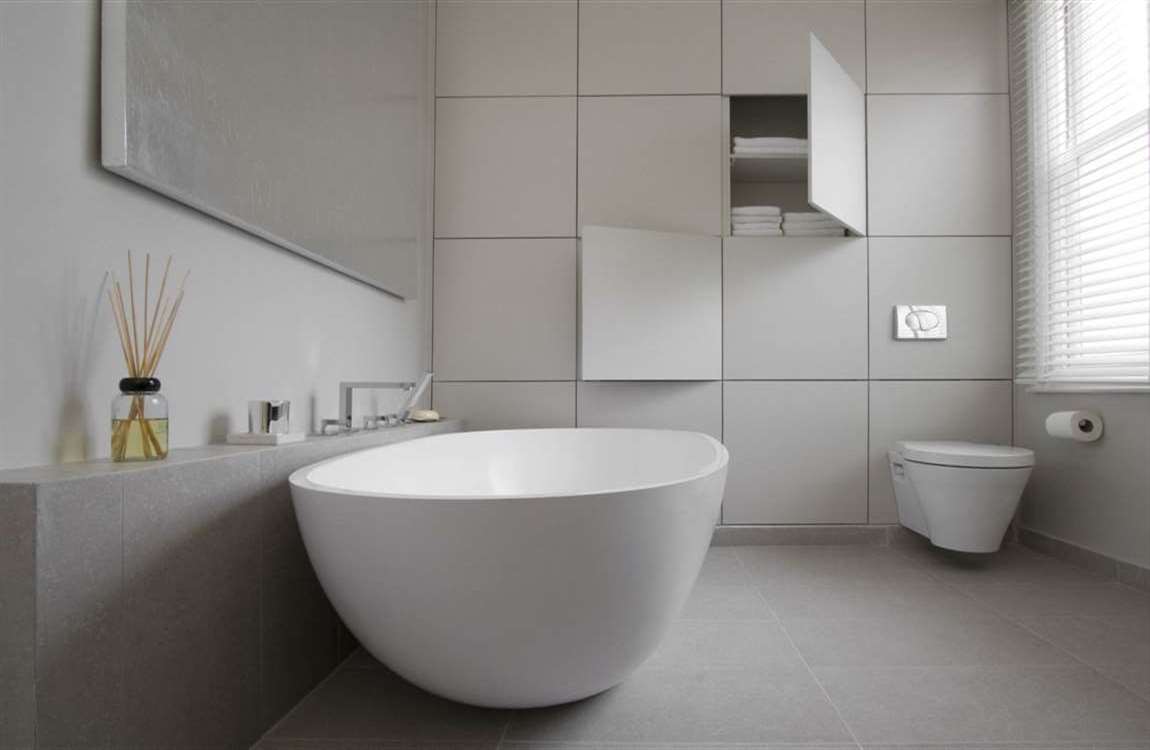
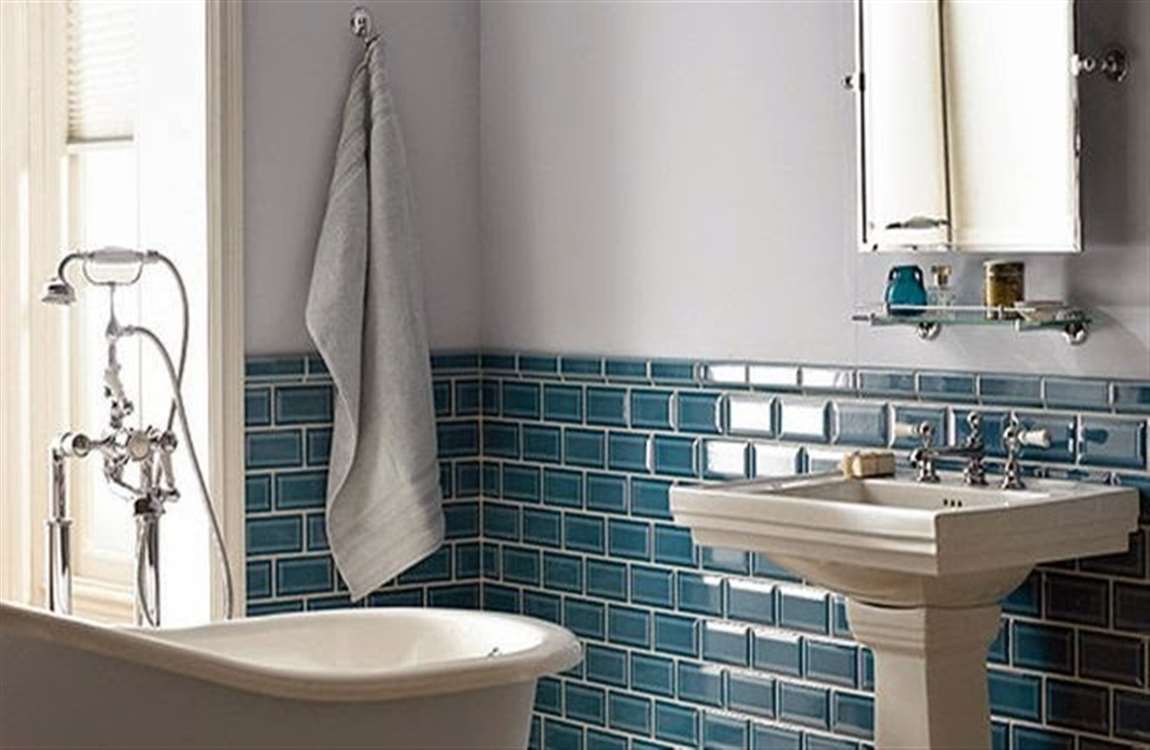
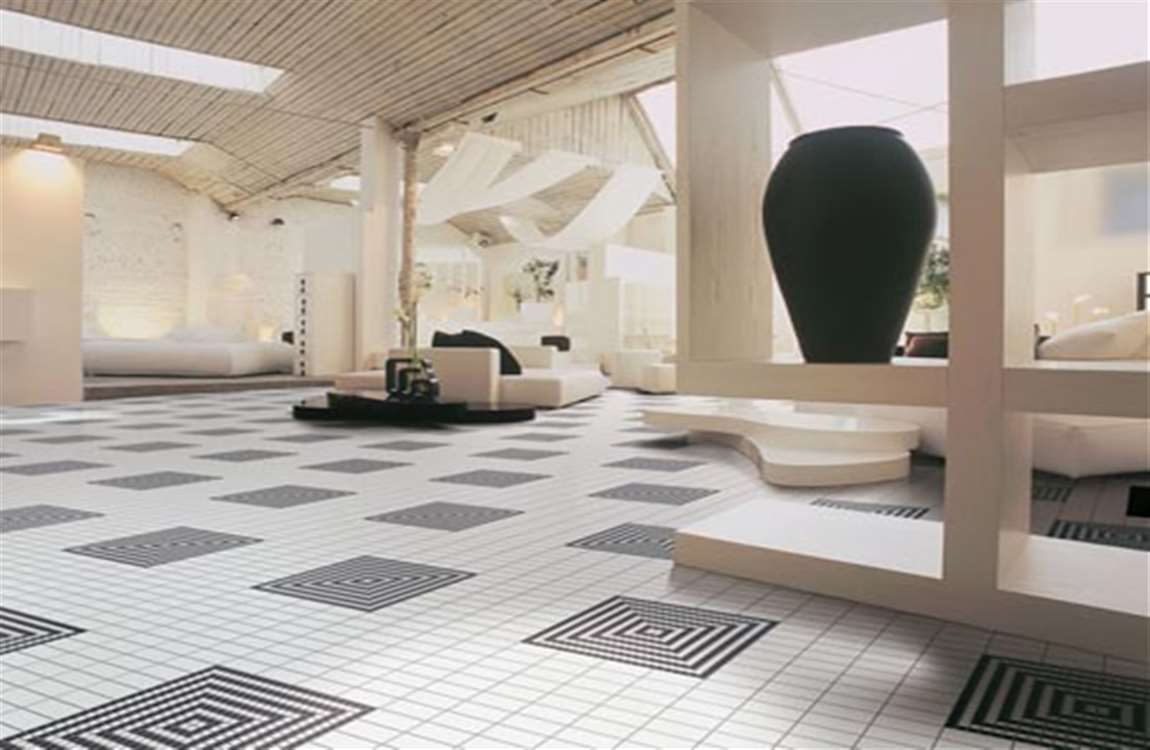
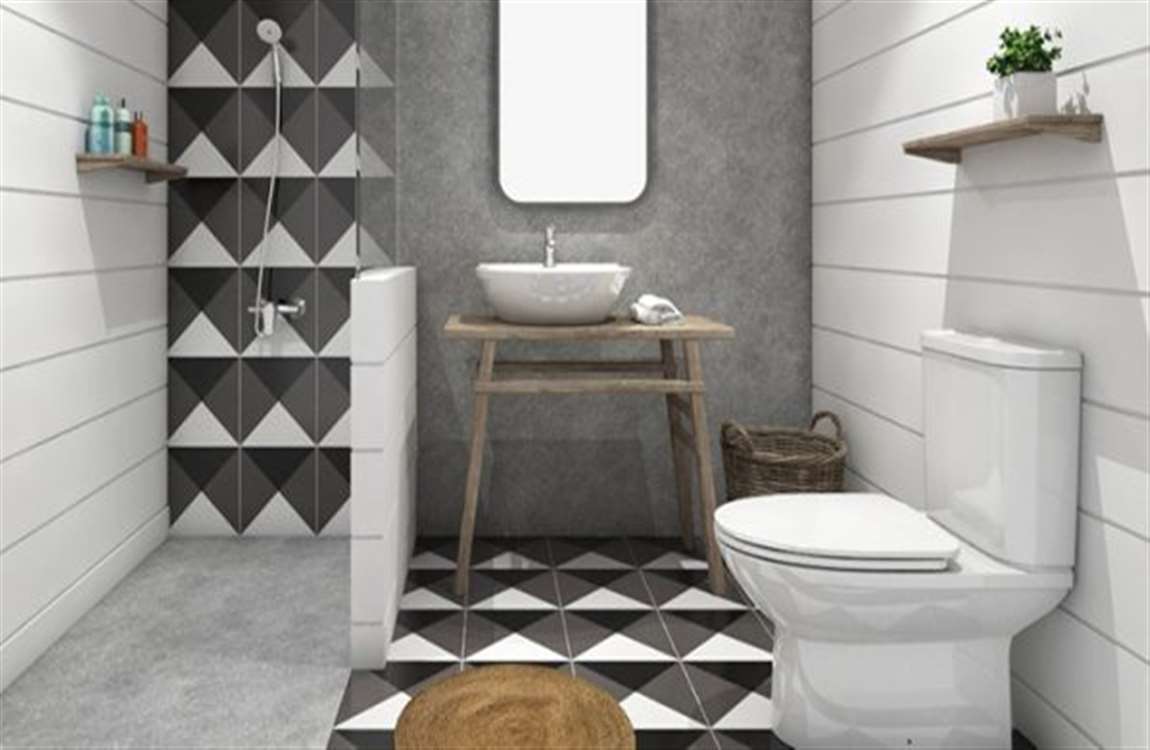
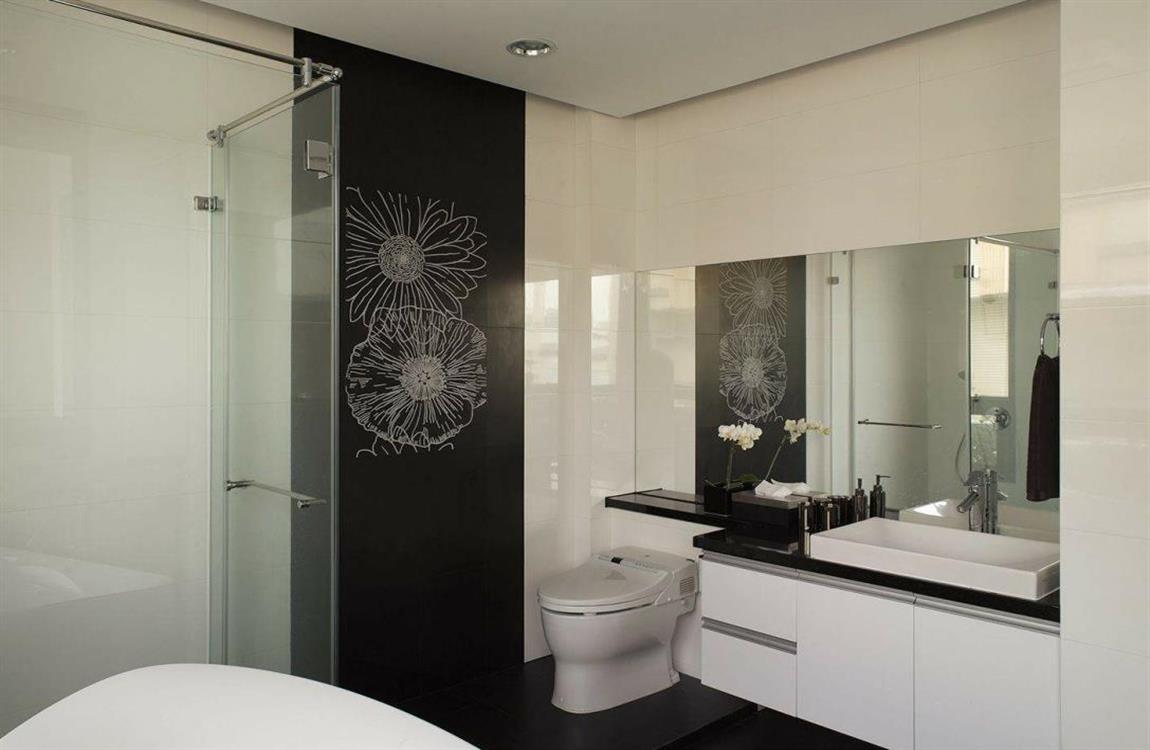
Brighten up a dull bathroom with colorful towels or a bathmat. One of the quickest ways to change the look of your bathroom is by swapping out the towels and bathmat for something new. Consider the season. Warm colors work well for fall, while cool colors work better for winter. Pastels are great for spring, and bright colors are ideal for summer.

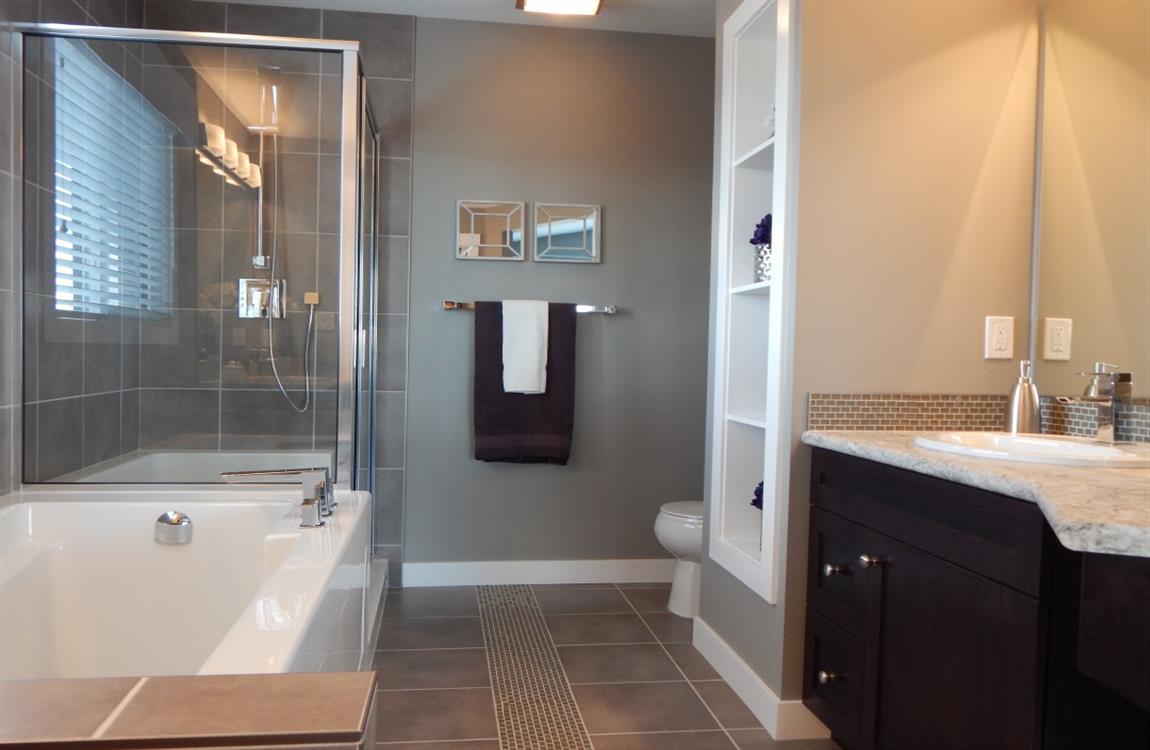
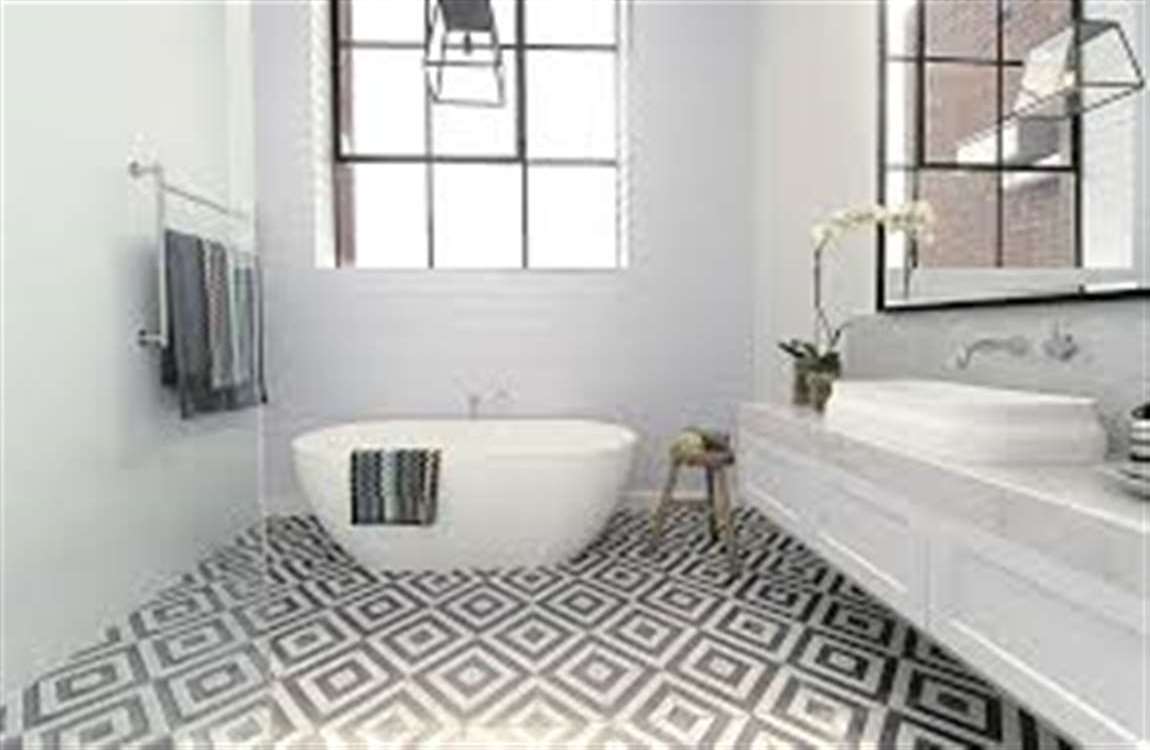
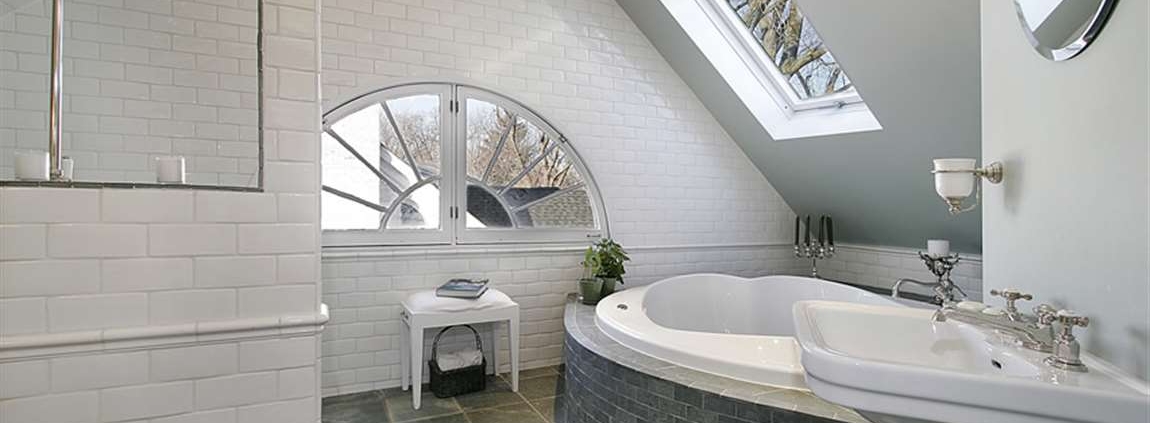
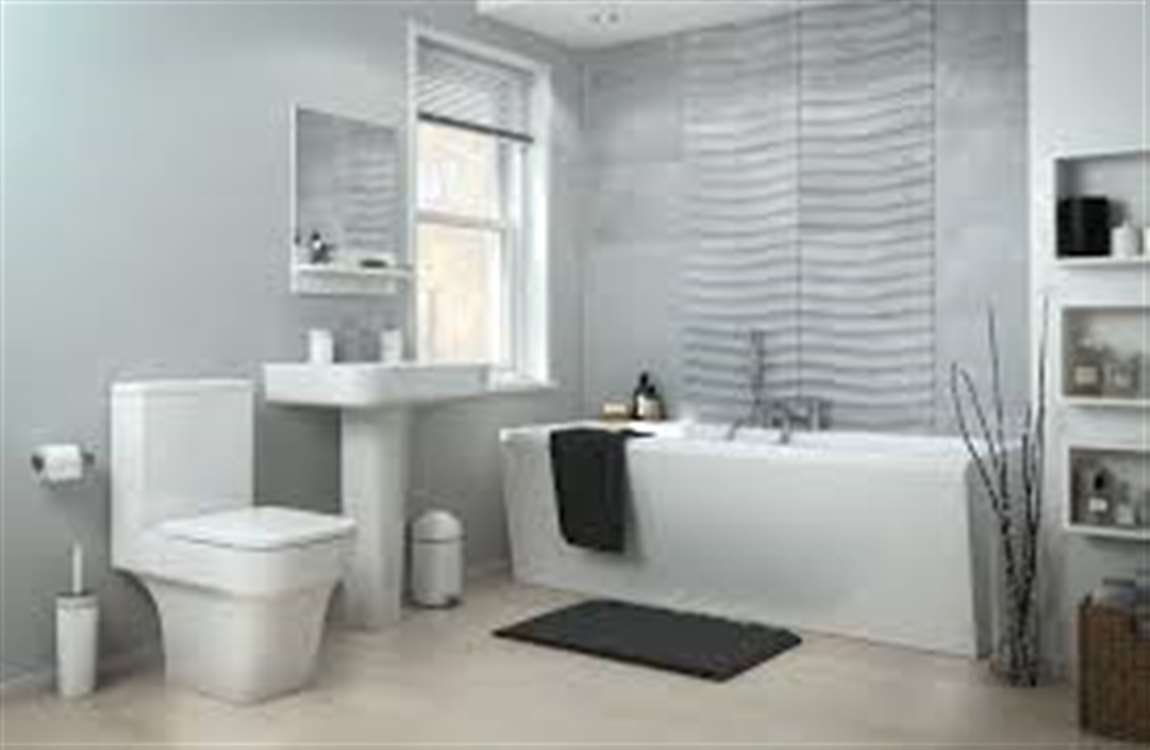
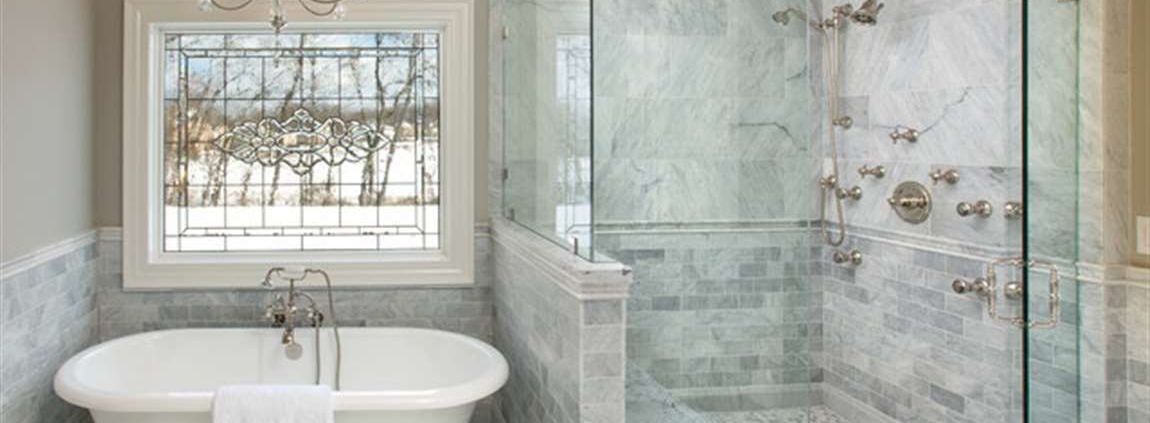
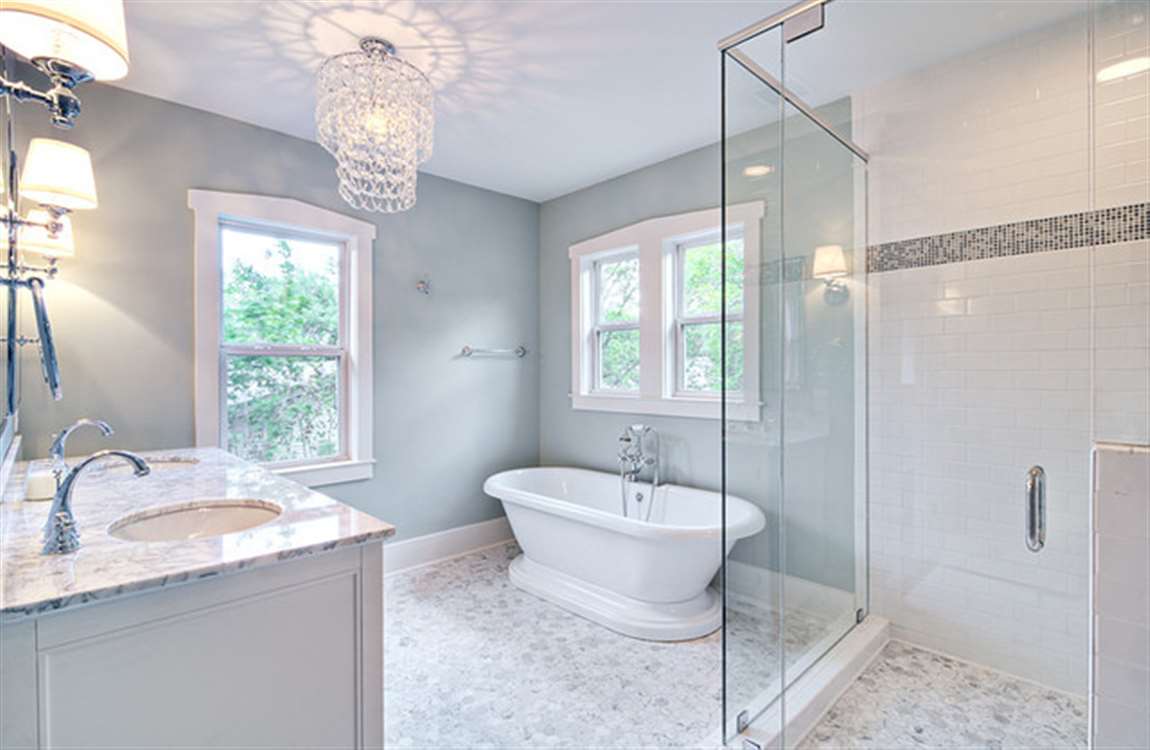
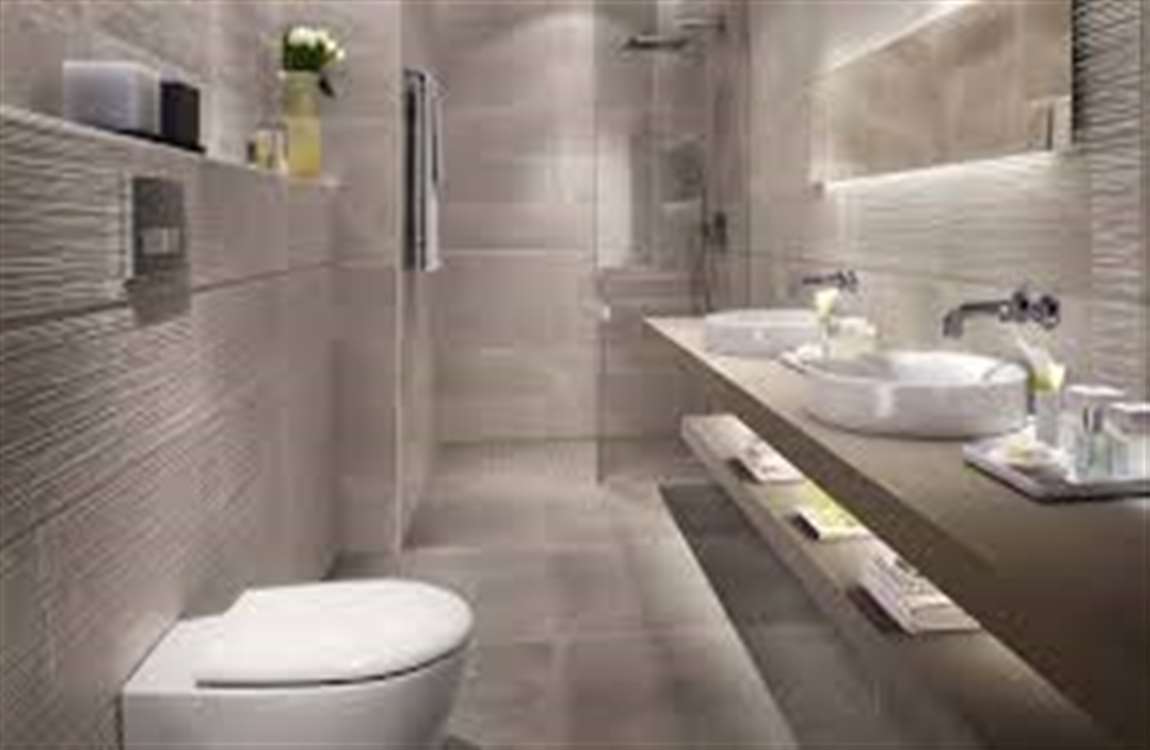
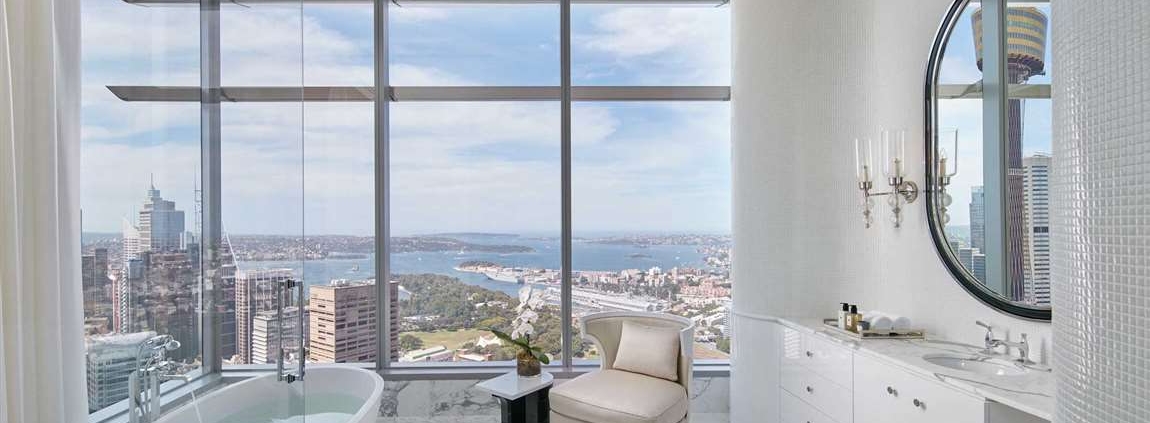
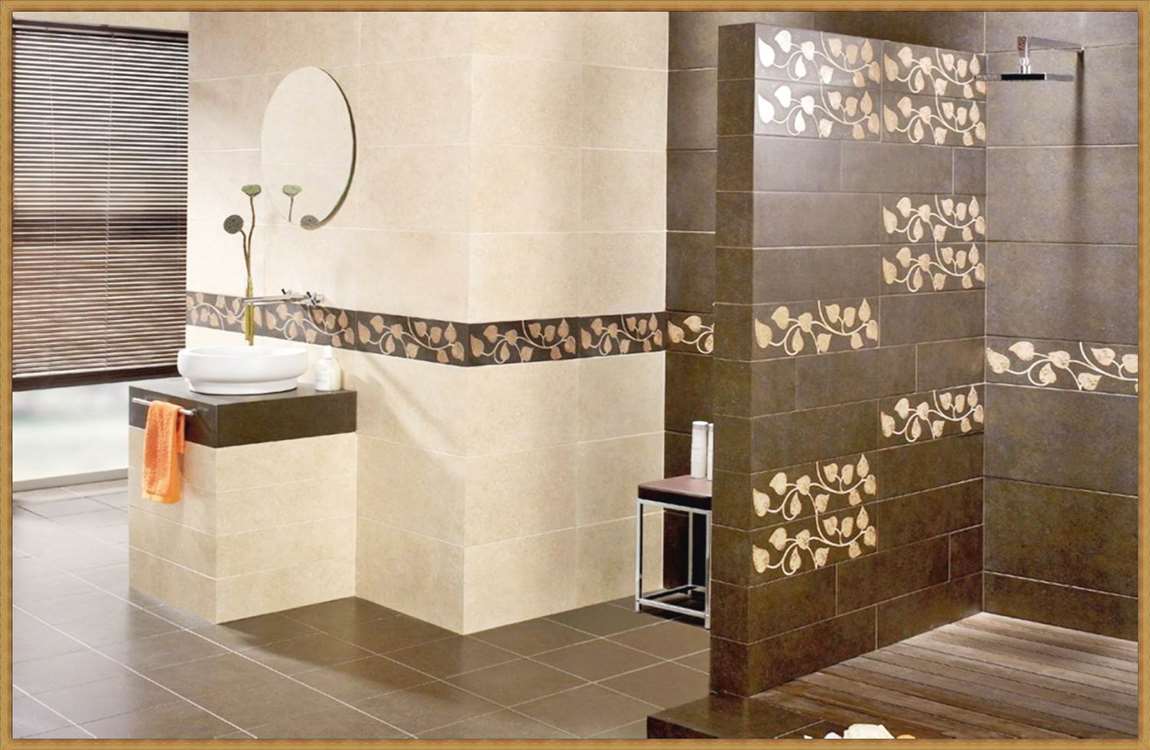
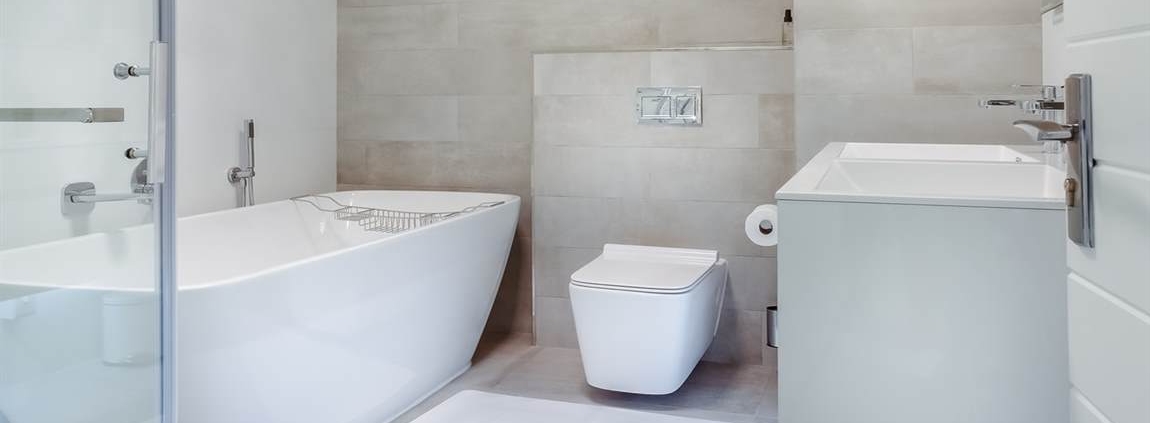
Play around with different shades and layering. For example, try a light green hand towel over a dark green bath towel. Bathroom don’t always have to be made from towel material. You can get wooden or bamboo ones too. Change out the shower curtain for something more exciting. If you have a plain white or frosted shower curtain, consider switching it out for a different one. Pick out a bright color that matches your towels. If solid colors aren’t your thing, try a pattern instead.
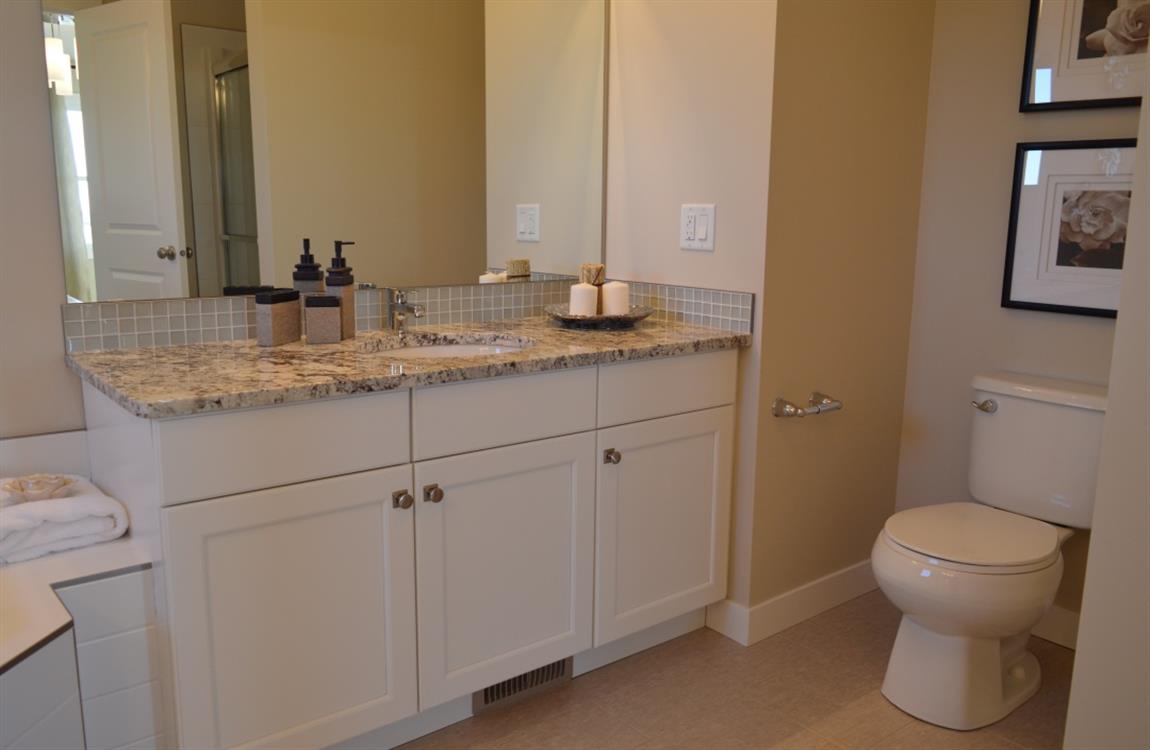
If you are going with a pattern, make sure that it matches the other colors in your bathroom. If you have a window in your bathroom, consider getting some mini curtains or blinds for it. Keep them open so that you have lots of daylight. If you have any curtains you aren’t using, you can hang these over your plastic shower curtain to create a fancy look.

How Adding Textiles and Furniture In Your Bathroom?

Add a small, decorative stand or side table. Choose a small stand or a side table that is 12 to 18 inches (30 to 46 cm) across and tuck it into a niche or corner. Not only will this look cute, but it can double-up as extra storage.
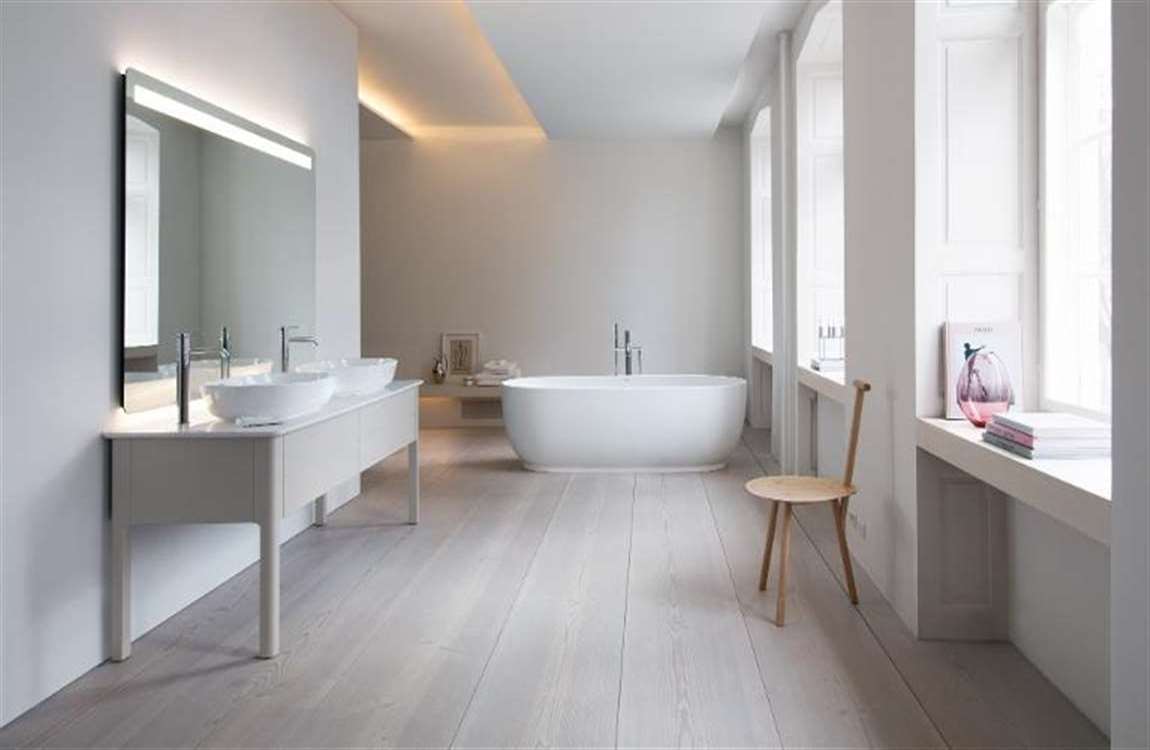
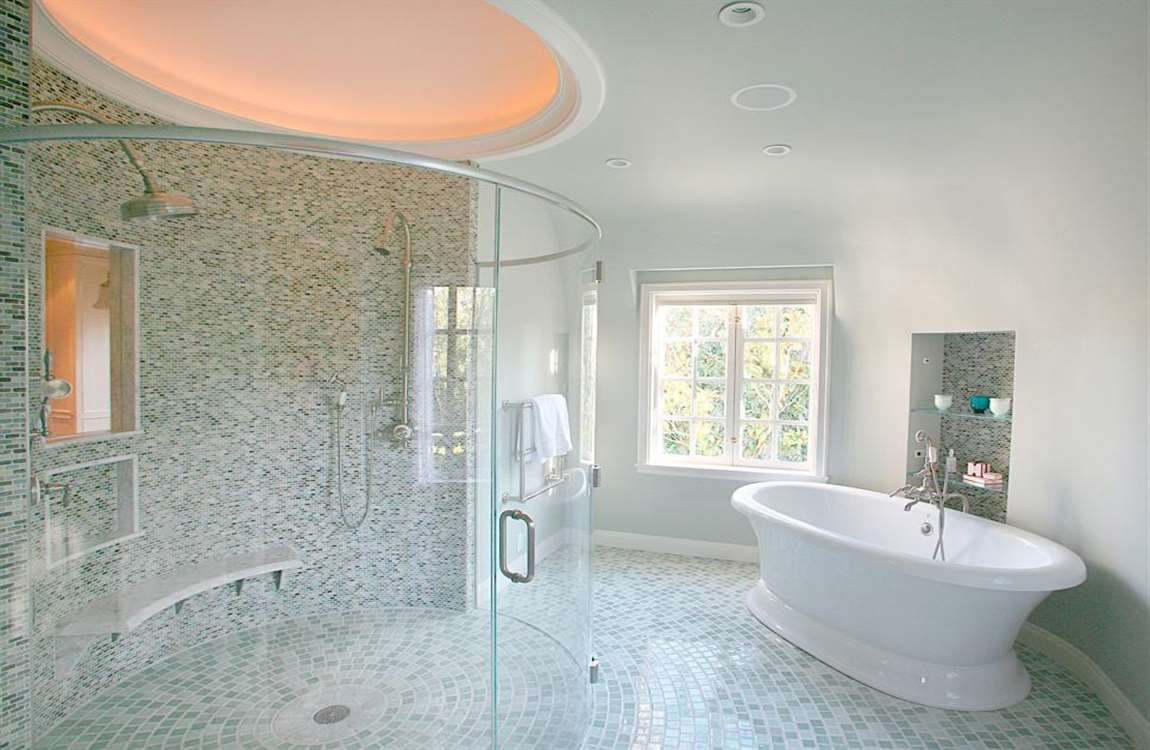
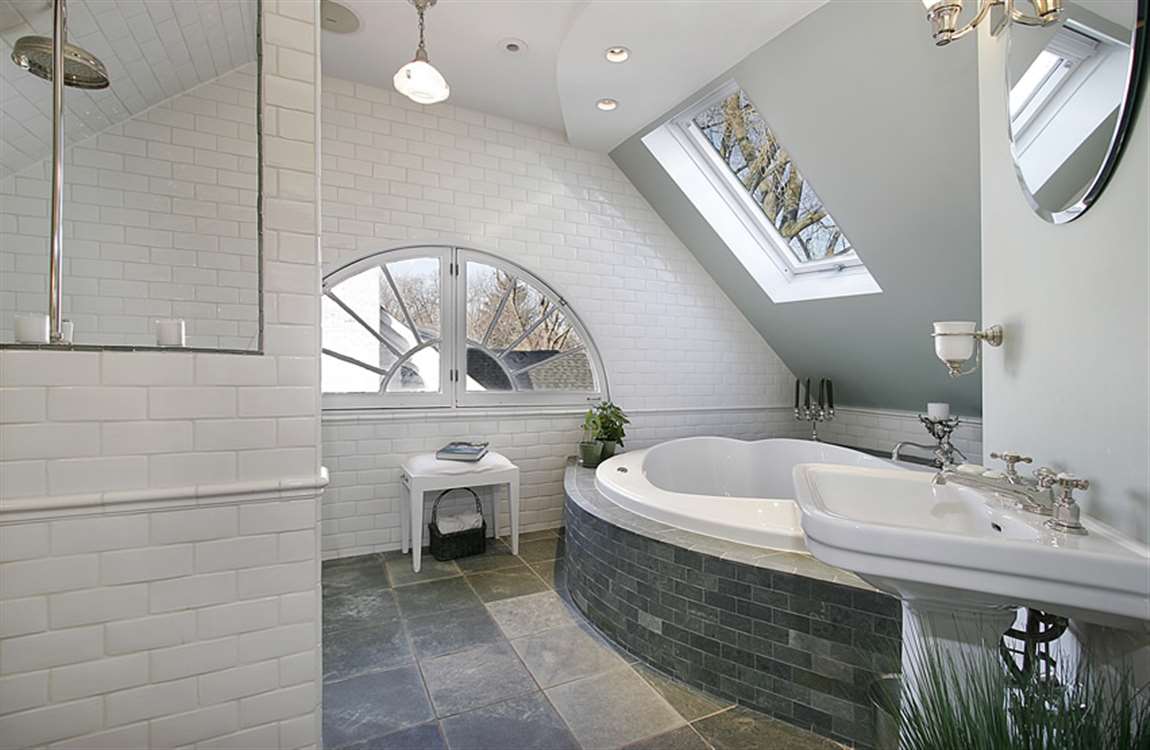
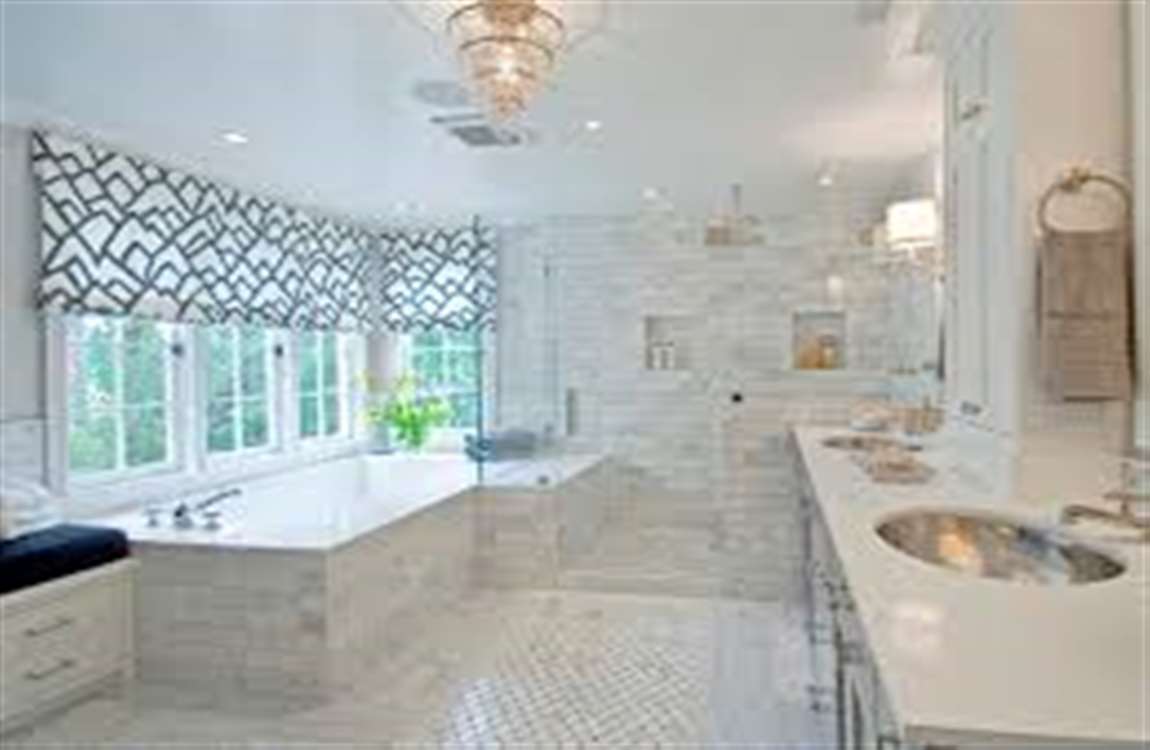
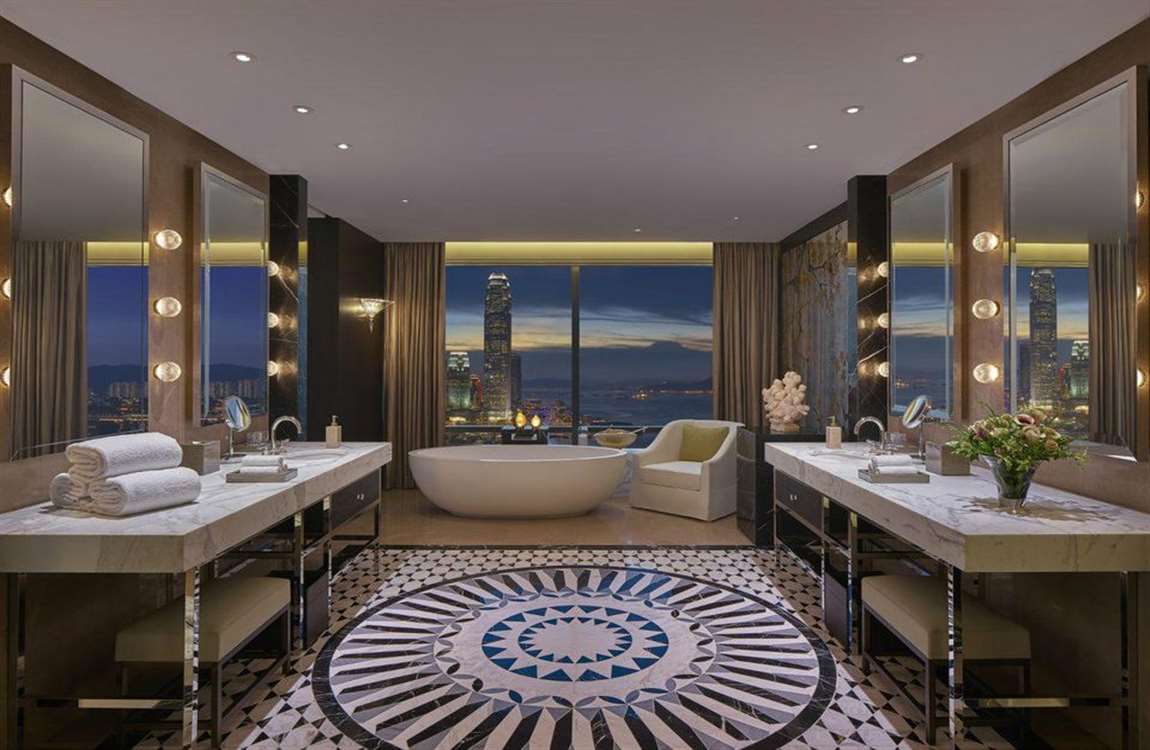
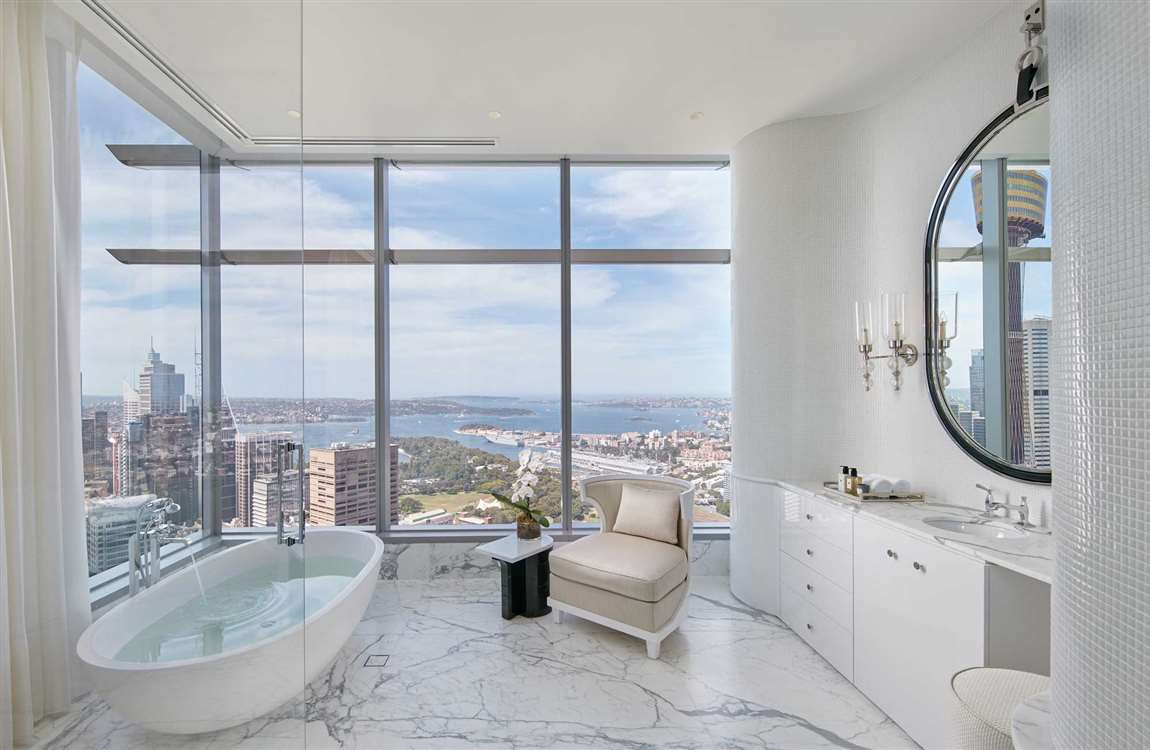
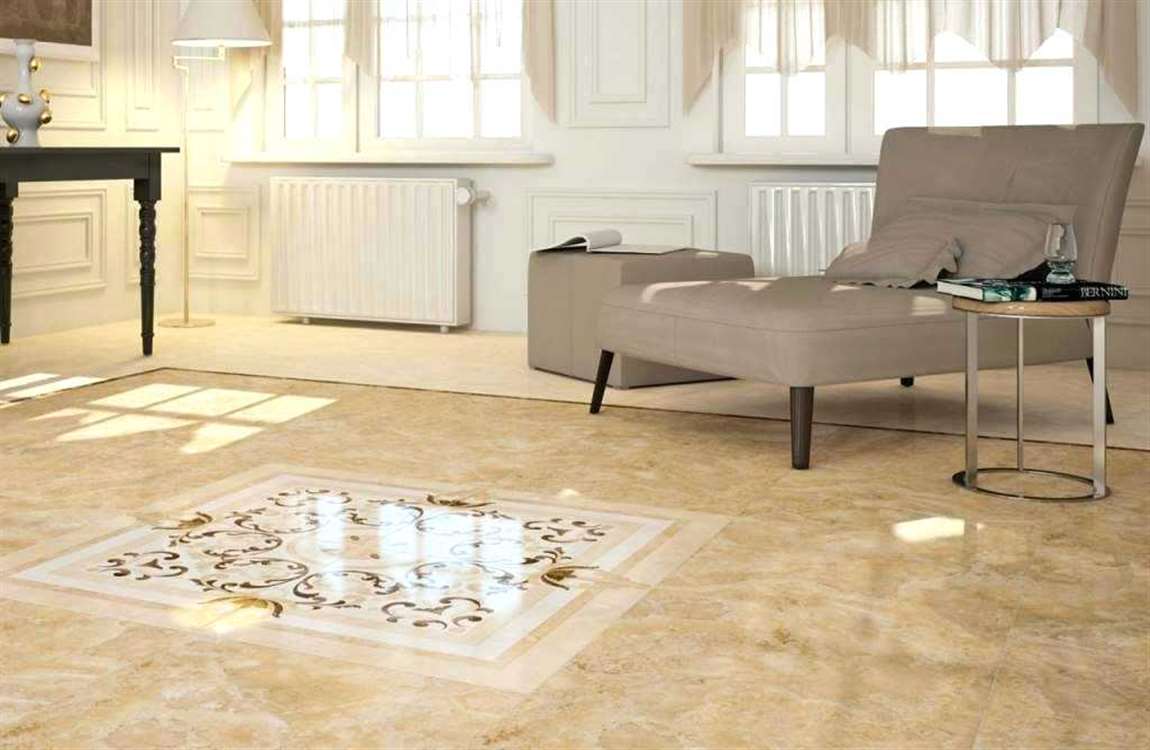
For example, you could keep candles or bowls filled with pretty soaps on top of the table. If your table has shelves, roll up your towels and place them inside the shelves. Not only is this a great decorative touch, it’s also practical. Consider placing a nice tray atop the table for your toiletries or perfumes.
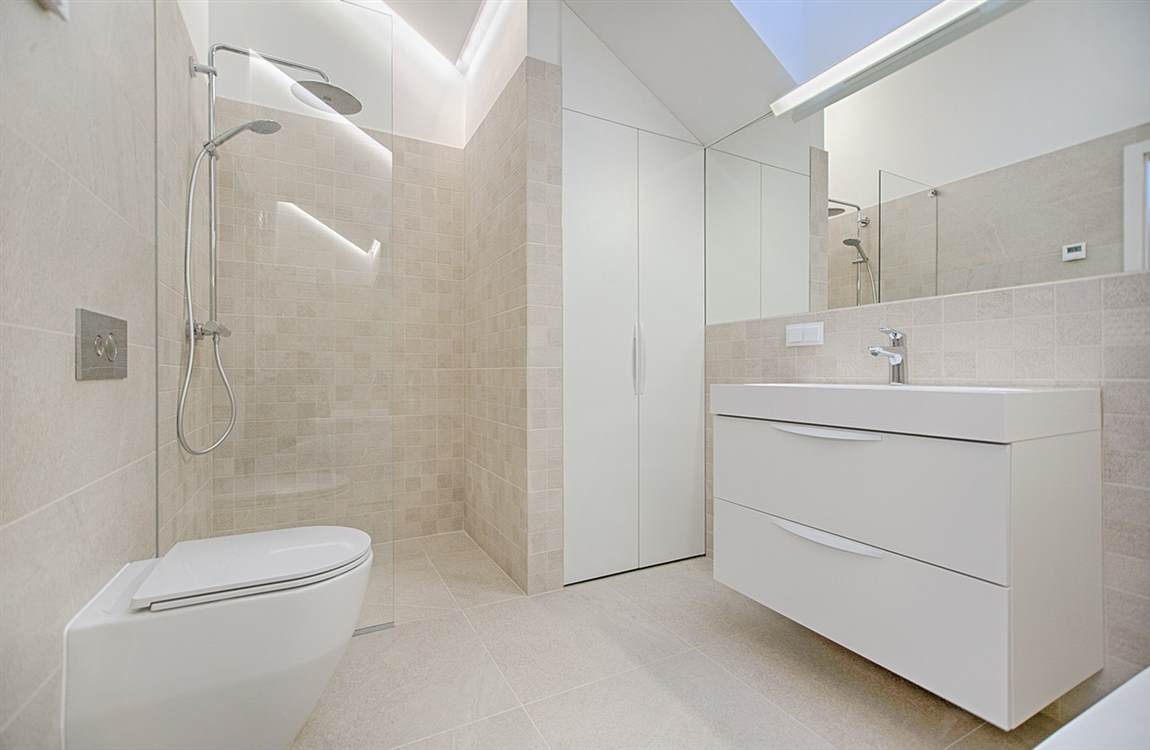
Consider an upholstered bench for comfort and luxury. Choose a bench that matches the style and colors of your bathroom, then set it against the wall. If you have a small bathroom but still want a hint of luxury, consider an upholstered stool instead.
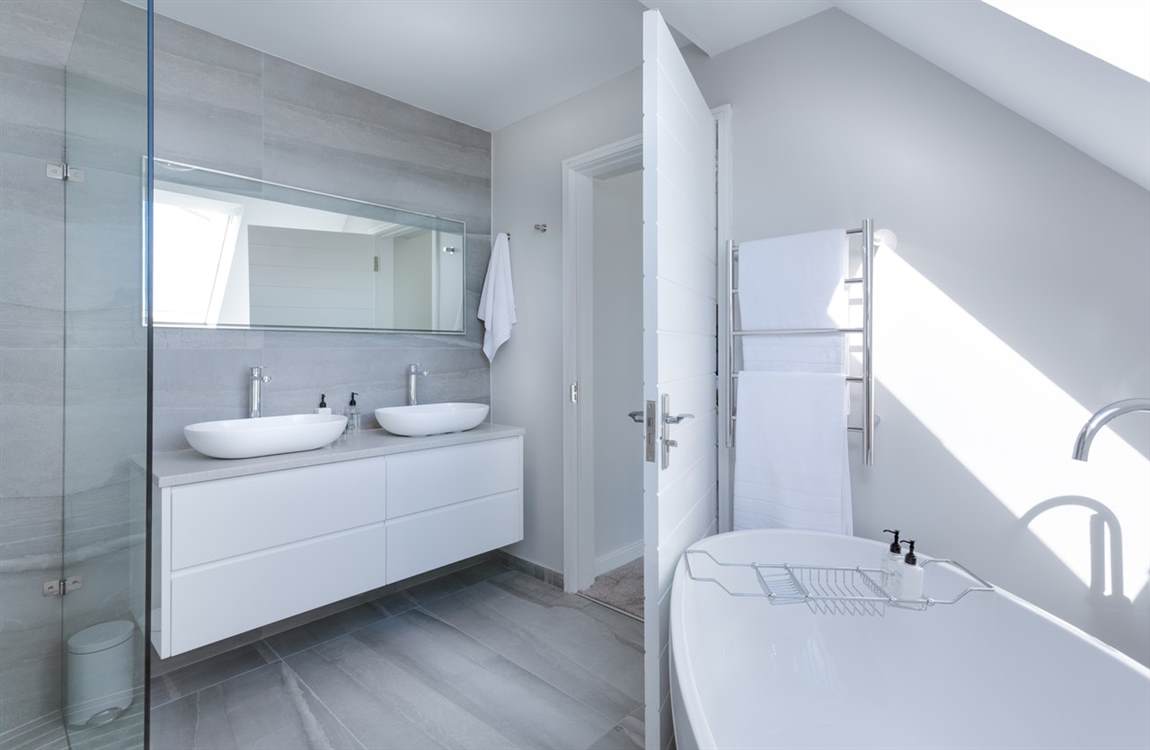
Don’t be afraid to take a bench apart and re-paint or re-upholster it. If you decide to re-upholster the bench, make sure you choose a water-resistant fabric. This is especially important if you plan to sit on the bench while wet or place wet items on the bench. Otherwise, it may develop mold or mildew.
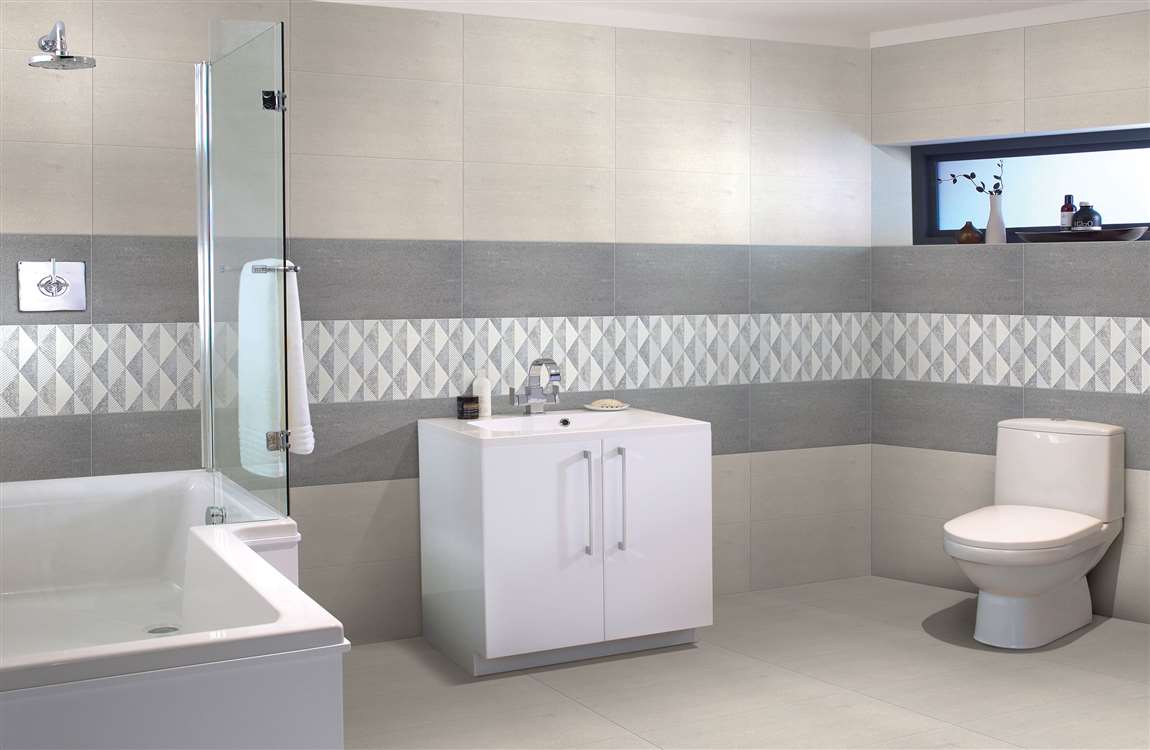
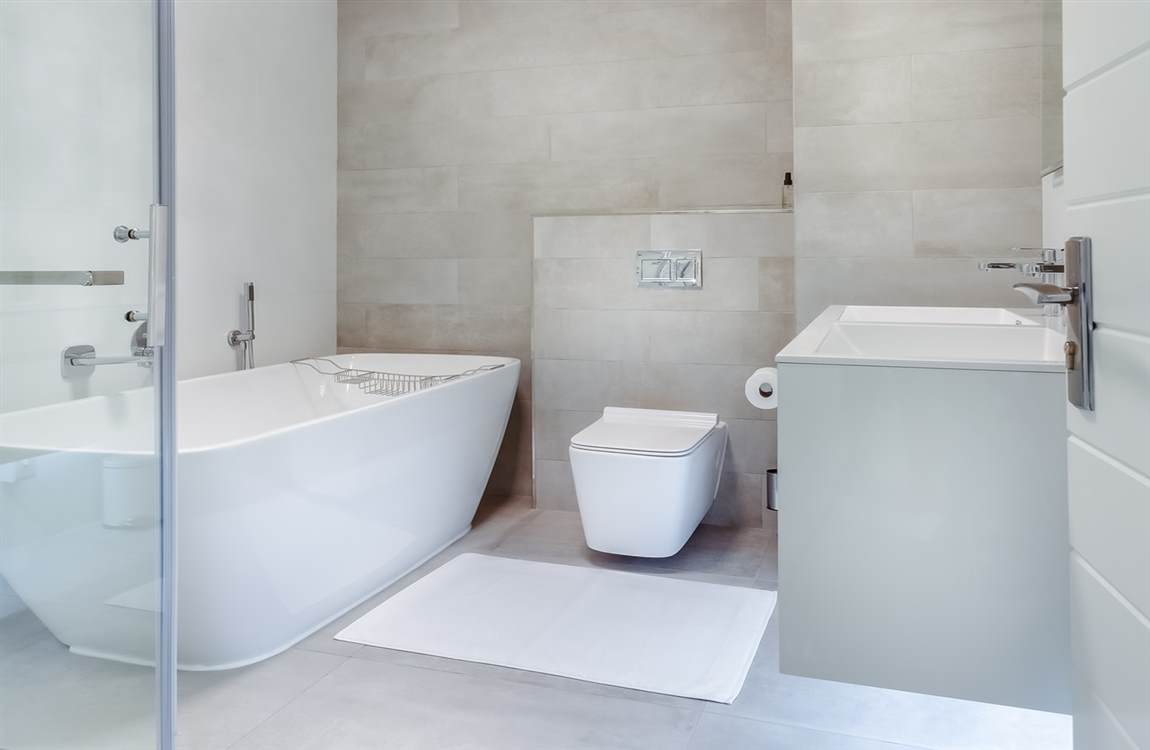
Get a shelving unit if you have space for it. Not only can this add a decorative element to your bathroom, but it will also allow you to store other items, such as towels, toilet paper, and so forth. Make the shelf more decorative by adding a plant or a vessel filled with pretty soaps or bath bombs.

How Making Basin Final Connections and Testing?

Allow the caulk on a top-mount sink to cure for 24 hours. Instead of making the final connections right away, it’s better to give the silicone caulk time to set up. This will prevent the sink from shifting and breaking the solid bead of caulk that you made. If you’re installing an undermount sink, you should already have waited 24 hours before putting in the sink drain. In this case, you can proceed with the last steps of the installation.Reconnect the water lines and the P-trap underneath the sink. You just need to do the reverse of the disconnecting process. Hand-tighten the water lines where they connect to the hot and cold shutoff valves or use a crescent wrench if needed. Similarly, use your hands to tighten the nut on a PVC P-trap or channel locks for a metal P-trap.If your new sink drain is a little shorter than your old one, you can buy a P-trap pipe extension at your local hardware store. The extension can be cut to fit and will also connect in place with a nut that you’ll either hand-tighten or secure with channel locks. If your new sink drain is a little too long, you can cut off some of the pipe either at the top of the P-trap or the bottom of the drain. Use a hacksaw or pipe cutter to make the adjustment.Turn the water back on and check for leaks. Open the hot and cold water valves by turning them counterclockwise. Then, open the hot and cold faucet taps fully and let the water run for at least 2-3 minutes. Watch under the cabinet for any leaks in the water lines, drain lines, or elsewhere. Tighten any loose connections as needed.Keep the bucket or towel at the bottom of the sink cabinet while you test for leaks. If you have a leak at a pipe connection, try shutting off the water, undoing the connection, wrapping some plumber’s tape around the pipe threads, and then re-making the connection. If you can’t figure out where a leak is coming from and/or how to fix it, shut off the water supply lines and call a plumber.

How to Decorate a Bathroom?

The bathroom is often one of the most overlooked and neglected rooms when it comes to decorating. Fortunately, there are some quick and easy ways to give your bathroom a fresh look. It can be as simple as change out the towels and adding a plant, to as fancy as adding wallpaper or painting the wall behind a set of shelves.

Simple silhouettes work the best when it comes to wall decals. Try scrolls or filigree for a fancy look, or trees and greenery for a serene look. If your bathroom doesn’t have good ventilation, the frames must contain glass.

If you’re wanting a temporary upscale look, you can install peel-and-stick tiles behind your sink to create a backsplash. You can find these at home improvement stores or online.

Paint the back walls inside open shelving units. If you have shelves in your bathroom, consider painting the walls behind them a different color. This works best on shelves without cabinet doors, but you can do this on cabinets too.

For example, if your bathroom has white walls, paint the walls behind the shelves a light gray for a subtle pop of color. If you want to add a designer touch to your shelves, you can install wallpaper or contact paper along the back wall instead of paint. As another option, you could apply the contact paper just on the shelves.

How Preparing the Old Sink and Buying the New One?

Turn off the water supply and empty the lines. The shutoff valves are usually located in the cabinet under the sink. Turn both the hot and cold valves clockwise until they resist further turning. Then, turn on the hot and cold faucet taps to empty the faucet lines. If the shutoff valves won’t stop the flow of water completely, you’ll have to replace them. Unless you have some plumbing experience, this may be a job best left to a professional.

Disconnect the P-trap portion of the drain pipe. If the P-trap is made of PVC, loosen the slip nut that connects it to the underside of the sink drain by hand. If the P-trap is made of metal, loosen the connecting nut with channel locks.

You don’t need to remove the P-trap to replace the sink, but you may want to remove it temporarily so you can clear it of debris. To take it out, unscrew the nut (by hand or with channel locks) that connects the bottom of the P-trap to the drain line below. Place a bucket or heavy towel at the bottom of the cabinet to catch any dripping water.

Unfasten the hot and cold water lines with a crescent wrench. These are flexible lines that run from the shutoff valves to the underside of the faucet. Disconnect them right above the shutoff valves. Some types may have nuts you can loosen by hand, but you’ll often have to use a crescent wrench. You can reuse these water lines if you want—just disconnect them from the underside of the sink later, then reattach them during installation. But this is also a good time to replace them.

Measure the dimensions of the old bathroom sink with a measuring tape. If you want to reuse your existing countertop, makes sure you get a new sink that will fit in the same spot as the old one. Write down the length, depth, and width of the sink, as well as the length and width of the countertop. You’ll likely have to replace the countertop as well if you want a new sink that’s a different size.

Buy your new sink at a home improvement store. Bring the measurements of the old sink and countertop with you. This helps to ensure you purchase the correct size before putting in a bathroom sink. Make sure the replacement sink is the same type (top-mount or undermount) as the old one. Ask an employee for assistance if you need help selecting a new sink. Most bathroom sinks are still made of ceramic, but there are other options, and many colors to choose from beyond the traditional white.

How to Clean a Shower?

Remove your shower curtain and liner. Be careful not to drag them on the floor. You may not need to clean the shower curtain itself. The shower liner is both easier to clean and the part that is likely to be dirty. If your shower liner is very soiled, then you may need to replace it.

Place them in the washing machine. Separate the curtain and liner, then spread them out. Drape each around the agitator in your washer, or loosely place them in the tub if you don’t have an agitator.

Add two to three old towels. Towels will help remove some of the stains from your curtain and liner because they will scrub against them in the wash. Use medium to large bath towels. Add your regular detergent. Unless the label specifies otherwise, you can wash your shower curtain and liner with your normal laundry detergent. Avoid using fabric softener.

Check the label for the recommended wash setting. If none is recommended, wash on a normal setting. If you are washing your (non-color) liner without your shower curtain, then treat it like you would your whites, washing it on hot with optional bleach.

Hang dry or tumble dry low. Shower curtains and liners can easily shrink, so follow the care directions on your items. If you choose to tumble dry your liner and curtain, do it in 15 minute increments because they will dry quickly.

How Cleaning Your Shower Head?

Pour white vinegar in a gallon-sized plastic storage bag. The amount of vinegar that you need will depend on how big your shower head is. You need just enough vinegar to cover the end of the shower head where the water sprays out. You can use any plastic bag, but a storage bag is more likely to be leak-proof. Clean your shower head once a month to keep your water flowing well and to prevent mildew.

Place your shower head in the bag. Make sure that your shower head is submerged in the vinegar. If you need to, remove the bag and add more vinegar to cover the spray area. Tie a large rubber band around the end of the bag. Place your rubber band above the shower head so that the bag stays in place while allowing the shower head to fully soak in the vinegar. If you don’t have a rubber band, you can tie off your bag with anything that will hold it in place.

Remove the bag in the morning. Let your shower head soak in the vinegar overnight. In the morning, pour the vinegar down the drain and throw away or recycle the bag. Run clean water through your shower head. Turn on your shower and make sure that the shower head is spraying at full capacity. Wait a minute before getting in the shower to ensure that the vinegar is fully washed away.

Rinse off the shower door. Use your cup or bucket to wet the shower door. This pre-rinse should also remove any debris. Rinse the door weekly between deep cleanings. Deep clean the shower door once a month. Apply a cleaner. You can use a commercial product, or you can mix a tablespoon (15 milliliters) of white vinegar into a cup (237 milliliters) of baking soda to use as a natural cleaning agent. Coat the shower door in your cleaner. Set a timer for 1 hour. Your cleaner needs time to set. While you wait, you can clean another part of your shower if you’d like.

Wipe away the cleaning agent with a soft cloth. Be careful not to use a brush or wire scrubber on a shower door, which can easily scratch. Choose a soft cloth, such as microfiber, to remove the cleaner and grime. Rinse the door with clean water. Cleanse the door until there is no more cleaning agent. Dry the door with a soft cloth. Use a clean cloth to remove the excess water. This will prevent streaking on your newly clean door.

How Cleaning Faucets?

Rub in the cleaning agent. Use a sponge, cloth, or soft bristle brush and make tight, circular strokes. If your shower is very dirty, then you may need to rinse your sponge, cloth, or bristle brush in-between passes. Don’t use hard bristle brushes, and never use metal scrubbers. These can scratch your walls and tub.

Rinse the shower wall with clean water. Use your cup or bucket to splash water on the wall, removing the remaining cleaning agent and the grime. If you have a detachable shower head, then use that to rinse the shower wall instead. If your shower wall still looks dirty, then re-apply the cleaning agent and repeat the process. Repeat for the remaining shower wall sections and tub. Spray the next section, let it soak, rub in the cleaner, and rinse for each of the three to four sections.

Scrub grout with a bleach-water mixture. If you have grout, clean it with bleach and a small scrub brush. Mix two parts water and one part bleach. Use a grout scrubber to clean the grout with your mixture. Use an old toothbrush as a scrubber. Don’t clean your grout with bleach and water while you clean your shower walls with the cleaning agent. Mixing chemicals is dangerous. Turn on the shower for a final rinse. Allow your shower to run for about a minute so that the bleach and any remaining cleaning product are rinsed away.

Rinse your faucet. Splash water up over your faucet to wet the surface and wash away debris.You should clean your faucet weekly to remove spots and stains. Toothpaste and soap often leave flecks on faucets, and they are easiest to remove when they are recent. Mix equal parts vinegar and hot water. Create a cleaning and polishing agent using white vinegar and hot water. Your water should be hot, but not boiling.

Wet a cloth. Dip your cloth in your vinegar-water mixture. Be careful not to burn yourself with the hot water. Wipe your faucet to remove spots. Work the cloth in circular movements as you polish away hard water spots and other splash marks on your faucet. Use a clean cloth to dry the faucet so that you don’t leave streaks.

How Cleaning Your Shower Walls and Tub?

Empty your shower. Remove bottles, loofahs, razors, soap, and other items. Wipe down plastic items to remove mildew and excess water. Throw out empty bottles and items you aren’t currently using. Having too many items in your shower makes it harder to keep your shower clean.

Rinse your shower walls and tub. Using a bucket or cup, splash the shower walls and tub with hot water. If you have a handheld shower head, they work very well. You don’t need to be perfect with this step; you just want to get all the hair, dirt, and other particles down the drain and out of your way. Rinse your walls and tub once a week between deep cleanings to maintain cleanliness. For best results, use a cleaner that helps prevent mildew and soap scum. Deep clean your shower and tub once a month.

Open the bathroom door. If you have a window, open it as well for extra ventilation. Cleaning products can be dangerous if you inhale them, so leave the room if you start to feel lightheaded or nauseous. If your bathroom has a fan, turn it on to help with ventilation.

Divide your shower wall into three to four sections. Mentally divide your shower so that you can make your cleaning task more manageable. Cleaning in sections will prevent the product from drying before you have a chance to work it into the surface. If you have a bathtub, include it in your sections.

Spray the first section with a cleaning agent. Let it soak for 5-10 minutes, unless the package recommends a different amount of soak time. Make sure that your cleaning agent is appropriate for the type of material that your shower is made from. Never use acids like vinegar, ammonia, and normal bathroom cleaners on marble. Only use products that are labeled for use on marble. Make your own cleaning agent by mixing 1 cup (237 milliliters) of vinegar, 1/2 cup (118 milliliters) baking soda, 1 cup (237 milliliters) ammonia, and 1-1/2 gallons (5.5 liters) of hot water.

How Changing the Patterns and Colors to Decorate a Bathroom?

Choose a theme and color scheme for your bathroom. Most people prefer refreshing themes and colors, such as cool blues, Zen, pale green, or nautical. You can choose something more unique, however, such as vintage, romantic, or ornate.

Pastel colors are great for a vintage look, while deep reds and golds are perfect for an ornate look. You can also use neutral colors, such as white and black, or white and silver. Your theme can be specific, such as rustic farmhouse, or general, such as traditional or classic.

Repaint your bathroom or bathroom furniture. You can repaint the entire bathroom, or you can paint just 1 wall an accent color. For example, if your bathroom’s walls are all white, consider painting 1 wall a different color, like light blue or pale gray. Make sure that you use a paint suitable for humid, bathroom environments. The best paint finish for a bathroom will be satin or semi-gloss.

Add some wallpaper as an alternative. You can apply the wallpaper over all of the bathroom’s walls, or you can choose just 1 accent wall. You can also use a narrow strip of wallpaper trim along the top or middle of the wall instead. Make sure that the wallpaper matches the color and theme of your bathroom.

Apply a wall treatment for an upscale design. Great options for your bathroom include tile, faux shiplap, stone, or glass. Although they’re a more expensive decorative option, wall treatments last a long time and elevate your design. Make sure the wall treatment you pick is appropriate for a bathroom, since it will get humid. When in doubt, talk to a product representative.

Use wall decals or framed artwork as a temporary option. If you live in a rental unit, you may not be able to repaint the walls or use wall paper. You can still use removable wall decals. You can also hang some framed artwork above the toilet or towel rack instead.