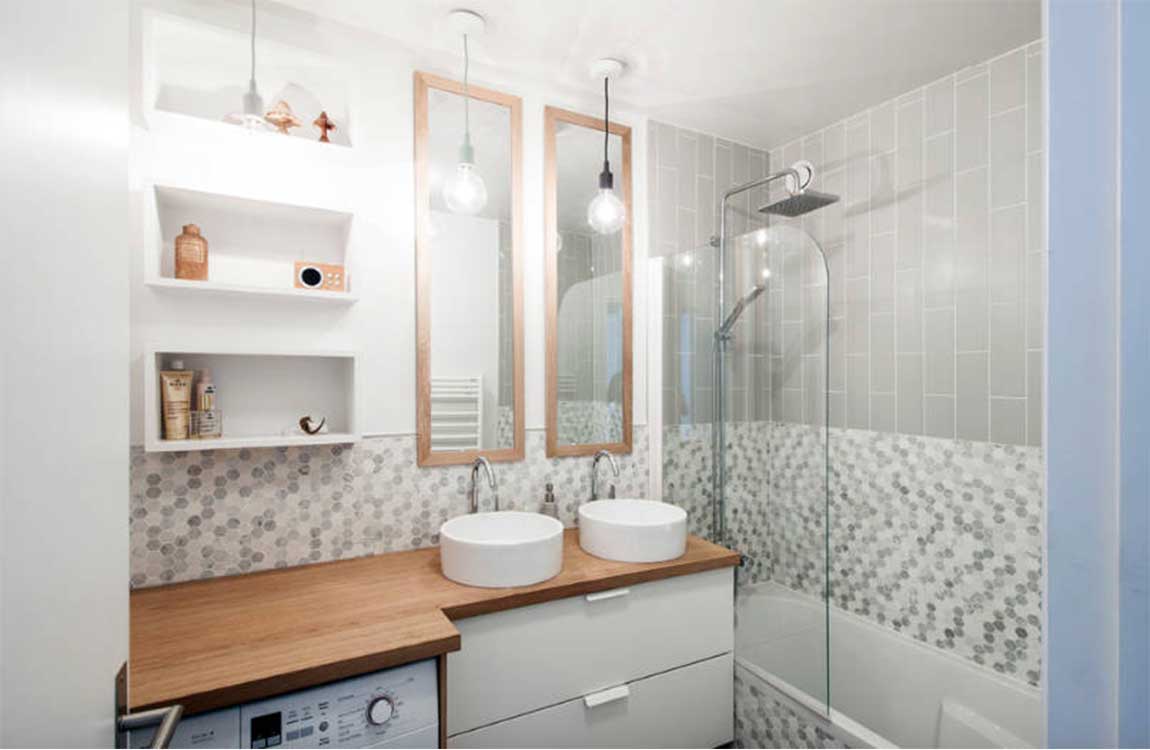
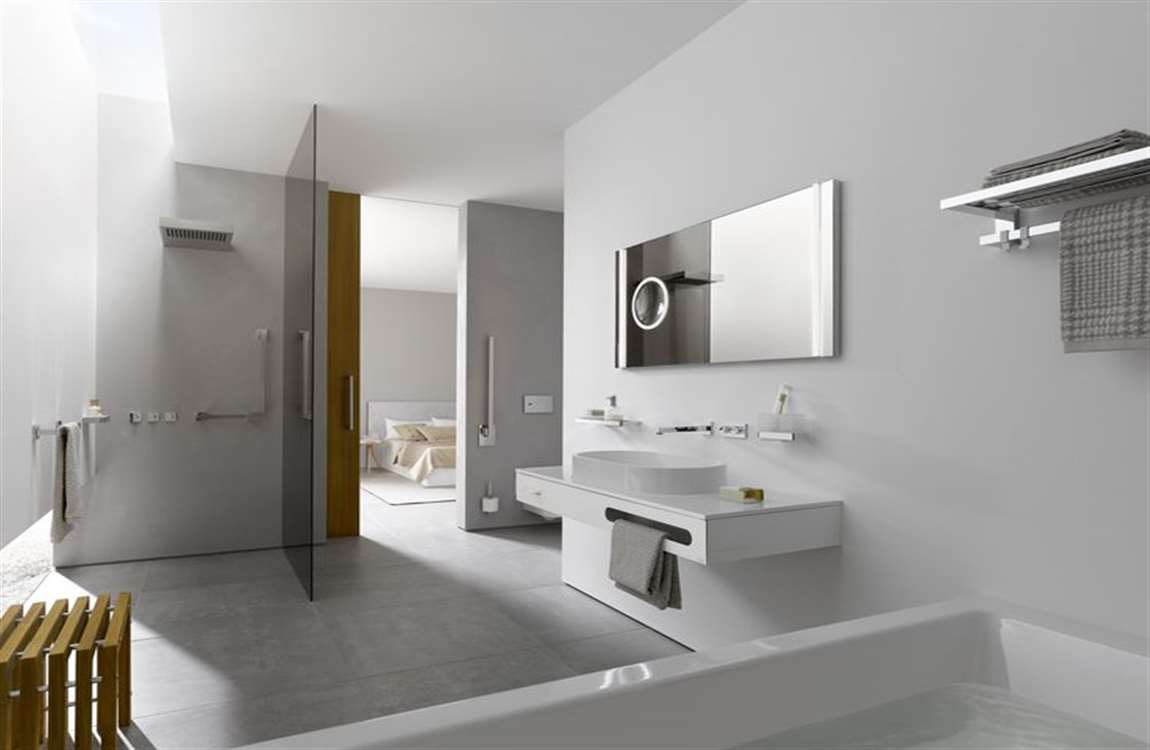
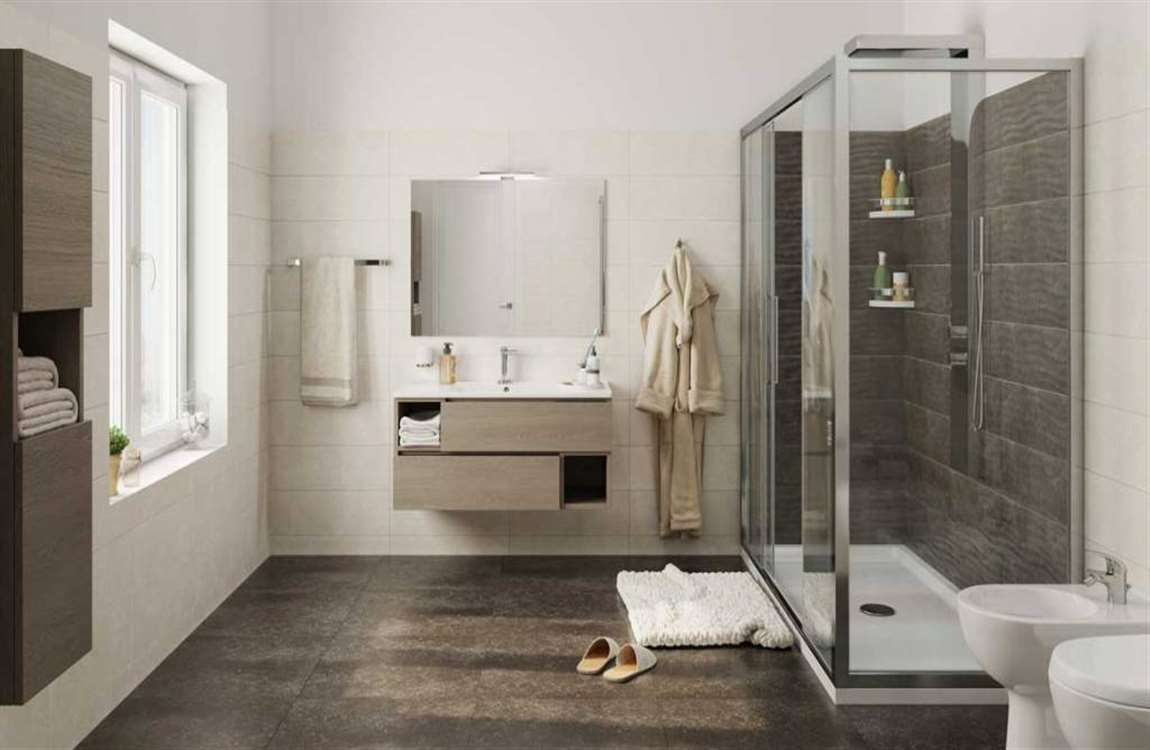
How to Remove Bathroom Mold?

Mold commonly thrives in bathrooms because of the humidity and excess water. Luckily, it’s easy to get rid of the mold with a few basic cleaning supplies! Use either a vinegar, Borax, or bleach solution in a spray bottle to tackle the mold. Simply spray the solution on showers, shower, basins, tiles, grout, or caulking. Then use either a cleaning cloth or a toothbrush to remove the mold. You can also remove mold from bathroom ceilings or walls using similar methods. Always wear protective gloves when cleaning mold and keep the area well-ventilated.

Replace the grout or caulking if you can’t remove the mold stains. If the mold builds up too much, you won’t be able to scrub it away. In this case, use a flathead screwdriver to dig into the grout or caulking, and then lift it up to remove it. Apply the new grout or caulking and clean it regularly to prevent the mold forming more stains. You can apply a sealer over the new grout or caulking to prevent it from being stained.

Wear old clothes and wash them in hot water after cleaning mold. It’s best to wear old clothes that you don’t mind getting stained or damaged by the cleaning solutions and hot water wash cycle. Always use hot water to wash your clothes with immediately after you have finished cleaning so that the spores trapped in the fabric are killed and don’t spread. It’s especially important that you wear old clothes if you are using bleach. This is because bleach can remove the color from fabrics.

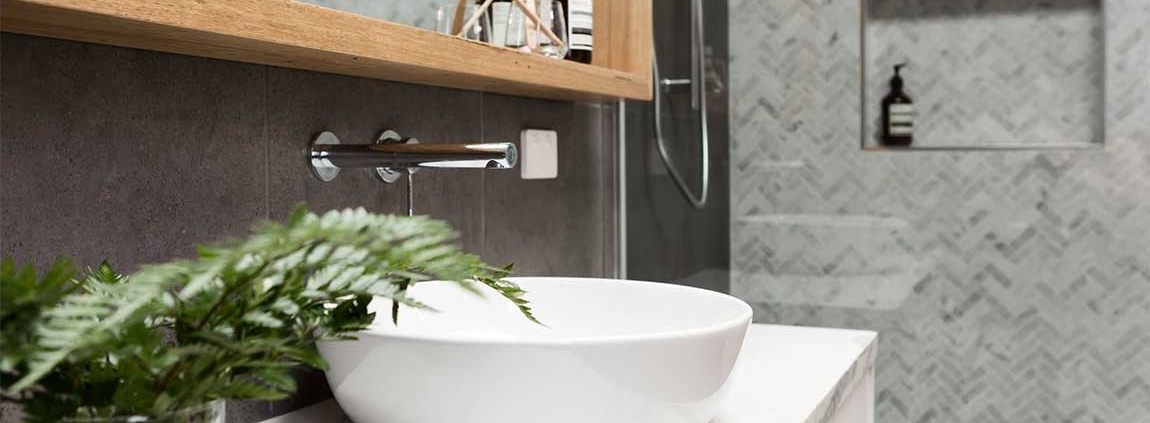
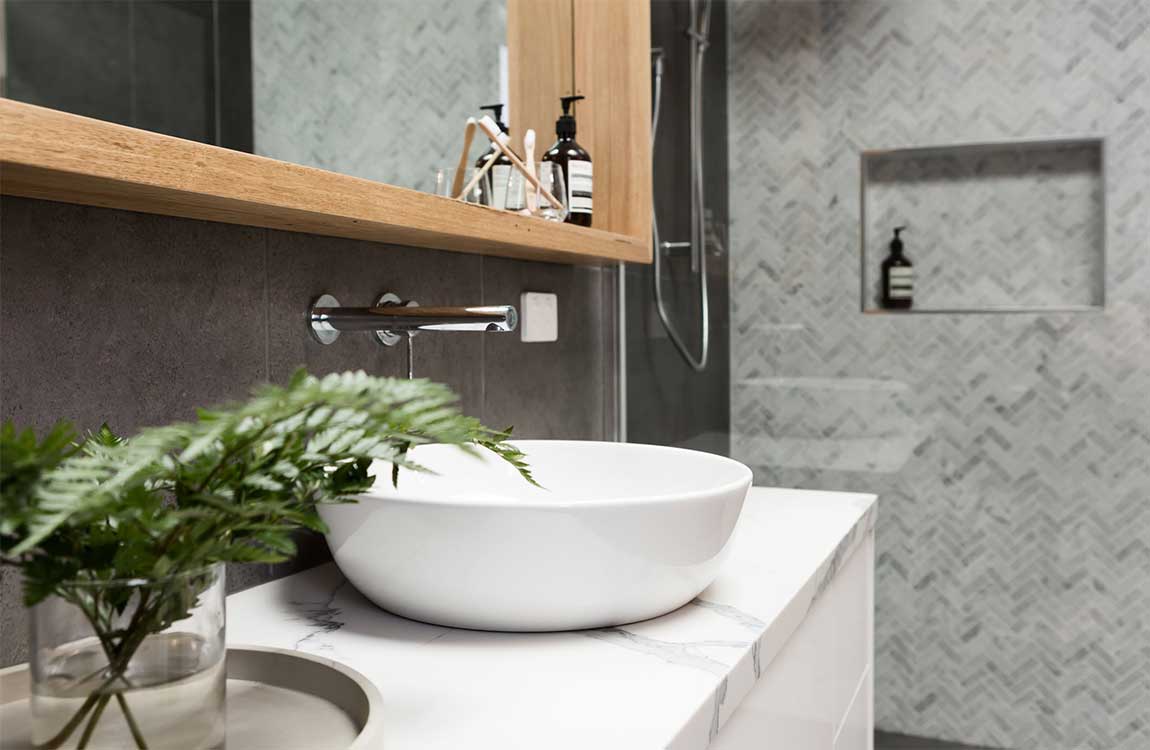
Keep the bathroom ventilated while you are cleaning. Open as many windows are possible and turn on the bathroom fan if there is one. This helps to prevent you inhaling the mold spores and any toxic fumes that may be released by the cleaning solutions. You can also bring a portable fan into the bathroom if you have one.

How Preventing Bathroom Mold?

Turn the bathroom fan on when the bath or shower is in use. A bathroom fan is very effective at reducing the humidity in the room. Turn the fan on when you start running the bath or the shower and keep it on for at least 5 minutes afterward to help clear the steam. If possible, try to keep the fan on until all of the steam is gone. Open the window and turn the fan on to reduce the humidity the most effectively.

Open the window after you have a bath or a shower. Mold grows faster when there are high humidity and water levels, such as when the bath or shower are used. Open the window straight after using the bath or shower to let the excess water evaporate and the steam escape. Keep the window open until the bathroom is dry. Try to remember to open the window every time to limit mold growth.

Dry all of the surfaces if you are worried about the moisture levels. Although regular cleaning and keeping the bathroom well-ventilated should be effective at keeping mold at bay, sometimes these precautions aren’t enough. If you find a spot in your bathroom where mold keeps returning, use a cleaning cloth to dry it whenever there is excess water. Some common mold areas may include the basin or the shower tiles. You can use a squeegee instead of a cloth on tiles and glass doors.

Use rubber gloves whenever you are working with mold. Keep yourself safe by not touching mold with your bare hands. If you are using vinegar or Borax to clean the mold, regular household rubber gloves are fine. However, if you are working with bleach, choose natural rubber or PVC gloves instead. Take the gloves off as soon as you are finished cleaning so that the spores don’t spread throughout your home.

How Using the Cleaning Solution to Remove Bathroom Mold?

Spray the mold cleaning solution over the area you wish to clean. Get the spray bottle with your chosen cleaning solution inside. Generously spray the entire area with the solution so that there is a visible, even coating. Try not to completely saturate the area, as otherwise, there will be excessive liquid to clean up later. Aim to apply enough of the cleaning solution so that the area is visibly wet, but not so much that puddles form. Be very careful not to slip if you are working on floor tiles or grouting.

Wipe smooth surfaces with a cleaning cloth to remove the mold. Fold a cleaning cloth into quarters and wipe the entire area where you sprayed the cleaning solution. The mold should wipe away easily onto the cloth. Use a new side of the cloth whenever the first side gets saturated or too dirty. You may need to swap cleaning cloths throughout the process, especially if you are cleaning a large area. Alternatively, you can use a sponge instead of a cloth if you prefer. Smooth surfaces include showers, baths, basins, and tiles.

Use a scrubbing brush to remove stubborn mold from smooth surfaces. If the mold remains, it’s time to take more serious measures! Scrub the affected area vigorously until the mold comes away. Try to clean any mold away as soon as it grows so that you don’t need to resort to scrubbing. Have a dedicated scrubbing brush strictly for bathroom mold to prevent spreading the spores throughout your home.

Scrub grout or caulking with a toothbrush. Use a back and forward motion to remove mold from grout or caulking with an old toothbrush. Rinse the toothbrush under running water to remove any mold while you clean, as this prevents the mold spores from spreading throughout the bathroom. Use a dedicated toothbrush for cleaning mold in the bathroom so that the spores don’t spread throughout your home. You can use a larger scrubbing brush if you prefer, but a toothbrush is the easiest to use in tight spaces. You can purchase specialty grout scrubbers from home improvement stores.

Dry the cleaned area with a cleaning cloth. Remove the excess liquid from the area that you cleaned to keep the bathroom dry and to prevent slips. Run the cloth over all of the smooth surfaces and the grout or caulking to remove the excess moisture. This also removes any mold that has been scrubbed loose. You may need to swap cleaning cloths if the first one gets too saturated. Pay attention to any small crevices or corners to prevent the liquid from pooling up and more mold from forming.

How Making a Mold Removal Solution to Remove Bathroom Mold?

Create a vinegar solution for a safe, non-toxic mold killer. White vinegar is a great way to remove mold from a variety of different surfaces. Pour the vinegar directly into a spray bottle to use it. It doesn’t need to be diluted at all, as it is the most effective when it isn’t watered down. You don’t need to rinse away the vinegar after you have used it.

Although the smell can be unpleasant, it usually clears within 1-2 hours. You can open a window or turn on a fan to help the smell disappear faster.

Use a Borax solution for a natural mold remover. Borax is a natural insecticide and fungicide. Mix together 1 cup (204 g) of Borax with 1 US gal (3.8 L)of water and then pour the solution into a spray bottle. Simply spray the solution directly on the surface you want to clean. Borax doesn’t need to be rinsed off, as it can prevent more mold from growing in the future.

You can find Borax in the laundry section of grocery stores. It is a white mineral powder. Borax is dangerous to consume, but unlike bleach, it doesn’t release toxic fumes.

Choose a bleach solution as a last resort. Although bleach is effective at killing mold on non-porous surfaces such as showers, basins, and tiles, it is a toxic substance and needs to be used carefully. Create a bleach solution with 1 part bleach to 10 parts water and place this into a spray bottle. You don’t need to rinse the bleach solution away afterward unless pets or small children might touch the surface. Always wear gloves when working with bleach and keep the area well-ventilated to avoid inhaling the fumes.

How Keeping Your Drain in Good Condition?

Keep trash out of the sink drain. Perhaps the most important part of keeping your drain clean is being mindful of what you put in it. This is especially true for bathroom sink drains, which will inevitably accumulate natural detritus, such as hair. As a rule of thumb, if you’re unsure whether it’s okay to go down the drain, throw it away instead.

Avoid washing dishes or disposing of any food products in the bathroom sink. Don’t dispose of personal care products, such as cotton balls, dental floss, or bits of toilet paper in the sink drain. Take care not to let the small round liner underneath the lid of personal care products go down the drain.

Use less soap and other products. Even soap and other things that you regularly dispose of in your bathroom sink, such as toothpaste and shaving cream, can contribute to build up in your drain. As such, get in the habit of using smaller amounts of these products.

A small dollop of toothpaste is plenty, and a single pump of hand soap is sufficient to wash your hands. Let the water run down the drain for a few seconds after using soap or toothpaste so it gets flushed away.

Avoid commercial drain cleaners. There are a lot of reasons not to use commercial drain cleaners that rely on chemicals. They can corrode your pipes and damage other components of your fixtures and plumbing system. They are also toxic, and can work their way into the ground water in your area.

How to Clean a Bathroom Sink Drain?

Bathroom sinks can begin to smell unpleasant when toothpaste, hair, and other items collect in the drain. Aside from this debris, mold and mildew can also grow in your drain and slow or block the sink from draining. Regular cleaning can help prevent these buildups from clogging your drain. When the sink does become clogged, you can break down buildup in the drain with baking soda and vinegar.

Cleaning the Drain Regularly

Remove debris from the drain weekly. To prevent buildups, remove any pop-up stoppers or drain guards on your sink and discard the debris that they’ve collected. Rinse them before replacing them.

Most bathroom sinks feature an adjustable metal stopper than can be used to plug the sink. These can be removed by pulling them out of the drain. If your sink stopper is used by pushing and pulling a rod behind the faucet or is otherwise attached, remove the nut on the back of the drain pipe, pull out the retaining rod, then remove the stopper.

Use a non-corrosive drain cleaner when necessary. Your bathroom sink collects bacteria that can contribute to unwanted scents and deposits within the drain. To kill this bacteria, use a biodegradable, non-corrosive pipe-cleaner once a month. Hydrogen peroxide is a great option that can be poured directly down the drain.

Note that many well-advertised drain cleaners are full of chemicals that pose a risk to both your health and your pipes. Follow the directions on any natural, store-bought cleaning products. Bleach and antibacterial products are not recommended. They are unnecessary and can potentially damage plumbing systems. This is especially important if you have a septic tank.

Clean your drain monthly with household products. Instead of a packaged drain cleaner, use salt, baking soda, vinegar, and/or lemon juice to deodorize and clean your sink. Mix whichever of these you have on hand into about a cup of solution and pour it into the drain. Let it sit for an hour before flushing hot water down the drain.

How Unclogging a Bathroom Sink?

Pour boiling water down the drain. To remove stubborn buildups, start by boiling about ½ gallon (roughly 2 liters) of water and carefully pouring it down the drain. High temperature water will begin to break apart and dislodge the blockage. Plunge the drain. Encourage the buildup to proceed down the drain by plunging the drain 5 or 6 times. While this may not fully remove the buildup, it will help loosen it further. Use a plunger that can create an airtight seal over the opening of the drain.

Put baking soda in the drain. Slowly pour about 1 cup (220 grams) of baking soda into drain. Allow the baking soda to sit for a few minutes. Not only will the baking soda absorb unpleasant odors, it will help physically break apart the buildup.

Add vinegar. Pour 1 cup (240 ml) of distilled white vinegar into the drain after waiting a few minutes. The baking soda and vinegar will react with one another and begin to foam. Cover the drain, as this will encourage the baking soda and vinegar mixture to work it’s way into the clogged portion of the drain and break down the remaining blockage. Allow the mixture to sit in the drain for an hour or so.

Vinegar is also a natural deodorizer. Together, this mixture will also help remove any odor the deposit caused. Cider vinegar or lemon juice will work in lieu of white vinegar. After allowing the mixture to sit, rinse again with hot water. Repeat the process to eliminate residual odors.

Snake the drain. Stubborn deposits may require more physical disruption. Get a drain snake from your local hardware store. These are essentially long, thin strips of plastic with hooks on either side. Use it to break up and push or pull away any deposits that have clogged your drain. Keep inserting and removing the snake until no hair or clumps are attached to it when you pull it out.

Alternatively, you can bend a metal coat hanger so it has a hook at 1 end and use that. If it gets stuck, pull it out with a pair of needle-nose pliers. Follow this with a baking soda and vinegar soak to remove unpleasant odors.


How to Paint a Bathroom?

If your bathroom is due for a makeover, breathe new life into it with a fresh paint job. Since bathroom paint has to handle lots of moisture, go with a durable, mildew-resistant product. Before you get to work, lay down drop cloths to keep paint off of the floor and fixtures. Then use a good angled brush to tackle the trim, and cover broader surfaces with a paint roller. With the right tools and a little effort, you can brighten up your bathroom in no time at all.

Use wood filler to repair any holes or nicks in the baseboard, chair rails, or trim around windows and doors. Allow the filler or drywall compound to dry for 6 to 24 hours (check the instructions for specific drying times). Then sand the surface with fine, 320-grit sandpaper until it’s smooth and level with the surrounding surface.

Place drop cloths on the floor and over bath fixtures. Tuck or tape the edges of the drop cloths against the baseboard to protect the floor. Canvas drop cloths are best for the floor, but you can tape sheets of plastic over the sink, tub, and other fixtures. Canvas is heavier and less slippery than plastic. It also absorbs paint, which makes it less likely that you’ll step in a spill and accidentally make tracks around your house.

Check your product’s instructions if you’re not sure about the recommended drying time. Apply a second coat for best results. Use the same techniques to apply the second coat of paint. Paint around the edges of a wall with a brush, then use a paint roller to finish the wall. Remember to paint 1 wall at a time to avoid painting over dried paint.

Wait 24 hours to replace wall hangings, curtains, and socket covers. After the paint has dried completely, cut along the edge of the taped trim with a utility knife, then pull back the tape. Fold up and store the drop cloths, remove the coverings from the bath fixtures, and replace any wall art, curtains, electrical covers, and towel racks. If necessary, replace the toilet and turn on the water supply. If you pull up the tape without cutting it, you might peel off dried paint from the wall that’s bonded with the tape.

How Adding Coats to the Walls?

Prime the walls if you’re making a major color change or patching holes. If your current paint is in good shape, you made no repairs, and you’re not making a drastic color change, you can skip priming or use a self-priming paint. However, if your bathroom is currently dark and your new color is light, it’s wise to prime. Use the same techniques for primer as you would for the top coats: cut the edges with a brush first, then use a roller to paint broader areas.

You should also spot-prime any areas you patched. Drywall compound is porous and will absorb paint, resulting in noticeable dull spots. Priming your repairs will help keep them inconspicuous. Use an angled brush to paint the edges around a wall. Dip the brush in paint, tap off excess, and cut in about 1⁄2 in (1.3 cm) from the edge of the wall. Then turn back and bring the tip of the brush to the trim, taking care not to paint beyond the edge of the wall. To prevent unsightly lines, paint along the edges of 1 wall, then finish the rest of the wall with a roller before moving on to the next one.

Complete 1 wall at a time so you’re always painting over wet paint. Painting over dried or tacky paint leads to noticeable lap lines. If you paint the trim all around the room, it’ll dry by the time you pass the roller over the rest of the wall. Go with a satin or semigloss finish for bathroom wall paint. These finishes strike a balance between disguising imperfections and durability.

Cover large areas with a paint roller. Fill the well of a paint tray, dip the roller, and roll it over the tray to get rid of excess paint. Start at a corner, and run the roller over the wall in a vertical stroke along the full height of the wall. With each pass, overlap both the previous stroke you made with the roller and the paint along the wall’s edges. When you’ve finished the first wall, proceed to the next. Paint the edges with a brush, and use a roller for the larger areas.

Dip the roller in paint frequently and avoid letting the roller dry out. You don’t want it dripping with paint, but keeping it wet helps prevent lap lines. Let the first coat dry for at least 4 hours, or as directed. Allow the recommended drying time before applying another coat. For latex paint, you should be able to apply a second in 4 hours; oil-based paints may require 24 hours.

How Painting the Ceiling and Trim?

Start with the ceiling, if you’re painting it. If you’re painting the ceiling, use a brush to cut in around the edges where it meets the walls. Finish the job by using a roller on the end of an extension pole. For best results, use a quality, plush roller cover, which will allow you to get as much paint onto the ceiling in the shortest amount of time.

Dip the roller into the paint tray’s well, then roll up the tray to remove excess. Start in a corner, and roll in a continuous stroke. Try to keep the roller wet, and overlap the painted edges and your previous strokes by about 3 in (7.6 cm). If you’re using a latex paint, you should be able to apply a second coat after 4 hours. For even coverage, apply the first coat in one direction, or north to south, and the second in the other direction, or east to west.

Cutting in is basically coloring within the lines; it’s when you hug a tight edge with the brush. Tip: Choose mildew-resistant ceiling paint, which is flat (not glossy), dries slowly, and spatters less. While mildew-resistant products are a bit pricier, but they hold up better to moisture and last longer.

Paint the trim with a brush before painting the walls. Use an angled brush to paint baseboards and other trim. Paint them first so you don’t have to tape off the walls, which is more difficult than taping off trim. Depending on the type of paint you’re using, apply a second coat after 4 to 24 hours.

Semi-gloss is a good finish for bathroom trim. Baseboards, chair rails, and window and door trim collect dust and grime, and semi-gloss is more durable and easier to clean than flat finishes. White is conventional for trim, but you could experiment with color, especially if your walls are white. Grays, blues, and black are trendy choices if you want your trim to make a statement.

Tape off the trim if you’re not confident about cutting in along edges. If you have a steady, practiced hand, you don’t need to tape around every edge. However, if you want to stay on the safe side, allow the trim to dry for 24 hours, then lay down painter’s tape at the edges where it meets walls. Additionally, tape around your bath fixtures and wall tile.

Even if you have a steady hand, you should still tape horizontal trim, such as baseboards, chair rails, and horizontal runs of tile. Paint will inevitably spatter on horizontal trim, but vertical trim, such as window and door trim, is less vulnerable.