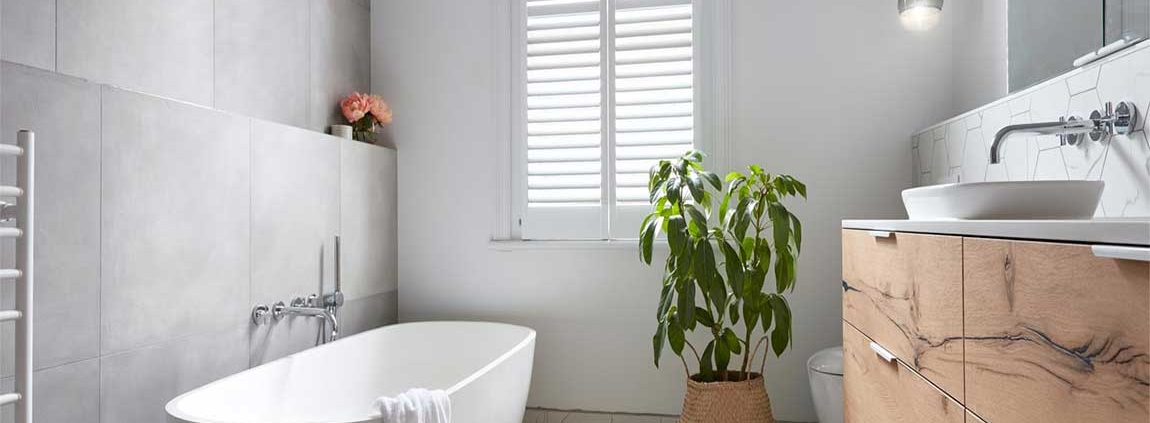
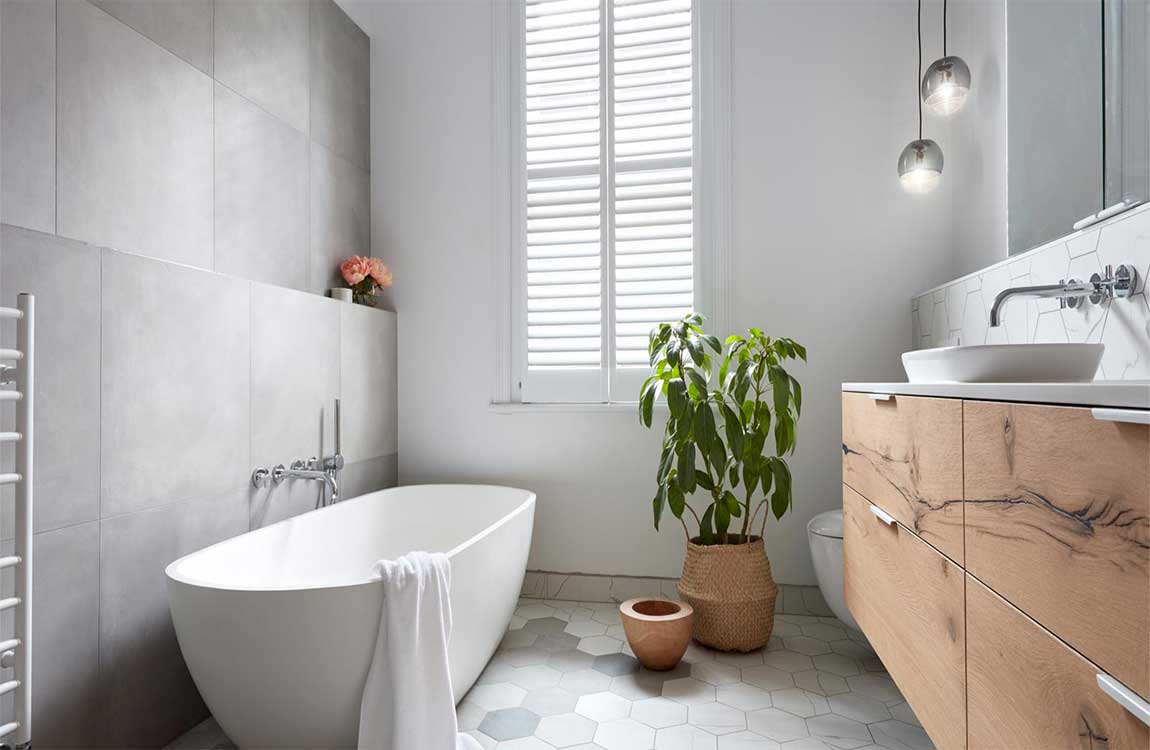
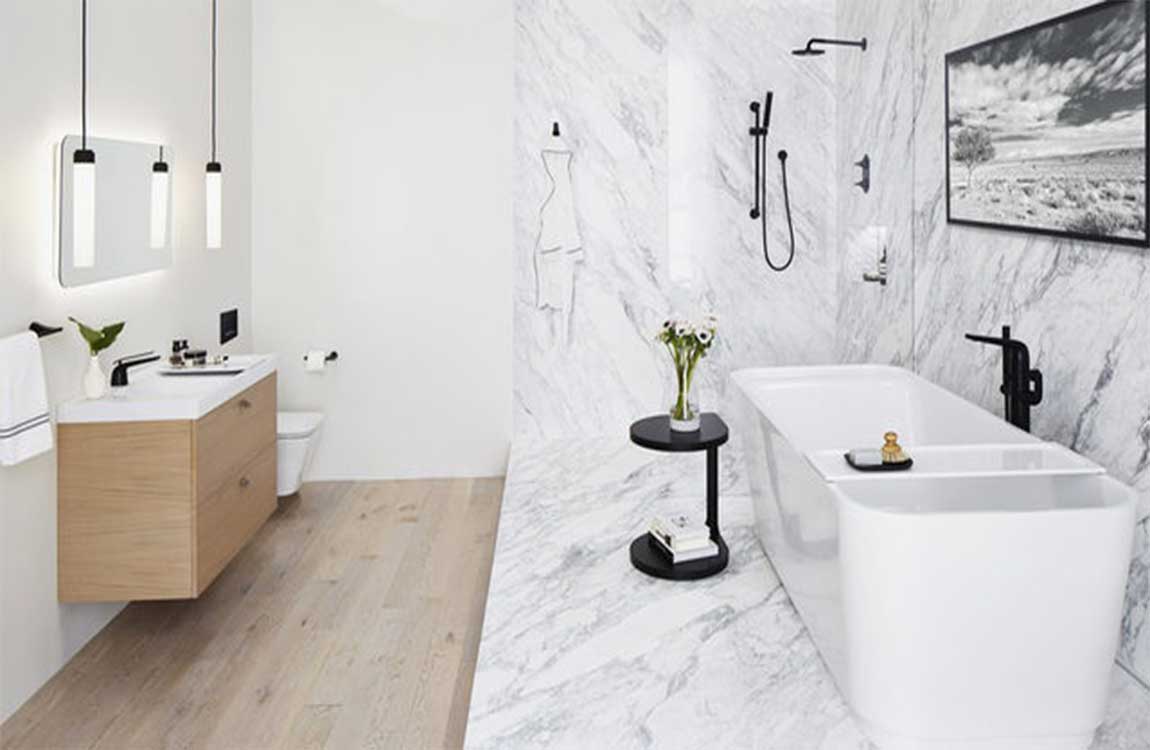
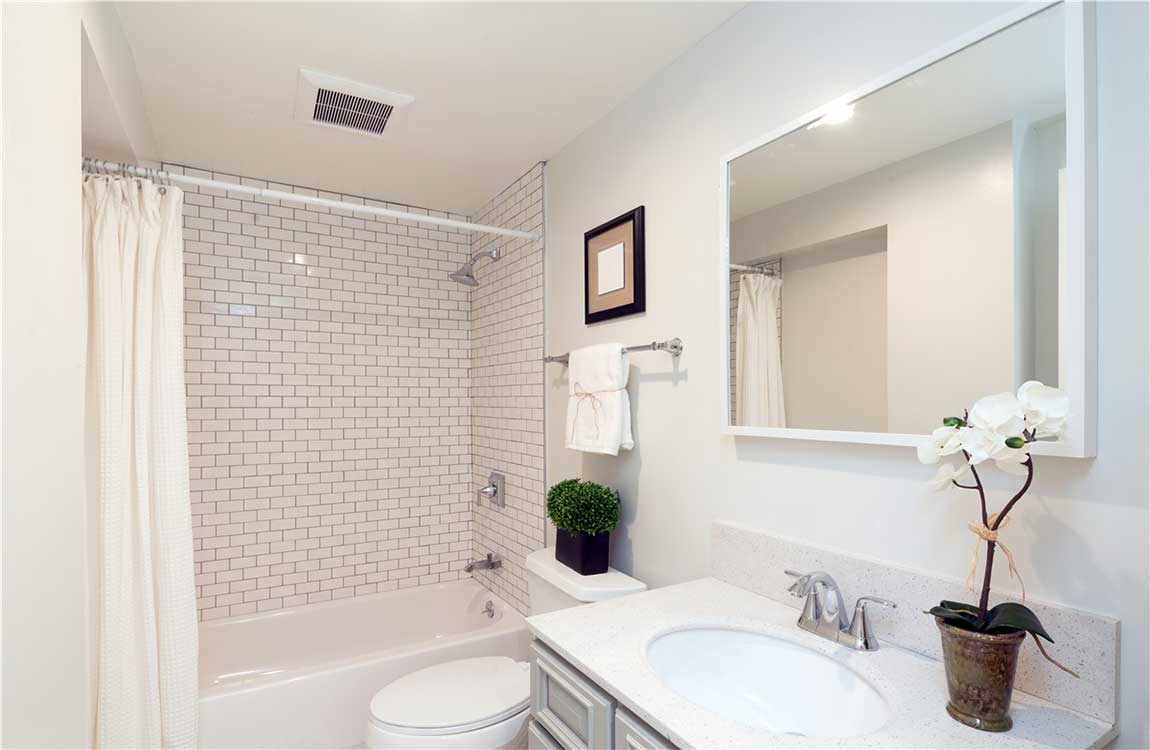
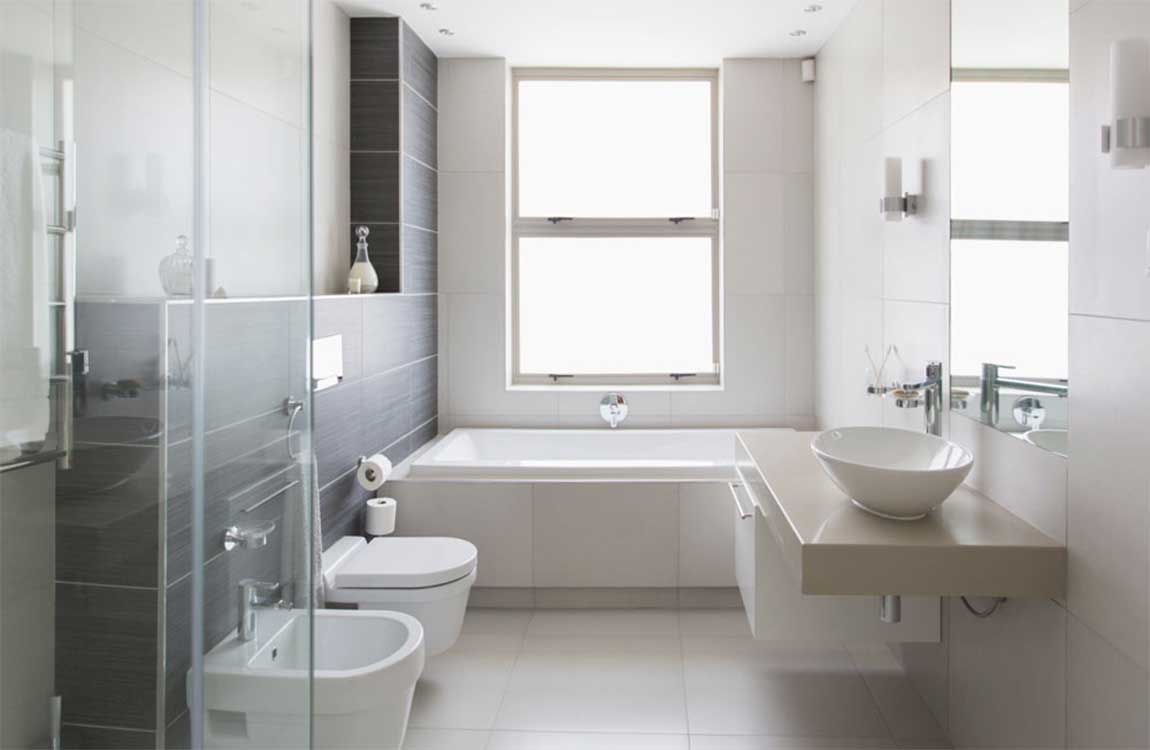
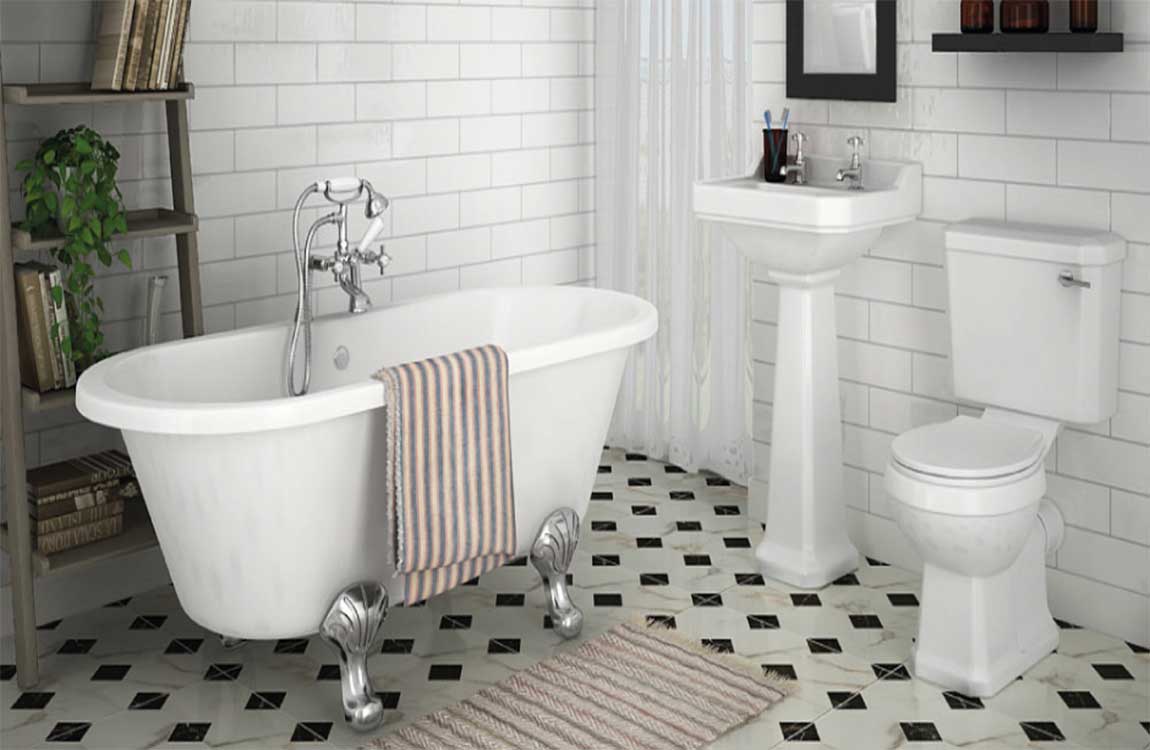
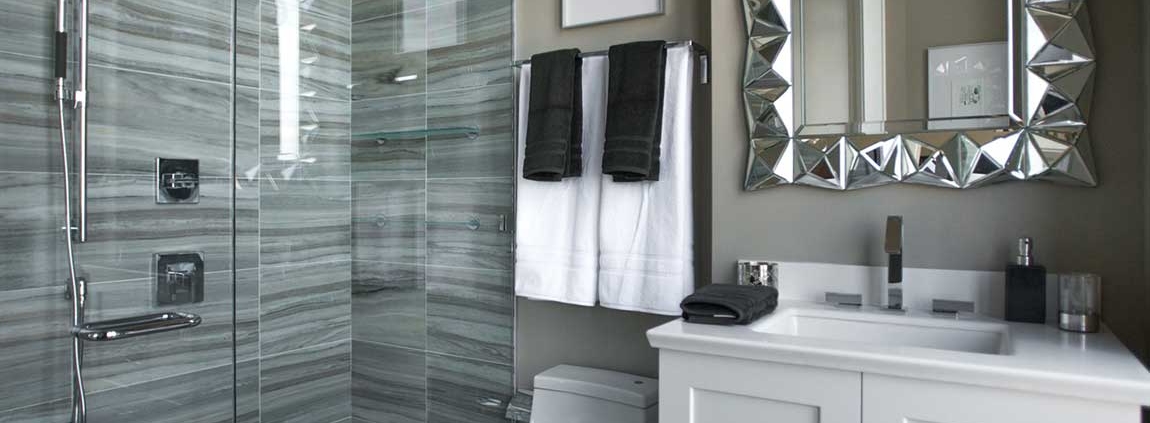
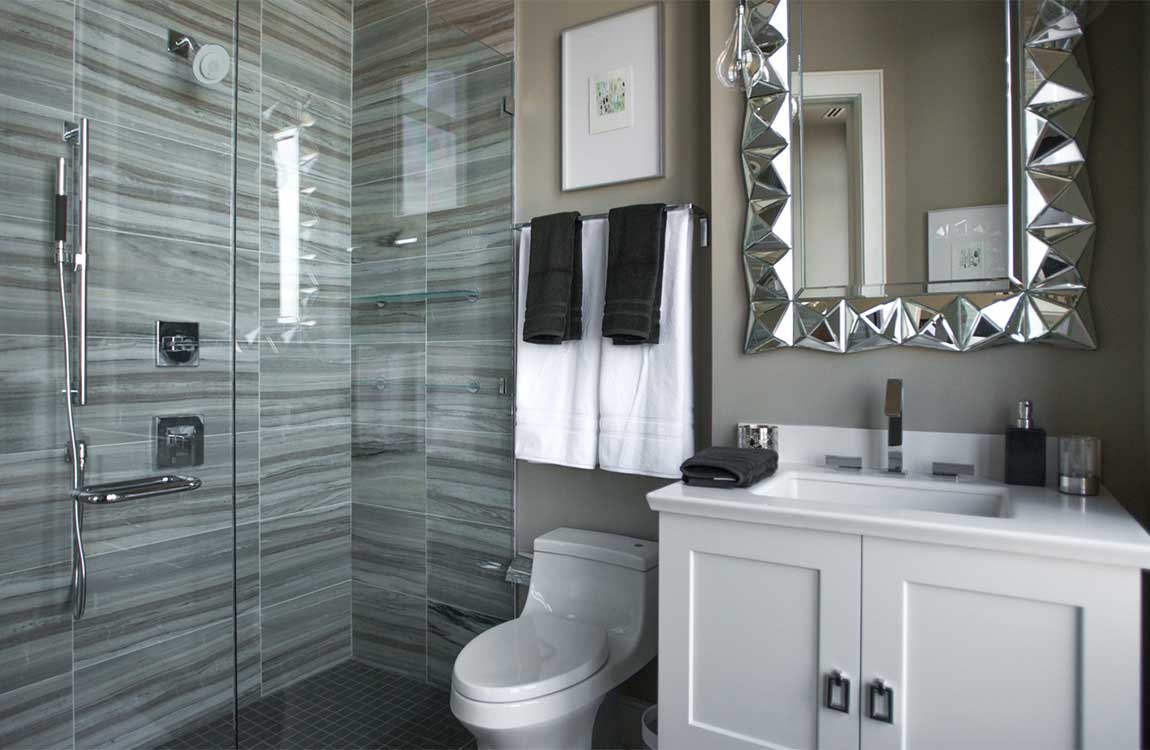
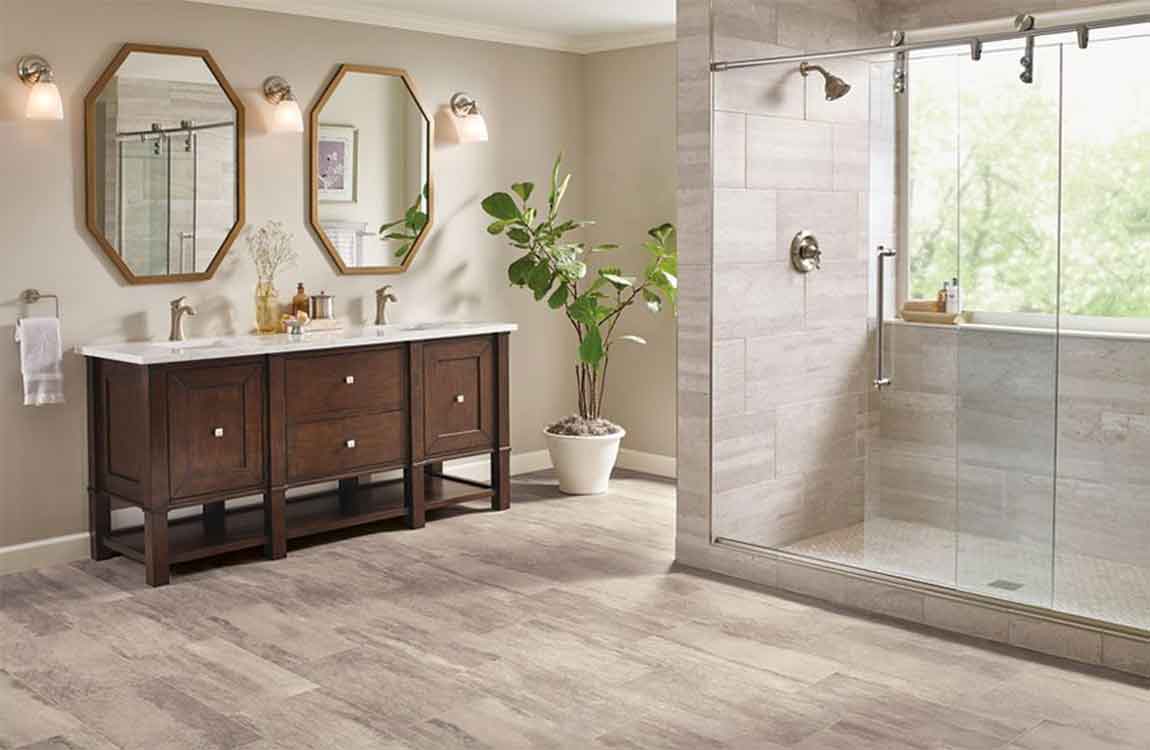
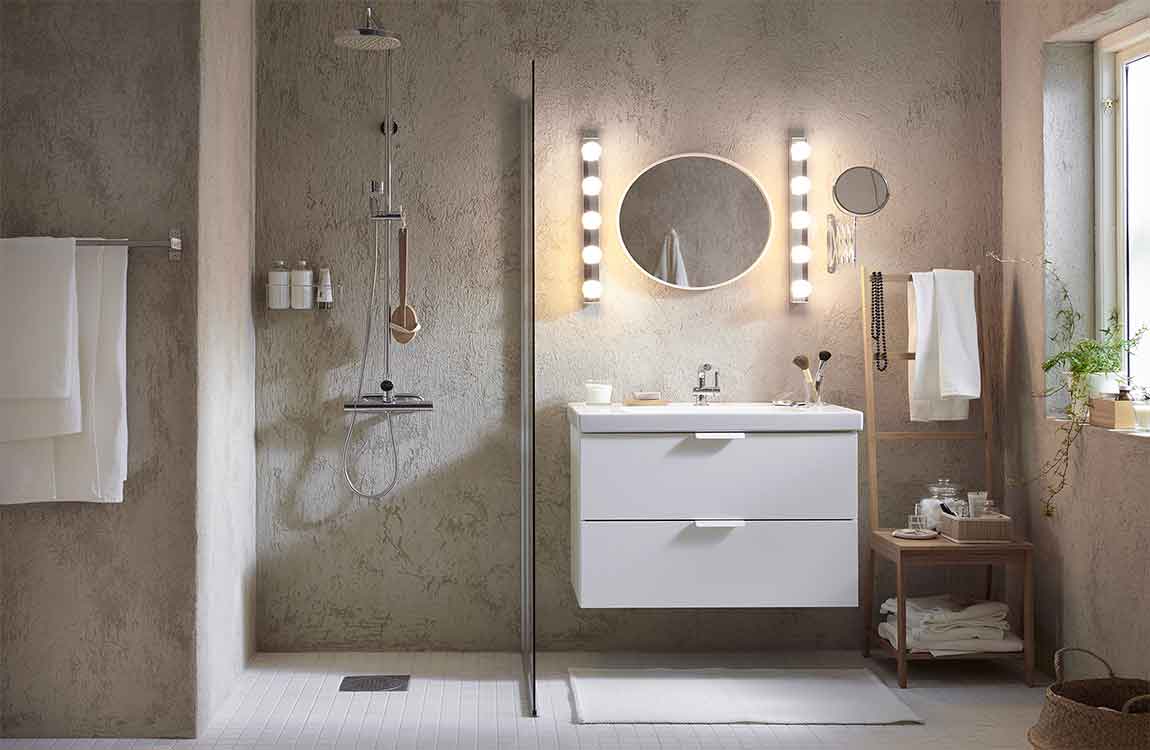
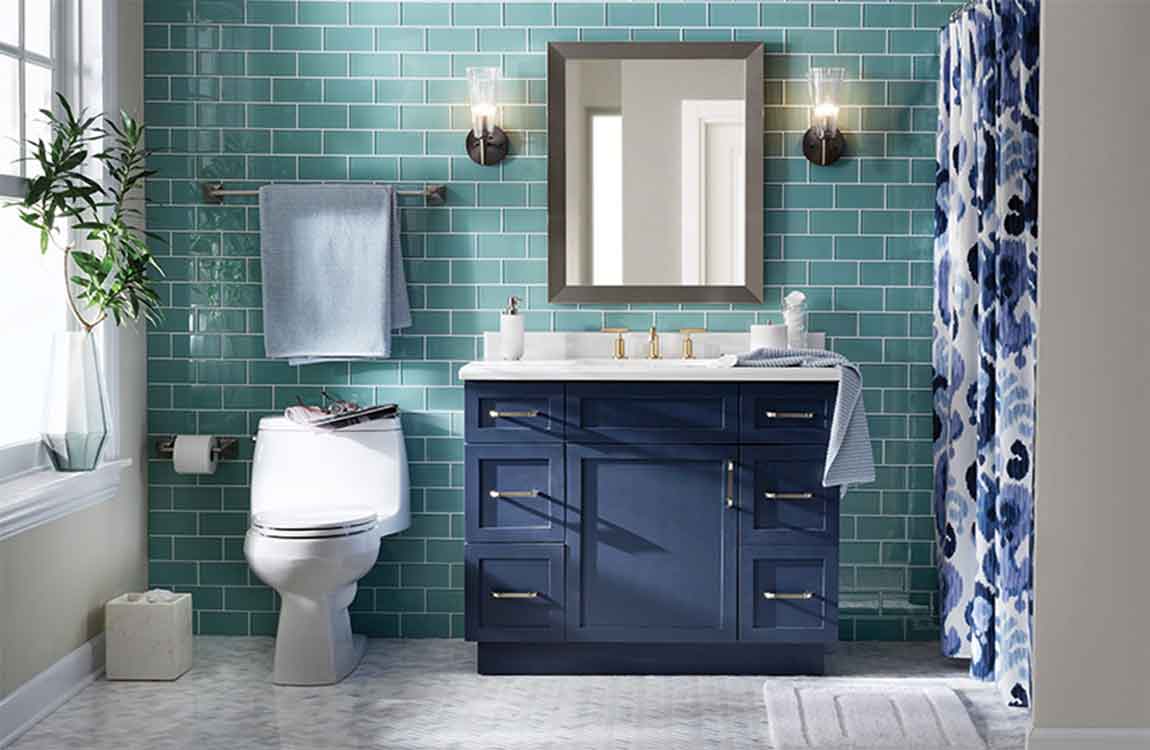
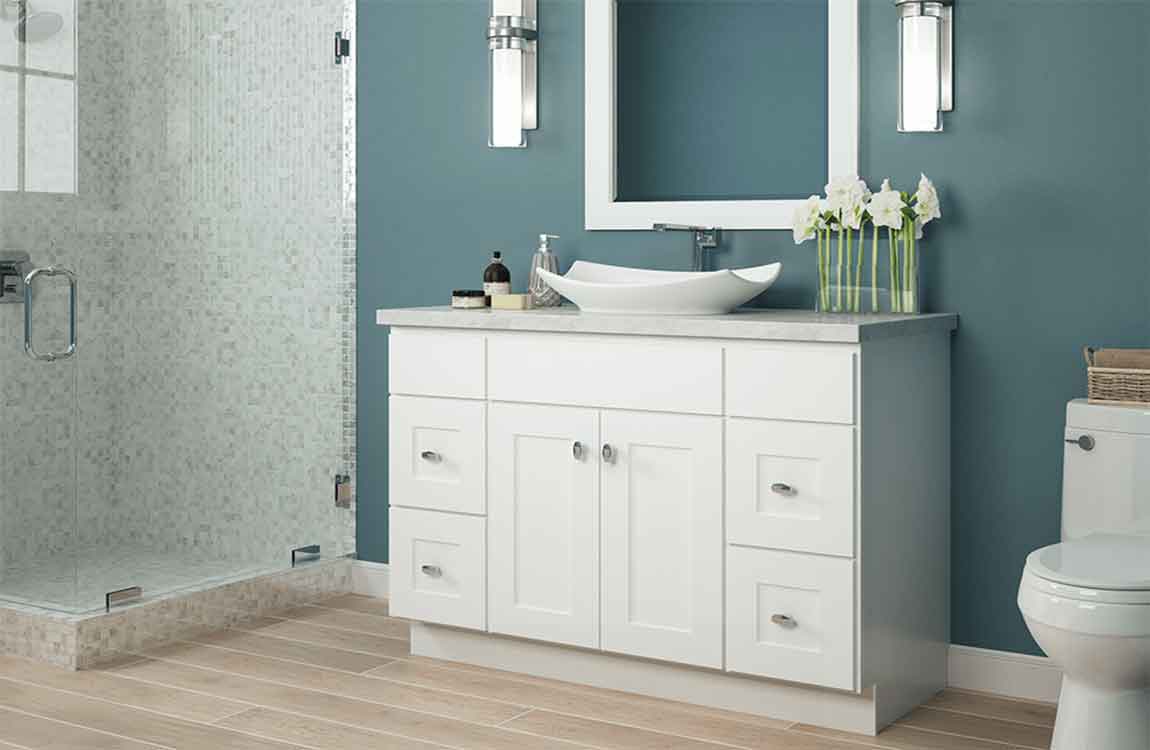
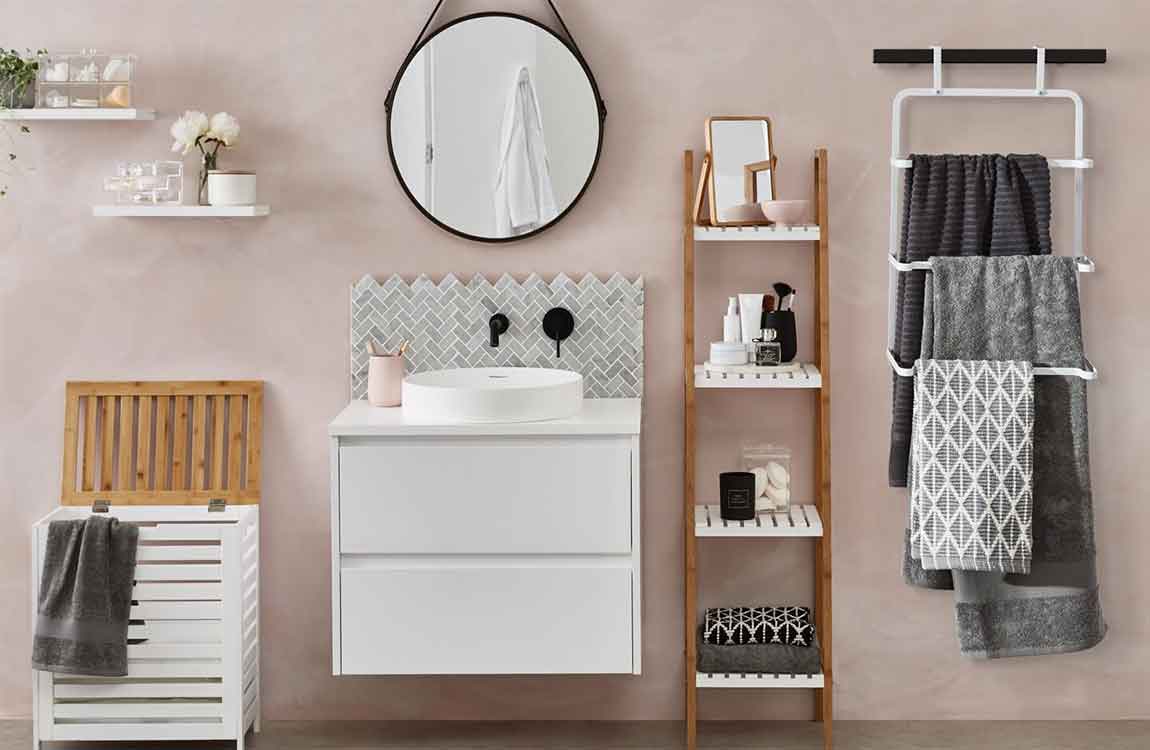
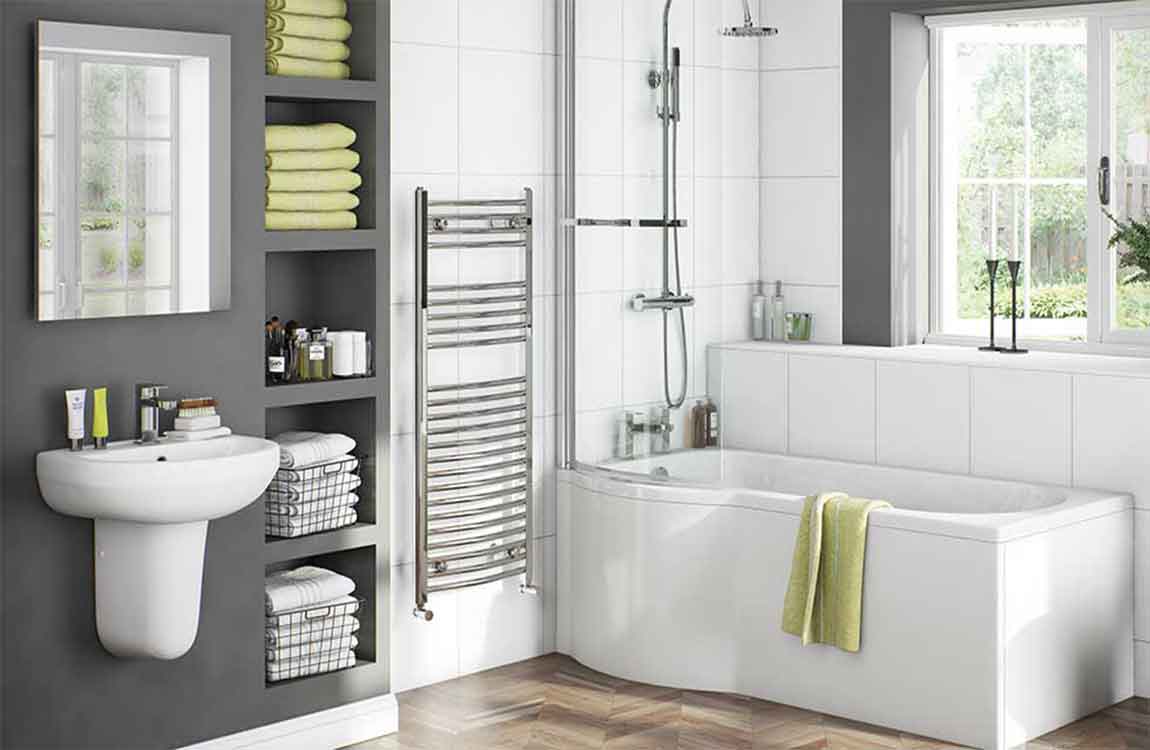
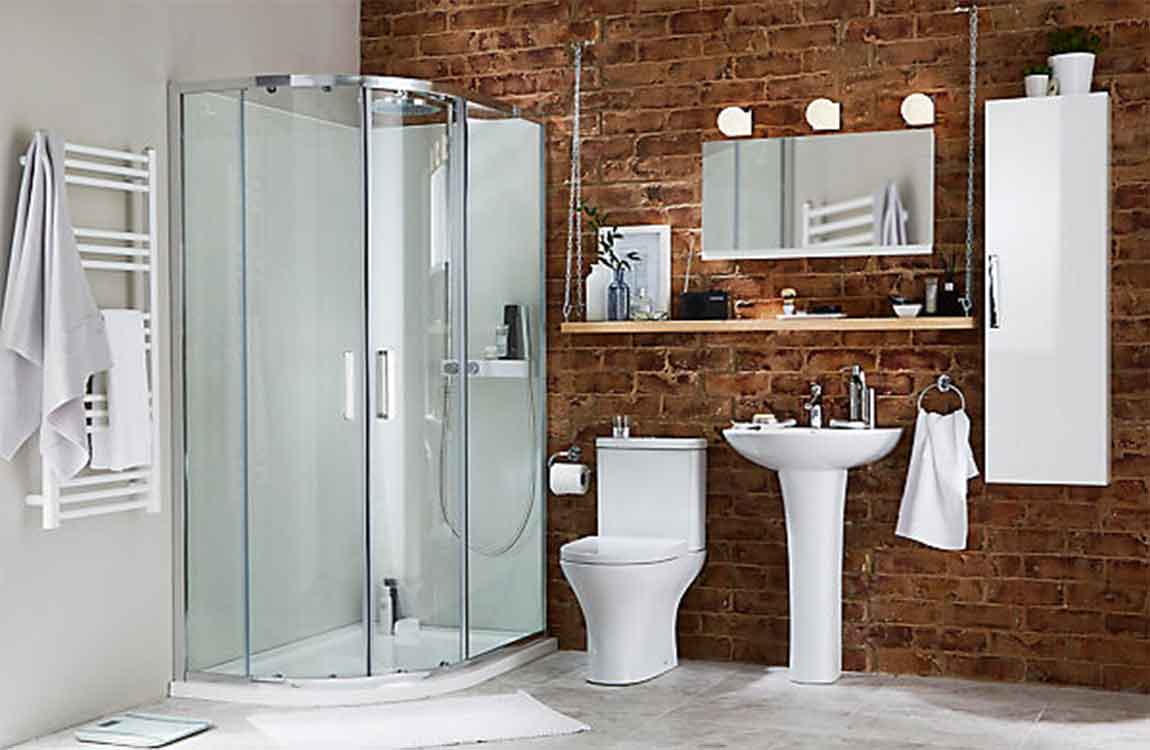
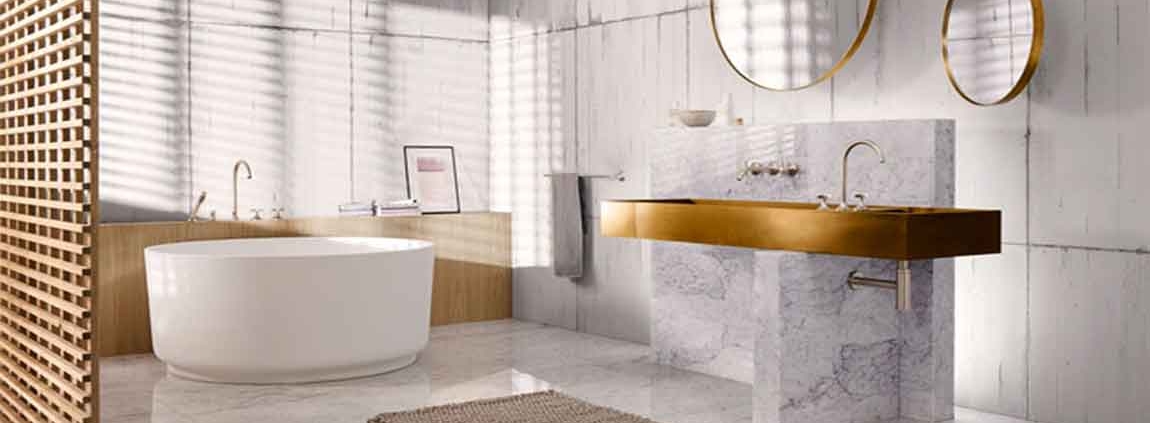
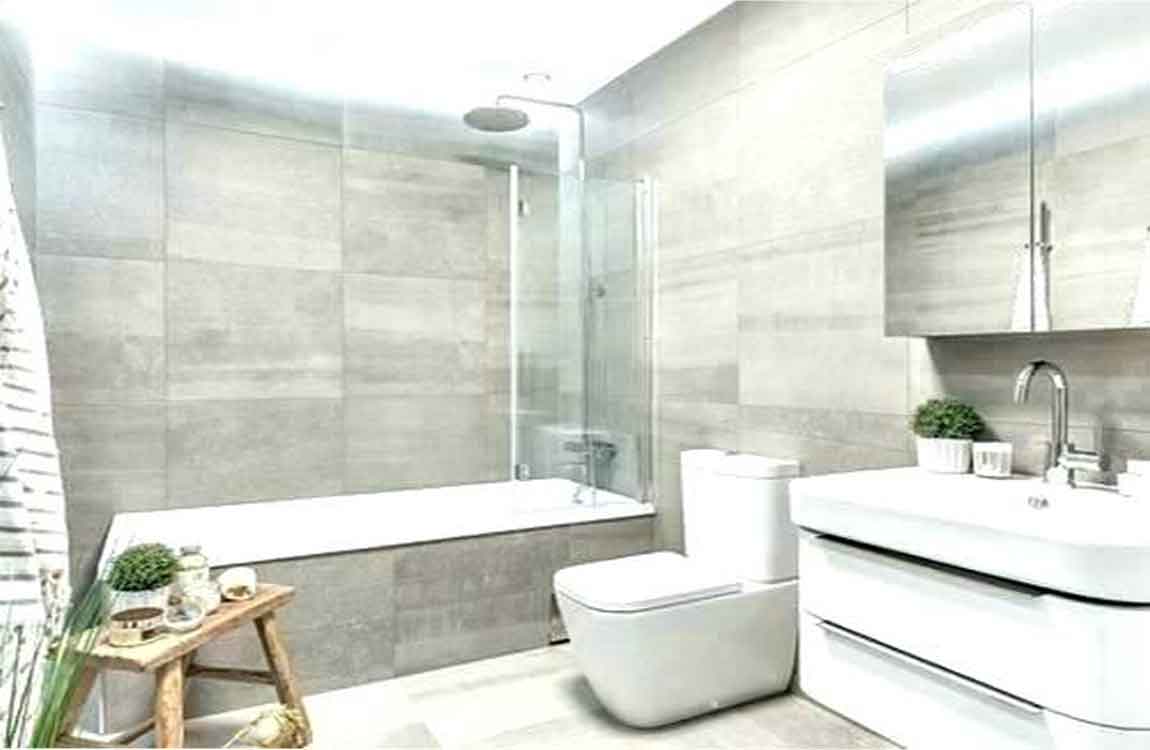
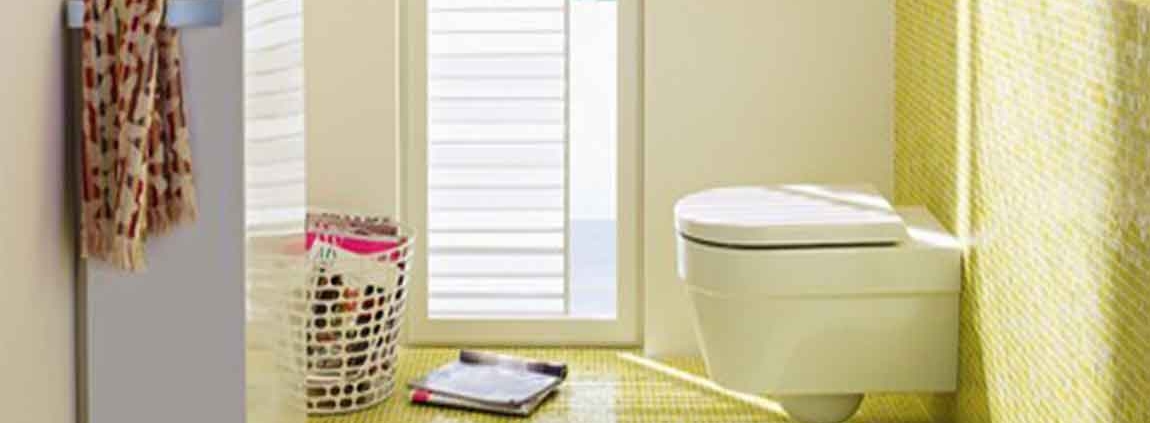
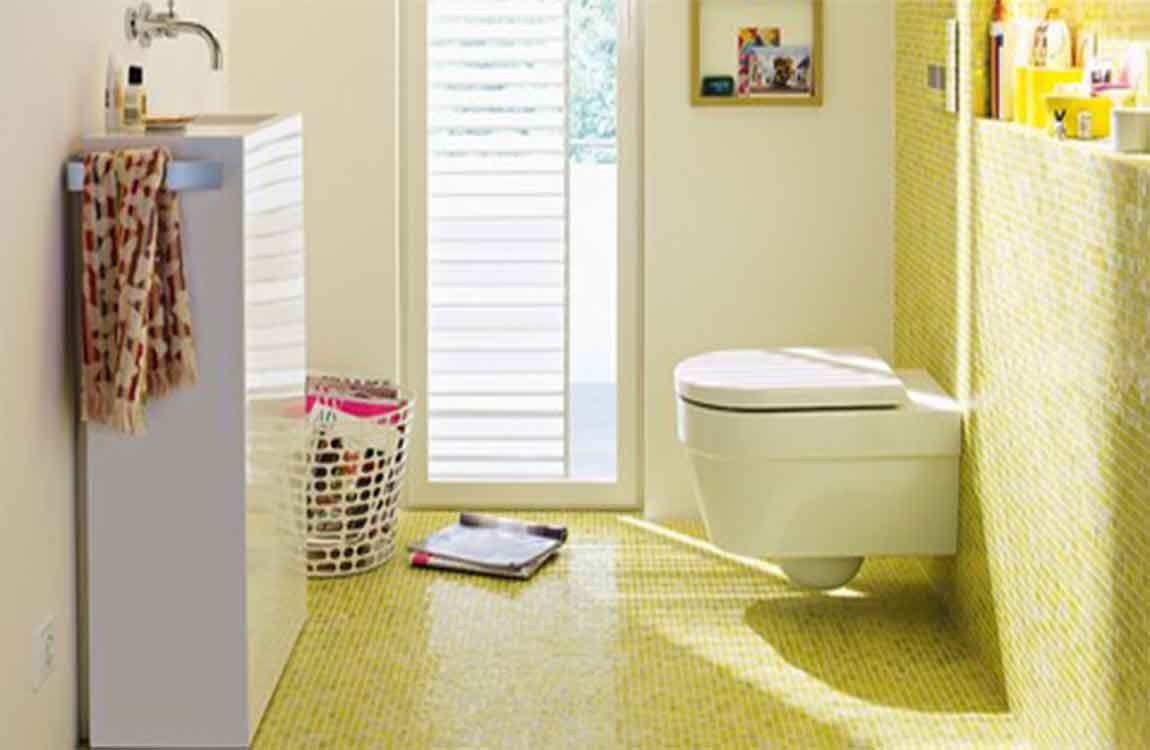
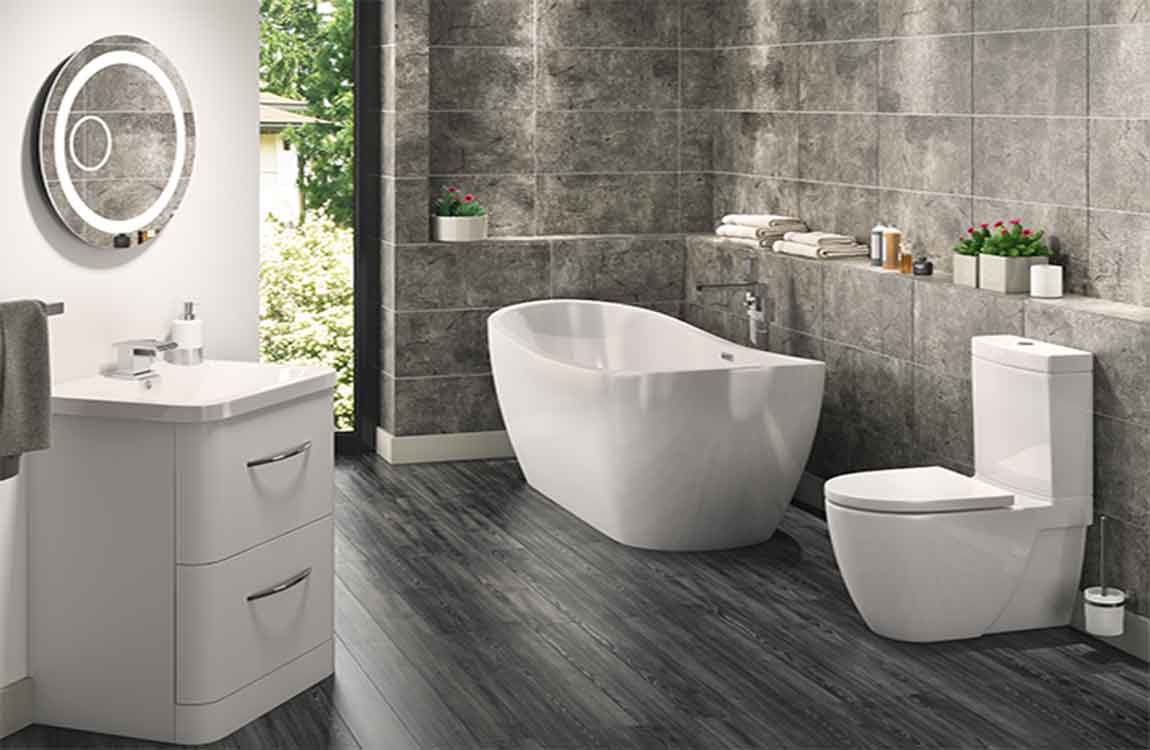
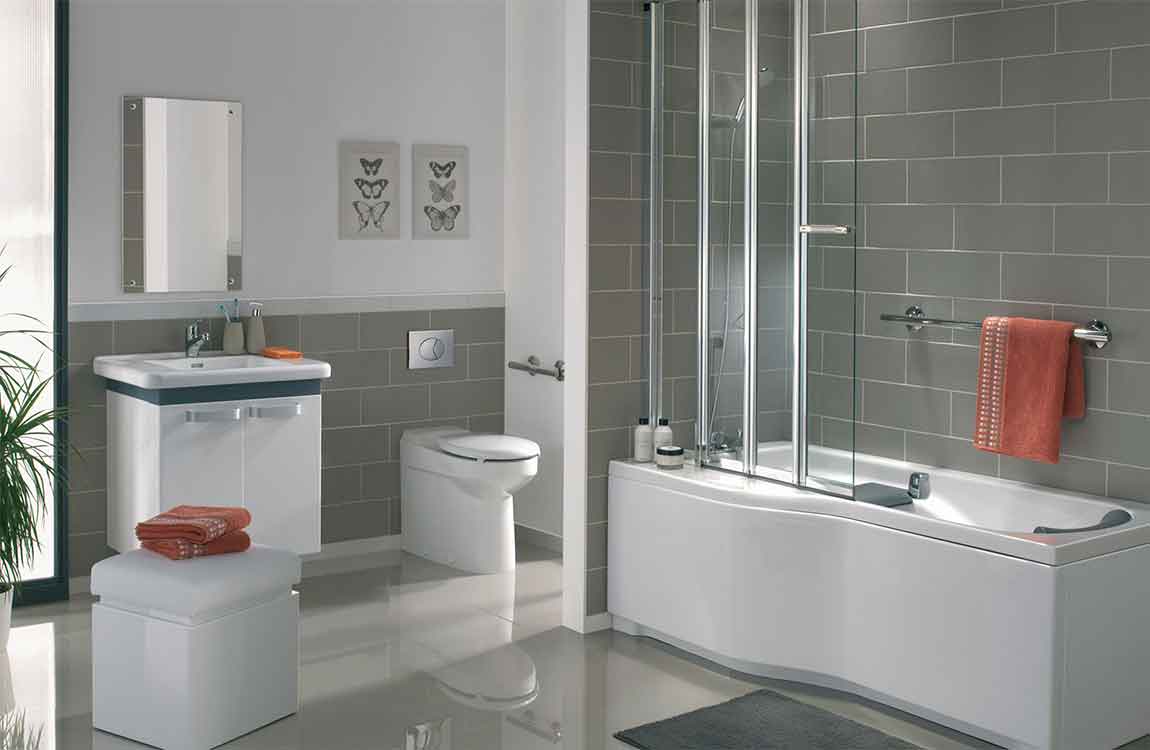
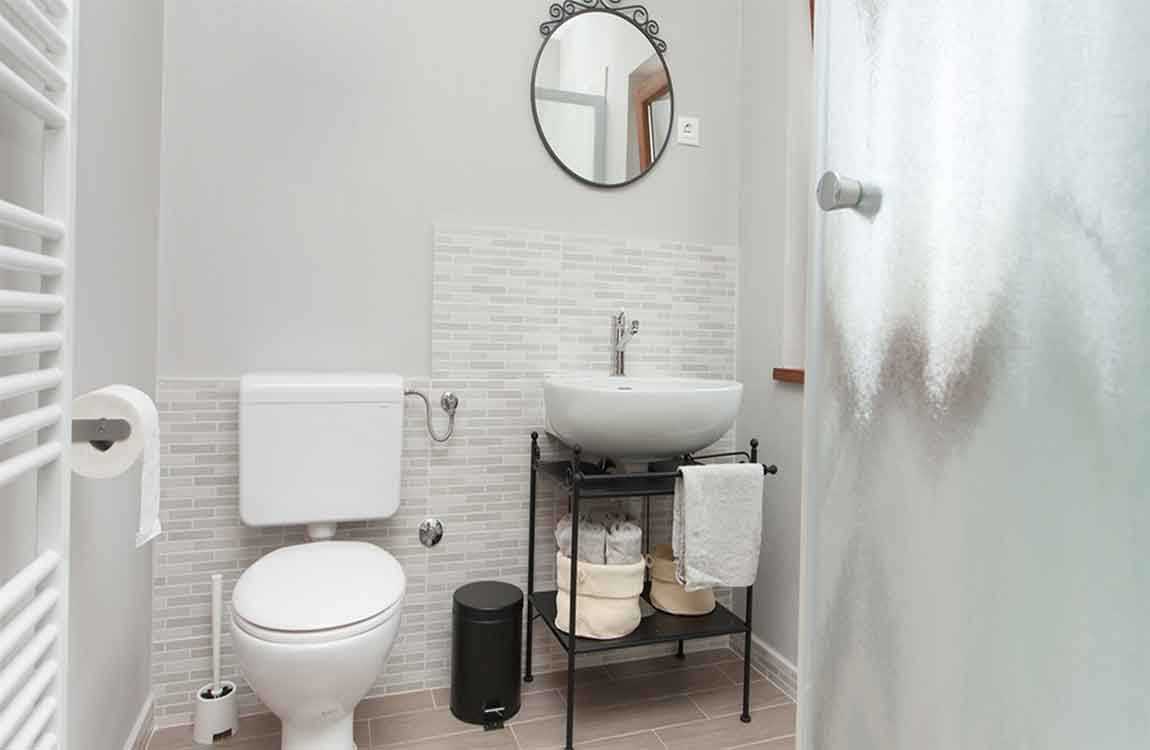
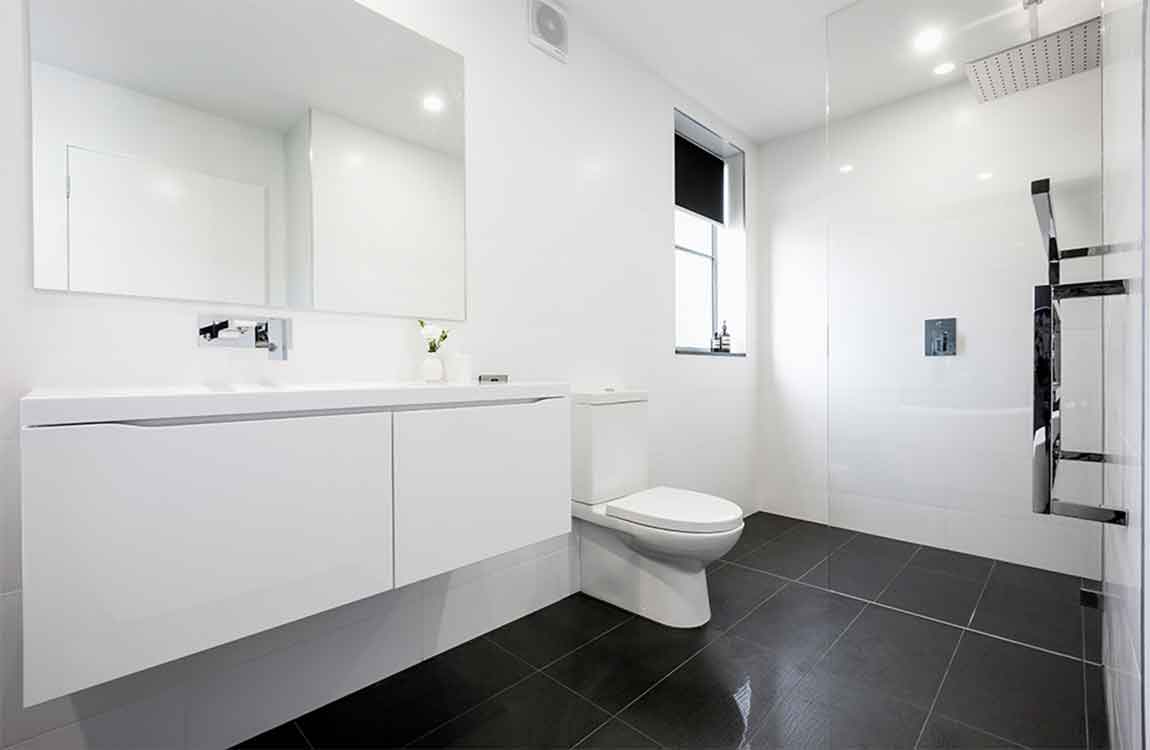
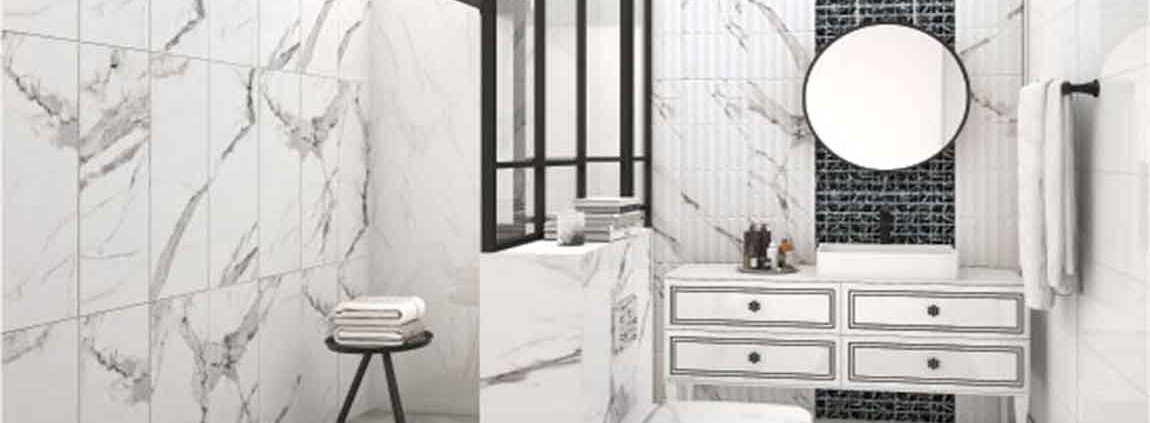
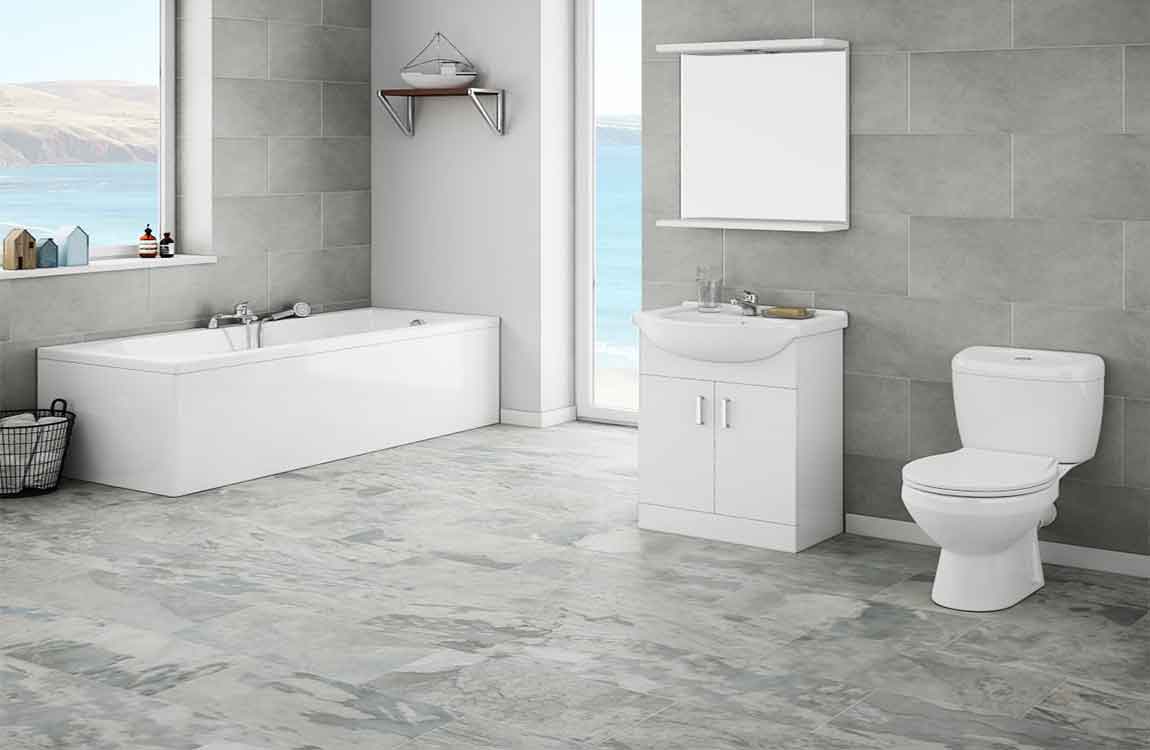
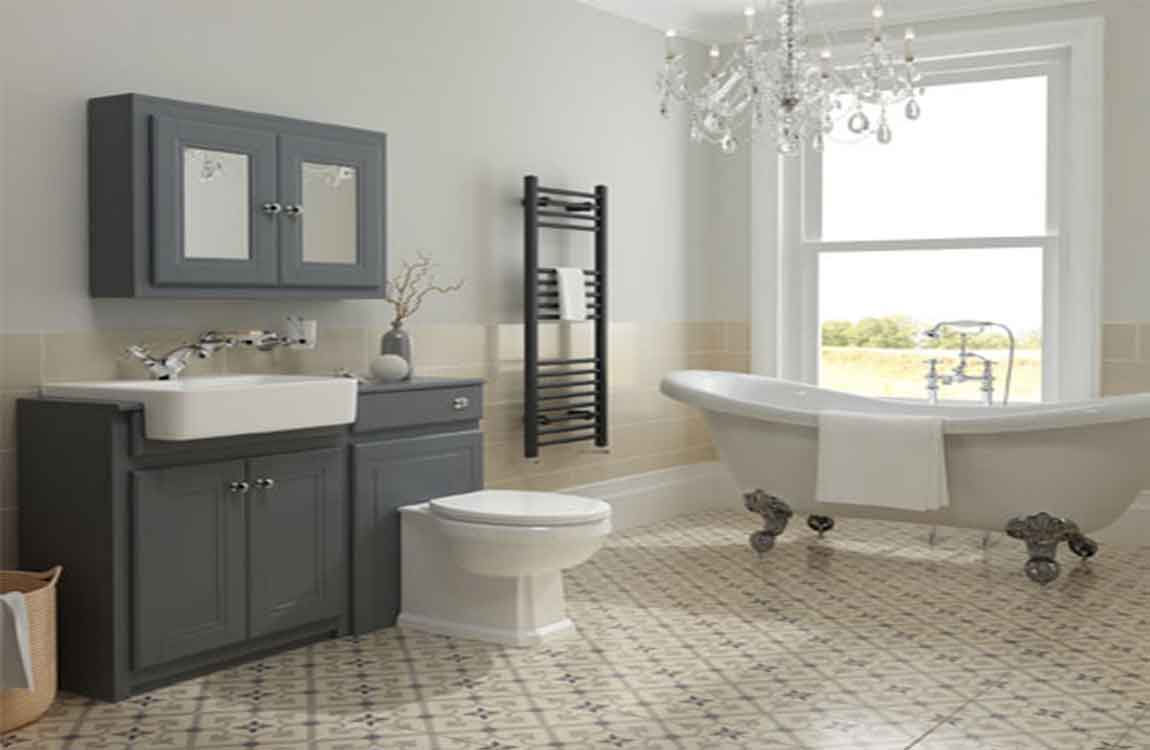
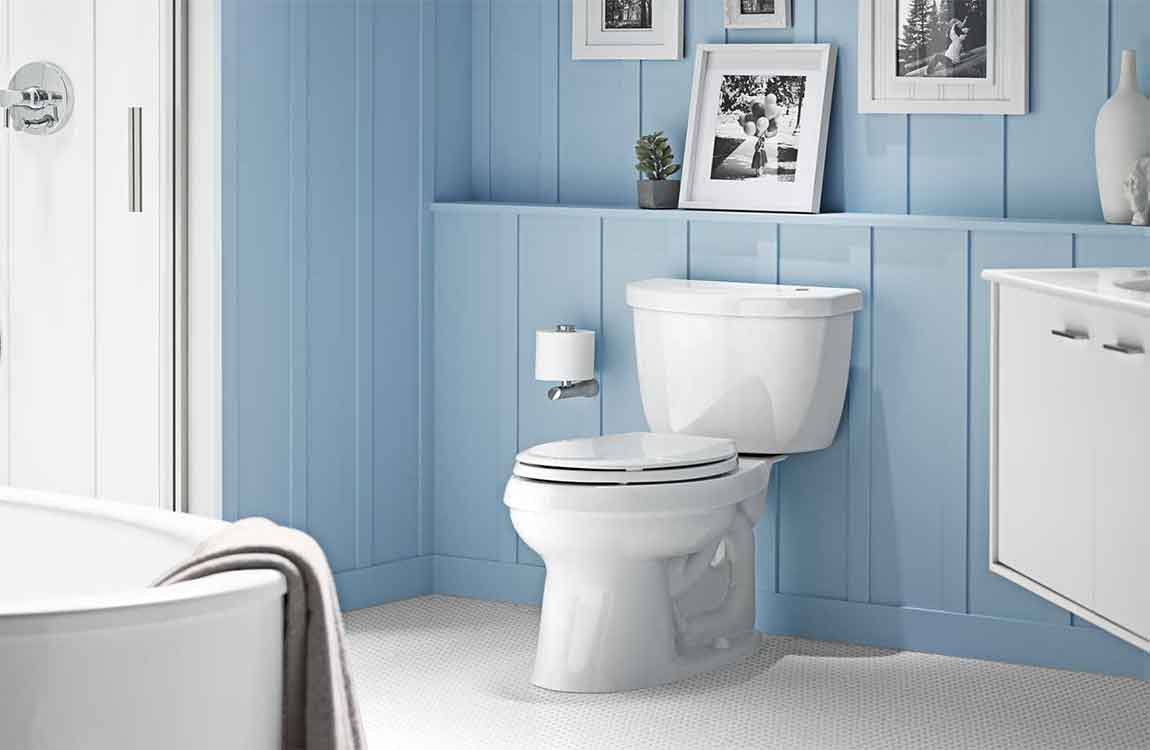
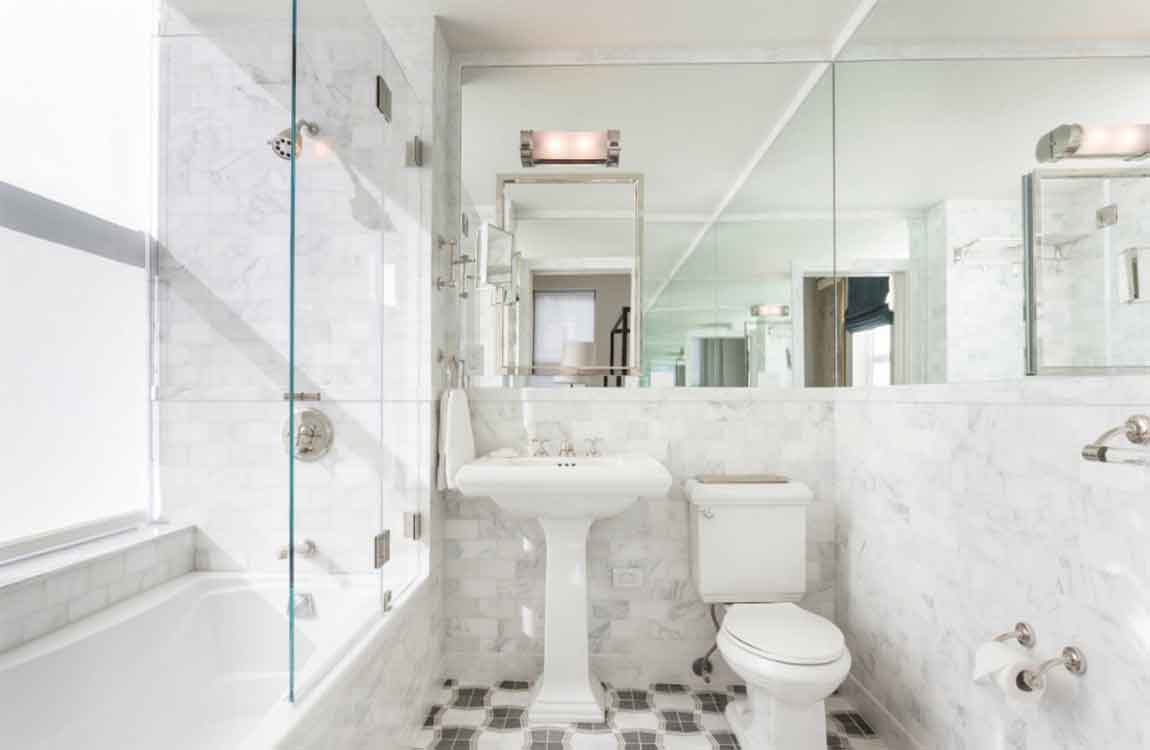
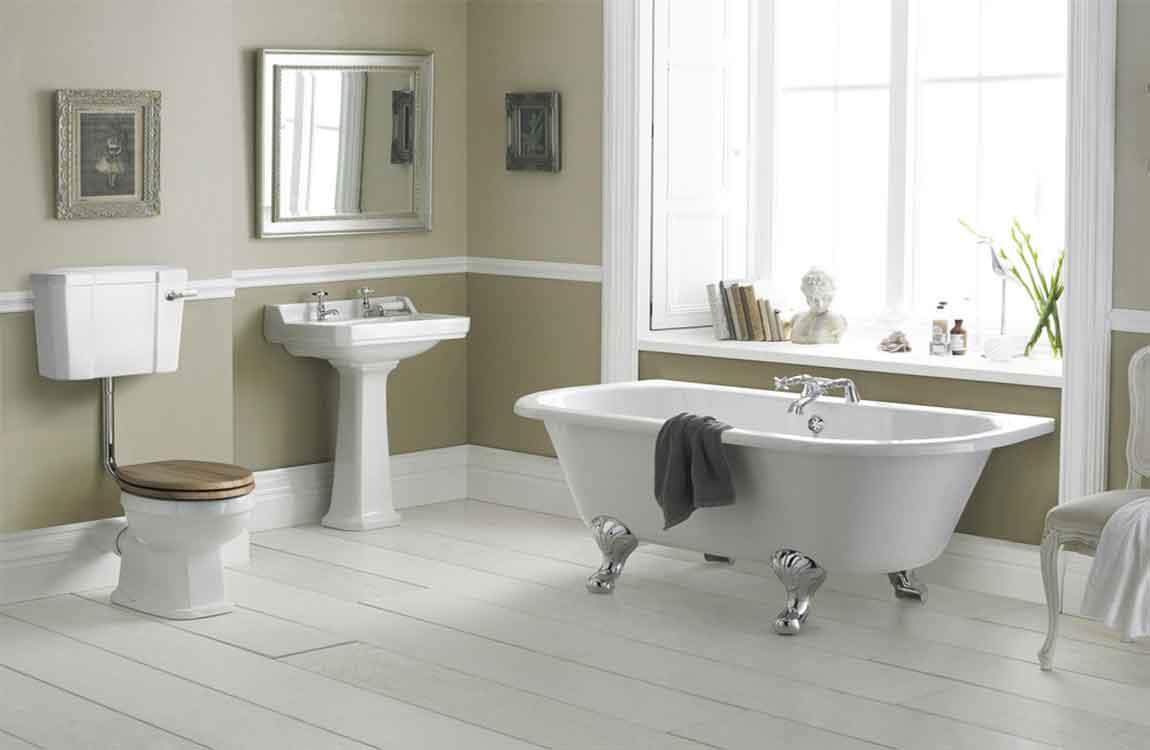
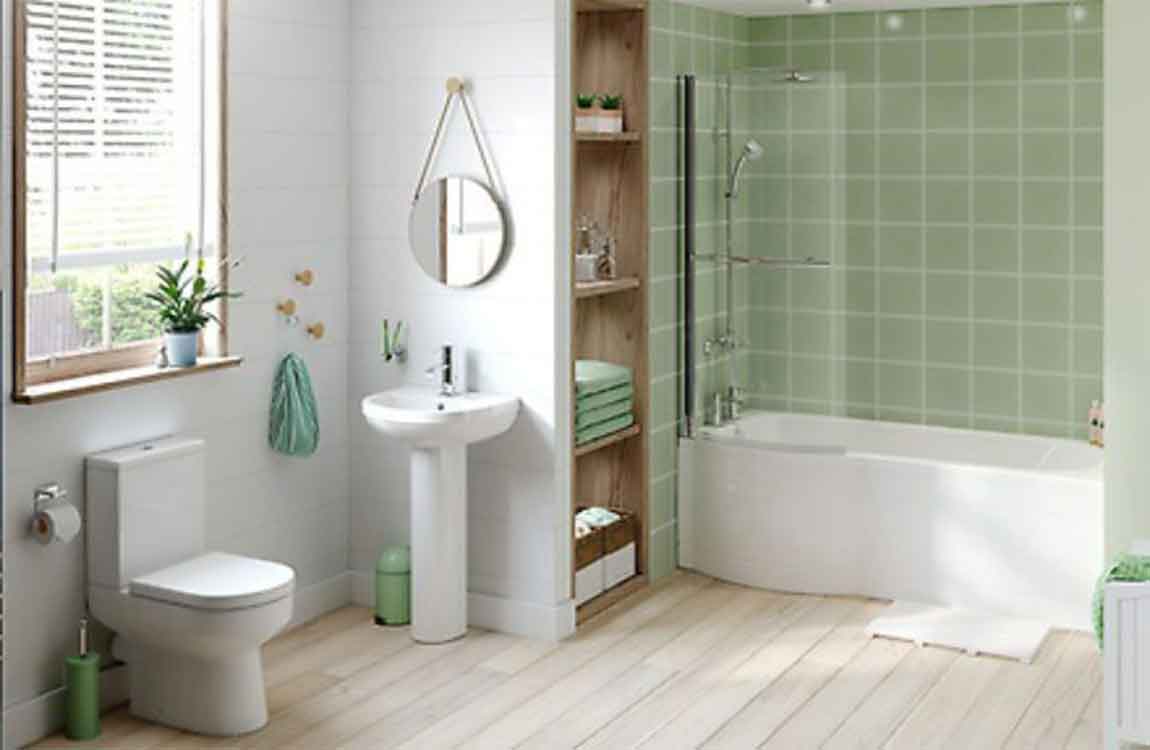
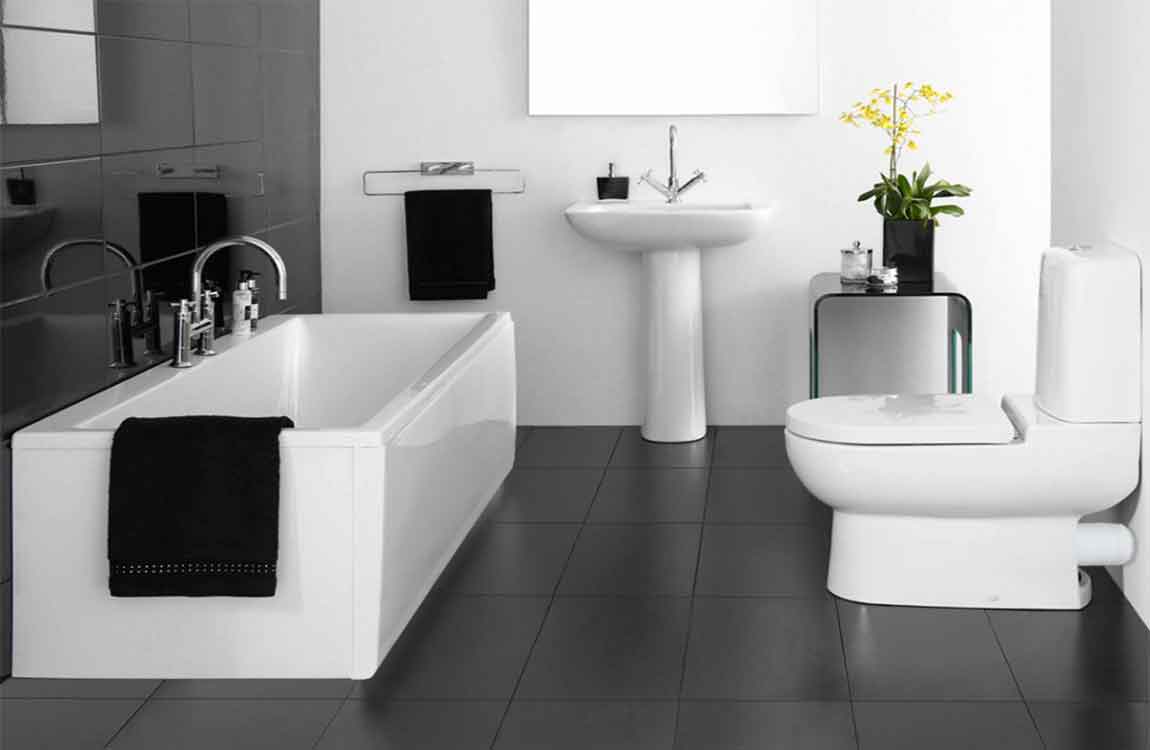
The Knowledge of Bathroom Clean

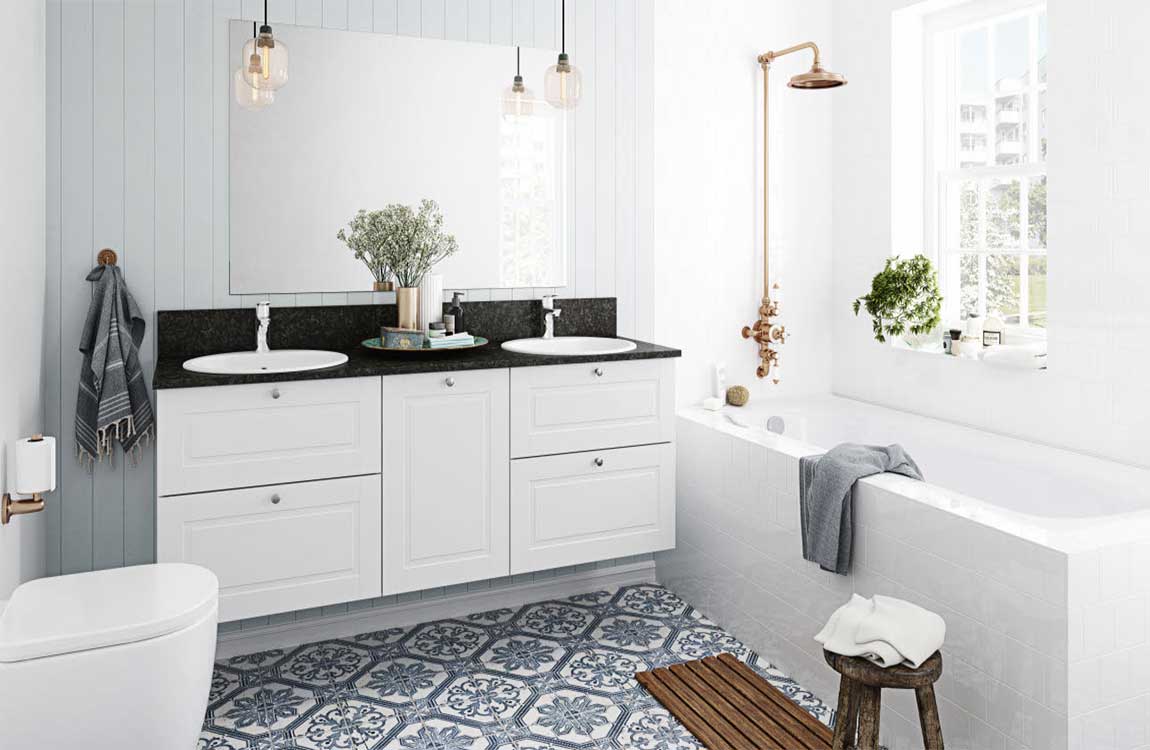
Clean the mirror. Use cleaner, rinse it and wipe the excessive water off with a towel or squeegee. To add a shine to your mirror add a bit vinegar to the water. if just cleaning with water wipe with a towel after.

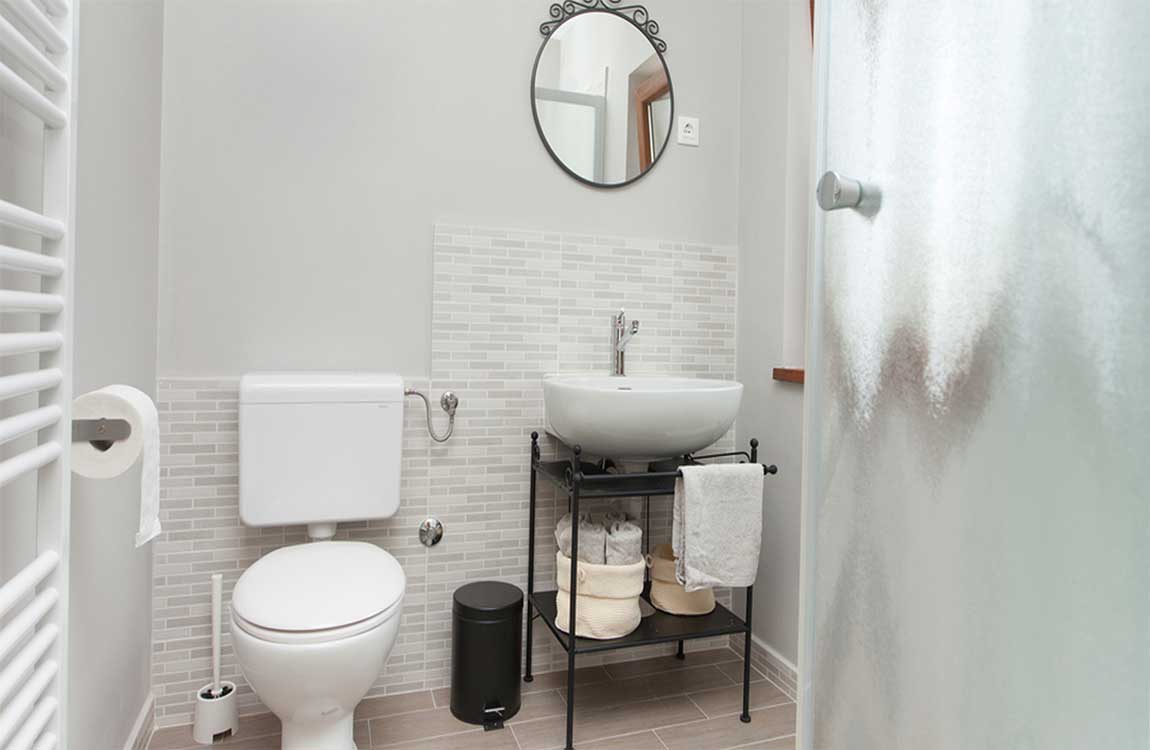
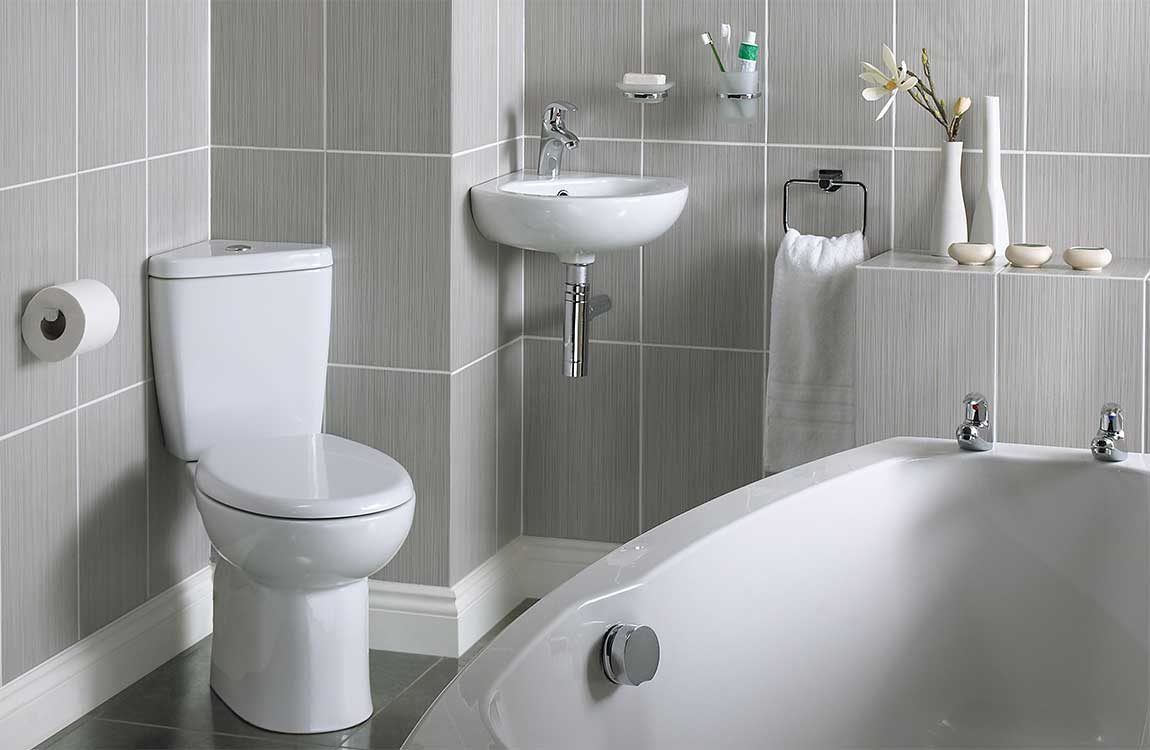
Clean the exterior of the toilet. Wipe the outside, starting with the flush handle so as not to re-contaminate it, with a cloth soaked in disinfectant cleaner. Thoroughly wash and rinse all exterior surfaces of the toilet bowl, including the underside and flared base, the top and underside of the seat and lid, and the hinges and their mounting area with a cloth and detergent or similar cleaner. Don’t forget to use a cloth specially assigned for cleaning the toilet, or a paper towel (throw it away, don’t flush it).

Scrub the bowl with a toilet brush and flush. You probably won’t have to scrub hard: let the soapy water and patience dissolve the problem. Coat the inside of the bowl with a viscous acidic cleaner generally sold in an angle-necked bottle. Take special care to cover the entire inside edge of the rim; it’ll run down toward other areas.

Allow the cleaner to soak for half an hour or more before scrubbing the entire bowl including under the rim with a toilet bowl brush, let it soak a little longer after it’s been well-distributed though thinned by the initial scrubbing, then scrub some more and flush it away.

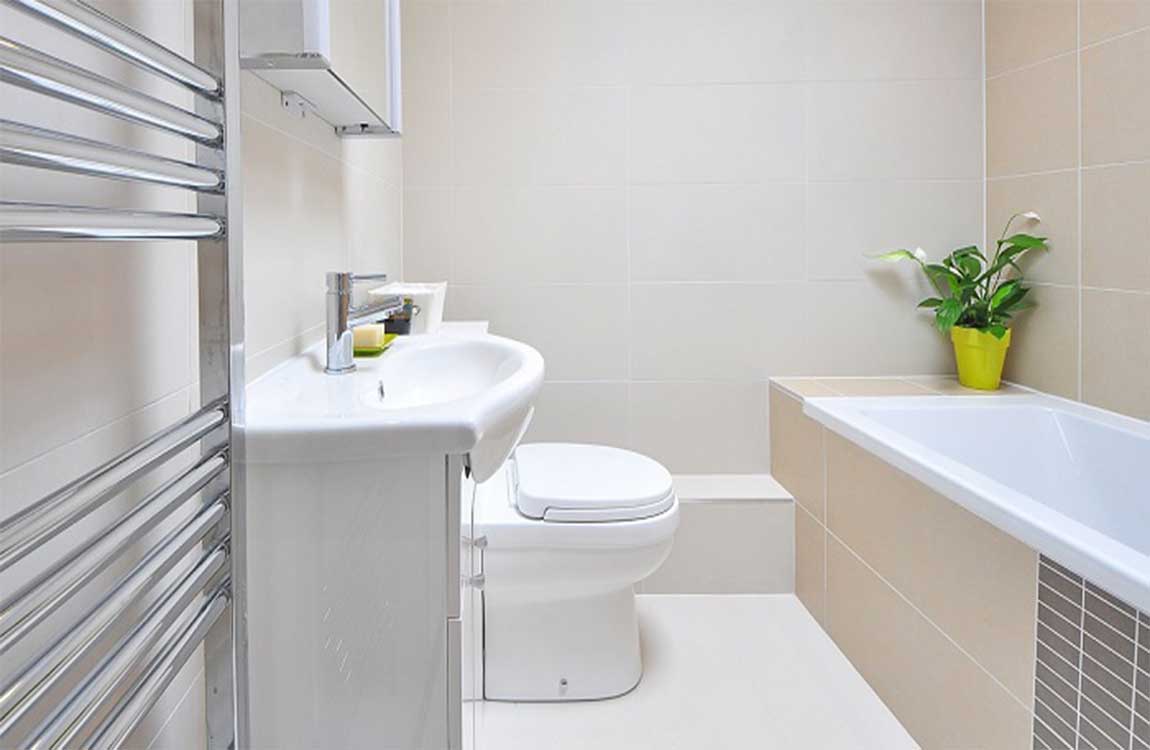
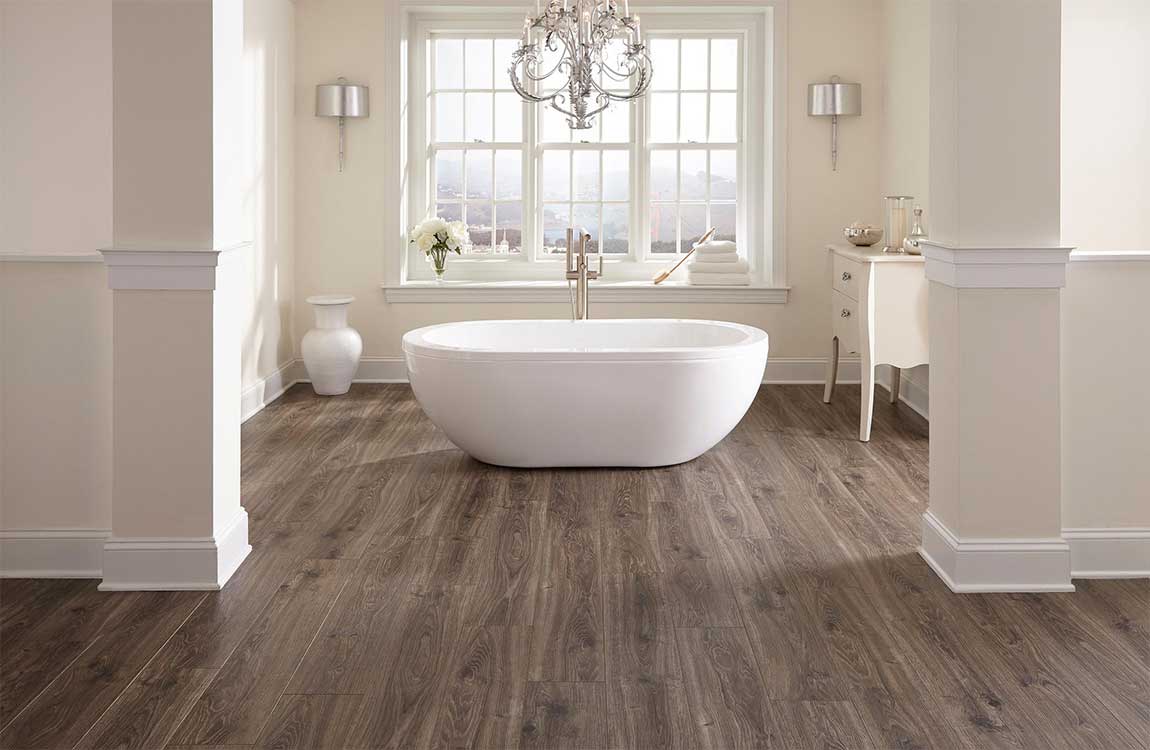
Sweep and mop the floor. Start with the farthest point from the door. Sweep up all the dust and debris you’ve cleaned so far and let fall on the floor, then mop using hot soapy bleach water. Remember to rinse the floor with clean water to remove slippery soap residue. Be sure to get along the sides of your toilet bowl where it is anchored to the floor. This area is notoriously dirty. Don’t forget to clean the base boards or base molds these places usually accumulates a lot of dust.

Find an unwanted old toothbrush and wash it thoroughly. Get rid of all excess toothpaste gunk that may be on it. Apply a small amount of bleach or other counter-safe cleaning product to the toothbrush. Scrub away! The toothbrush helps to get in areas that are narrow or need very detailed scrubbing.

How to Cleaning Surfaces Before Clean a Bathroom?

Clean the walls, windows and/or ceiling. If you have mold on the ceiling start with spraying a water bleach/disinfectant solution on it and let it rest for a couple of minutes, do the same with the walls ( if they are tiles) or use another cleaning product. With a sponge or a clean rag, scrub the tile surfaces you’ve sprayed. Rinse it carefully to avoid any stripes and dry it with a clean rag. It’s a good idea to wear rubber gloves while you’re scrubbing, to keep your hands from drying out if you’re using harsh products.

Clean the shower. Spray cleaning product on the shower walls, and the shower head and let it rest for a couple of minutes. Spray cleansers made especially for getting rid of soap scum work very well on tubs that haven’t been cleaned in a while.

For hard water areas that are prone to green and rust-colored stains, a cleanser made for eliminating calcium, lime and rust is probably what you need. Never use abrasive cleaners or green abrasive scrub pads or steel wool on porcelain fixtures, as they will quickly dull the finish. Soak the showerhead. If eventually the showerhead becomes quite clogged with hard water build up or soap scum, you can remove it and soak it overnight in a vinegar/water mixture, and then clean with a toothbrush.

Go back over the shower and scrub the walls, faucet and shower head, rinse well with the hottest water and or dry with a towel. You can shine the faucet with a paper towel or a towel. Don’t forget the shower curtain; it is also prone to mildew. A solution of about 2/3 water, 1/3 bleach in a spray bottle can be handy for getting rid of mildew spots. Or you can take it down and wash it in hot water with a small amount of soap and bleach.

Clean the sink and counter area. Scrub all the soap scum and toothpaste off with a small amount of cleaner, rinsing your sponge thoroughly as you go along. Don’t forget to clean your trashcan, tissue holder and other items which regularly remain in your bathroom. An old toothbrush or cotton swabs can be handy for getting the junk out from between the tap and handles.

Be sure never to clean the sink and counter area with the same rag or paper towel you used to clean the toilet. This can spread leftover disease-causing germs to your sink and counter area. To prevent this you can use a specific rag which you use to clean only the toilet. Wipe off the fronts and tops of cabinets and drawers. You’ll probably want to use hot, soapy water for this purpose. If you’re worried about germs on these surfaces, add a bit of bleach to your soapy water.

What Should We Do Before Clean a Bathroom?

No one likes cleaning the bathroom, but by keeping up with it, the job becomes much less painful. Read on for some tips in efficiency in keeping your surfaces, walls, floor, shower and toilet sparkling clean.

Remove all the items that don’t belong in your bathroom. Take out everything that doesn’t belong, such as clothes, cups, and trash. Also move out any little side tables or movable storage cabinets so that you can clean under them.

Pour some bleach or another disinfectant into the toilet bowl. Put the toilet brush inside the bowl, helping to sanitize the brush for cleaning. Make sure the door is open and the fan is on to ensure proper ventilation. For a green alternative, mix a tablespoon of baking powder into about a quart of 75/25 mix of white vinegar and water.

Dust. In general, when cleaning any room, start from the top down. Clean cobwebs in the corners of the bathroom, and brush other dust and dirt directly onto the floor to sweep up later. A duster works great for this, but you can also use the broom. If you’ve got delicate wallpaper, wrap the bristles in some toilet paper or paper towel and slightly wet it too.

Apply any scrub powder to especially dirty areas. If you’ve got lime and build-up in the tub, sink, or around faucets, damp those areas slightly and sprinkle with scrubbing powder like Comet. Letting it sit for 10-15 minutes while you do other things will help to work loose the dirty patches and make your scrubbing go much more smoothly. Be sure to read the label and ensure that you’re using an appropriate product and won’t damage your surfaces. Test it out on a non-visible spot before you actually use it.

How to Getting Creative with Storage?

Use a door hanging shoe caddy for added storage. If the back of your bathroom door is still available, a door hanging shoe caddy can contribute plenty of storage space. These can be bought at most general retailers and hang simply from a door.

Fill the pockets of your hanging shoe caddy with toiletry bottles, bathing supplies, and so on.

Create a towel holder from a wine rack. The shape of many wall hanging wine racks is perfect for holding rolled towels. In addition to this looking classy, these are usually generally easy to install. In most cases, all you’ll need to do is screw the rack into the wall to create a wall holder for towels.

Before you screw in the wine rack to the wall, be sure to check that it’s level. To do this most efficiently, you may want to ask a friend to help. You should be able to find suitable wine racks at big box stores, general retailers, and hardware stores. Once the wine rack is mounted on the wall, roll up your towels and place them in the slots where the wine bottles would normally go.

Store spare toilet paper in oatmeal canisters. Toilet paper stacked precariously in your cabinets can be easily knocked over and can contribute to clutter. Large oatmeal canisters can store two to three rolls of toilet paper, depending on the kind of toilet paper, giving you a nifty spot to stash TP.

You can add some flair to your oatmeal canister by covering its outer surfaces with a wrapping paper that matches the decor of your bathroom. You don’t have to use oatmeal canisters — any kind of large, colorful kitchen canister will work.


How to Optimizing Your Bathroom’s Storage Space?

Utilize all available surfaces. The back of your bathroom door is a frequently underused space. But this is a great place where you can install extra towel racks. You could also purchase organizers with adhesive backing and stick these to the inside of the doors of your cabinets to boost your bathroom storage capacity. Though these kinds of organizers are frequently small, they still work great for things like lipstick, cotton swabs, lotions, eyebrow pencils, toothbrushes, and more. You can also attach some hooks to the back of your bathroom door for hanging towels or robes.

Put stackable shelves or drawers in your cabinets for more storage room. Stacking shelves or drawers will help you utilize more of the space in your cabinets (if they don’t already have shelves to begin with). Too often, items clutter the bottom of cabinets while the upper space is unused. Stackable shelves or drawers will help you make better use of this space.

Put a lazy susan in your cabinets. Items can be easily pushed to the back of a cabinet and lost or forgotten. For this reason, you may be under-utilizing the space in the back of your bathroom cabinets. A lazy susan is essentially a tray that rotates on a base, so you can spin the tray to reach items in the back of your cabinets more easily. You can also put a small lazy susan on your counter to save space.

Install tower shelving in your shower. These kinds of shelves often fit right into the corner of your shower, where they are out of the way but still convenient. They are perfect for holding soap bottles and loofahs, and will prevent bathing supplies from crowding the floor of your shower or edge of your tub. Some variations of tower shelving hang from the shower head itself instead of fitting into the shower‘s corner. This variety may be even better for especially small showers.

Upgrade your sink storage. There are many pre-made cabinets, available at hardware and furniture stores, that wrap around your sink to increase your storage space. If this option is a little outside your price range, you could buy a decorative curtain and install it around suitable sinks with storage space underneath (like pedestal sinks), and then store bathroom items there.

How to Using Spice Racks to Add Storage Space?

Determine if spice racks will work in your bathroom. If you have wall space above your toilet, to the side of your mirror, or in a similar location in your bathroom, extra spice rack storage will likely work for you. Use a tape measure to measure the available space so you know what size shelf your bathroom can accommodate. The narrow design of most spice racks along with their usually raised edges, intended to keep spices from falling, are perfect for holding toiletries and bottles. Spice racks are great for holding makeup and other cosmetics.

Purchase suitable spice racks. Your bathroom may only be able to fit a single spice rack, or it may fit a few shelves, but in both cases you’ll need to go purchase a spice rack. Pre-made racks are available at many big box retailers, furniture stores, and hardware stores. Be sure to check the dimensions of potential shelves against the measurements you took earlier of your available spice rack space.

Measure and mark your spice rack placement. Use a pencil and a tape measure to mark the placement of your shelf or shelves on your bathroom wall. Try not to hang the racks too high or low, as will make them less convenient. Generally, two marks measured to the same height, one for the right end of your spice rack and the other for the left, will be sufficient for hanging.

The distance between your marks should be the same as the distance separating the holes that will attach your rack to the wall. Don’t hang the spice racks too close to an electrical outlet or light switch. You don’t want to accidentally drill through some wiring in the wall.

Install the spice racks. Depending on your spice rack, your method of installment will vary. In many cases, you’ll have to attach some hardware to your wall with a drill. This hardware, usually some kind of simple holding bracket, will then support the shelf or shelves. In other cases, you may have to screw your shelf directly into the wall with a drill. Hanging the spice rack on your own, while possible, may be difficult. A helper would likely make installing your shelf or shelves easier.

Check the levelness of the spice racks. Once the spice racks have been installed, take a carpenter’s level and check that your shelf or shelves are level. If your shelf is uneven, this could cause your toiletries to slant toward one end of the rack or the other. If your spice rack isn’t level, remove it from its hardware or the wall, adjust it slightly, re-check its levelness, and if it is level, reinstall the shelf.

How to Replace a Bathroom Faucet Handle?

Sometimes the handle of a bathroom faucet is put on incorrectly so it doesn’t rest in the correct position when the faucet is off. Other times the faucet handle may crack, discolor or otherwise look old, while still functioning. In either of these cases, the faucet handle can be replaced with a new one, without replacing the rest of the faucet.

Turn off the water supply to the faucet. Look beneath the sink for a valve close to the wall on the same side as the handle you are replacing. If this is a single handle faucet, turn off both supplies. When you locate them, twist the water supply valve or valves tightly to the right.

Test the faucet to ensure no water comes out when the handle to be replaced is turned. Examine the cap or top of the handle. Typically faucet handles have a false top or cap. This may be a porcelain cap that reads “hot” or “cold,” or it may be a metal cap in the same finish as the rest of the handle. Use a flat head screwdriver to loosen the cap and pry it up.

Look at the area hidden beneath the cap for a screw. Use the appropriate screwdriver to loosen and remove this screw. Lift off the handle of the faucet from its stem. Look at the back of the escutcheon or decorative cover at the bottom of the handle. There should be a very small hole with an Allen key screw in the back. Use an Allen key to loosen and remove this screw.

Lift the escutcheon off of the counter. The interior valve of the faucet should now be visible. Place a new escutcheon over the valve. Line up the screw at the back and tighten it down so the escutcheon does not move. Place the handle over the top of the valve so it sits on the escutcheon. Twist it completely to the “on” position and back off to make sure it is positioned properly.

Insert a screw into the top of the handle and tighten it down. Place the cover or cap into the top of the handle. If the cap reads “hot”, “color” or another word, line this up to face you. Snap the cap down into the cap of the faucet. Turn on the water supply and test the handle.


How to Installing the New Seat?

Set the new seat in place. Remove it from the box. The hinges on the seat will be pre-attached. Place these exactly where the hinges on the old seat were located. The box will also contain bolts and nuts. It may also include plastic caps to go over the bolts. Set this hardware to the side.

Drop the bolts into place. Take a bolt in your hand. The hinges will have holes for the bolts to be inserted into. Since the toilet seat is in place exactly where the previous seat was, these holes will also be positioned directly on top of the holes in the top of the toilet bowl. Drop the bolts through the holes in the hinges and bowl, with the head of the bolt on top. Don’t worry. Since the bolts have a head, they won’t fall all the way through the holes.

Thread the nuts onto the bolts. Pick up one of the nuts. Look at one side of the toilet bowl. You should now see the end of one of the bolts sticking down through the top of the bowl. Turn the nut onto the bolt (clockwise) until it is as tight as you can get it by hand. Use your adjustable wrench to tighten the nut just a bit further.

Repeat with the other nut on the other side of the toilet. If your hardware includes washers as well, place these on the bolts threads, then put on the nut. If the hinges have plastic caps attached (or if these are included in the box with the new toilet seat), snap these in place by pushing them down on the heads of the bolts once you’re done.

Snap the seat into place, alternatively. For some models of toilet seats, you don’t drive the bolts through the hinges. Instead, you drop the bolts directly to the holes on either side of the toilet bowl, instead of driving them through the hinges first. Then fix them in place with nuts. The seat’s hinges will snap onto or slide over the bolt heads. Double-check the instructions that came with your toilet seat if you have this variety.

How to Removing the Old Seat Before  Install a New Toilet Seat?

Pop off the bolt caps, if necessary. Look at the edge of the old toilet seat, near the tank. You may see plastic caps where the seat’s hinges attach to the toilet bowl, one on each side. If so, gently slide the flathead screwdriver under their edge and pry them off. If there are no bolt caps, you will just see the bolts themselves attaching the hinges of the seat to the toilet bowl.

Loosen the nuts. Hold your adjustable wrench and look underneath the edge of sides of the toilet bowl. You should see bolts going down through the porcelain, held in place by nuts. There will be one on each side of the bowl. Attach the adjustable wrench to each nut. Turn the wrench counterclockwise to loosen the nuts.

Remove the old seat’s bolts. The bolts at the base of the hinges on top of the toilet bowl may be slotted for a screwdriver. If so, use yours and turn each bolt counterclockwise until it comes out. Otherwise, you can continue turning the nuts counterclockwise until they come off. If your old seat has washers between the nut and bowl, remove those as well.

Wrestle with the old bolts, if they’re stuck. On some older toilets, the bolts might be rusted or stuck in place by grime. If so, they may not come out easily. Don’t panic — you have some options! First, spray WD-40 on the threads of the rusted bolts. Let it sit for 10 minutes, then try again to remove the bolts.

If that doesn’t work, place your adjustable wrench on the nut. Hold it in place as you use the screwdriver in your other hand and attempt to turn the bolt out. If the bolts are still stuck, use your small hacksaw to saw them off. Place the blade just under the toilet bowl, at the top of the nut, and gently saw back and forth until you cut the bolt all the way off.

Dispose of the old seat and hardware. Lift the bolts out of the bowl, if you haven’t already. You should then be able to remove the toilet seat and its hinges easily. Toss out the old seat, bolts, and nuts.


How to Choosing a New Seat Before Install a New Toilet Seat?

Installing a new toilet seat is an easy DIY project. Whether you’re replacing yours because it’s old, or because you just want a new style, all you need are some basic tools and a few minutes. Unbolt the old seat, then pop the new one in place using the hardware included in your new toilet seat’s box. The only trouble you’re likely to run into is if the old bolts are stuck, but a little elbow grease can take care of that problem.

Measure your current toilet bowl before buying a new seat. Most toilets are standard sized, and any replacement seat should fit. If you want to be extra sure, take a tape measure to check the distance between the bolt holes in the toilet bowl. Then make sure the distance between the bolts on the replacement seat is the same.

Choose the style of seat you want. Toilet seats come in 2 basic styles, and a home supply store should have several brands to choose from. The standard variety is rounded, but you can choose an elongated one if you prefer. You can also purchase a “whisper close” seat that has special pads on the bottom to prevent it from slamming down on the bowl. Toilet seats come in a range of prices. You should be able to find the cheapest for $20-30, but others that cost twice as much or more.

Choose a seat color that matches your current toilet bowl. You can find toilet seats in a variety of colors. Choose one that matches the toilet bowl (usually white) for a classic look, or choose a contrasting color to make a bolder statement. For instance, you could choose a blue or wooden toilet seat to contrast with a white bowl.

Gather your tools for the project. You’ll need just a few simple ones to handle this project. If you don’t already have these at home, head down to the hardware store and get: An adjustable wrench or pliers. A flathead screwdriver. Spray oil such as WD-40 (optional). A small hacksaw (optional)