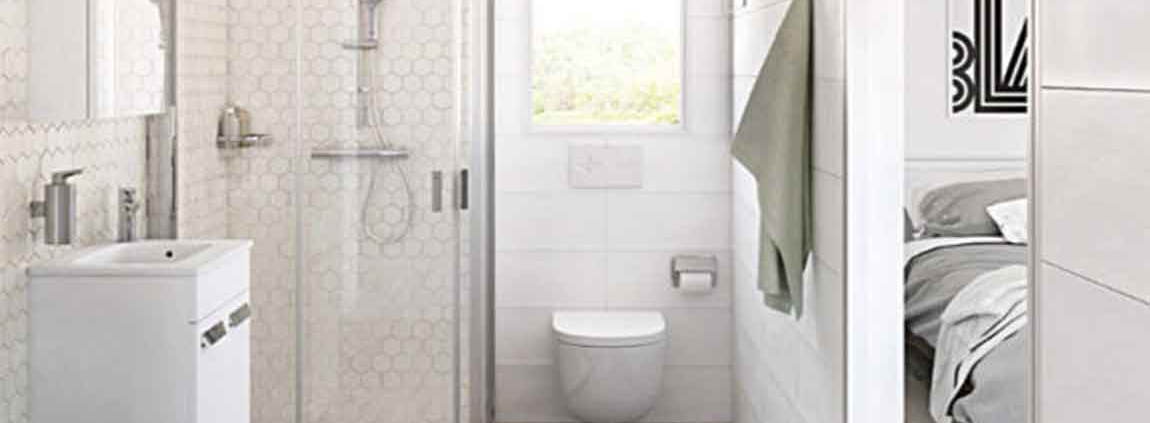
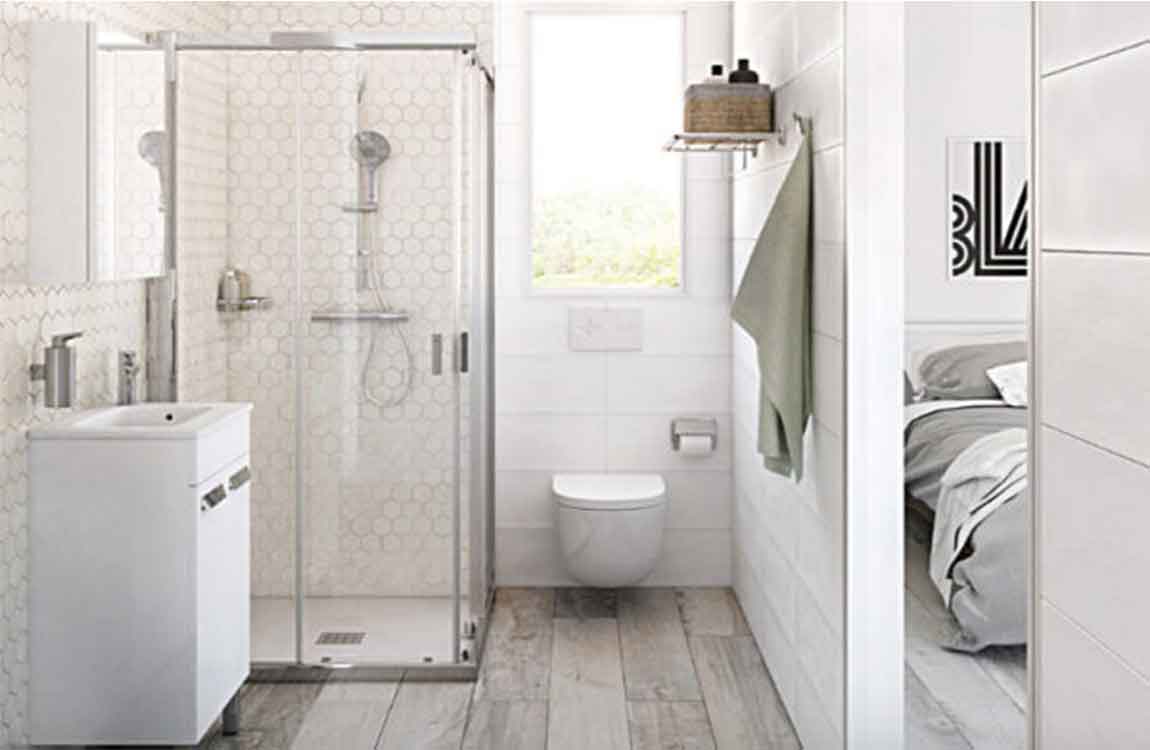
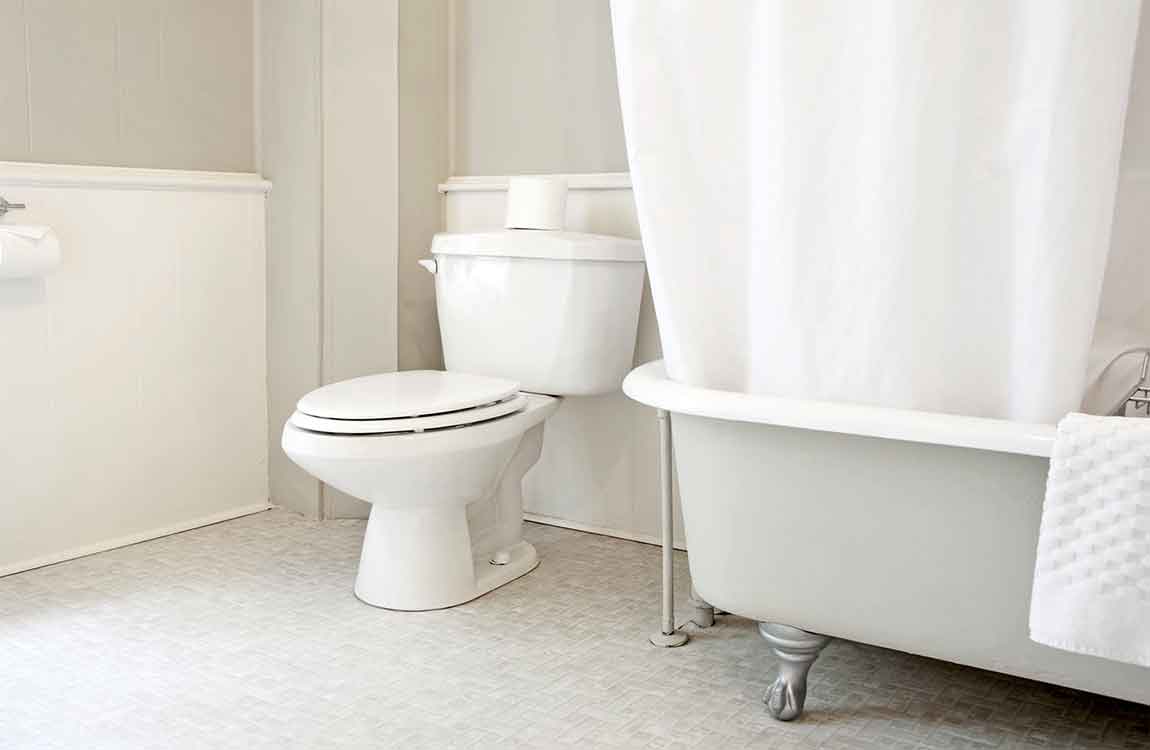
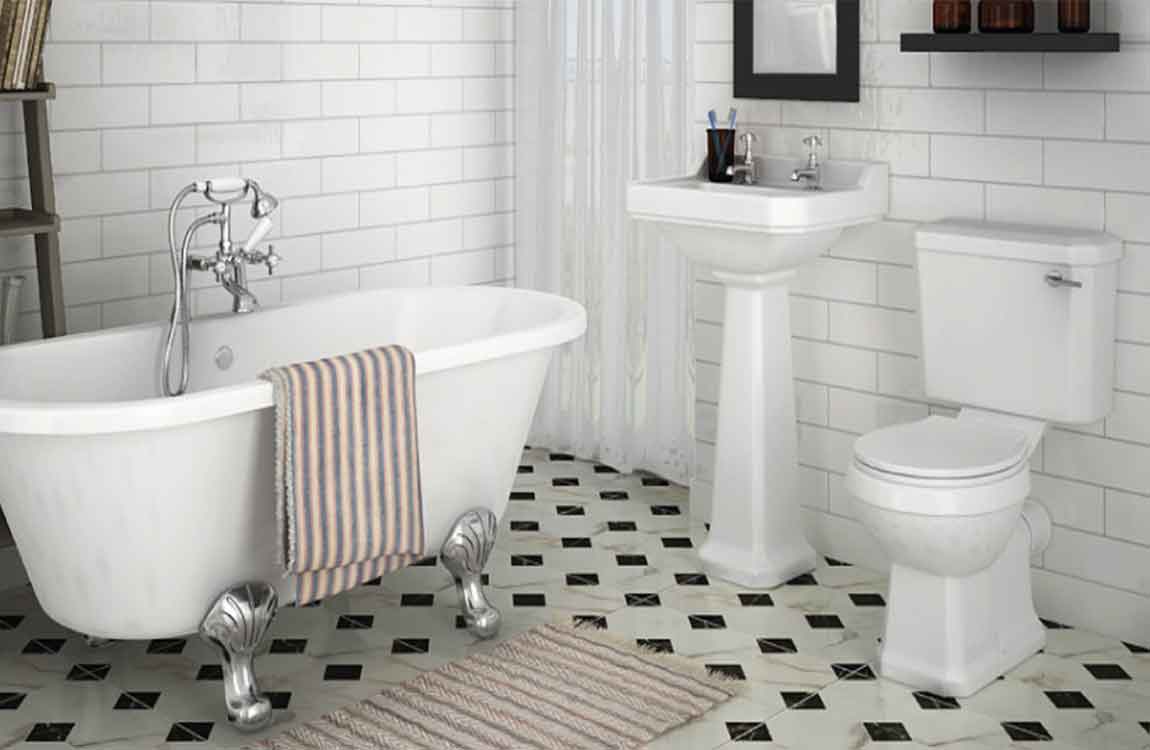
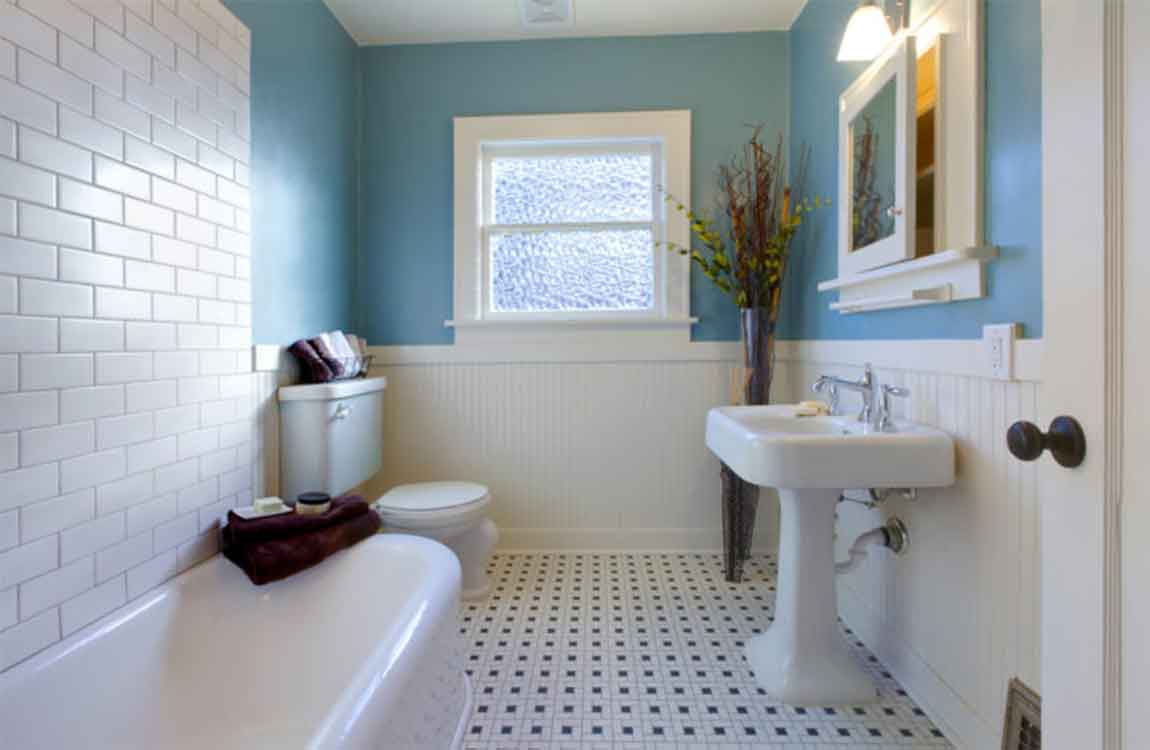
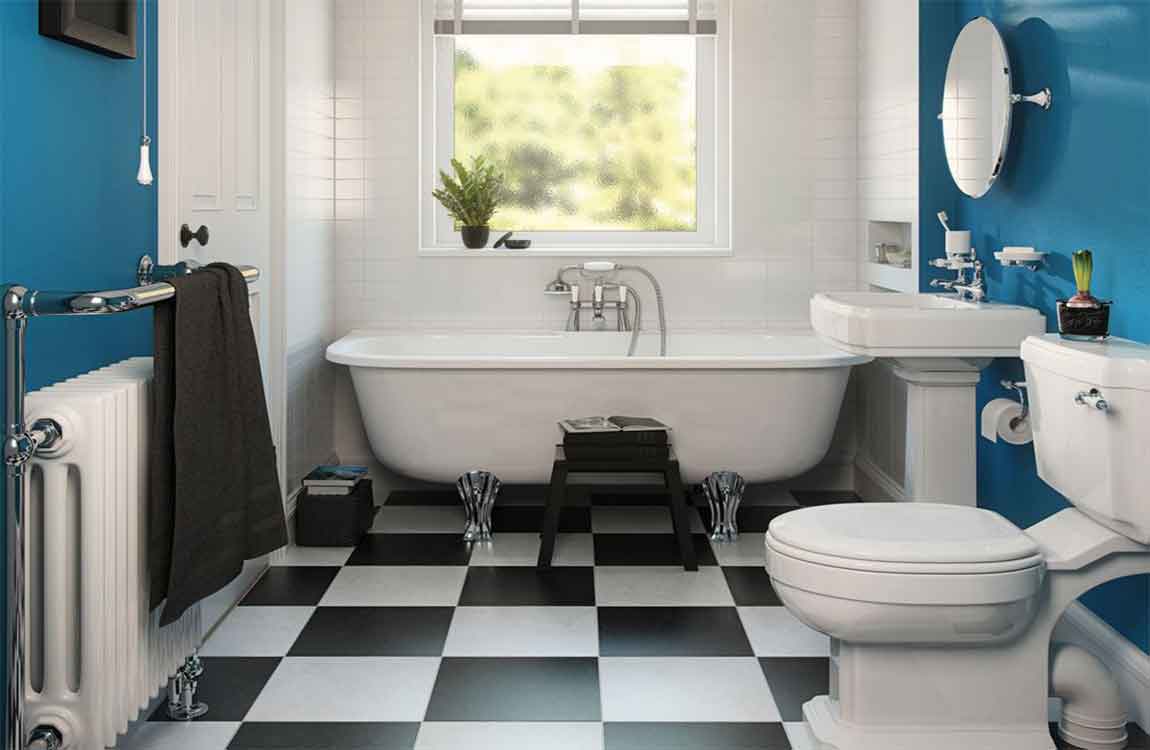
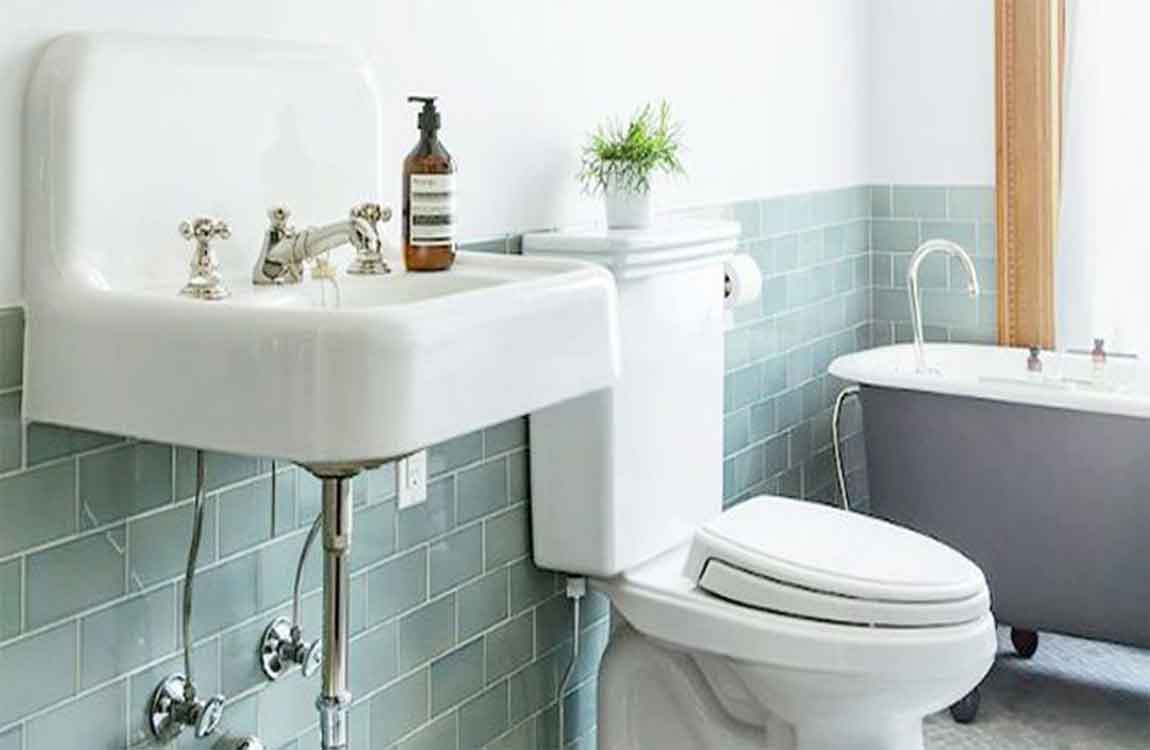
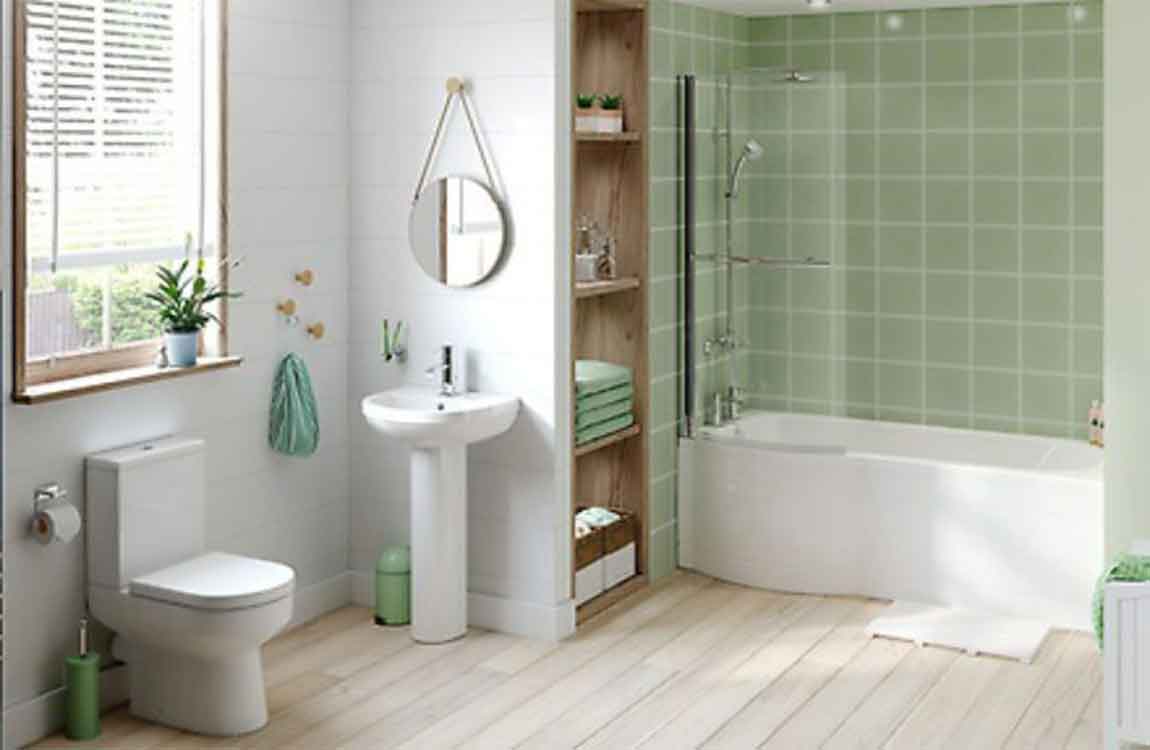
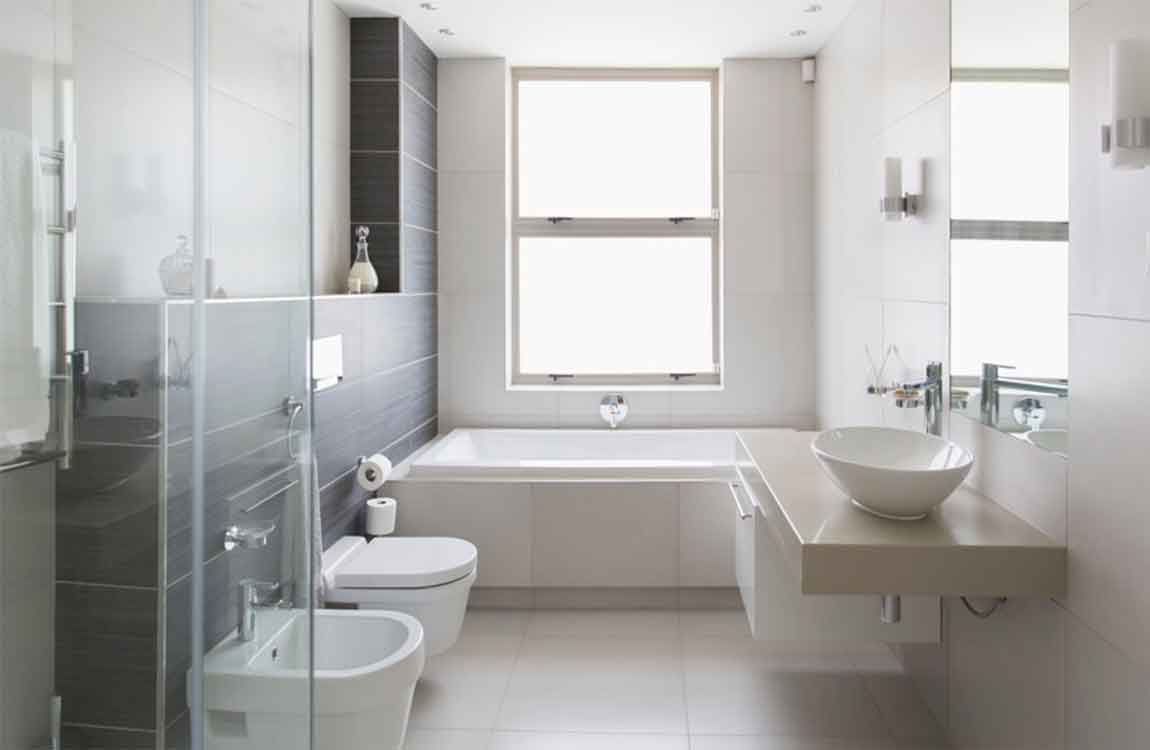
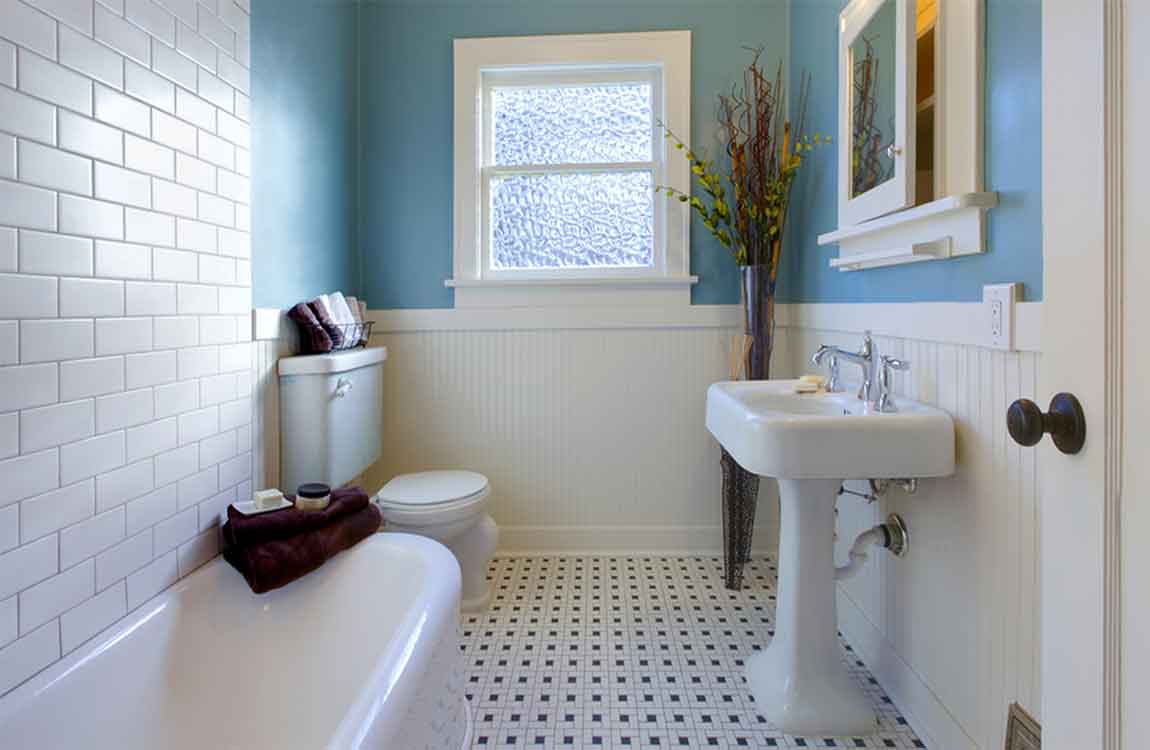
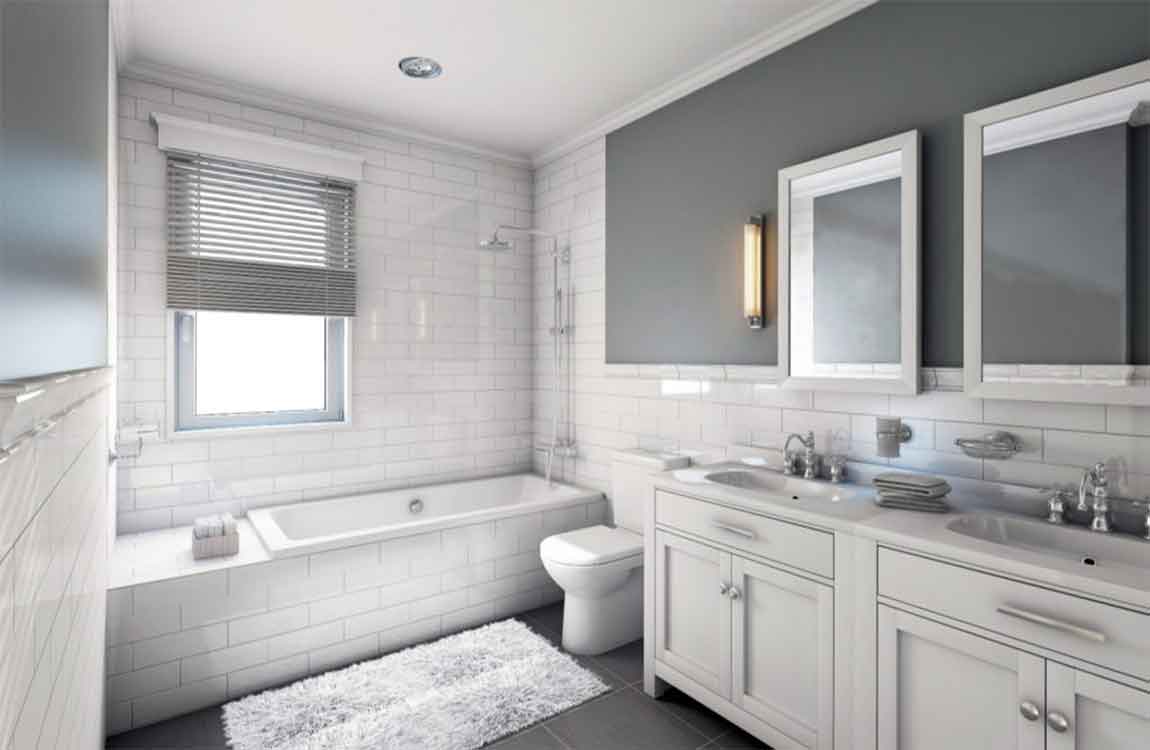
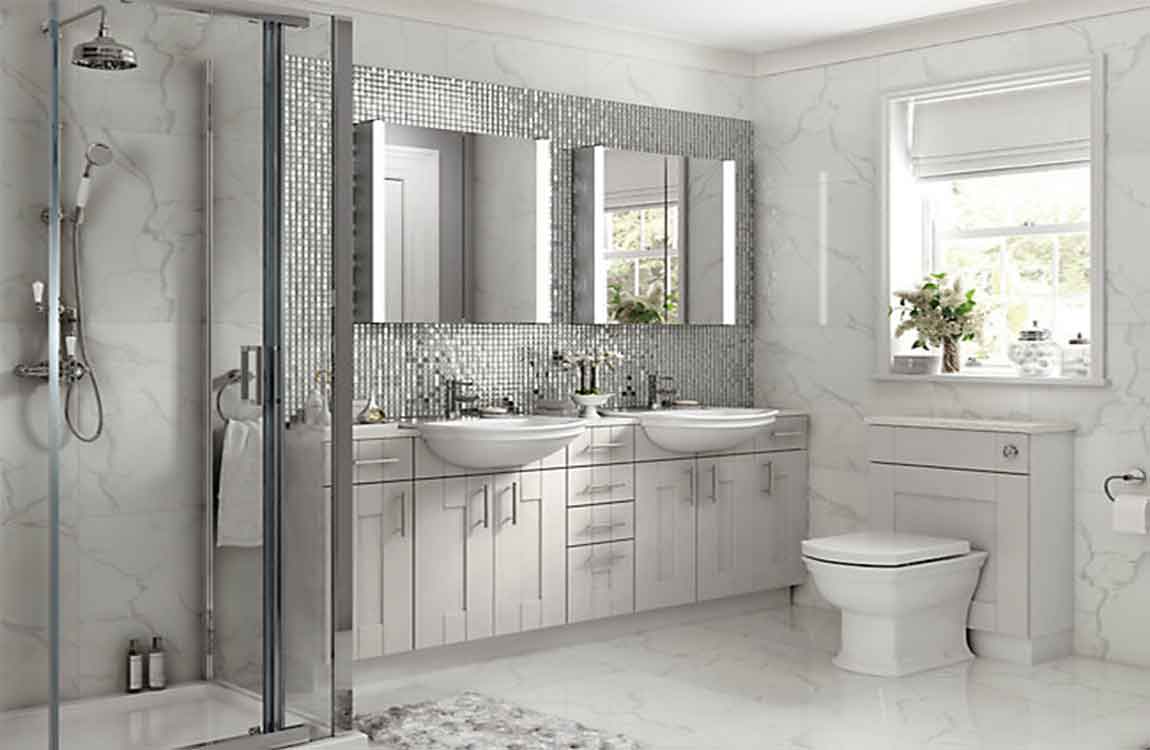
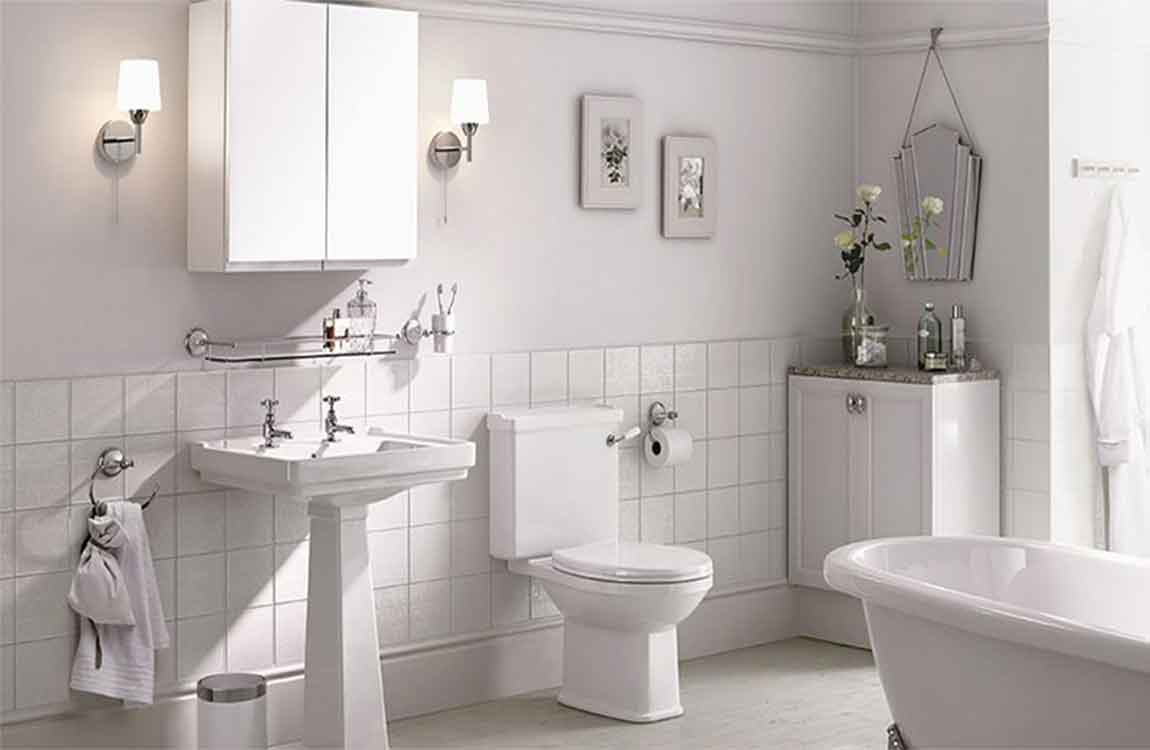
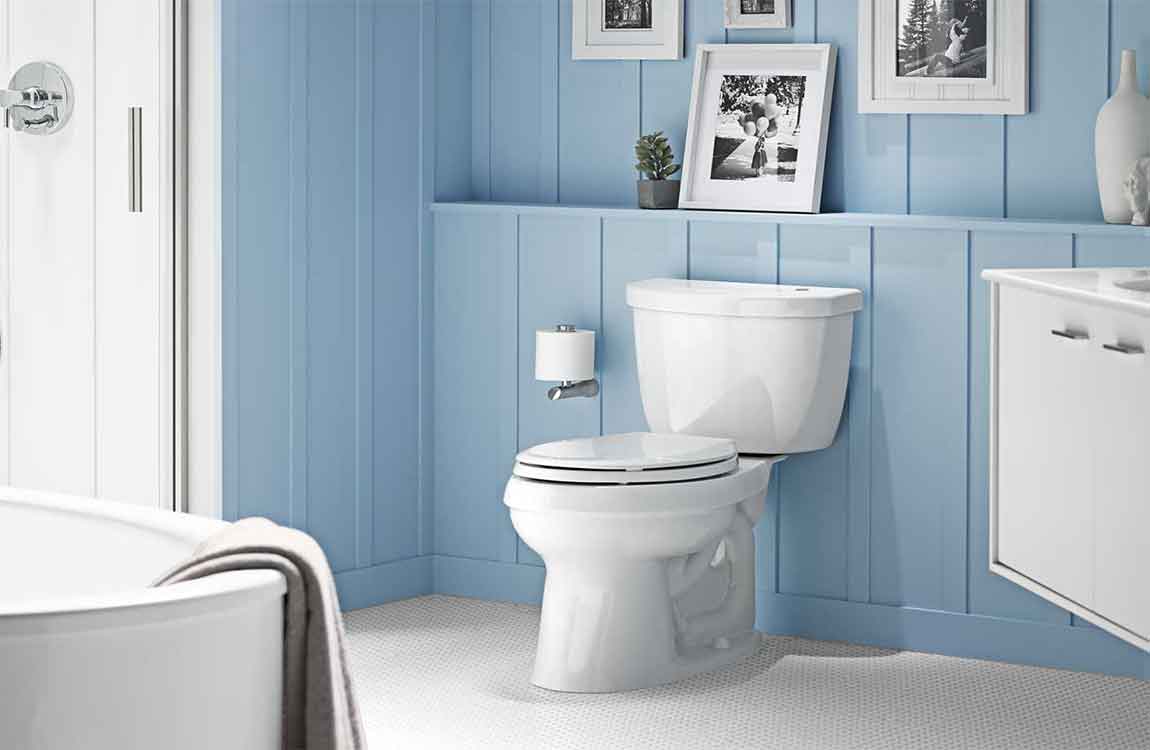
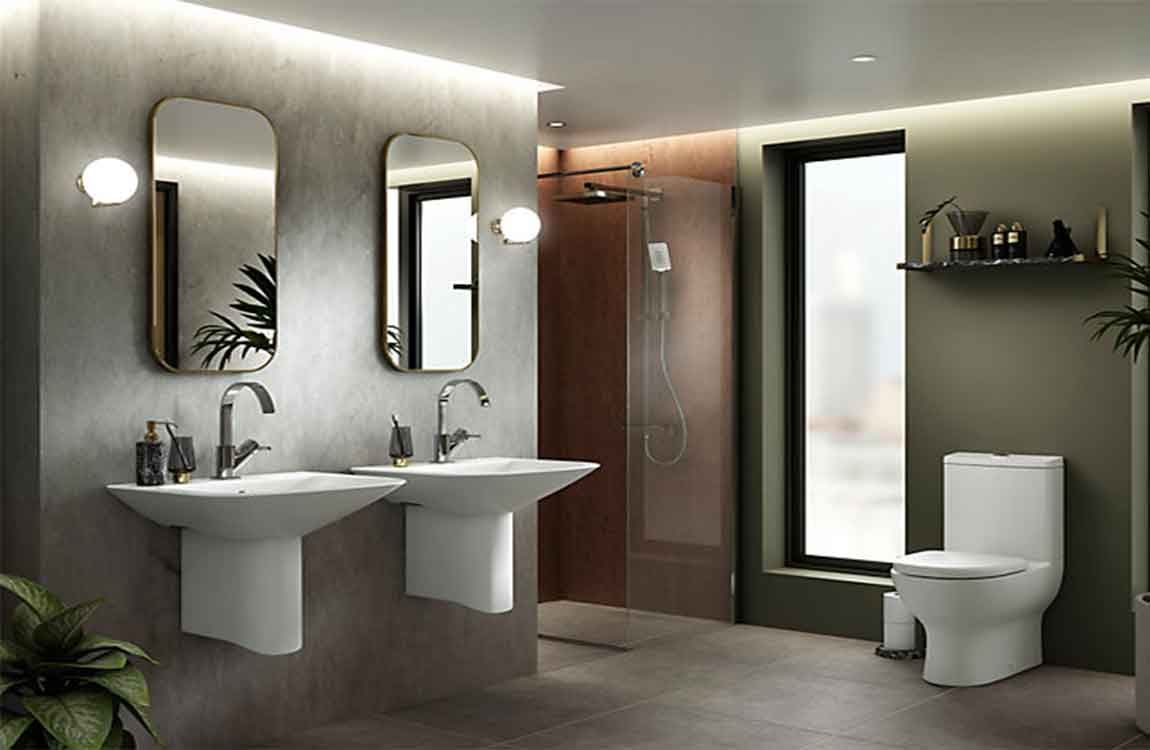
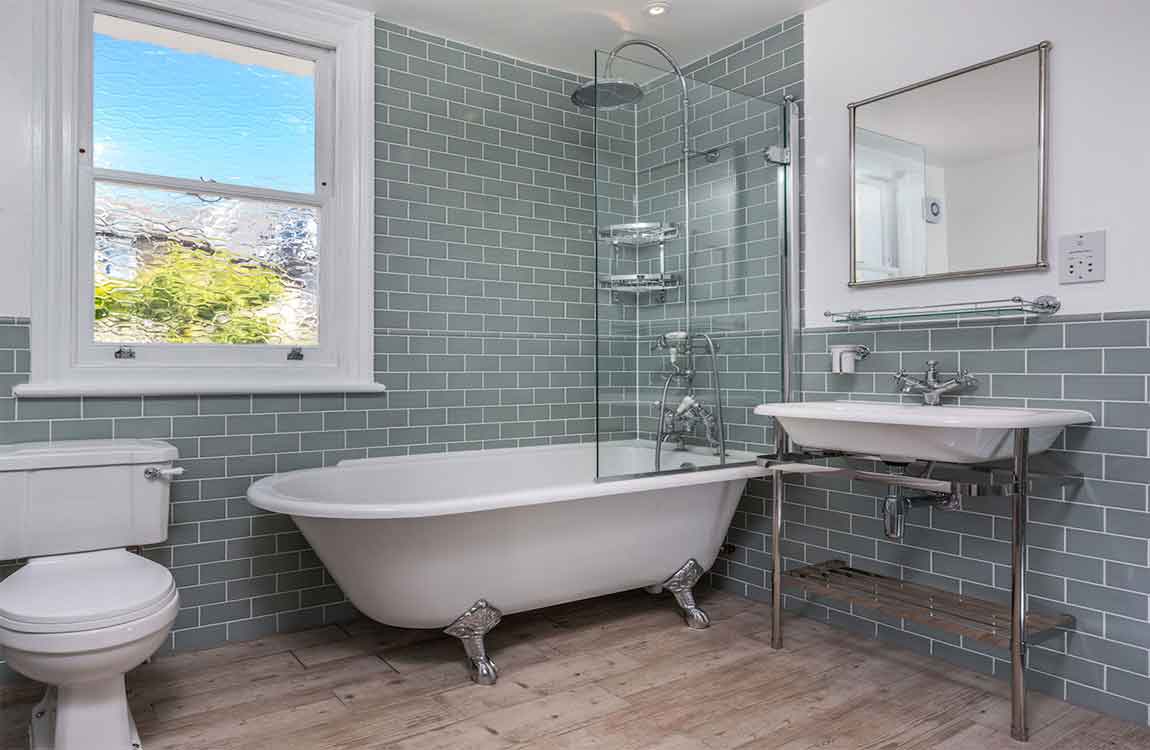
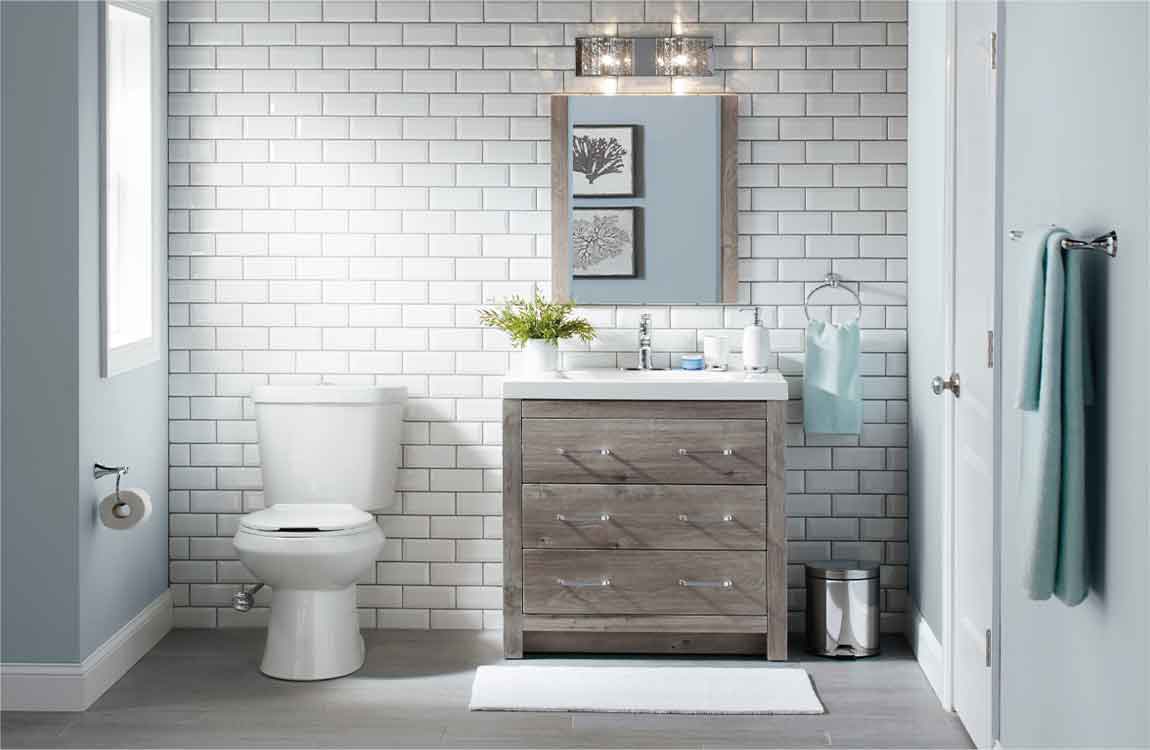
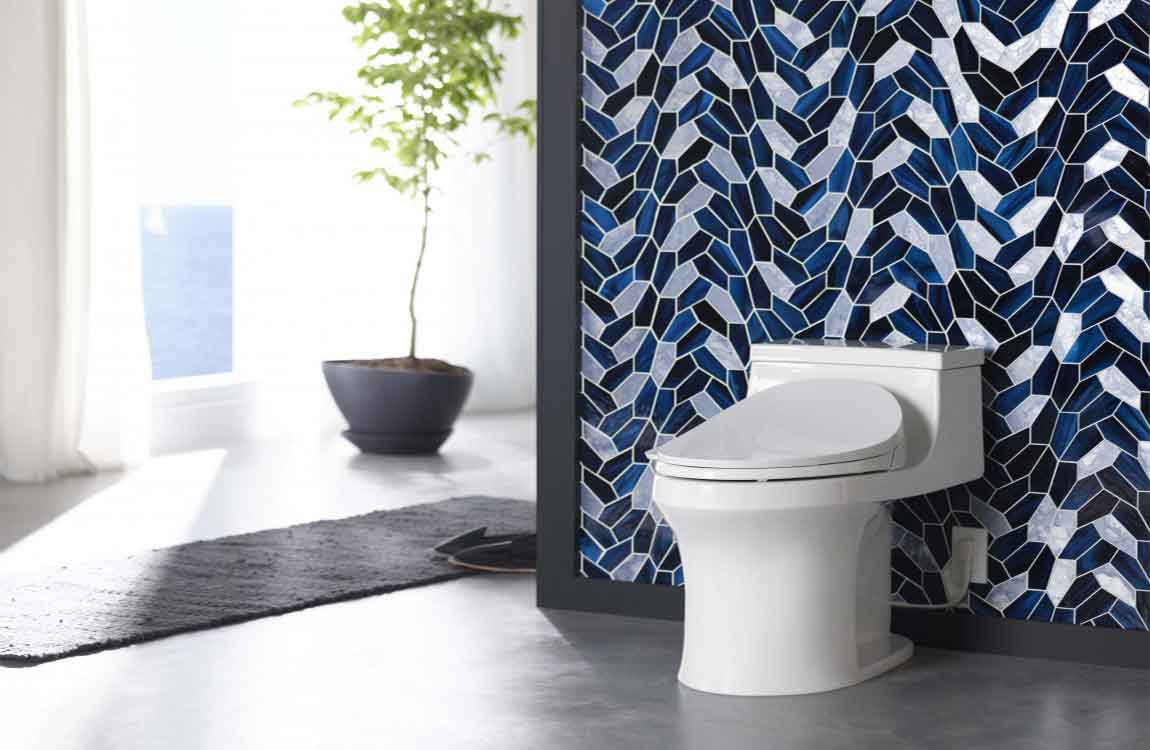
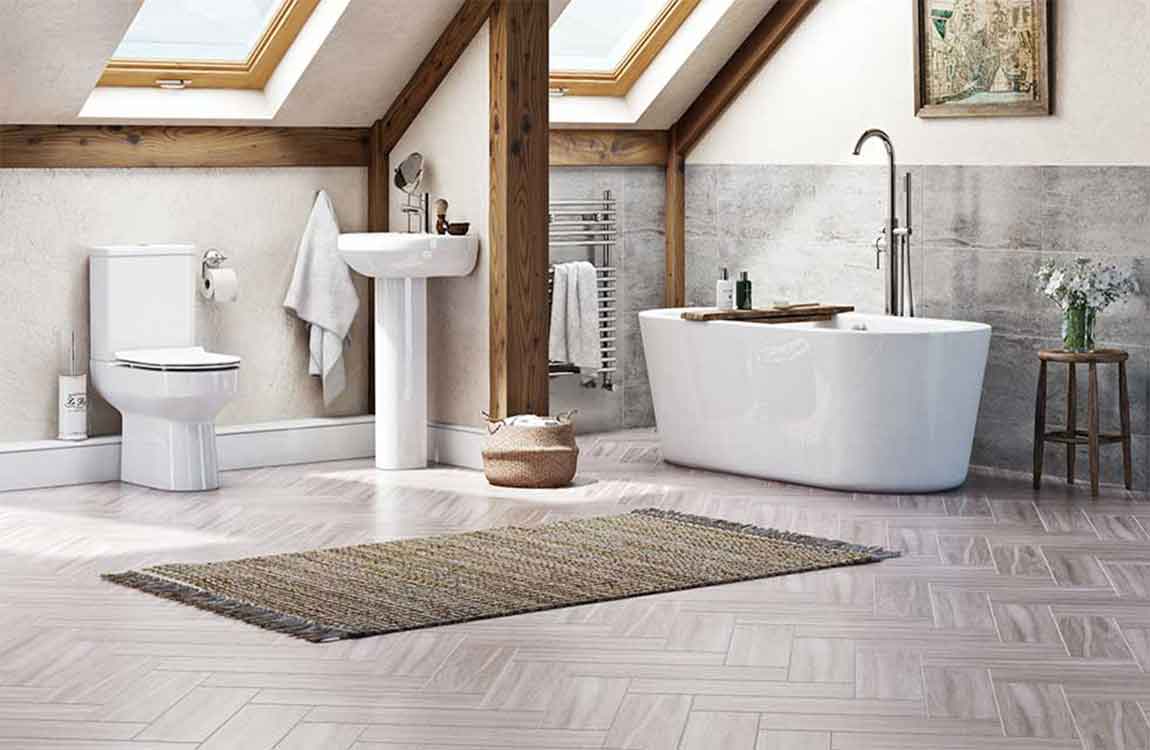
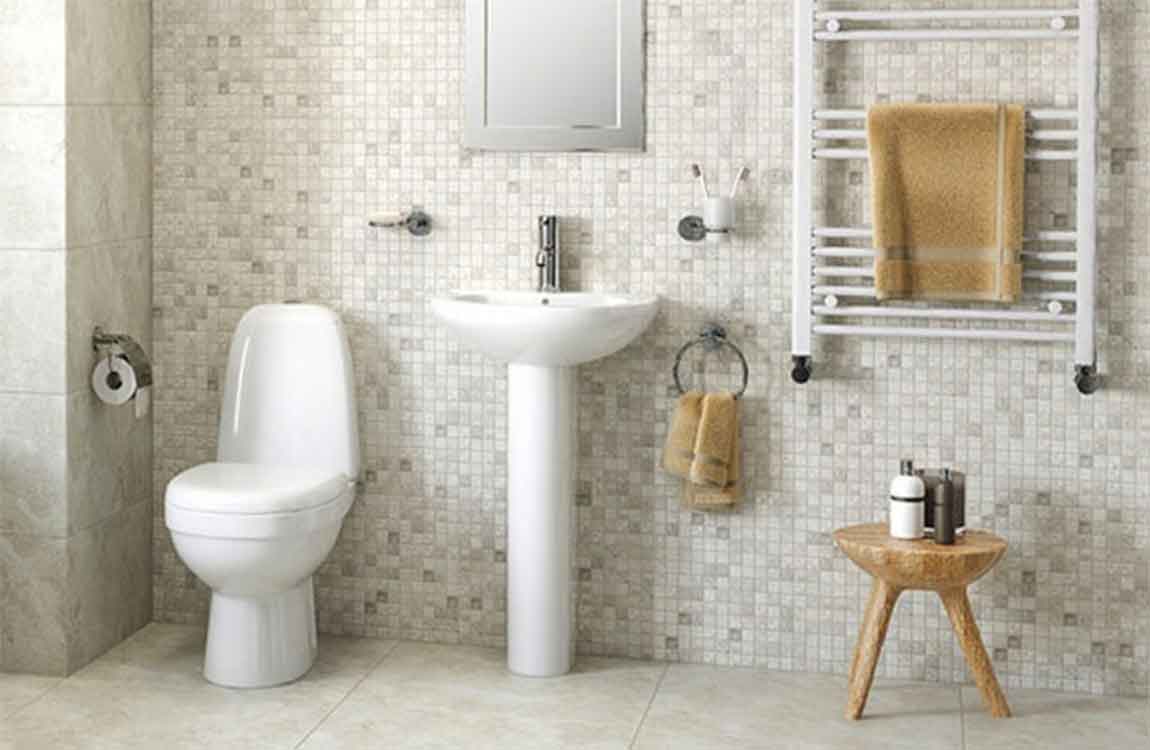
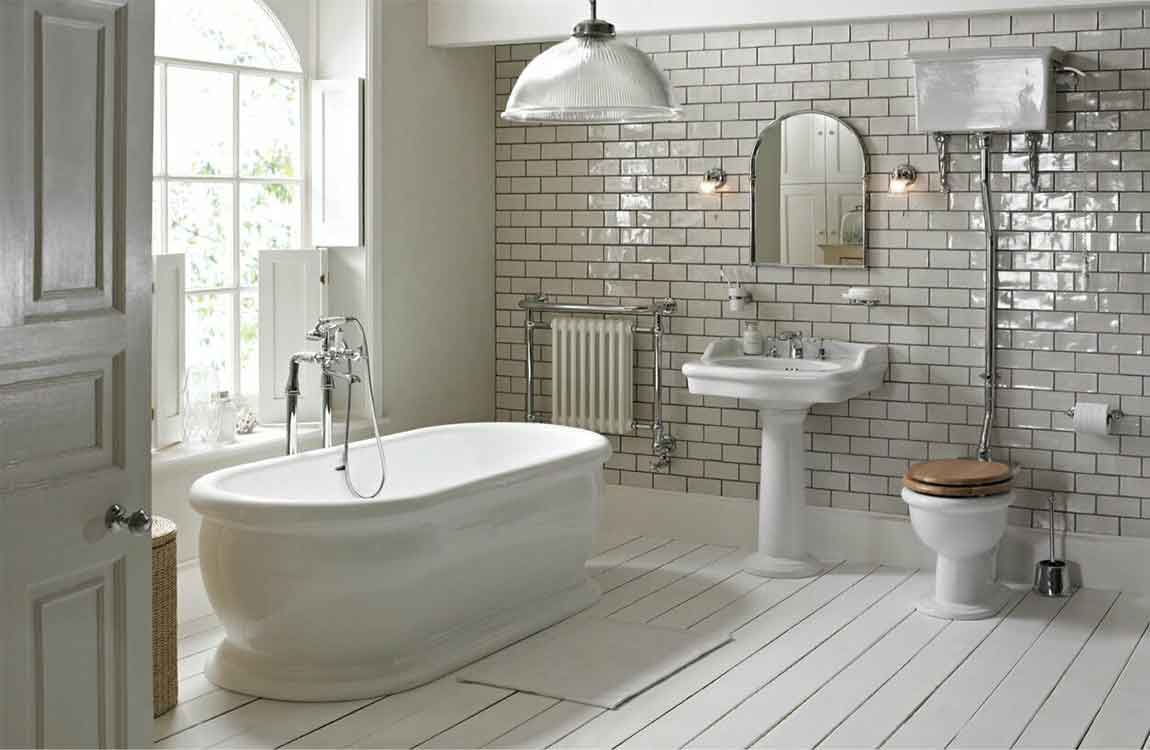
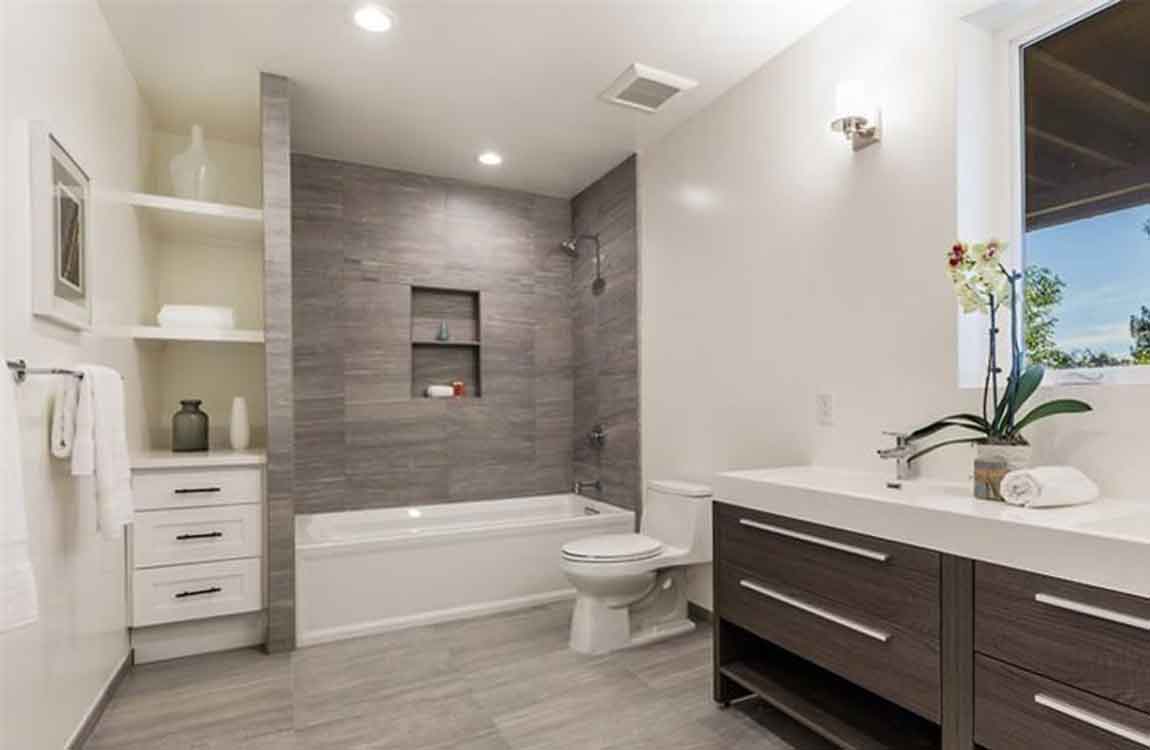
How to Cleaning Area Around Toilet?

Cleaning a toilet is a task that often gets postponed, but it’s essential to keep toilets clean. A dirty toilet will look bad, smell bad and breed germs. However, as with many of life’s less pleasant tasks, cleaning your toilet now can save you headaches later. With these instructions, you’ll get through this task quickly and efficiently.

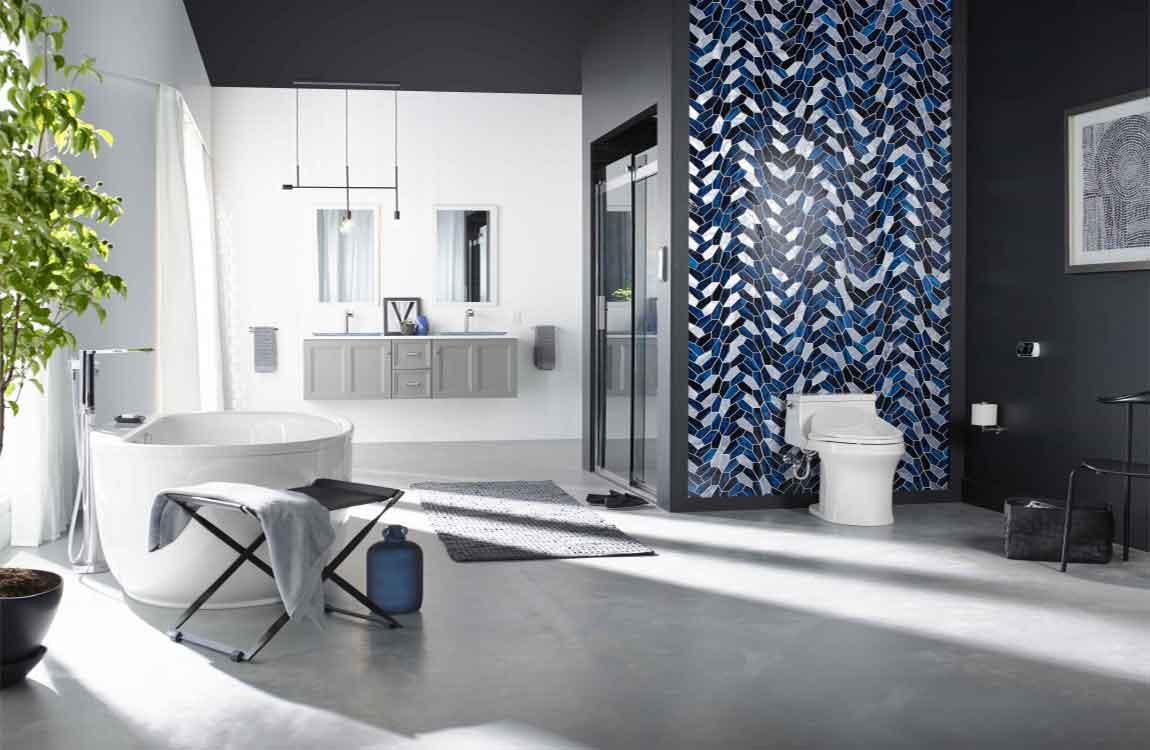
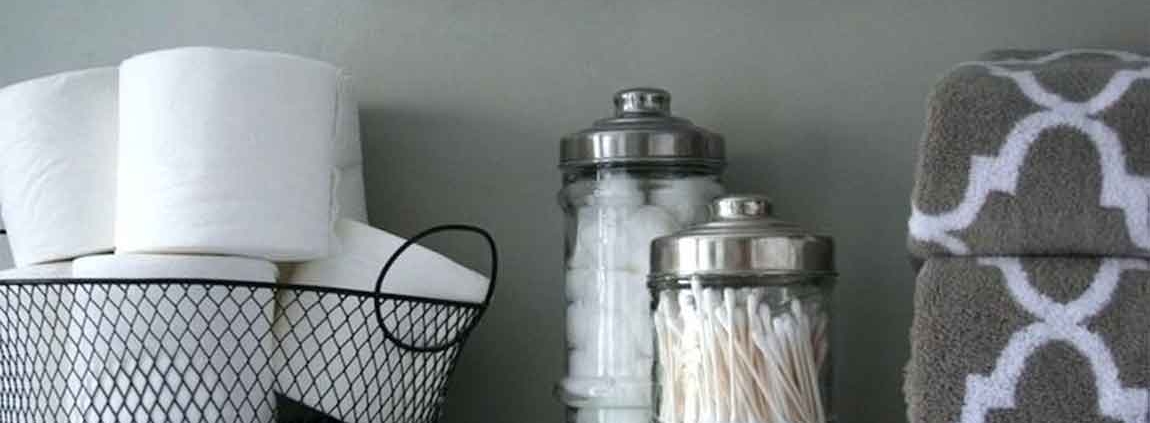
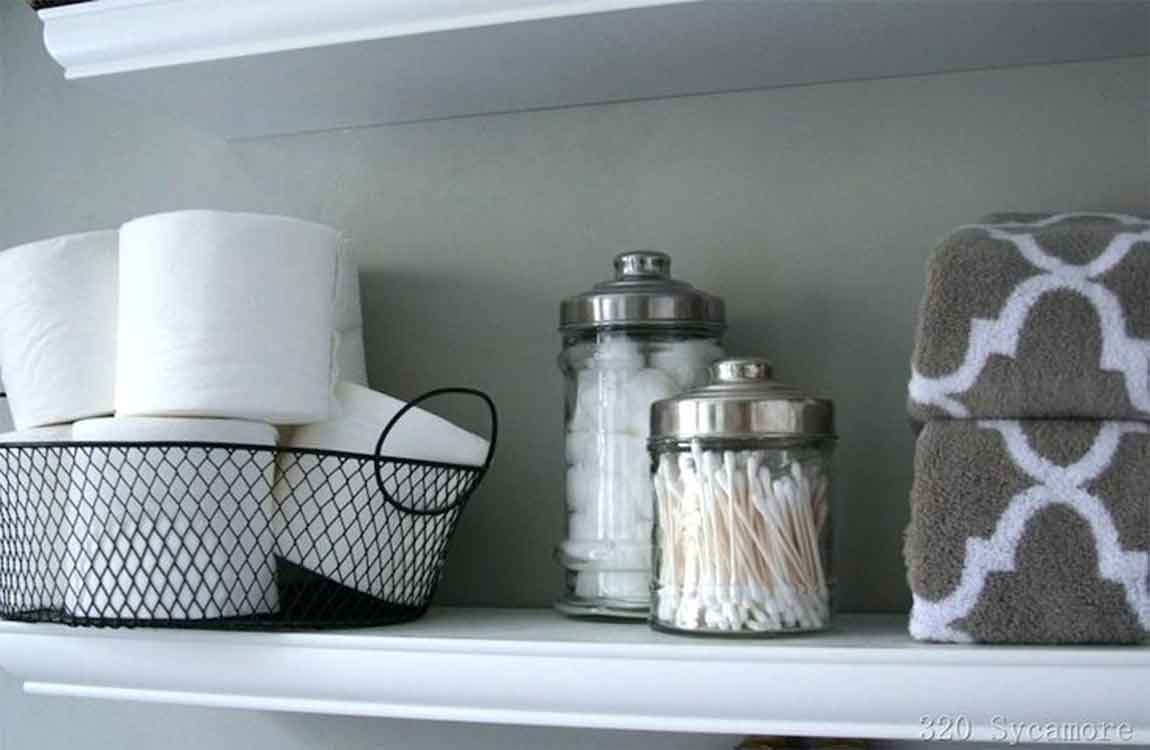
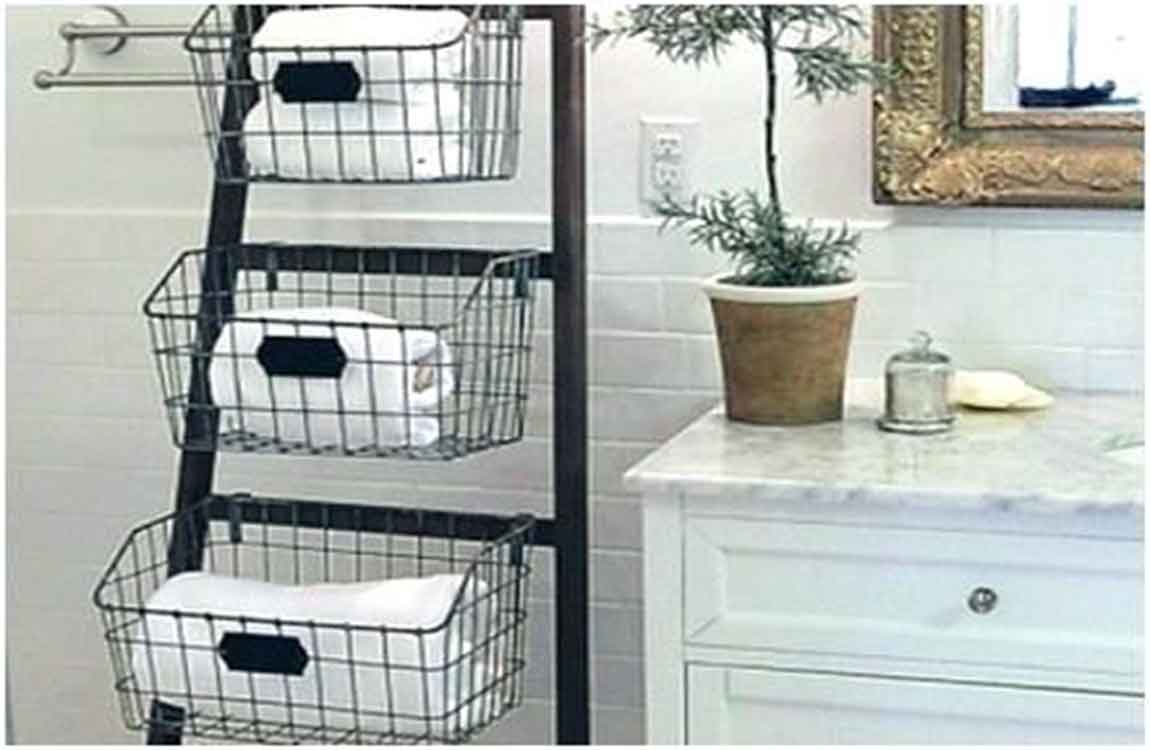
Remove items from atop and around the toilet. Before you begin, clear the toilet of things that may obstruct you while cleaning – tissue boxes, photos, etc.. Because you want to give the toilet a thorough cleaning, you’ll need to be able to reach every nook and cranny. Clearing items away from the toilet won’t just allow you to clean under and around them – it will keep them out of the way, safe from harmful cleaners, and will prevent any accidental drops into the toilet.

Rinse or dust the items that were on or around the toilet. You don’t want to make your sparkling clean toilet impure by transferring dust onto it from an unclean picture frame or tissue box. Put on clean gloves, then give the items that were on or around the toilet a quick clean.

Wet and lightly scrub them if they’re waterproof, or, if they’re not, just give them a quick pass with a brush. Wipe the items clean with a paper towel and put them back in their places. When you’ve finished, take your gloves off and wash your hands as a precaution against the spread of bacteria.

Spray the floor around the toilet with the disinfectant spray. Often, if your toilet‘s dirty, the floor around it is too. You don’t want to get your feet dirty every time you use the toilet, so take the opportunity to clean the surrounding section of floor. Use a brush or broom to sweep up any loose hair or debris around, and especially behind, the body of the toilet. Wipe the area clean with wet paper towels, disposable wipes, or a cloth.

How to Quick Cleaning Your Toilet?

Clean the lids. Now that you’ve cleaned the bowl, it’s time to clean the main points of contact – the top and bottom lids. Use all-purpose cleaner and rags/paper towels (or disposable sanitary wipes) to give both the lids a quick but thorough cleaning on both sides. If you want to, use an old toothbrush to scrub the hard-to-reach spots between the lid and the body of the toilet as well as the hinges.

Give the body of the toilet a quick wipe-down. Finally, it’s time to give your toilet‘s porcelain a squeaky-clean shine. Using a spray bottle, mist the exterior of the toilet with an all-purpose cleaner. Use a rag or paper towel to wipe down the toilet‘s porcelain, paying special attention to the handle. Alternatively, you may simply dip a rag or paper towel in cleaning solution or warm water, re-dipping the rag or towel when it is soiled.

Start cleaning the highest point on the toilet first – this way, if dirty water or cleaning fluid drips down, it will only touch areas you haven’t cleaned yet. Don’t forget to clean hard-to-see areas like the base of the toilet and the back of the tank, which faces the wall. To successfully clean these areas, you may need to use pipe cleaners or a tooth-brush.

Flush! Your toilet should now be looking much better than it did before. Give your toilet a flush to dispose of any dirty water that’s accumulated in the bowl. If you used any toilet tissue while cleaning your toilet, this is also a good chance to get rid of it, provided you used an amount small enough that you’re sure your toilet won’t clog.

As a precaution, wash your hands after taking your gloves off. Small amounts of water may have splashed inside the gloves while cleaning. If your toilet only needed a quick, “light” clean, congratulations – you’re done! If, however, your toilet has serious stains or hasn’t been cleaned in a long time, you may have more success with the “deep cleaning” method below.


How to Quick Cleaning a Toilet?

Grab your tools. If you’re repulsed by the thought of cleaning a toilet, you’ll want to have everything you need ready to go beforehand so the process is as quick as possible. Grab rubber gloves, which are essential, plus as many of the following things as you can find: a toilet brush, sanitary wipes, an old, out-of-use toothbrush, clean rags (or paper towels), and/or toilet cleaner.

Here’s a sanitation tip – keep a pair of rubber gloves solely for the purpose of cleaning the toilet. Buy them in a distinct color that’s different from every other pair of gloves you own. This way, you won’t accidentally use them for washing dishes, etc.

You may also want to have some all-purpose cleaner handy. You can find this at the grocery store, but, if you want to save cash, you can also make your own cleaning solution by adding 1 tbsp dish soap to 6 oz of water.

Scrub the bowl. You can clean the different parts of the toilet in any order you like, but, if you’re in a hurry, you may find that it’s smartest to start with the bowl. This way, if you splash any dirty water out of the bowl while you’re cleaning it, it won’t get parts of the toilet that you’ve already cleaned dirty.

Use a toilet brush to scrub away any stains or mineral deposits you see. You may need to apply some pressure to eliminate caked-on stains. For added cleaning power, drop a little toilet cleaner or all-purpose cleaner into the water, then dip the brush in it.

How to Clean a Toilet?

The more thoroughly (and firmly) you scrub the bowl, the cleaner it will get. Make the most of your toilet cleaner – since it’s accumulated in the water at the bottom of the bowl, dip your brush in it a few times to work up some suds, which will give your scrubbing extra cleaning power.

Flush the toilet. Flushing rinses the bowl and the brush. Continue to scrub as the water drains from the toilet, as the motion of the water may not be enough to rinse all of the dirt away. If you have persistent stains, repeat the cycle of applying toilet cleaner, allowing it to sit if needed, scrubbing, and flushing until the stain is removed.

Clean the rest of the toilet with a disinfectant cleaner. After you’ve cleaned the bowl, you should clean the rest of the toilet, even if it’s not as dirty. When you’re done, not only will your toilet have a beautiful, even sheen – it’ll also be free of harmful bacteria.

Use a spray bottle of “all-purpose” or “bathroom” disinfectant cleaner to mist the entire toilet. Make sure to get both the top and bottom of the seat and the entire exterior of the bowl, including its base. Use light pressure with a cloth or paper towel to work in and wipe away the cleaner.

Clean the handle thoroughly. The handle needs to be extra-clean because you touch it every time you use the toilet. If it’s a breeding place for bacteria, that bacteria will be on your fingers after you flush! Be sure to give the handle a generous coat of disinfectant spray. You’re more likely to give yourself germs from the handle than you are from any other part of the toilet, so clean it well.

How to Deep Cleaning a Toilet?

Put on clean gloves and a plastic apron. Use a dedicated pair of waterproof rubber gloves to clean your toilet. A plastic apron will protect your clothing. Toilets can be a haven for bacteria – you’ll want to keep your hands as clean and dry as possible when you’re cleaning yours. Keep these gloves separate from your other gloves. It’s handy to buy your toilet gloves in a different color than your other rubber gloves – you don’t accidentally want to mistake them for your dish-washing gloves.

Wipe down the toilet with a damp sponge. It can be handy to give your toilet an initial once-over with hot water. While you’re cleaning the rest of the toilet, this will sink in, loosening up dirt and grime and making your later efforts easier. Moisten a sponge with hot water and wipe around the tank, lid, seat, base, and exterior of the bowl. Often, this will be enough to completely remove dirt without the need for special cleaning products.

Apply toilet cleaner to the inside of the bowl. Specially-formulated toilet cleaners can help you eliminate stains, rings, and mineral deposits in your toilet. Squirt or dab cleaner on the inside of the rim of the bowl, allowing it to drip down the sides of the bowl and into the water.

It’s important to apply cleaner to the inside of the bowl’s rim – this area is often ignored, which can lead to gross brown mineral buildup along the rim. Read the manufacturer’s instructions for the cleaner you use. Many cleaners work best if you allow them to soak in the bowl before proceeding. If so, take a short break before the next step.

Scrub the bowl with a toilet brush. Using a firm-bristled toilet brush, scrub the entire bowl thoroughly, paying special attention to any mineral stains that may accumulate along the water level and at the back of the bowl.

How to Design Your Bathroom Look Larger?

Items that are infrequently used should be stored out of sight. This doesn’t mean you have to hide everything out of sight, though. There are plenty of attractive smaller storage options that allow you to put your items in place and on display at the same time. Tall and thin cabinets always come in handy when space is at a premium.

Vertical displays also create an illusion of greater space in height. Narrow shelving over the toilet will not impinge upon floor space. Fold towels in thirds to stack neatly on the shelves. Store cosmetics in a basket on the shelf. Include a toothbrush case, toothpaste and a small glass in a separate basket. Place the more cluttered basket on a higher shelf so that the contents will not be within view. Provide space for a tissue box. Keep these shelves limited to a few items that require quick access on a daily basis.

Avoid multiple dispensers and holders around the sink. Replace a wide soap dish with a thin liquid soap dispenser. Place a towel hook near shower and sink. Place a garment hook on the back of the bathroom door. Try to avoid using a rack with multiple hooks in an already crowded space. One hook and one item on the hook provides for a neat appearance. Once dressed, remove all garments from the bathroom.

Decide what items can be kept elsewhere – other than in the bathroom. Store your bathrobe on a hook in your bedroom closet instead of on the back of the bathroom door. Store your laundry in a pillowcase hung on a hook in your bedroom closet. Store your scale beneath your bed or a bedroom chair.

With a single swoop of the arm – push back the shower curtain to one side when it’s not in use. If you can see all the way to the back wall (instead of just to the curtain), your eye will think the room is larger. One sheer curtain covering the entire window will provide privacy and abundant light during the day. A shade behind the curtain can be pulled down at night. If fixtures are being replaced, consider a small corner sink.

How to Make Your Apartment Bathroom Look and Feel Larger?

Unless you’re living in your own home, you may find yourself wishing for a larger bathroom. While it’s not a problem for homeowners to completely remodel and redecorate, apartment renters are rather limited. It can be a challenge, because you have to work with what is provided. There’s still a lot you can do without replacing tiles or knocking down walls.

With a little bit of planning, some creative organizational skills and clever use of color, you can easily make your apartment bathroom seem more spacious than it really is. These simple decorating tips are quick, easy, and best of all, cheap.

If your landlord approves, you may be able to paint. Colors of the same tone create an illusion of greater space. Choose soft, pale, neutral pastels for both the walls and the flooring. Use a large rug to cover dark or unflattering floor tiles. Bright, strong and exciting colors (such as red) should be saved for accessories and towels.

Mirrors provide an illusion of expansion without adding a single square foot. Consider a few small mirrors arranged artistically throughout the room. Replace a bulky medicine chest with a wall mirror. Store a first-aid kit in a kitchen cupboard. Try one full-length mirror on the back of the bathroom door.

A clean, neat bathroom will always look bigger. Yes, this means you’ll have to spend some serious time organizing your stuff. Cut down on the number of towels, rugs, pieces of art and decorative accessories. Use one large rug or runner instead of several small rugs.

Mosaic Countertop Application

Stir your ceramic tile adhesive. Tile adhesive and caulk are available at home improvement stores. Apply the adhesive to your countertop surface with a trowel. Spread it evenly before placing your tile on the surface.

Place your tiles onto the adhesive 1 by 1, according to your design. Place them approximately 1/2 inch (1.3 cm) apart from the next tile, to create the mosaic look. Make sure not to press them too deep into the adhesive, as the top should remain clean, with room for grout on the sides.

Continue adding tiles to your mosaic until all of the pieces are placed on the countertop. Allow the tiles to dry for 24 hours, or as long as the adhesive directions indicate. Mix your sanded grout according to package directions, or buy a pre-mixed grout.

Apply the sanded grout with a sponge squeegee. Do small areas of the countertop 1 at a time, so that you can be sure you have filled the spaces completely with grout. Move the squeegee diagonally across the surface before moving vertically or horizontally.

Mix a weak solution of white vinegar and warm water to clean your tiles while the grout is still wet. Dip a sponge into the solution and wring out the excess liquid. Wipe your tiles until they appear clean.

Leave your grout to dry according to package instructions. Apply 1 to 2 coats of water-resistant sealer to your bathroom countertop with a paint brush or sponge. This will help to avoid mold growth and make the counter easier to clean. Allow the sealer to dry well between coats.


How to Make Your Own Mosaic Bathroom?

Mosaics are images that are created by gluing glass, china or ceramic pieces to a surface. Although they often form distinct images, they can also be done in geometric or abstract patterns. Mosaics are popular in interior design because they add character and color to a surface while being durable. Ceramic tile mosaics are a great way to decorate a bathroom or kitchen countertop. You can do this project yourself with some tiles, cement, grout and a few tools. You must take care to arrange your mosaic exactly how you would like it to look before the cement dries. Learn how to make your own mosaic bathroom countertop.

Remove the current bathroom countertop, if you choose to do so. You will need a crowbar to peel the countertop away from the bottom surface and wall. You can also glue your tile on top of your current countertop. Choose the tiles you want to use for your bathroom countertop. Ceramic tiles are a good choice, and they are available at hardware and home improvement stores.

Do not choose too many bright colors for your mosaic surface. A surface made mostly of shades of neutrals and 1 or 2 bright colors will match your décor without looking too busy. You may choose tiles in the same size or of varying sizes. Consider choosing a different colored tile for the perimeter. Measure the dimensions of the bathroom countertop you would like to tile.

Lay your tiles out on a dry surface. Arrange the design that you would like to use, accounting for the dimensions of your bathroom sink. If you are working with large tiles you can place them in a thick plastic bag and hit them with a hammer to break them into smaller pieces. This will give you a more hap-hazard, uneven look than if you use small square tiles. Use a ceramic cutter to clip your tiles into specific shapes. For example, you may want to clip your square tiles diagonally to fit them around a curved wash basin. Clean the surface of your countertop. Use a heavy duty cleanser. Allow it to dry.


How to Finding Storage Solutions Create a Farmhouse Style Bathroom?

Store things in glass jars. Mason jars—the old standby of the home canning hobbyist—look great on a bathroom counter or shelf. Fill them with bars of soap, cotton swabs, or other bathroom essentials. Mason jars are closely associated with the sort of simple rustic charm you should be aiming for when creating a farmhouse style bathroom. But, you don’t have to use Mason jars—any sort of large glass jar will do, especially old apothecary-style jars.

Store things in wire baskets. Wire baskets and bins are a standard component in farmhouse style bathrooms. You can use them to store bottles of shampoo, soap, toilet paper, or towels. Store the wire baskets and bins beneath the sink, on the back of the toilet, or on shelves located throughout the bathroom.

Use wicker and other woven materials. Wicker can bring a bit of rustic charm to your farmhouse style bathroom. For instance, wicker baskets can be used to store towels, toilet paper, and other bathroom essentials. Use wicker tables and chairs as makeshift shelves. And wicker baskets are perfect for storing fresh or soiled towels. Opt for dark wicker as opposed to white wicker, which can look dated.

Add some wooden boxes. Wooden tool boxes or small wooden containers add a homespun charm to your farmhouse style bathroom. Place a longer wooden toolbox on a shelf or at the end of your bathroom counter. Stuff smaller wooden boxes with bathroom essentials and hand towels.