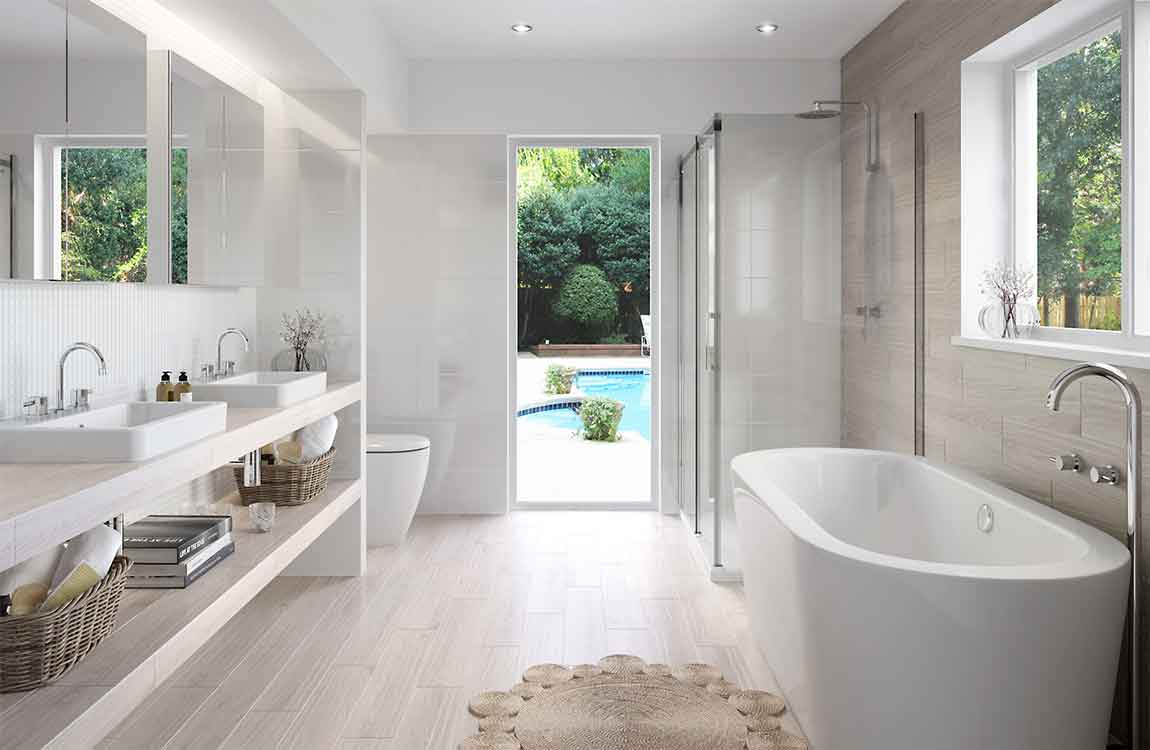
Preparing Your Bathroom Before Paint a Bathroom

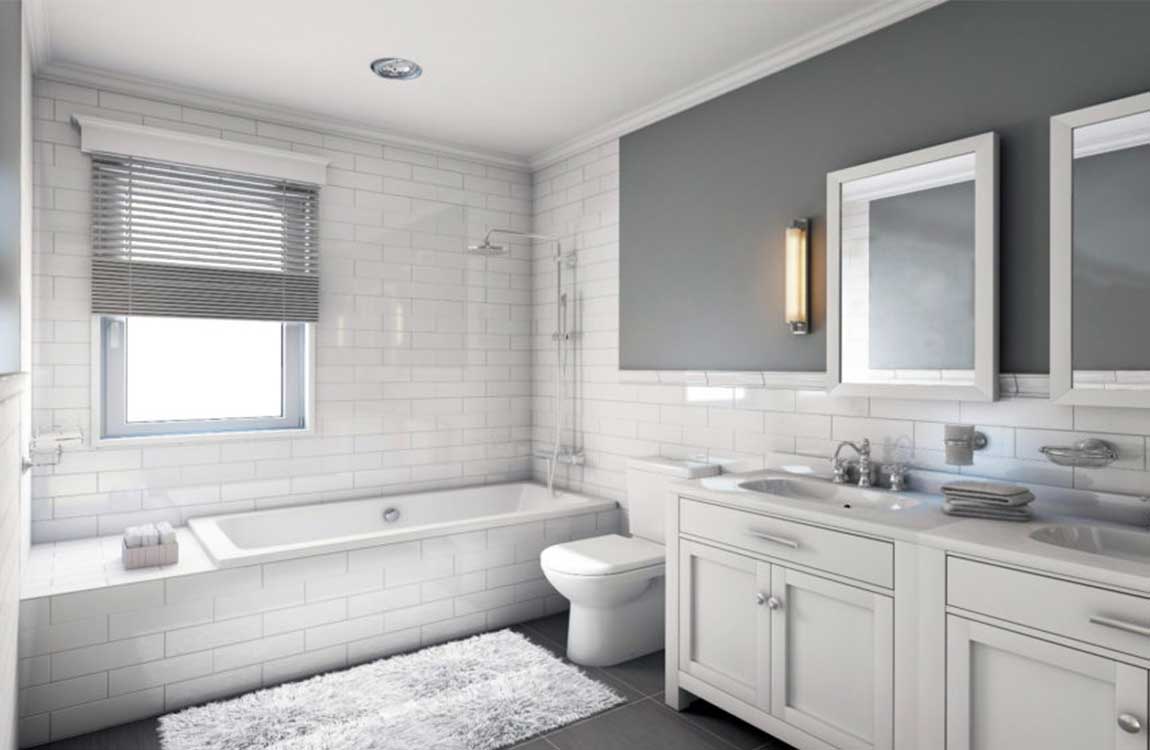
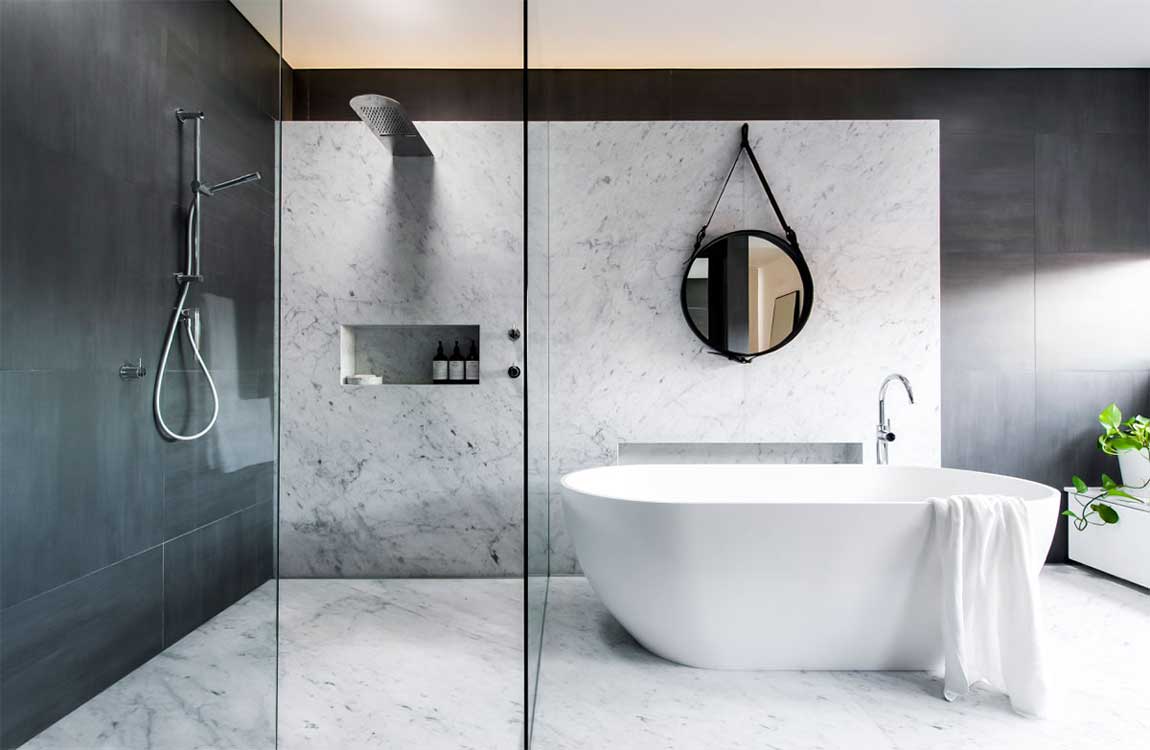
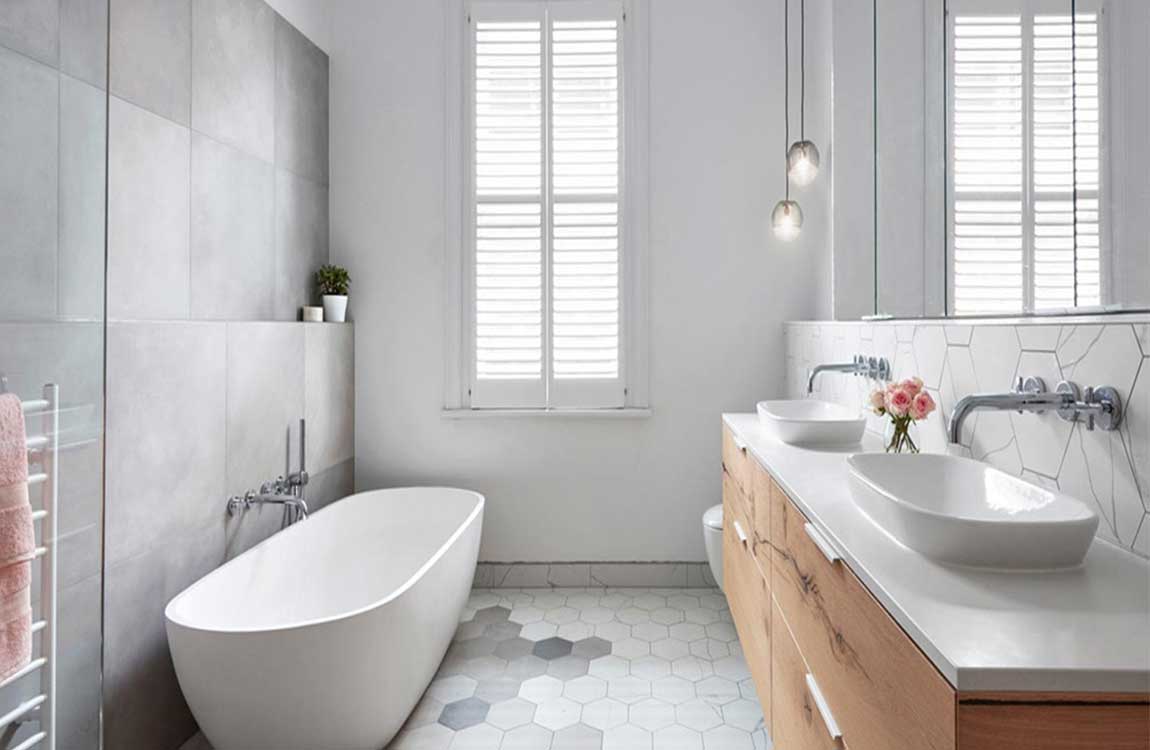
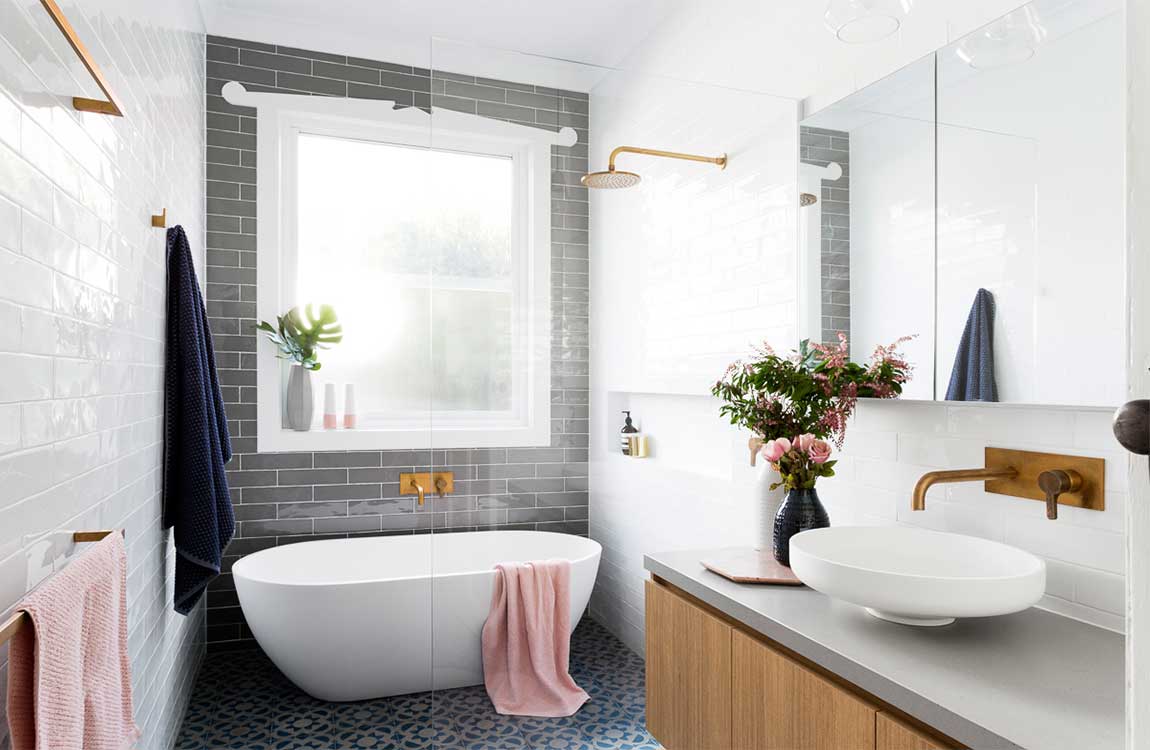
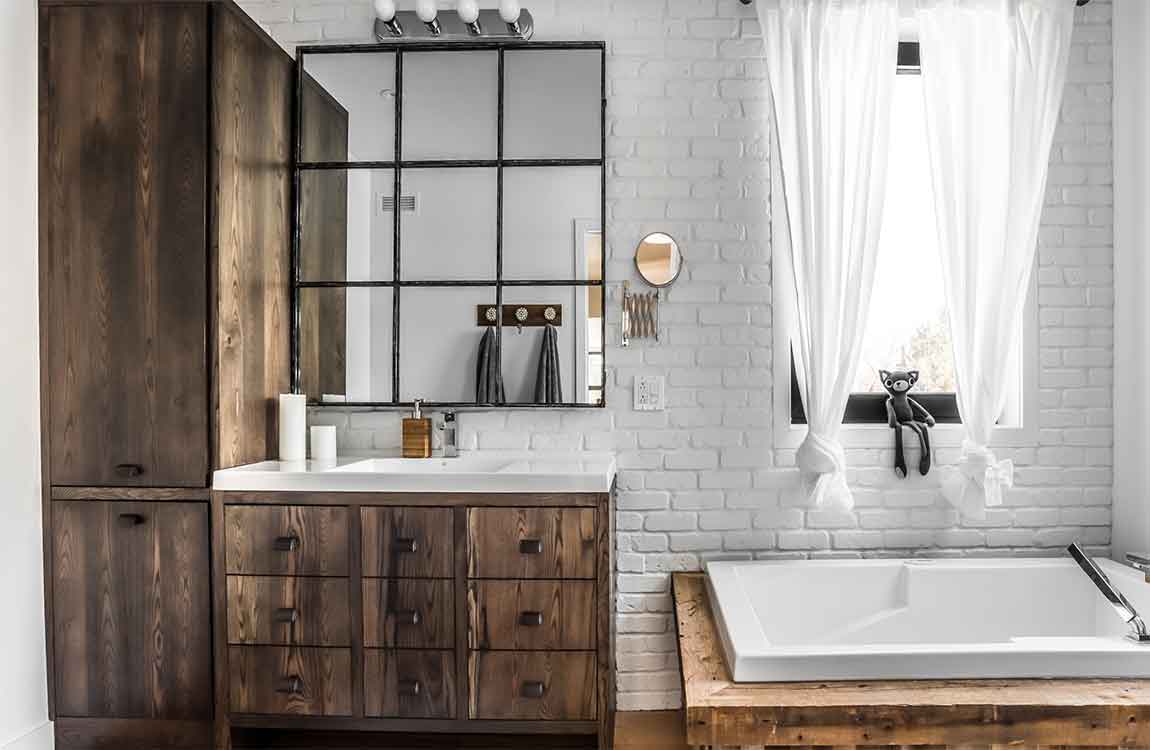
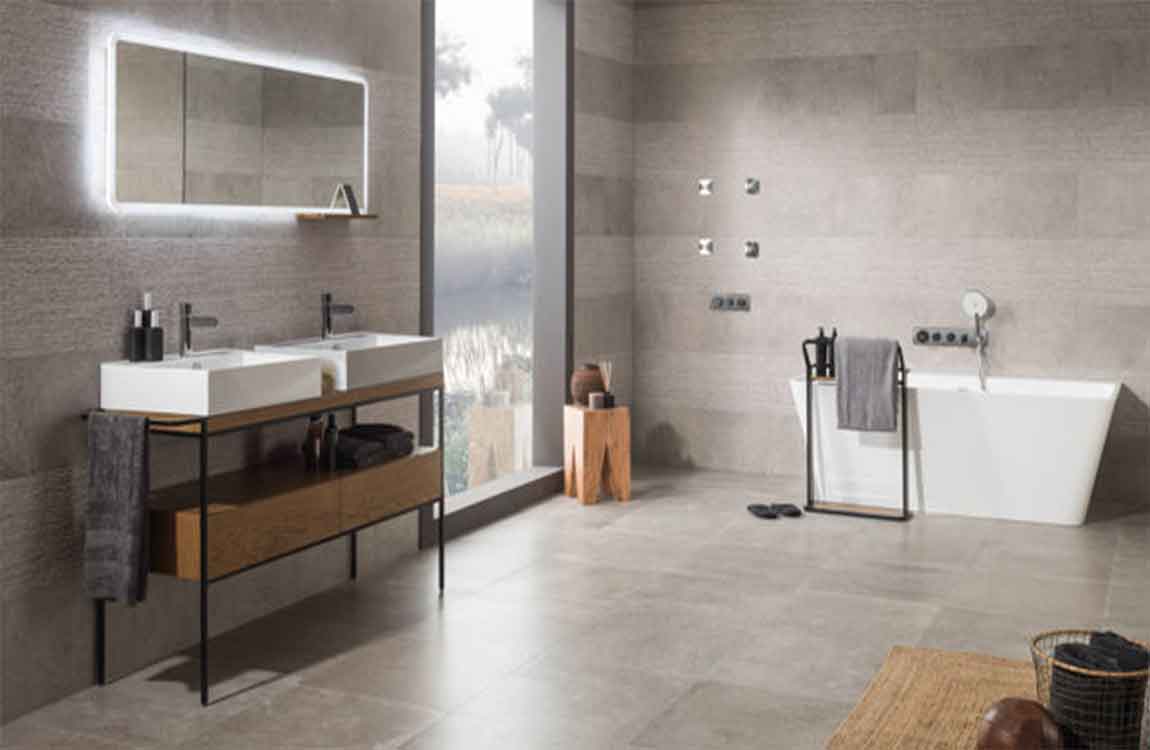
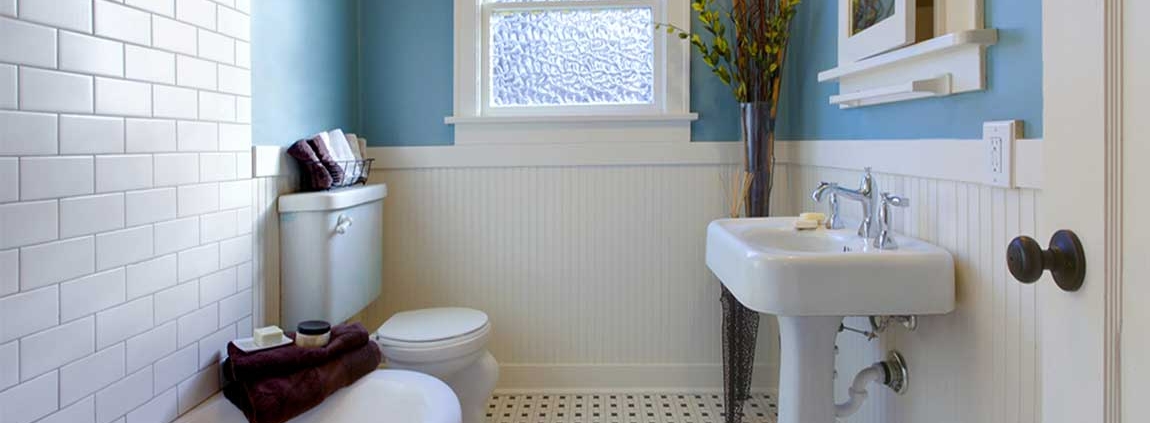
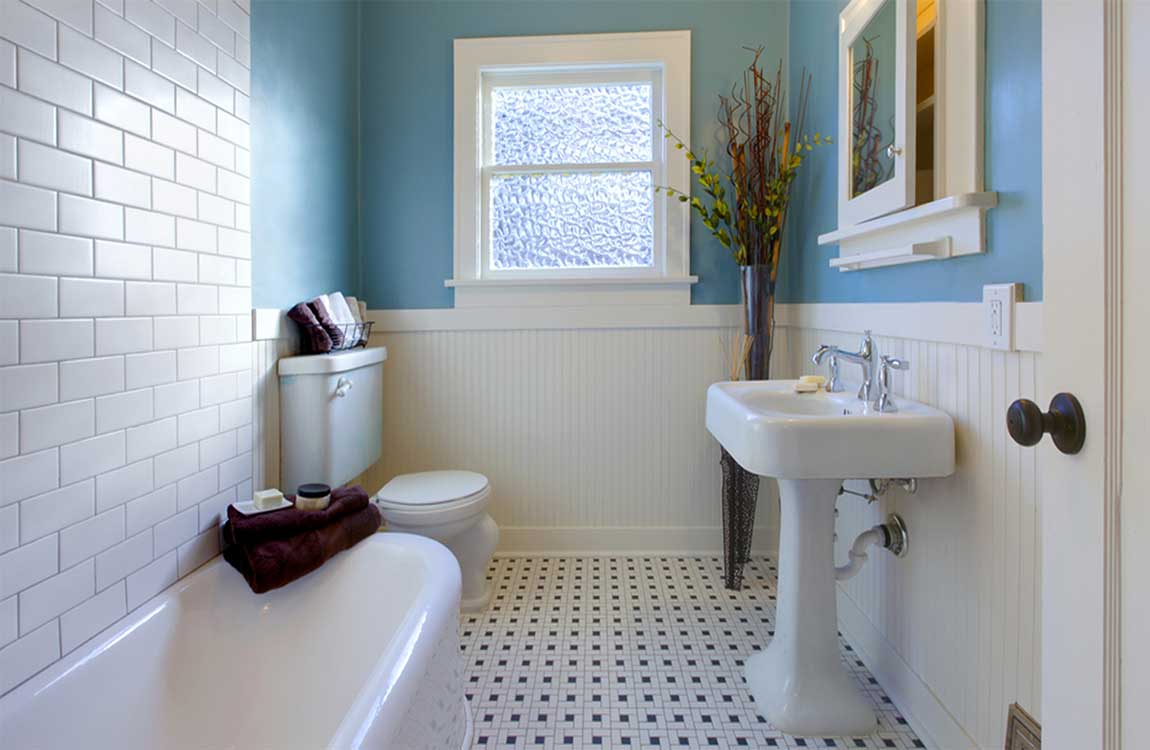
Choose a mildew-resistant, satin or semi-gloss paint. Bathroom paint faces a lot of wear and tear, so go with a water-repellent, easy-to-maintain product. Since they’re more durable and easier to clean than matte options, glossier finishes are ideal. The only downside is they highlight imperfections, so it’s important to prep surfaces before you paint.

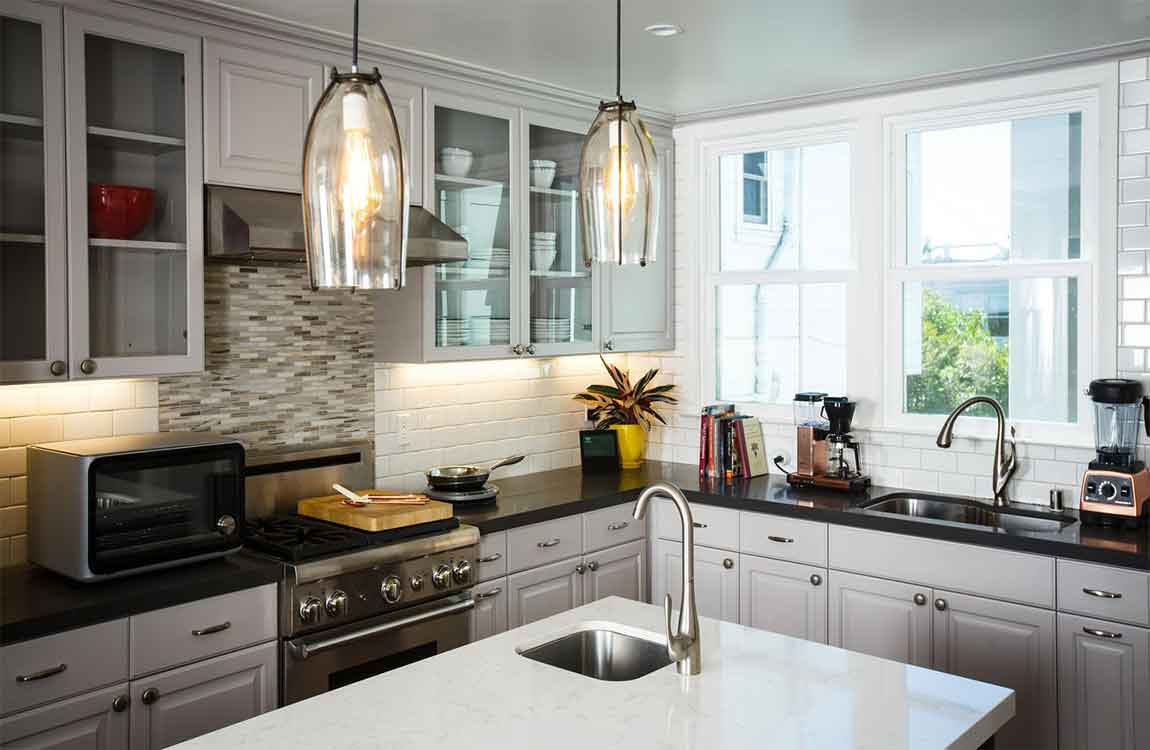
As for color, look for a shade that complements the hallway or room next to the bathroom. Lighter shades are usually good choices for smaller spaces. Paint manufacturer websites often allow you to upload a photo of your room to play with wall colors. It’s also wise to purchase samples and test shades in the actual space. Keep in mind glossier finishes reflect more light, which makes colors appear brighter.

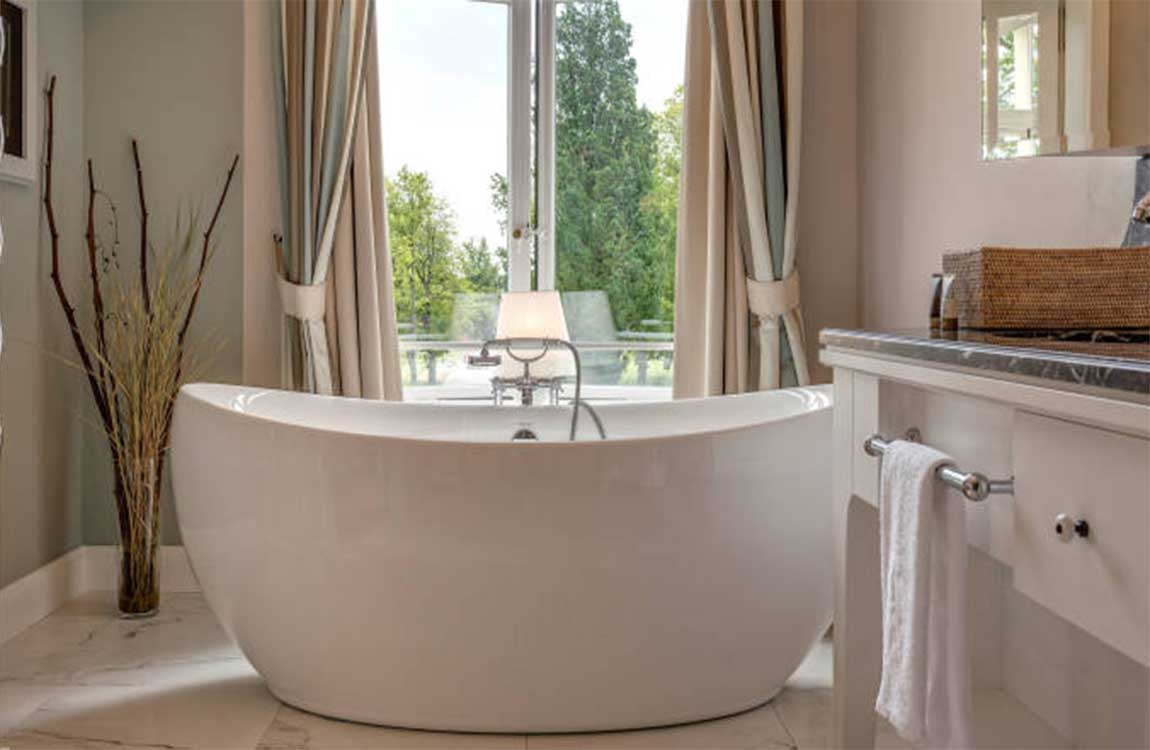
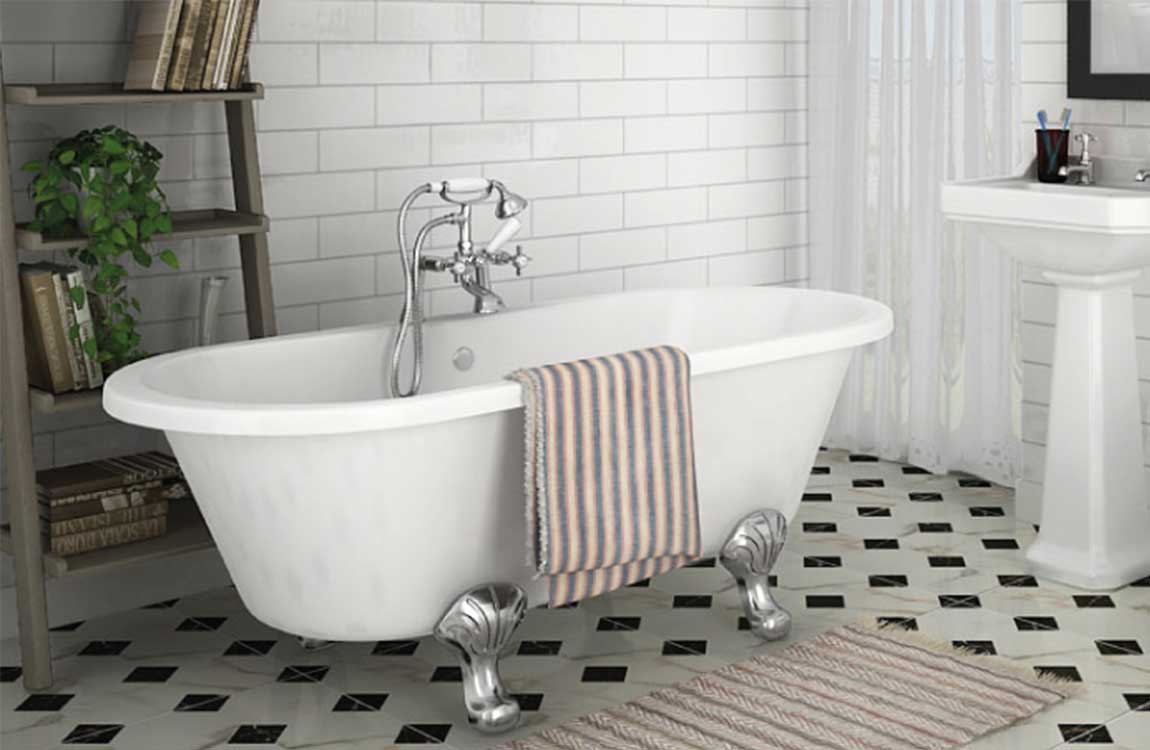
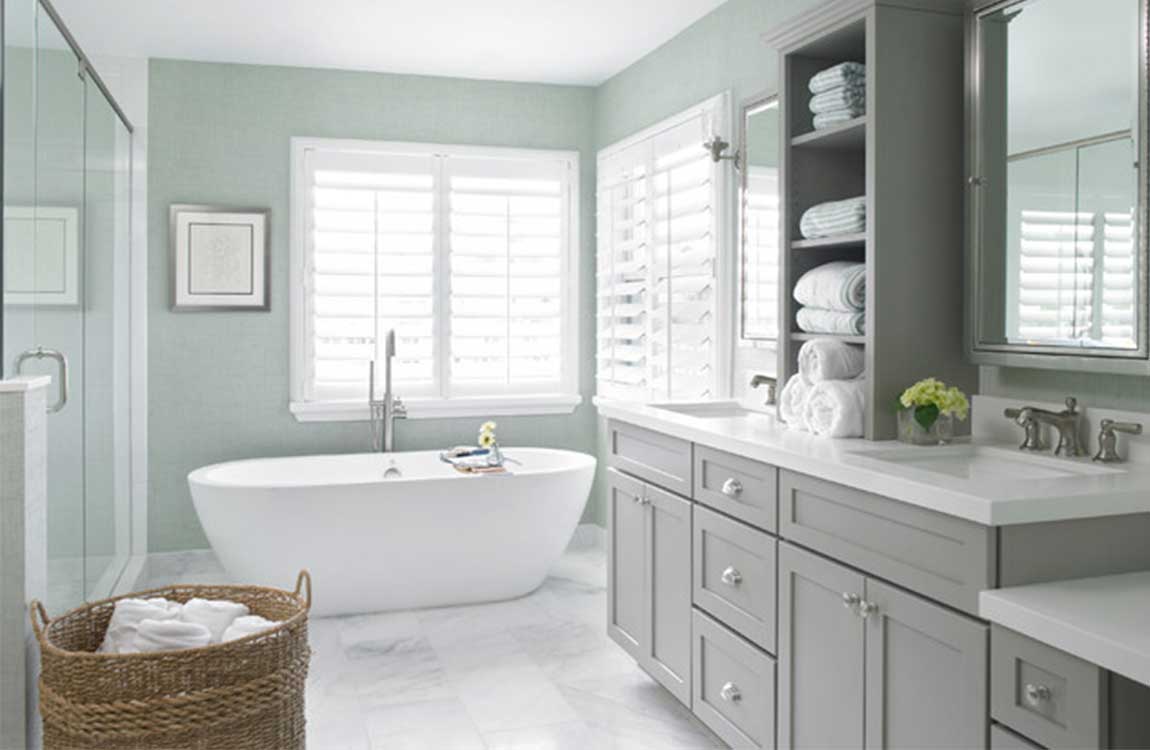
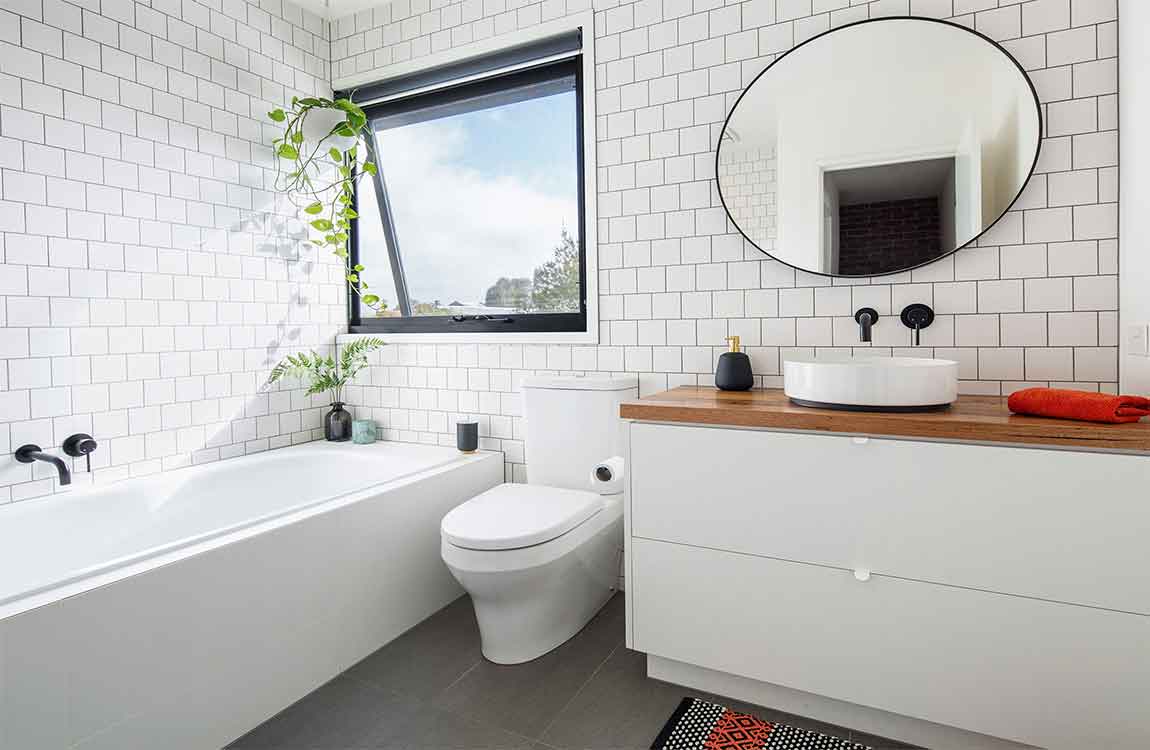
Remove wall hangings, bath products, and electrical covers. Clear out any wall art, shelves, window treatments, and towel racks that could get in the way of your paint job. Unscrew electrical outlet and wall switch covers, then replace the screws so you don’t misplace them. If you’re also painting a sink vanity or cabinet, remove the knobs and other hardware.

Take out the toilet if you can’t fit a roller or paint tool behind it. If there’s a little space between the toilet and the wall, you can simply purchase a thin sponge stick that’s specially designed to paint and clean behind a toilet. Find one online or at a home improvement store. Otherwise, turn off the water supply, flush the toilet to drain it, then begin removing it. If the tank is removable, loosen the nuts that secure its mounting bolts to the bowl. If the bowl still blocks the wall, unscrew the floor bolts at the base, then lift the bowl out of place.

Clean the walls and trim so your paint job lasts longer. Paint can’t adhere to surfaces covered with dust, grime, or mildew, so clean the walls with a mix of 1 part bleach and 3 parts warm water. Soak a sponge or mildly abrasive pad in the solution, wring it out, and scrub all surfaces you plan on painting. It might seem like a lot of work, but you wouldn’t want your new paint to start peeling in only a matter of months.

Alternatively, dilute concentrated TSP (trisodium phosphate) cleaner with water as directed. TSP is a stronger cleaner, so you won’t have to scrub as hard. Wear rubber gloves when using TSP or a bleach solution. If your bathroom has a window, open it; if not, turn on the exhaust fan. Patch any holes or cracks with filler or a drywall compound. Shine a bright light over the walls and trim to spot areas that need patching. Use a putty knife to patch problem areas, then scrape off excess compound to create a smooth surface.

How Maintaining Fiberglass Surfaces?

Spray the surface with vinegar 2-3 times per week. Fill a spray bottle with white vinegar and use it to spritz the fiberglass surfaces a few times a week. This can minimize odors in addition to cutting down the amount of time you’ll spend scrubbing the fiberglass clean later.

Avoid leaving items suctioned to the surface. If you have items in your tub or shower that adhere to the fiberglass with suction cups, remove them. They leave residue stains that are difficult to remove and clean properly.

Polish and wax fiberglass surface twice per year. Use a clean cotton cloth to first apply an automotive white polishing compound to any dull or scratched areas, and then buff with a white automotive cream wax. Repeat this routine twice a year to keep your fiberglass tub or shower looking shiny and new.

Keep your fiberglass surfaces dry. After each use, squeegee your shower or wipe it dry with a bath towel. Doing this regularly will get rid of the particles that allow soap scum to form, which will give you fewer stains to scrub off in the long run. Open the window or turn on a fan when your bathroom surfaces are drying to avoid mildew growth.

Soften your water. Install a water softener to filter minerals out of your water, which contribute heavily to soap scum buildup and rust. Additionally, put epsom salts in your bath water each time you take a bath to help soften it.

How Removing Fiberglass Bathroom Surfaces Tough Stains?

Remove soap scum with baking soda and water. Once soap scum accumulates, it can be difficult to get off with regular bathroom cleaners. Mix water and baking soda until it has a paste-like consistency and apply the paste to the soap scum areas. Leave the applied mixture alone for a couple of hours and then rinse it off with warm water.

Use an acid to dissolve stubborn soap scum. More challenging soap scum might need an acid, such as vinegar, to help dissolve it. For best results, soak a cloth with vinegar and cover the stained area with it for about an hour.

After removing the cloth, clean the area with warm soapy water and a soft sponge. Stronger acids, such as diluted muriatic acid, should only be applied while wearing rubber gloves and as a last resort.

Bleach dark stains with hydrogen peroxide. Deeper, darker stains may be challenging to get rid of with regular cleaning products. Place several layers of clean white cloths over the stained area and pour hydrogen peroxide on top. Let the hydrogen peroxide soak in overnight and in the morning, rinse and dry the area.

Use acetone or paint thinners on extreme stains. Difficult stains can be removed with acetone, which is the main ingredient in nail polish remover, or paint thinners such as turpentine.

Soak a clean white cloth with the solution that you’re using and gently rub the stained area until it returns to its natural color. These solutions are fine to use occasionally on stained fiberglass, but should be used sparingly.

How to Clean Fiberglass Bathroom Surfaces?

You might be a little lost when it comes to properly cleaning your fiberglass shower or tub, but you certainly aren’t alone. Wear and tear create stains and scratches on your bathroom surfaces, and usually they’re pretty easy to tackle. Fiberglass surfaces, however, are more of a challenge to sanitize because of their sensitivity. Clean, remove stains, and preserve your fiberglass bathtub or shower to keep it looking new.

Select or create a non-abrasive cleaning solution. For a general cleaning, fill a bucket with warm water and add a squirt of liquid detergent. Add more soap to your bucket if you think you’ll have a tough time cutting through stubborn dirt and grime.

Opt for non-abrasive cleaners such as dish and laundry detergents, household all-purpose cleaners, bathroom cleaners, or baking soda. Avoid abrasive cleaning products, such as scouring powders, since these can cause damage to your fiberglass bathtub or shower.

Apply the cleaning mixture with a non-abrasive applicator. Dunk a soft sponge in your bucket of warm soapy water and gently scrub the surface of your fiberglass shower or tub. If you don’t use a soft sponge, make sure that your applicator is made of nylon, polyester, or polyurethane.

Do not use scouring pads, steel wool, or scrapers because they will be too harsh on the fiberglass. Rinse away the cleaning solution and dry the surface with a towel. Let the cleaning solution sit on your fiberglass surfaces for about an hour. Afterward, rinse the tub or shower thoroughly with warm, clean water and dry it with a hand towel.

How Unclogging Your Shower Drain?

Your shower may be where you go to get clean, but it can be a thriving haven for mildew and grime. Cleaning your shower can be a big job, but it’s worth it to have a fresh, clean shower. No matter how dirty your shower is, there is a strategy to clean each part.

Remove hair from the drain. Take apart a wire hanger or use a long, thin item such as a knitting hook. Grab a garbage can or a plastic bag to put the hair in. Then unscrew the cap on your drain or just reach in, depending on the style of your drain.

Pull the hair out and throw it away. Keep pulling the hair out until the drain is clear. Hair should be removed from drains on a weekly basis to keep your drains clear.

Apply a drain cleaner. You can opt for a commercial brand, or you can make your own by adding ¼ cup (59 milliliters) of ammonia to a quart (1 liter) of boiling water. Pour in the cleaner to dissolve any remaining clogs. Use a drain cleaner about once a month to prevent major clogs. With proper cleaning, your drains should continue to work well. If a drain becomes too clogged, you may need to call a plumber.

Rinse with hot water. Turn on the faucet and clear the drain with clean water. If the drain backs up again during rinsing, repeat the steps to remove the clog.

How to Create an Inexpensive Shower Enclosure for an Old Fashioned Bathtub?

Typically, an old-fashioned claw footed tub is converted to a tub-shower combination with an expensive store bought contraption. However, you can accomplish the same thing quite simply, with some wood dowels and twine. This is especially useful for students who live in old houses and don’t have money for the expensive version.

Note that you will be making a rectangular shower curtain rod suitable for hanging shower curtains around the bathtub. Determine the approximate dimensions of the tub. If you don’t have a tape measure, use a piece of string. Buy some wood dowel of approximately 1 1/4″ diameter at any home or hardware store. You’ll need one long dowel for each of the long sides of the tub, and one short dowel each for the front and back. Probably you’ll end up purchasing three dowels and cutting one of them into two short pieces.

While you’re there, purchase the inexpensive hand-held shower that fits over the tub spout, and a ball of string or twine. The store will usually be happy to make the one or two cuts you might need to get the dowels to a suitable length. Back home, lay the dowel on the floor in a rectangle, overlapping the corners a few inches. Lash each of the corners together with twine. If you don’t know how to do this, find anyone who’s ever been a girl scout or boy scout to help you. Install four hooks in the ceiling approximately where the corners of the enclosure will be.

Use some more twine to hang rectangle from the hooks. Adjust the length of the twine to hang this contraption somewhat level and centered above the tub. Install two shower curtains, each extending from the front of the enclosure to the back. Overlap the curtains by about two rings. If your enclosure is really big you might need more shower curtains.

Install the shower over the tub spout. To shower, slip between the shower curtains, and use the hand held shower. If you use PVC pipe, you can cut and lash them as described above, or you can also try the following method. This is only recommended if you’re reasonably handy: Mark where the corners/bends will be with a marker, allowing for a curve radius of about 6 inches (15.2 cm).

Heat up the marked section of pipe with a flame, such as a blowtorch or gas stove. Do not breathe the smoke/fumes from the heated pipe. Move the pipe constantly to heat the entire area. It will probably take several minutes for the pipe to soften. Once the PVC becomes rubbery, bend it to the desired position, and submerge in a sink full of cold water. Continue for the other bends. The pipe will inevitably have burn marks, sand or paint them if you like.

How Keeping Bathroom Grout Clean?

Wipe it with alcohol. One of the easiest ways to prevent grout from getting dirty is to clean it often with something that will prevent mold and mildew from forming in the first place. One such substance is alcohol. Once a week, wipe the grout down with isopropyl (rubbing) alcohol using a clean cloth.

Spray it with a mold inhibitor. There are several spray solutions you can make yourself using a clean spray bottle, including vinegar and water, tea tree oil and water, and hydrogen peroxide. Two to three times a week, spray the grout after a bath or shower with a solution of:

Half-and-half vinegar and water. However, be aware that overuse of vinegar on grout can cause erosion over many years. Water and 15 to 20 drops of tea tree oil. Shake well before each use. Pure hydrogen peroxide in a spray bottle.

Dry the grout after every use. Removing the excess water from tiles and grout after a shower or bath is one of the easiest ways to keep grout looking new. After each use, wipe the shower walls or bath down with an old towel or squeegee.

Keep the bathroom dry. Another great way to keep mold and mildew from growing in your bathroom is by removing the water that allows it to grow. If your bathroom isn’t equipped with an exhaust fan, remove moisture from the air after every shower or bath by opening the window and blowing a stand-up fan out the window.

Seal the grout. Grout should be re-sealed every few years. Sealant can be applied to the grout lines with a paint brush. Allow it to dry, and then remove sealant from the tiles by wiping them in a diagonal direction with a damp cloth or sponge. One applied and cleaned, allow the sealant to cure for about three to four hours.

How Cleaning Bathroom Grout With Stronger Products?

Try oxygen bleach products. This is another name for sodium percarbonate, which is a compound made of hydrogen peroxide and soda crystals. Brand-name products include Clorox, OxiClean, Oxi Magic, and Bio Kleen. Mix the product with water as per the manufacturer’s instructions. Apply to the affected area and let it sit for up to an hour before scrubbing and rinsing.

Be sure to use these products in a well-ventilated area, and avoid contact with your skin. Always wear gloves to use these products. Always spot test commercial products in a small area on your grout to make sure the product won’t discolor, erode, or damage your grout. Don’t use any sort of bleach product on colored grout.

Use a commercial grout cleaner and whitener. There are many cleaners out there that are designed specifically for grout, and most of them can be purchased at hardware stores. Be sure to always follow the manufacturer’s instructions for use, and follow all the safety precautions.

Beware of chemical combinations. In case you find one chemical hasn’t worked and you want to try another, be sure to wash the area and wait a couple days before trying something new. Just like hydrogen peroxide and vinegar can combine to form peracetic acid, so too can commercial cleansers mix to form poisonous gasses, caustic liquids, and noxious fumes.

Stain the grout as a last resort. For dirt and stains that just won’t come clean from your grout, there are colorants you can apply to cover the stains and make your grout look like new. The area should be nice and clean, but if not give it a once over with your favorite cleaner and let the area dry overnight.

Pour a small amount of grout colorant into a container. Dip a clean toothbrush or grout brush into the color and apply it to the grout using even, back and forth strokes. Remove the excess with a paper towel, and allow to dry as per the manufacturer’s instructions.

How Cleaning Bathroom Grout With Kitchen Remedies?

Steam clean the grout. One effective and environmentally friendly way of cleaning grout is to attack it with a steam cleaner. Outfit your steam cleaner with a thin and pointed nozzle, and a brush attachment if it’s available. Aim the nozzle at the grout lines, apply continuous steam, and follow the grout lines with the steamer.

Even if the steam cleaner doesn’t get the grout perfectly clean, it will clean it somewhat, and help loosen the rest of the dirt and debris to make it easier to clean with other products. Attack it with baking soda and vinegar. Take two tablespoons (30 g) of baking soda and add enough water to make a thick paste. Dip a clean toothbrush or grout brush into the paste, and then use the toothbrush to scrub the grout with the paste.

For the best results, use a new toothbrush with hard bristles, and scrub the grout in a circular motion, rather than back and forth. When you have finished scrubbing the grout, use a spray bottle to spray the area with a half-and-half mixture of vinegar and water. Let it bubble for about half an hour. Use the toothbrush to scrub the baking soda paste and vinegar into the grout again. Rinse the area with clean water.

Move on to baking soda and hydrogen peroxide. In case the baking soda and vinegar mixture didn’t to the trick, try hydrogen peroxide instead of vinegar. Make a thin paste with baking soda and hydrogen peroxide, and use the toothbrush to scrub the paste into the grout. Pour on some additional peroxide if necessary. Rinse with warm water when you’re finished.

You should never mix vinegar and hydrogen peroxide, so clean the area well and wait a couple days before trying this method. If the hydrogen peroxide doesn’t remove all the dirt and grime, it will at least improve the appearance of the grout by removing stains, and will kill any mold that’s present.

Give borax and lemon juice a try. In a small bowl, mix together ¼ cup (63 g) borax, ½ teaspoon (3 ml) lemon oil, and enough liquid soap (such as Castile soap) to make a paste. Use your toothbrush to scrub the paste into the grout, and then rinse with warm water.

How to Keeping the Bathroom Clean?

Run the fan. Keeping your bathroom ventilated will discourage the growth of mildew, keeping your big cleaning sessions few and far between. Always run the fan after you get out of the shower, to dry out the bathroom and keep the moisture from clinging.

Wipe down the shower after you use it. To make sure mold and mildew doesn’t build up in the shower in between big cleaning sessions, take time to wipe it down every time you take a shower. Combined with running the fan, this should keep your bathroom mildew free.

Keep it tidy. Much of what we call “mess” is really just clutter. If clothes accumulate in your bathroom, put a hamper, or even a cardboard box in the bathroom to collect dirty clothes. Use a toothbrush holder or a cup to keep your toothbrushes in order. Keep other supplies in an old shoebox under the sink to keep the surface tidy.

Use the toilet brush. Even if it doesn’t look dirty, minerals in the water can stain the bowl, so it’s a good idea to brush the toilet down with a sturdy toilet brush fairly regularly. If you do this even just once a week, your bigger cleanings will be much easier and infrequent.

Wash toothpaste down. Toothpaste stains and build up in the sink and even on the mirror can make a bathroom look dirtier than it needs to be. Make sure you clean up after your toothpaste, washing it down and rinsing the sink out, then drying the bowl of the sink when you’re finished. To consolidate tasks, do this while you mouthwash for an added dental benefit.