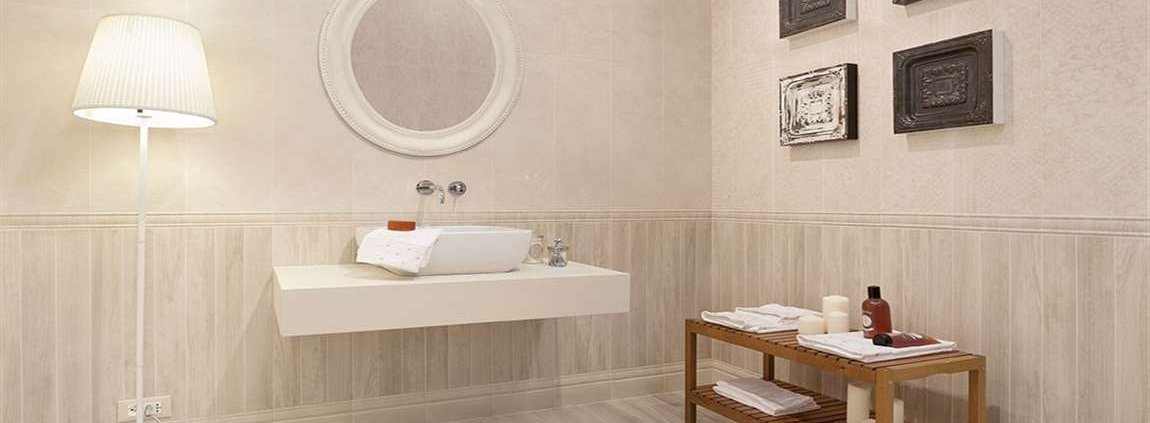
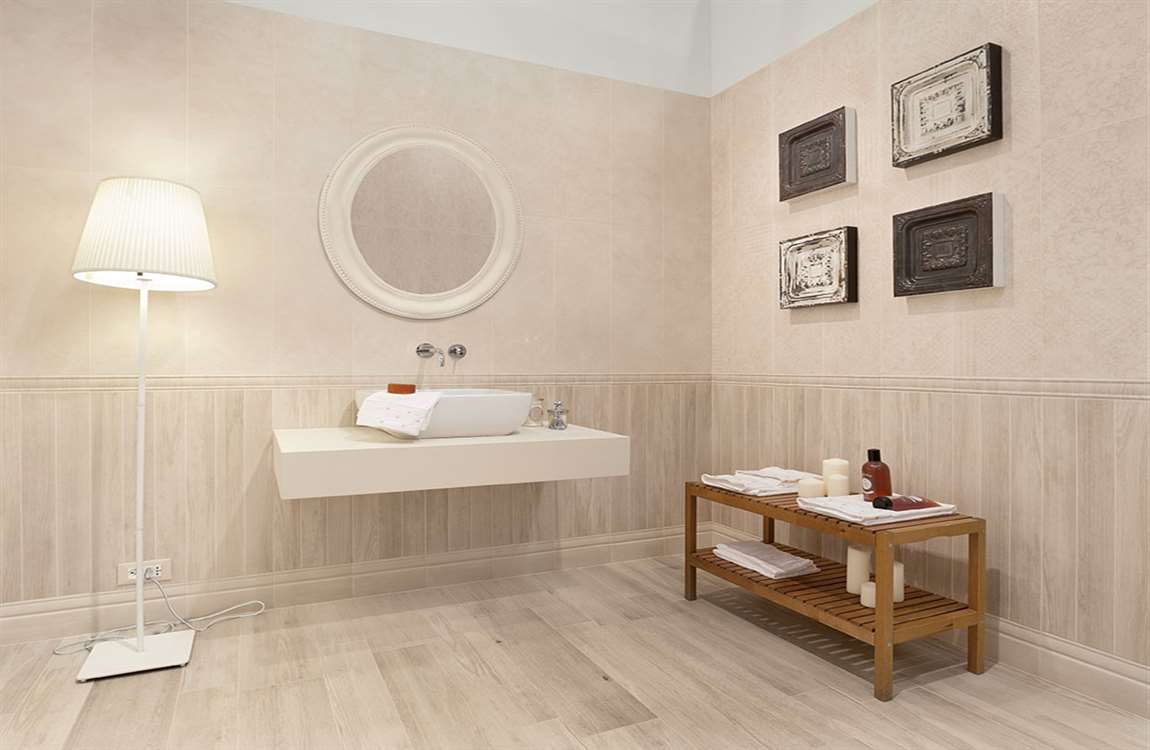
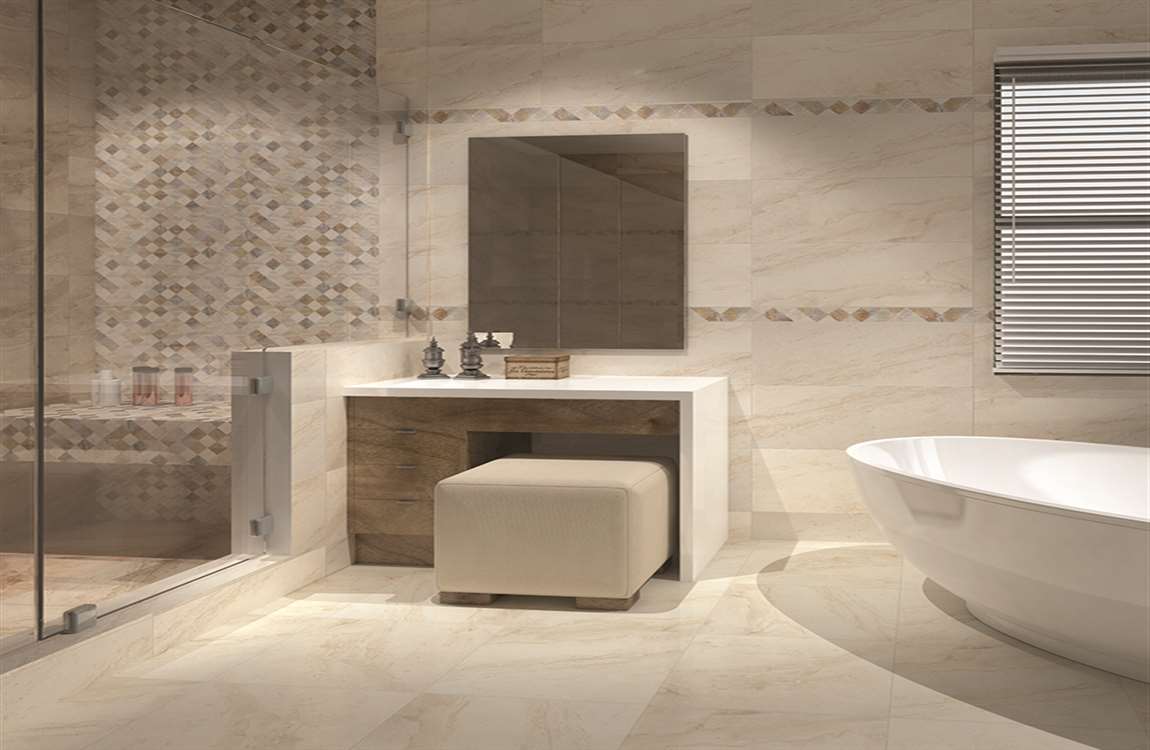
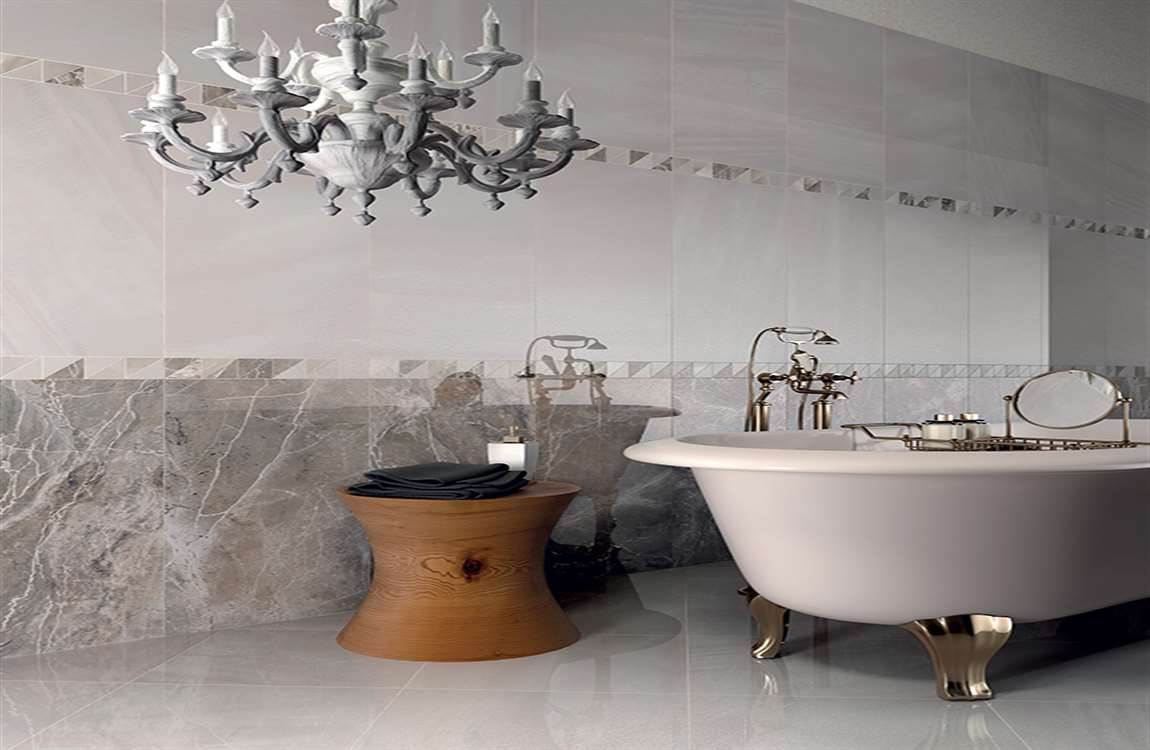
How Removing Stains from an Acrylic Bathtub?

Avoid abrasive chemical cleaners. When cleaning an acrylic bathtub, stay away from harsh astringent powders such as Comet and Ajax, as well as harsh chemicals like bleach. Acrylic is a soft material and is therefore easily damaged. These types of products are almost guaranteed to ruin your tub’s finish. It’s generally a good idea to start with the gentlest cleaning solution available to you and work your way up to more powerful options if that doesn’t work.

Spray the stains with vinegar. Distilled white vinegar makes an excellent natural cleaning solution, especially on smooth surfaces like acrylic that release stains easily. Fill a spray bottle with vinegar and keep it on hand for routine bathroom cleaning tasks. Apply the vinegar liberally to completely cover the affected area. Lemon juice makes a fine alternative to vinegar if you happen to have some in the refrigerator.

Allow the vinegar to sit for 10-20 minutes. As it sits, the acidity in the vinegar will break down mold, grime and discoloration so that they can wiped away with ease. You may even see stains begin to dissolve and run off on their own, before you even begin scrubbing. Make sure you give the vinegar ample time to begin working. For especially troublesome spots, sprinkle a little baking soda onto the vinegar as it soaks.

How Cleaning the Tile Above the Bathtub?

Run the shower on hot. With the bathroom closed, run the shower on hot for a few minutes. The steam from the shower will help release dirt and grime. Test your cleaner first. Whatever cleaner you choose to use, test it in an inconspicuous place first. You want to make sure it doesn’t damage or discolor your tile.

Apply the cleaner. Scrub the tiles thoroughly or apply the cleaner as directed. Rinse the tiles off thoroughly. You don’t want to mix chemicals, and rinsing the tiles will help with that. Scrub the grout with bleach or a cleaning product. Dip an old toothbrush in bleach or cleaning product. Scrub along the grout to create whiter grout.

If you don’t want to use bleach, a product like Scrubbing Bubbles, Kaboom, or Lysol Bathroom Cleaner will work great. Alternatively, you can combine white vinegar and water to make your own cleaning solution.

Small and mid-sized grout brushes are a great option for cleaning your grout. You can find different sizes of these brushes where you buy cleaning supplies. Make sure the cleaner you used previously is compatible with bleach before applying this solution. For instance, neither vinegar nor ammonia should be mixed with bleach.

Rinse off the bleach or cleaning product. Let the tiles dry. Seal the grout. You should seal the grout twice a year. Sealing it helps protect it from the moisture in the bathroom.

Use a penetrating sealer. These coat the grout but still allow moisture to escape. The grout won’t crack as much with this type of sealer. Clear out everything that could block the grout. You want to have access to it to apply the sealer. Clean off the grout. If it’s discolored, apply the bleach as described above. Let it dry.

How to Clean a Bathtub?

No one likes a grimy bathtub, but no one likes to clean it either. However much you dread this task, you have many options available to make the process simpler. You can use a natural cleaning product, such as grapefruits and salt, or a commercial product to thoroughly clean your bathtub.

Use baking soda paste. This paste works well for rust stains, but you can also use it as a general cleaner. To make the paste, add water to the baking soda until it forms a paste-like substance. Then, use a sponge to apply the paste to the areas you want to clean. Scrub the paste into the surface to help remove the stains. Finally, rinse away the paste.

If your bathtub is very dirty or stained, apply the paste onto the affected areas, then spritz over it with white vinegar. Allow the baking soda and vinegar to set on the stain for 10-15 minutes, then scrub with a sponge. Finally, rinse away the baking soda and vinegar. This should remove the stains.

Try borax and a lemon. This coupling also works well on hard stains. Dust the stain with borax. Cut a lemon in half, and rub it on the stain. Let it stand for at least 15 minutes. Wash it away.

Practice everyday cleaning. If you clean out your tub every time you shower, you won’t have a buildup over time. Use the shower to sprinkle the tub with warm water, washing away any dirt. Wipe off the water with a towel or sponge.

Apply as directed. Leave the cleaner to sit, or scrub it in as directed by the manufacturer. Don’t use a metal or abrasive brush as it can damage your tub. For hard to reach places, try scrubbing using an old toothbrush and one of the aforementioned cleaning products.

How Cleaning a Bathtub with a Commercial Product?

Put on gloves. Some chemicals are harsh, so put on gloves to protect your skin. Clear the tub of debris. Hair and loose dirt will get in the way of your cleaning, so use the shower to wash them down the tub. Hair and debris may clog your bathtub drain, so you may want to remove most of it from your tub using a paper towel. Then, rinse your tub with your shower stream.

Choose a sponge and brush. Don’t pick a sponge that’s too abrasive, such as steel wool. Stick with a scrubbing sponge. Otherwise, you may take the finish off your tub. Additionally, it’s helpful to use a toothbrush or grout brush to get into the nooks and crannies, as well as around the faucets.

Magic Erasers or similar products can be perfect for acrylic bathtubs which scratch easily. Magic erasers are relatively inexpensive and can be bought from local hardware stores or supermarkets. All you need to do to use one is wet the eraser, scrub the tub, and rinse well afterwards.

Pick a cleaning product. You have many options available to you. Which one you choose depends on your preference. For instance, you could use Lysol Bathroom Cleaner, Clorox Clean-Up, or Scrubbing Bubbles.

Read the manufacturer’s instructions. Each cleaner is a little bit different. For it to be the most effective, you need to follow what the instructions say. For instance, you may need to spray or scrub a solution on and leave it for a period of time. Bathroom cleaners can be quite overpowering so make sure the room is well-ventilated and if necessary, leave the room for a time to prevent inhaling any dangerous fumes.

How Cleaning the Bathtub Naturally?

Wash away any grit and hair. Use your shower to wash away any debris in the way. If you have a removable shower head, use it to spray around the tub. Otherwise, use a cup or small bucket to pour water around. If you have a lot of hair and debris in your tub, it’s best to wipe it away with a paper towel before you rinse the tub using your shower head. Otherwise, you may accidentally clog up your drain.

Try a grapefruit and salt scrub. The acid from the grapefruit combined with the abrasiveness of the salt helps to scrub away grime. Plus, the grapefruit leaves your bathroom smelling like citrus. Cut a grapefruit in half. Cover the open half with salt. Sprinkle salt on the wet tub.

Scrub the tub with the grapefruit, releasing juice as you go. You may need to switch to another half to scrub away all the grime in your bathtub. You may even need more than one grapefruit. Rinse away any salt and pulp.

Create a bathtub and sink scrub. You may already have the ingredients in your home, especially if you like organic soaps. Mix 1 cup of baking soda with 1/2 cup of Castile soap and a few drops of peppermint or tea tree essential oil. Use the mixture on a sponge to scrub down your tub. It works especially well on soap scum. Rinse it away when your tub is clean.

Make a vinegar spray. Vinegar is slightly acidic, so it can help remove bacteria and stains. In a clean spray bottle, add 1 cup of vinegar and 1 cup of water. Shake vigorously. Spray it on your tub. Use a sponge to scrub it down. Rinse away the vinegar.

How Maintaining Your New Vanity?

Reassemble the vanity after it’s dry. When all the pieces are dry, you can remove the painter’s tape and reassemble the vanity pieces with the hardware you stored. Re-stock it with your products, and then it’s ready to be used!

Take the opportunity to do some spring cleaning. As you’re putting items back into the vanity, think about how often you use them. If you’ve barely or never used them, get rid of them to make more space inside your new vanity.

Revamp the hardware to give the vanity a whole new look. Switch out your drawer and cabinet handles for new hardware. Try hardware in a different metal, glass knobs, or handles instead of knobs. This will complete the vanity’s transformation and make it feel brand-new.

Patch up scratches by gently sanding and painting over them. Use a very fine grit sandpaper to lightly sand the chipped area. Then use a brush with the same paint that’s already on the vanity and paint over the scratch.

Try to fill the scratch in with the paint so it looks level with the rest of the surface. Let the paint dry for a few minutes, and the vanity should look as good as new. Very fine sandpaper includes grits of 240, 320 and 400.

Applying Bathroom Paint

Apply a thin coat of primer to the vanity and drawers/doors. Use a brush to cover the edges with primer, then finish by covering the flat surfaces with a foam roller. Let the primer dry overnight so the paint can sit and harden. Remember to apply primer to the drawers and doors as well. Only use primer if you’re painting with latex or oil-based paint. If you’re using chalk paint, skip priming and go straight to painting.

Older paint and primer formulas needed to be paired by type, such as oil-based with oil-based or latex with latex, but current formulas can be mixed and matched. If you chose a glossy finish paint, make your priming layer as smooth as possible. Glossy paint shows imperfections much more visibly than flat finish.

Pick from oil-based, latex, or chalk-finish paint. Keep in mind that oil-based and latex paints require a primer, while chalk-finish paint does not. Oil-based paint is strong and durable, resists chipping, and levels out any imperfections. However, it has a strong odor and is difficult to clean up.

Latex paints are water-based and very durable. Choose a satin finish to have a nice, light sheen that’s not too shiny. Chalk paint is a quick, easy option with a smooth, flat finish. It dries fast and because it’s thick, it requires fewer coats of paint. However, its thick consistency also means it’s easy to leave brush marks.

Apply a coat of paint to the vanity and let it dry overnight. You can use a brush or foam roller to paint or a combination of the two. Foam rollers also create a more even coat of paint, so use them for larger, flat areas, then paint over any detailing or edges with a brush. Start by filling a tray with paint, then add more as needed. Remember to paint the drawers and doors as well, keeping them on the dropcloth to prevent mess. Always paint in the direction of the wood grain.

How to Paint a Bathroom Vanity?

Painting your vanity is the perfect way to give your bathroom a facelift. To prep the vanity for painting, remove all of the drawers, doors, and hardware. Fill in any imperfections with wood putty, then sand and wipe down the surface. Apply primer for a smooth finish and leave it to dry overnight. Apply 2 light layers of paint and let them dry overnight as well. Once you’ve removed the tape and reassembled your vanity, the transformation is complete!

Patch up any surface flaws with wood putty, then let it dry. Fill in any dings, gouges, or deep scratches with wood putty and a putty knife. Make sure to overfill the imperfections so that when the putty dries down, it’ll still fill the damaged area. Wait for the putty to dry and harden before continuing your project.

For shallow imperfections that are less than 0.25 inches (0.64 cm), you can usually sand after 15 minutes. However, with gouges that are deeper than 0.25 inches (0.64 cm), you’ll need to wait 2-8 hours before sanding.

Sand down any extra putty, clear finish, or loose paint. Use 220-grit sandpaper to even out the level of the putty and rub off any gloss finish on the wood. You can also use it to remove spots of loose or damaged paint. Make sure to sand the inside corners of the cabinet as well. This will help create a good base for the paint to stick to.

Clean up the dust with a vacuum and a damp rag. Remove the sanding dust by gently vacuuming the vanity surfaces and the surrounding area. Use a brush extension and a low setting when vacuuming. Lightly dampen a rag with water and use it wipe down the vanity surfaces. This will help pick up any leftover dust. Let the vanity surface dry before moving on to priming.

Prepping the Vanity Before Paint a Bathroom Vanity

Empty out all of the cabinets and drawers. Take out all of vanity’s contents, such as personal products, towels, and styling tools. Set these aside where they will be out of the way while you work on the vanity. This will help prevent mess and damage from the paint.

Spread a dropcloth on the floor around the vanity. Use a plastic or canvas sheet to help protect against any paint drips or spills. Tape down the edges of the dropcloth with painter’s tape to keep it from moving around. To keep debris from getting trapped under the dropcloth and scratching the floor, vacuum the floor area before laying down the cloth.

Take apart all of the pieces of the vanity. Remove any drawers, doors, and false door fronts. Lay these on the dropcloth to paint separately. Remove all hardware, such as hinges and knobs, and store them in a plastic bag for safekeeping. You should also clearly label where each piece goes in the cabinet so they’re easy to replace once the paint job is complete.

Wash all cabinetry surfaces with dish soap and water. Wet a sponge or scrubbing pad and add a drop or 2 of dish soap to remove any built-up oil and grime. Make sure to wash all of the pieces, including the removed drawer fronts. Rinse at least twice with fresh water and a sponge. Let all surfaces dry completely.

Mask off areas you don’t want painted with painter’s tape. Place tape around the underside of the vanity top, any adjoining walls, the edge where the vanity meets the floor, and inside the cabinet frame. This will help keep these surfaces from accidentally being painted.

How to Clean and Re Grout Bathroom Tile?

Most bathroom tiles host mildew growth if there’s a lack of air supplied to the bathtub/shower area. Here are some steps that should help restore it to showroom condition. Apply the caulking. Prepare the surface by thoroughly cleaning and drying. Most caulking won’t adhere to a surface that is oily or wet.

Apply silicone, or vinyl caulking to tub/tile edge to keep this area watertight. Caulk around the faucet handles, tub spout, and overflow as needed. Apply a sealant. When the grout has cured, (three to seven days), apply a tile sealant according to the manufacturer’s instructions.

Compare the different types of bathroom cabinets. Closet cabinets are floor-to-ceiling units with doors, and have the appearance of built-in furniture. They may be used as linen closets, or to conceal washer/dryer units or water heaters. Base cabinets are freestanding cabinets that sit on the floor. These cabinets come in a wide variety of shapes and sizes, and can be placed anywhere in the bathroom.

Wall cabinets are hung on the wall, usually over a bathroom fixture. For example, medicine cabinets are narrow units that are generally placed within reach from the sink area, while open-shelved cabinets may be installed over the toilet area for toilet tissue storage.

Consider installation. While base cabinets may be set anywhere on the bathroom floor, closet and wall cabinets will require some labor and expertise when it comes to installation, as they must be firmly attached to the wall’s studs for safety.