
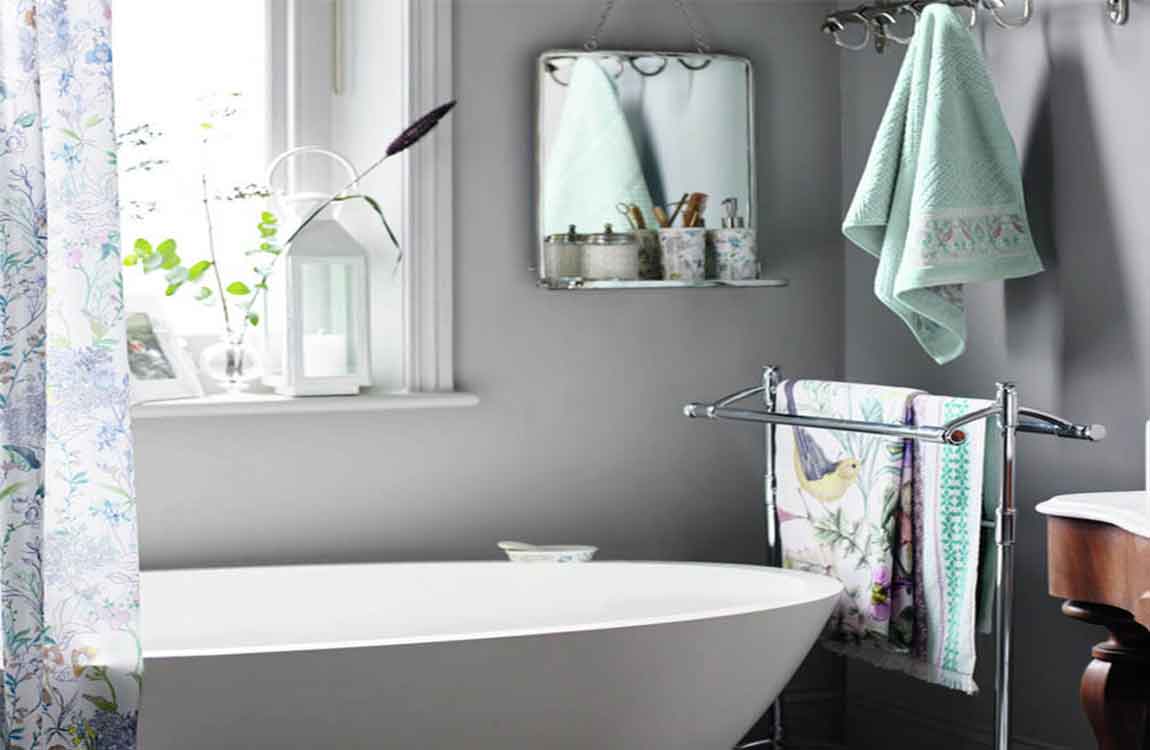
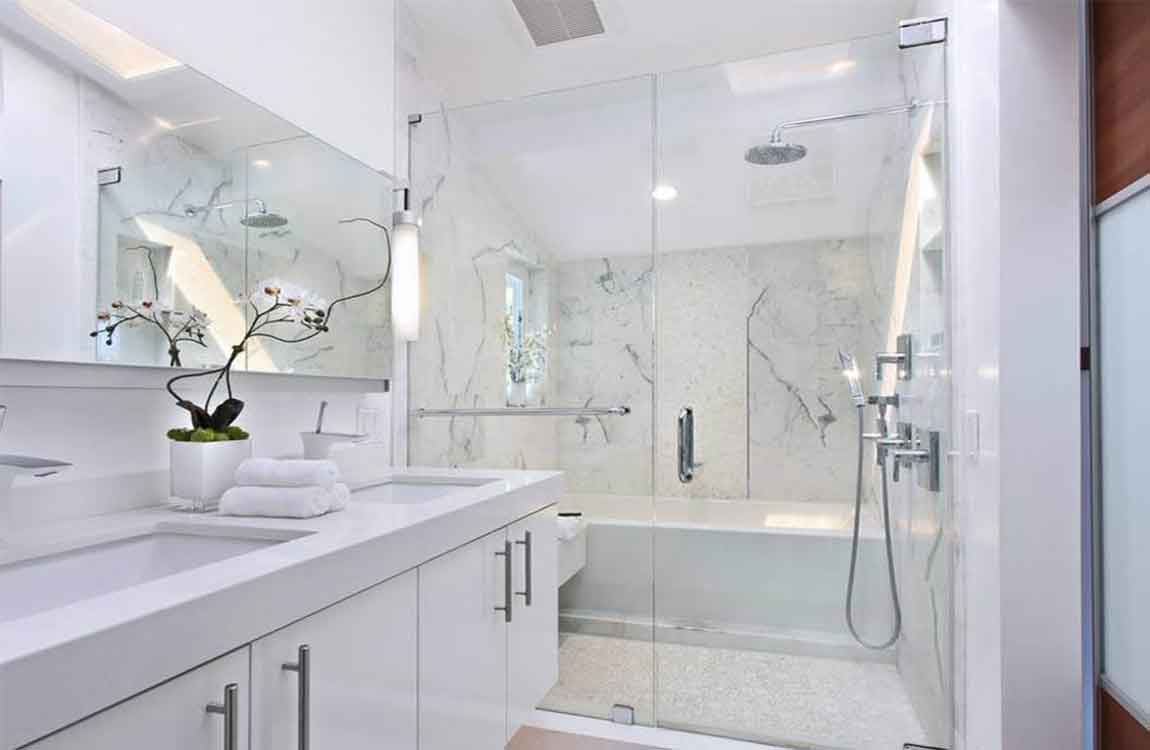
How to Tile a Shower?
A tiled shower adds beauty and durability and value to your home, and you can tile your shower all by yourself. There are several things you need to do to properly prepare a leak-proof shower. If you are tiling a shower for the first time, consult with a general contractor before starting the job. Use a hole saw with a carbide bit to cut the holes where the shower head and handles would come through.
Make the cement board flush with the tile lip of your shower pan by using shims behind the board to bring it out to the desired thickness. Make sure to use composite shims. Use 100% silicone caulk to seal the seams between the panels and then apply the silicone behind the board on the stud. Add some seam tape between the panels as well.
Lay the drywall. If using crown molding near the ceiling, lay down 12 to 18 inches (30.5 to 45.7 cm) of drywall instead of cement board. Nails used to fix the crown molding in place will not travel through the cement backer; you’ll need to use moisture-resistant drywall such as greenboard in order to take the nails and affix the molding.
Feather any edges with seam tape and thin set mortar where the backer board meets the wallboard. If there’s a gap between the backer board and the wallboard, you’ll want to use seam tape and then feather the gap with thin set mortar so that it appears as one continuous back. Remember that the seams must remain tight with gaps 3/16″ or smaller. Paint a water resistant primer over any areas you intend to tile.
After you’ve feathered the edges to remove the gap, apply a high quality water resistant exterior primer over the feathered wallboard and backer. Trowel some thin-set onto the back of the tile and spread it with a notched trowel. This process is called “back buttering.” Apply mortar to the backer board along with back buttering and then set the tiles on top of that. It’s a lot cleaner, too!


