Posts

How to Tile a Shower?

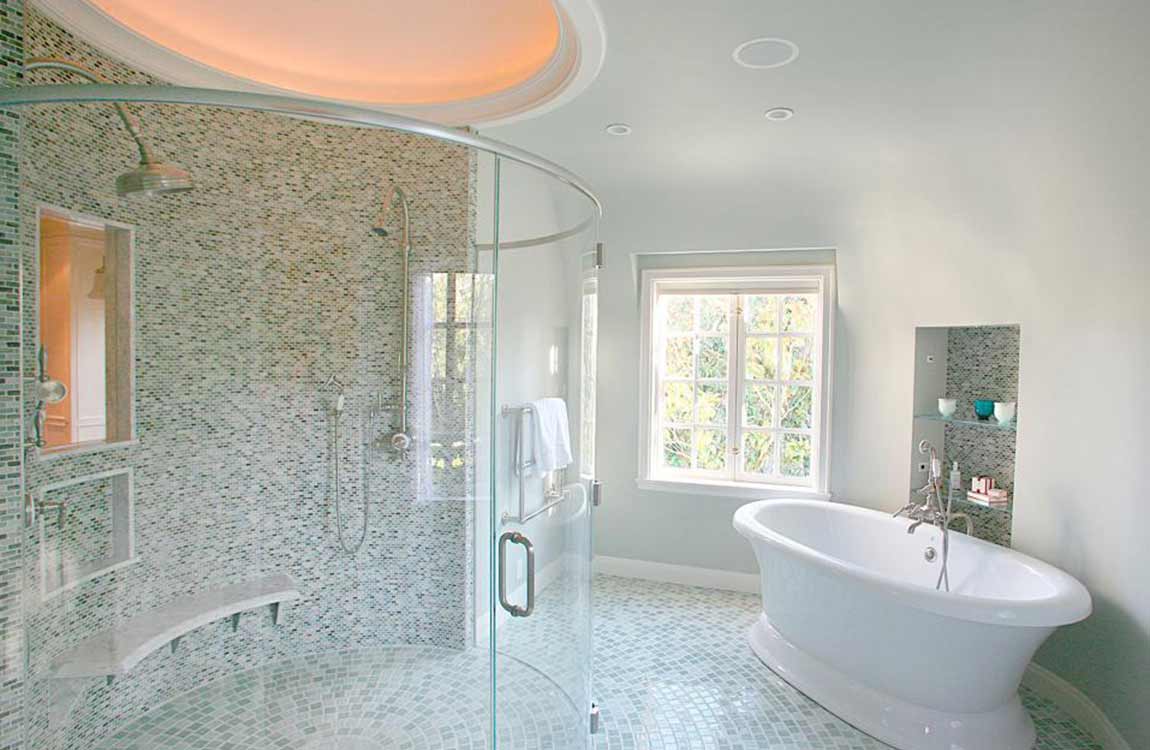
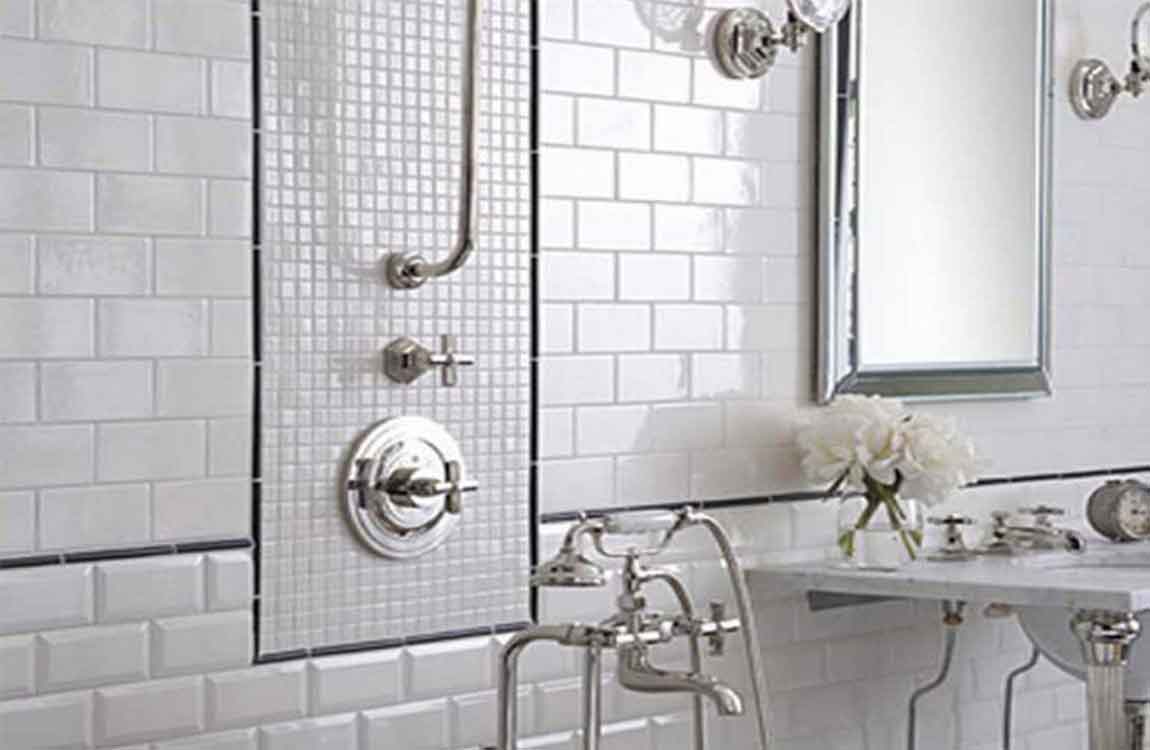
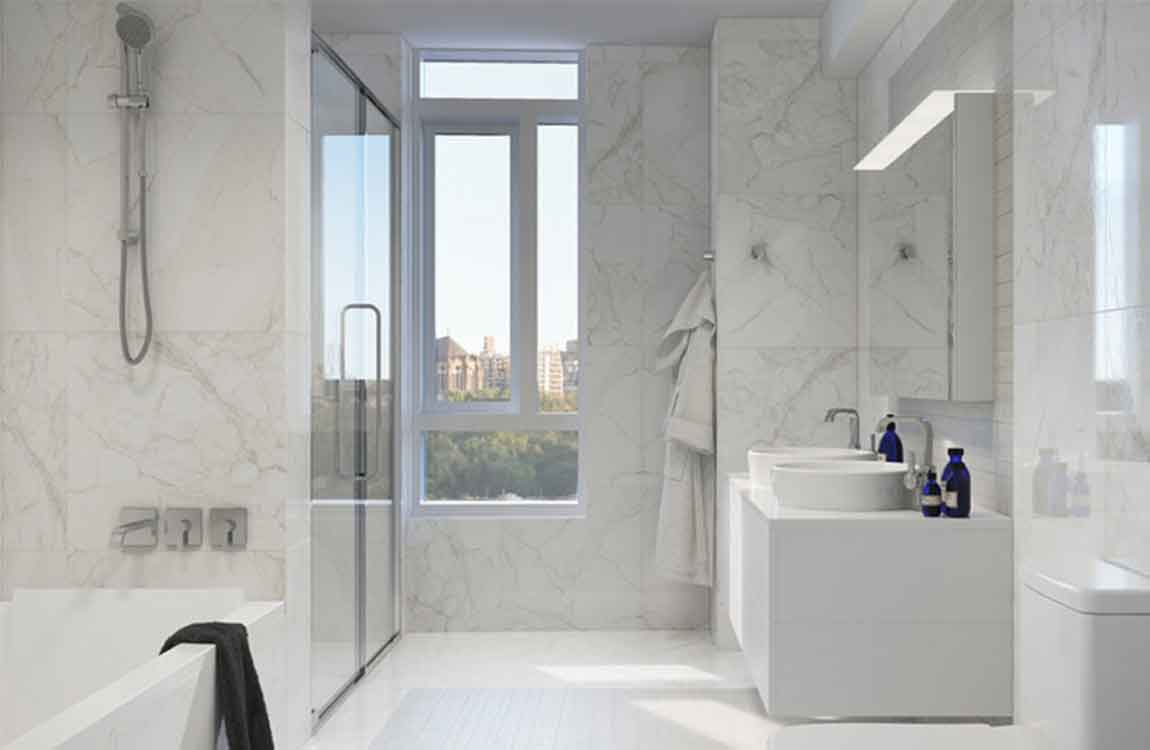
A tiled shower adds beauty and durability and value to your home, and you can tile your shower all by yourself. There are several things you need to do to properly prepare a leak-proof shower. If you are tiling a shower for the first time, consult with a general contractor before starting the job. Use a hole saw with a carbide bit to cut the holes where the shower head and handles would come through.

Make the cement board flush with the tile lip of your shower pan by using shims behind the board to bring it out to the desired thickness. Make sure to use composite shims. Use 100% silicone caulk to seal the seams between the panels and then apply the silicone behind the board on the stud. Add some seam tape between the panels as well.

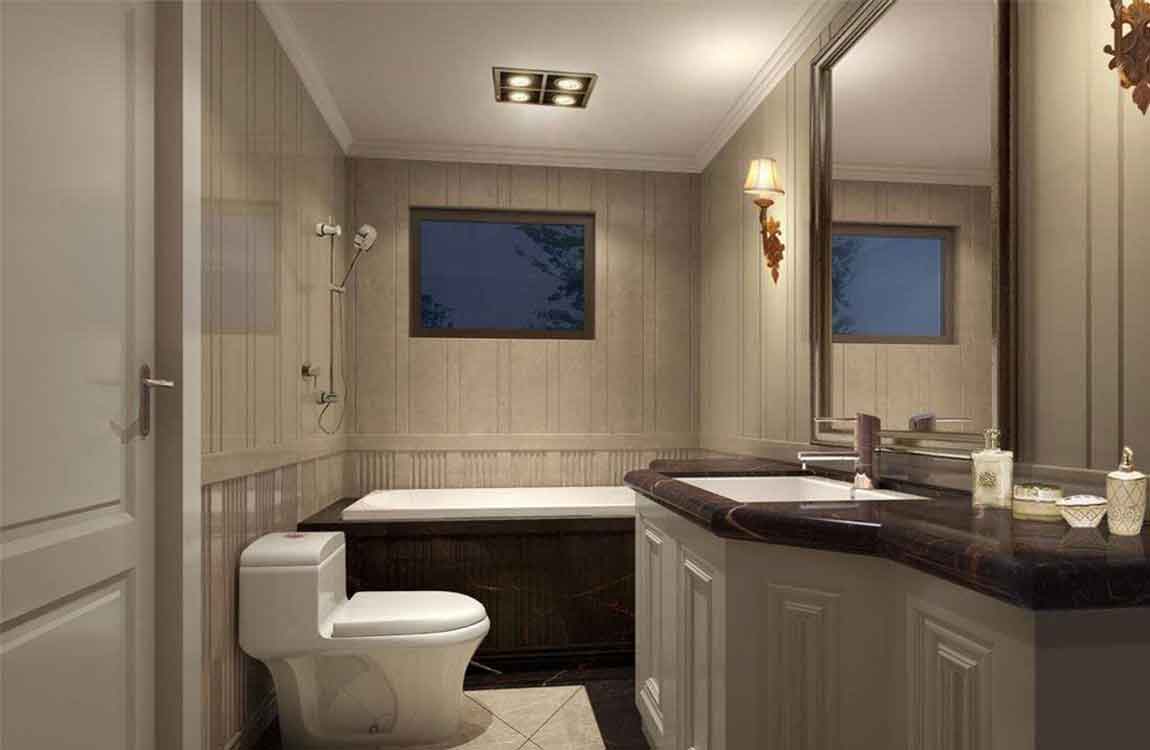
Lay the drywall. If using crown molding near the ceiling, lay down 12 to 18 inches (30.5 to 45.7 cm) of drywall instead of cement board. Nails used to fix the crown molding in place will not travel through the cement backer; you’ll need to use moisture-resistant drywall such as greenboard in order to take the nails and affix the molding.

Feather any edges with seam tape and thin set mortar where the backer board meets the wallboard. If there’s a gap between the backer board and the wallboard, you’ll want to use seam tape and then feather the gap with thin set mortar so that it appears as one continuous back. Remember that the seams must remain tight with gaps 3/16″ or smaller. Paint a water resistant primer over any areas you intend to tile.

After you’ve feathered the edges to remove the gap, apply a high quality water resistant exterior primer over the feathered wallboard and backer. Trowel some thin-set onto the back of the tile and spread it with a notched trowel. This process is called “back buttering.” Apply mortar to the backer board along with back buttering and then set the tiles on top of that. It’s a lot cleaner, too!

How Finishing up Tile a Shower?

Grout the tile. Mix up a batch of grout and let it rest for 5 to 7 minutes. Lightly wet the area you’ll be grouting with a damp sponge and dump a bit of grout onto the area. Use a rubber float to smooth it into the joints, attacking each joint at a diagonal angle. After 30-40 minutes (check the directions on the bag of grout) you want to wipe the excess grout with a damp sponge and a circular motion.


Keep wiping with a clean sponge until the tile is clear. The tiles may look a bit hazy even after wiping, so you may have to buff them with a clean sponge to get rid of this haze. Let the grout cure for approximately 3 days before sealing. Then, seal the grout. Run a thin bead of liquid grout or aerosol grout sealer onto the grout line and wipe away.


Let dry and then test its water resistance by dropping water onto the sealed grout. Correctly sealed grout will cause the water to bead up on top of it. Caulk any needed areas. Make sure to use a grout caulk to match the colors. As you caulk, remember to pull the caulk gun relatively quickly across the joint.


Most amateurs caulk too slow and end up dropping too much caulk down on the joint. Other things to remember: Keep the tip angled as you run the bead along the joint. Match the speed with which you pull the caulk gun trigger with the rate at which you pull the gun along the joint. You don’t want to be pulling the gun fast but triggering slowly, or vice versa.


After applying the bead of caulk, “bed” it by running a damp finger across the bead with light pressure. Make sure that your grout chalk matches the grout. Let the caulk dry and redo it if you are not happy with the results. Let the tile set for 48 hours. This will make sure that the mortar has adhered properly to both the tile backing and the cement board backer.

How to Removing the Old Faucet?

Disconnect the supply tubes. These are the tubes that connect the faucet to the water supply. Use the adjustable wrench to loosen the nuts where the hoses attach to the water supply. Use the basin wrench to loosen the nut attaching the hoses to the faucet. Turn the nuts to the left (counterclockwise) to loosen them. Once you’ve loosened the nuts with the wrenches, you can remove them the rest of the way by hand. Wipe up any water that drips onto the bottom of the vanity immediately to prevent damage or warping.

Loosen the lock nuts to take out the old faucet. Most faucets are attached to the sink by locknuts attached to the tailpieces under the sink. Use your hands or an adjustable wrench to loosen the nuts and unthread them from the tailpieces. Turn them to the left (counterclockwise) to loosen them. Remove the nuts and the washers from the tailpieces. Once you’ve removed the supply lines, nuts, and washers, the faucet will be loose. Hold the faucet in both hands and pull it straight out from the mounting holes. Remove the gasket if there is one and set it aside with the faucet. Use the flashlight to locate the nuts under the sink if you’re having trouble locating them.

Scrub the faucet holes. With a sponge or gentle abrasive pad, scrub the mounting holes around the sink where the faucet sits. Use soap and water or your favorite cleaner or detergent. Once the area is clean, rinse it well, pat it dry, and let it air dry completely. To remove old sealant or silicone, dampen a sponge or rag with mineral spirits and wipe the area clean. Then rinse the area with clean water and pat it dry.

Determine what kind of faucet you have. Once you’ve removed the old faucet from the mounting holes, you can figure out what hole configuration you’re working with and the type of faucet you need. There are three major types of faucets:

Single hole, where the sink will only have one hole for the faucet, and the faucet will all be one simple piece with a single handle. Center-set, where there will be three holes in the sink and the one-piece faucet will have separate handles controlling the hot and cold water. Widespread or split-set, which work with three-hole basins, but the spout and two handles come in three separate pieces.

Purchase a new faucet. Before you go to the home or hardware store for a new faucet, determine the type of faucet you have, look at your basin hole configuration, and measure the distance between the holes so that you get the right replacement faucet. Write down the number of holes your basin has, the type of faucet that was on there, and the distance between the holes. If you want to replace your old faucet with a new kind, you’ll have to replace the basin as well.

Use Linens and Textiles to Accessorize Your Bathroom

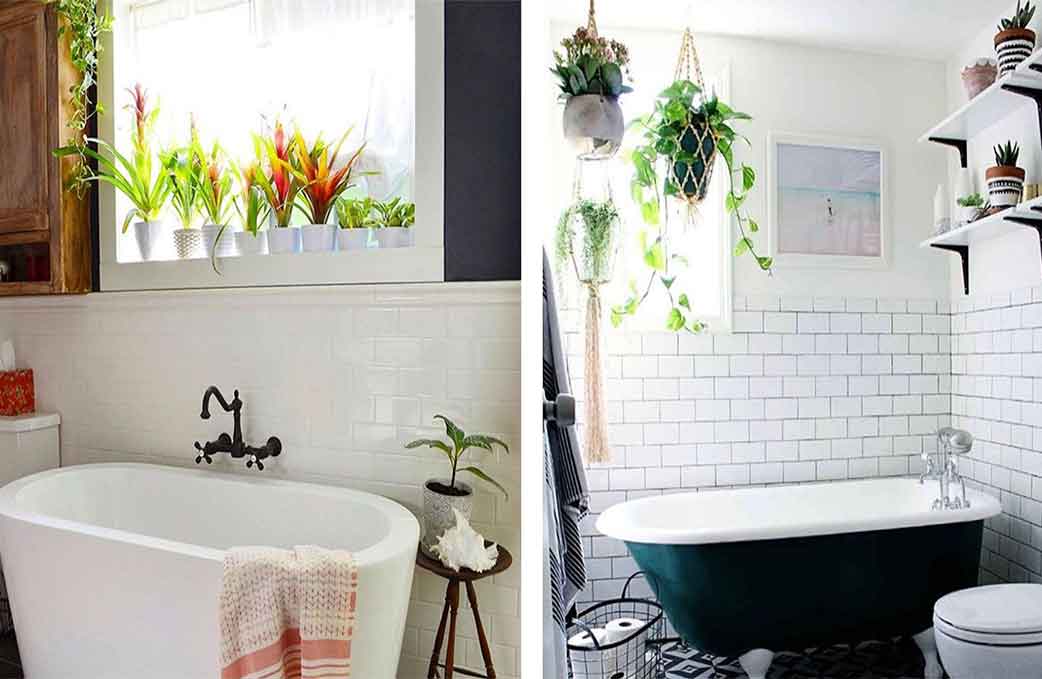
Keep small potted plants on your vanity. Potted plants add a dash of greenery and freshness to your bathroom. Pick a plant like a succulent that doesn’t require a lot of light or water so you have the easiest upkeep. Low-light plants will grow best if your bathroom does not have windows or natural light. Use fake plants or flowers for zero upkeep while still giving your bathroom a pop of color.

Put liquid soap in a nice-looking dispenser. Rather than using the original plastic soap dispensers, purchase a glass or ceramic dispenser for your vanity. Pick a style that matches the rest of the decor in your bathroom. Soap dispensers can be purchased in home decoration or big-box stores. Liquid soap refills can be purchased in a large container and are perfect for refilling the dispensers.

Hide a tissue box under a tissue cover. Provide tissues so you and your guests don’t have to tear off toilet paper to blow their nose or fix their makeup. While tissue boxes usually have designs on them, it may not match the style of your bathroom. Place a cover over the tissue box to hide the original cardboard that it came in.

Lay bath mats on the floor to catch any moisture. Lay mats right outside of the tub and underneath your vanity so water doesn’t get on the floors. Pick up mats that are absorbent and has an anti-slip material so it sticks to the floor. Bath mats can be purchased in most big box stores.

Purchase matching towels. Over the years, you may have gathered a large variety of towels that are mismatched. For a clean and cohesive look in your bathroom, purchase a set of towels that are all of the same color and brand. If you cannot purchase new towels, display towels from a matching set and keep the rest in a cabinet out of sight.

Keep fresh rolled towels in a basket near the shower. Rolled towels add a sense of sophistication to your towel display. Keeping a basket large enough to hold 3 or 4 towels next to your bath makes them easy to access for your guest while providing visual interest. You can also roll up washcloths and arrange them on the counter for guests to dry their hands with.

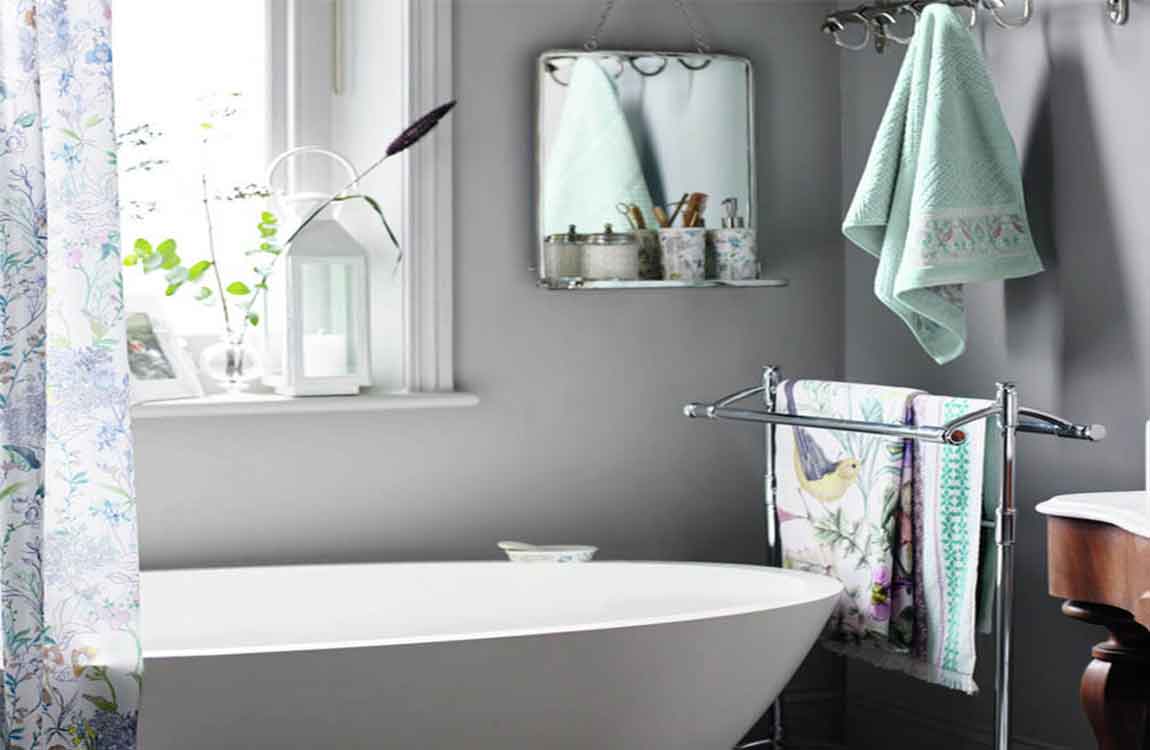
Replace your shower curtain. Having a fun shower curtain can help add accent and flare to your bathroom. If you’re following a color-scheme, find a curtain that matches or complements the main colors of the room. Keep a clear plastic curtain inside the tub to avoid getting your new curtain wet. To add a sense of fun to the room, consider getting a novelty shower curtain with a funky pattern or design.

Avoid using toilet rugs or covers. Not only do fluffy toilet covers look dated, they also collect germs easily. As an alternative, place a simple bath mat in front of the toilet if needed or leave it without a rug.

How to Accessorize a Bathroom?

A well-accessorized bathroom is both stylish and functional. Towel hooks and decorative containers can both help to create a cohesive look throughout the room and make the bathroom easier to use. Keep a clutter-free bathroom and decorate the space to your liking.

Find a decorative mirror. The mirror is one of the focal points in a bathroom and a decorative mirror can help add visual interest. Play with shapes like round, square, and oval mirrors to find what fits the best in the space. Keep a consistent shape language throughout your bathroom by not using too many different shapes in your decor.

Make sure the decorative mirror is large enough to be functional as well. Securing a mirror from the ceiling with rope or wire can help add a nautical or industrial theme to your bathroom.

Hang a hand towel next to the sink. Make it easier for you and your guests to find a place to dry their hands. Install a towel ring on the wall next to the sink so water doesn’t drip throughout your whole bathroom. As an alternative, get a standing towel holder and place it on the countertop. This is a great option if you’re renting your home and can’t put holes in the wall.

Use small jars to store cotton swabs or cotton balls. Keep your daily toiletries in containers on your vanity hidden in containers to reduce clutter. This way, they’re easy to access for you and anyone visiting that may need to do a quick touch-up. Follow the “rule of 3’s” when decorating. Try to display 3 containers to add a balance. Fill containers with cotton balls, cotton swabs, and even bandages.

Buy ornamental bar soaps to display. Display soaps that are not meant to be used in a small dish next to the hand soap. Not only does this add fun visuals to your vanity, it also helps your bathroom smell better. Soaps can be purchased at home specialty stores.

Soaps can be purchased in a variety of shapes, like seashells or flowers. Find soaps that match the style you’re setting in the bathroom. You can even switch out the soaps based on the season or holiday.

Light candles or use potpourri to eliminate odors. Keep candles or a tray of potpourri either on the vanity or on top of the toilet tank. That way you’re greeted with a fresh scent whenever you enter the bathroom. It also provides ambience and a sense of calm in the room.

Place bathroom sprays in an easy to reach spot to freshen up the room in a pinch. As an alternative, use an oil diffuser to add a natural aroma and spa-like feel.

The Important Things Before Renovate Bathroom

If you are removing any knobs, faucets, light switches, or towel rods, be sure to put them into a box so that they stay together. This is especially important if you plan on using these items again.

Get rid of anything that you will be replacing. This includes faucets, towel rods, and toilets. The less clutter you have in your bathroom, the easier your renovation will be. You can either donate the items you won’t be using anymore, sell them online, or dispose of them according to your city’s requirements. Some places will ask you to leave the item outside your home so that it can be picked up and disposed of, while others will require you to take it to a facility.

Start by painting your bathroom. Use a paint roller, and be sure to let each layer dry completely before adding another. Most paints will dry between two to four hours, but you might want to refer to the label on your can of paint for more specific drying times. If you don’t do this, the paint may not cure properly and become sticky or bumpy. Leave the last coat of paint until after you have installed all cabinets, shelves, sinks, and tubs.

Add tile or new flooring once the paint has dried. This also includes the backsplash tile behind the sink. If you are not changing the floors, then you can remove any protective coverings off the floor at this time.

Install any toilets, sinks, tubs, and showers. You will most likely need to hire a plumber to do this step for you, especially if you are going to move a toilet, sink, tub, or shower from one side of the bathroom to the other. After you have installed the toilet, sink, tub, or shower, be sure to caulk around the edges so that moisture doesn’t seep through. If you don’t caulk, water will get into the floor and cause mildew.

Install any new cabinets, shelves, cabinets, and towel rods. You can place these wherever you want in your bathroom, but keep in mind that you will need to reach these items easily. Towel rods should be placed about 4 feet (1.22 meters) above the floor. The top of a cabinet should be about 6 feet (1.83 meters) above the floor. Place the toilet paper roll holder 6 inches (15.24 centimeters) in front of the toilet.

Install new lights and faucets. Be sure to properly caulk around the faucets after you install them. When buying caulk, try to get an acrylic or hybrid formula. They don’t need chemicals to remove. This will make any future re-caulking easier.

Clean any dust, paint, or debris. When you are done renovating your bathroom, peel off any leftover painter’s tape and discard any sheets of plastic or paper. Be sure to wipe down the counters and sinks, and to vacuum or mop the floors. This will make your bathroom look better and give it that nice, finishing touch.

Before Renovate Bathroom We Can Do…

Molded bathtubs sit right on the floor, and are the most common. They come in all sorts of shapes and sizes. Some even include fancy features, such as benches for shaving on and jet streams. When you go to buy a bathtub, you might also want to sit in it to make sure that it is comfortable. After all, you will likely sit in your bathtub while using it at home.

Choose storage that is both efficient and stylish. This includes things like storage units, caddies, cabinets, and shelving. You want your storage to look good and be functional. You should be able to reach your cabinets and shelves easily, and have accessto them when you need to. You also want your storage to fit everything it needs to fit. Cabinets don’t always have to stick straight out of the wall. Consider having some cabinets recessed into the wall. This will save some space.

Make sure you have adequate lighting in your bathroom. Lighting is very important. If there is not enough lighting, then your bathroom could become dangerous. Take advantage of natural light first by letting as much of it in as possible. Plan on having at least 4 watts of artificial light per square foot. You can let lots of natural light into your bathroom with skylights.

Make sure that you have adequate ventilation. Poor ventilation will lead to mould, decay, rot, and smells. Having vents, windows, and fans is always a good idea. When choosing a fan, consider getting a quiet one for master bathrooms, so that you don’t wake your significant other if you have to use the restroom at night. Get a noisier one for powder rooms; the noise will give the guest more privacy, especially if the bathroom is close to a living room.

Pick out some new accessories to match your new bathroom. This will include things such as towels, wash cloths, and bathmats. It will also include things like soap dispensers, mirrors, and towel racks. Try buying these items when they go on sale. They can be inexpensive, but the price will add up.

Switch off all water valves if you are going to do anything to the sink, bathtub, shower, or toilet. You can find them behind toilets and under sinks. If you don’t do this, you might end up with a flood.

Cover anything that isn’t getting renovated with plastic or paper to protect it. If you are painting your bathroom, you will want to cover the floors, sinks, counters, toilets, and light switches so that they don’t get dirty. You can use paper, cardboard, or plastic sheeting. Be sure to tape the edges down so that the paint or dust doesn’t get underneath is.

How to Renovate a Bathroom?

Renovating a bathroom can be as simple as changing out towel rods and faucets for new ones, or as complex as knocking down walls and rearranging tubs and toilets. It can be quite intimidating, especially if you don’t know where to begin. This article will give you the basics of how to renovate a bathroom.

Make sure that your new bathroom meets building codes while still being comfortable. Some places require certain rooms, such as bathrooms, to be a specific size. If the final design does not meat the requirements, the city won’t approve your re-design, and you won’t be able to renovate your bathroom. Be sure to check with your city if you plan on re-sizing your bathroom, and make sure that your design is meeting the building code. Half baths usually range between 3 to 4 feet wide and 6 to 8 feet long in the United States. The larger the half bath is, the more comfortable it will be.

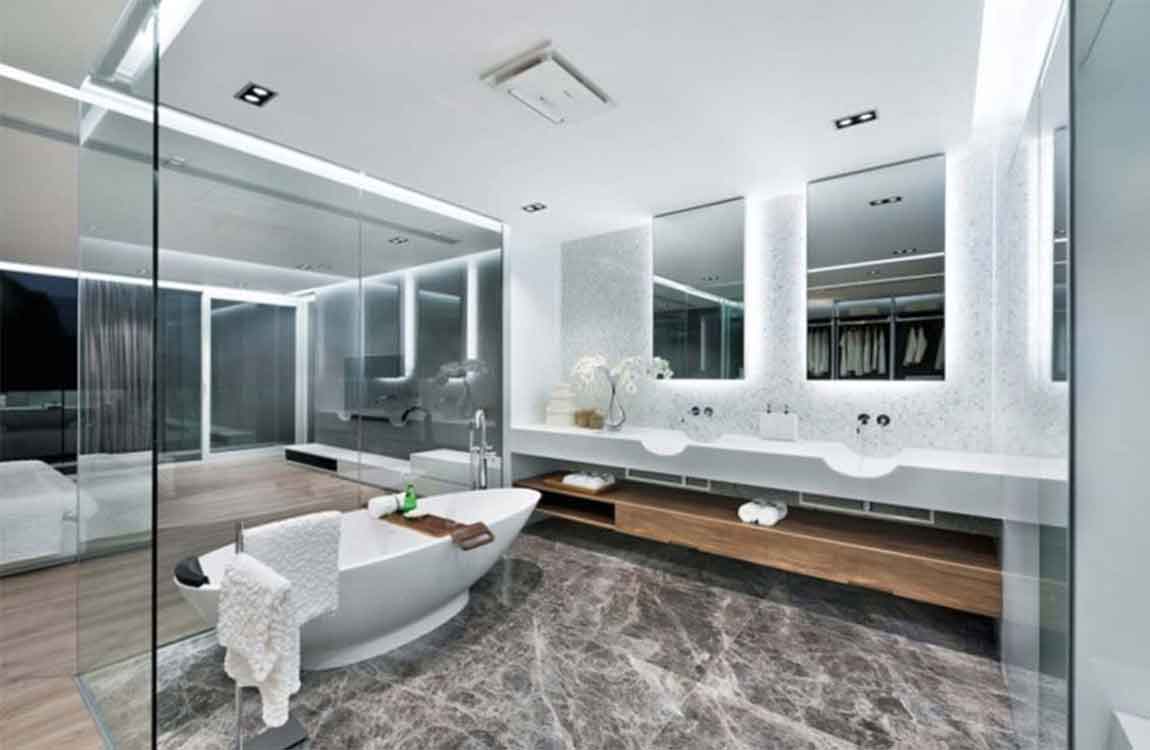
Take advantage of the space in a master bathroom. Master bathrooms are meant to be used by two people. If planned correctly, they can be quite comfortable and roomy. If planned incorrectly, however, they can become cramped and lead to unnecessary elbow-jostling. Consider adding in a separate toilet room with a door; this will give you and your partner more privacy.

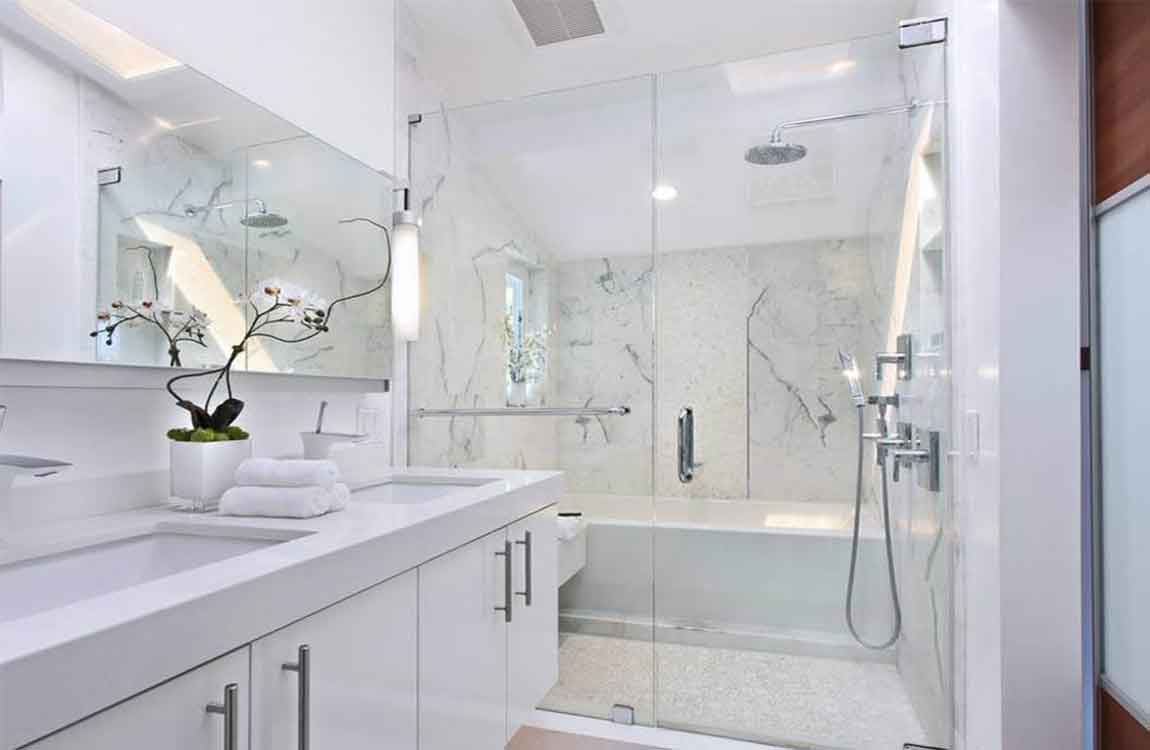
Having both a shower stall and a bathtub will allow two people to get clean at the same time. If you choose to have two sinks, make sure that they are at least 36 inches (91.44 centimeters) apart. This will give both people enough space to spread out and not worry about bumping elbows. Be sure to include pathways. If two people are going to be using the bathroom at the same time, they will need enough space to pass by each other. Plan on having 36 to 42 inches (91.44 to 116.84 centimeters) wide pathways in the bathroom.

Have a backup bathroom. This is especially important if you are making renovations that involve plumbing. The last thing you’d want is to be stuck without a toilet or shower for several days. If you don’t have a spare bathroom, you may need to install a portable toilet and an outdoor shower.

Take measurements of everything before you go shopping. You will need to know the exact side of your bathroom, including the width, length, and height. You will also need to know the dimensions of other things, such as toilets, bathtubs, sinks, showers, and cabinets. If you don’t take proper measurements, you may buy something in the wrong size. Taking measurements early will prevent the hassle of trying to return something that doesn’t fit.

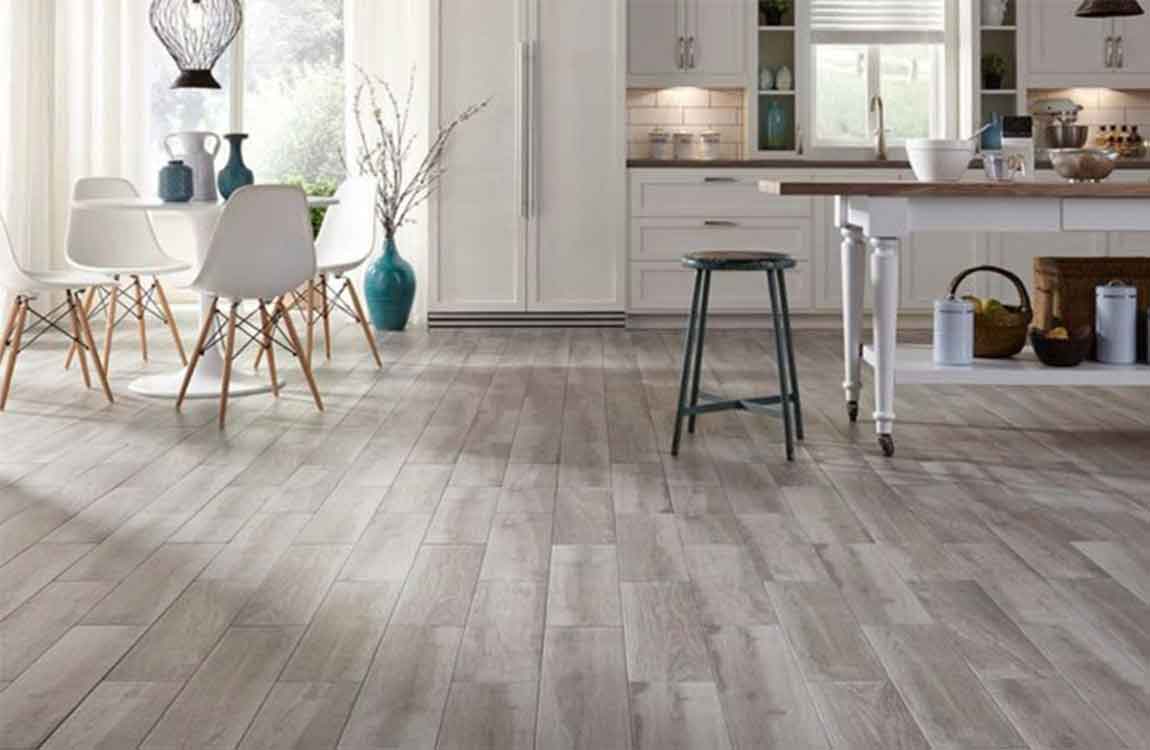
Choose slip-free, non-absorbent flooring. There are different types of floor material that you can use in a bathroom. In general, what you pay is what you get. If you want something that looks good, is high quality, and lasts for a long time, you will need a larger budget. Porcelain and glazed tiles are easy to clean and take care of. Marble and granite are expensive, but they look great.

Avoid porous stone, such as limestone. They absorb stains easily, which makes them difficult to clean. If you want a natural stone, then make sure that it is sealed. Try to get something that is non-slip. Look for textured or matte finishes, or glazes that have sand in them. Keep painted or stained cement in mind. You can also get sheet vinyl or vinyl tiles. They are less expensive than the real thing, but they may not look or feel as great either.