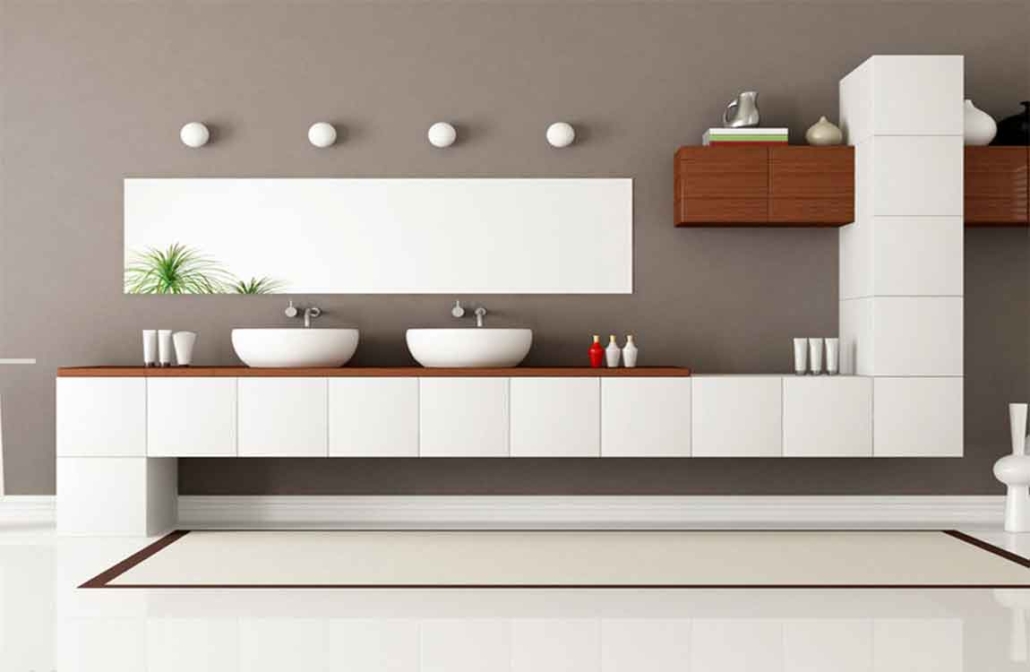
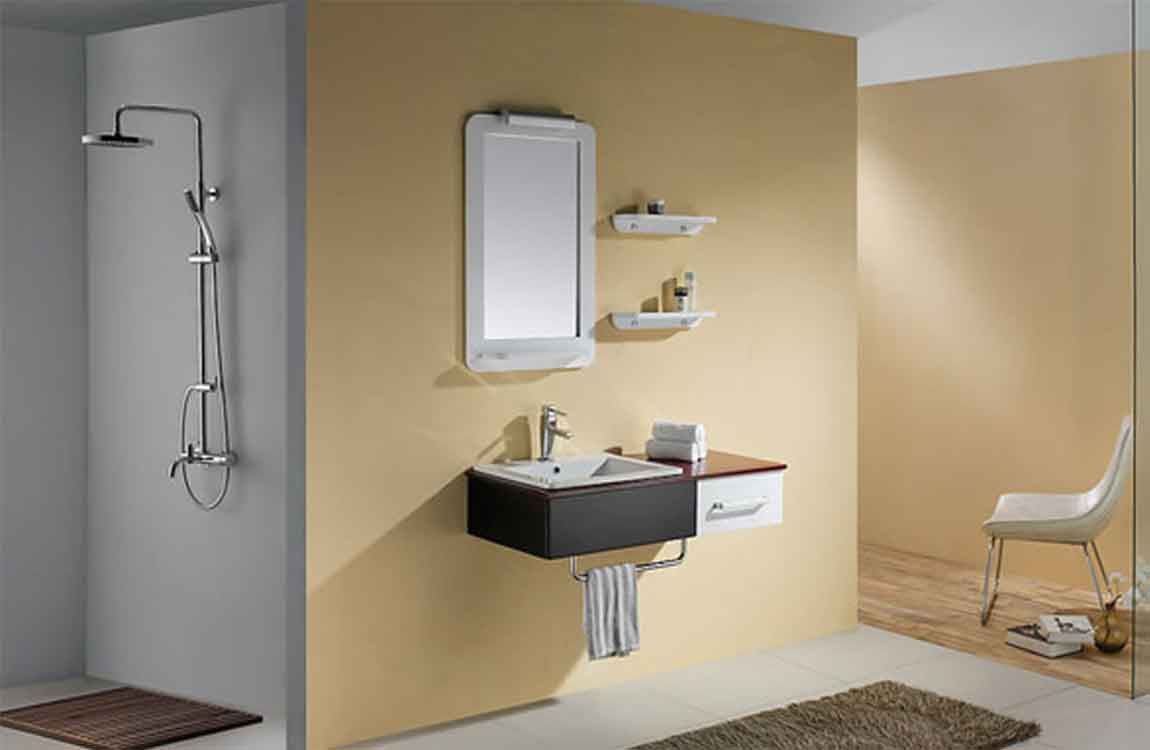
The Knowledge of Buthtub
Drain kits come with all of the plumbing and hardware you need in order to put it together. Tip: Dry-fit the L-shaped pipes to your drains first and measure the length between them to determine how much pipe you need in order to connect the drains together. Make your measurements twice to make sure they’re precise before cutting the pipe.
Use a sealant on the drains and pipes to secure the joints in place. ABS glue is a liquid plastic that seals your pipes together. Paint a layer of this glue on the inside and outside of the pipes where they attach on your drain show. Hold the pipes together for 90 seconds until they have time to set. Continue gluing all of the joints together until they are completely set.
Use a clear sealant around the outer edge of the drain inside your tub and hold it in place to seal it. Sealant and ABS glue can be purchased at your local hardware store. Cover the exposed studs and flange with drywall or cement backerboard. Cut the pieces of drywall to the sizes of your gaps with a reciprocating saw.

Hold the piece of drywall or backerboard against the studs so it covers the flange and there’s a 1⁄4 in (0.64 cm) gap between the board and the tub. Use nails to secure the boards in place. Drywall or backerboard can be purchased from your local hardware store. Don’t forget to install new drywall on the access panel you cut out from the other room.
Replace the surround. If you’re using tiles, mix tile mortar in a bucket based on the instructions on the packaging. Stir the mortar with a flat trowel and spread it on the drywall. Press the tiles onto the backerboard and hold it in place for 30 seconds. Use tiles that match the existing ones in your bathroom. Otherwise, you’ll have to retile the entire wall.


