Posts

The Knowledge of Buthtub
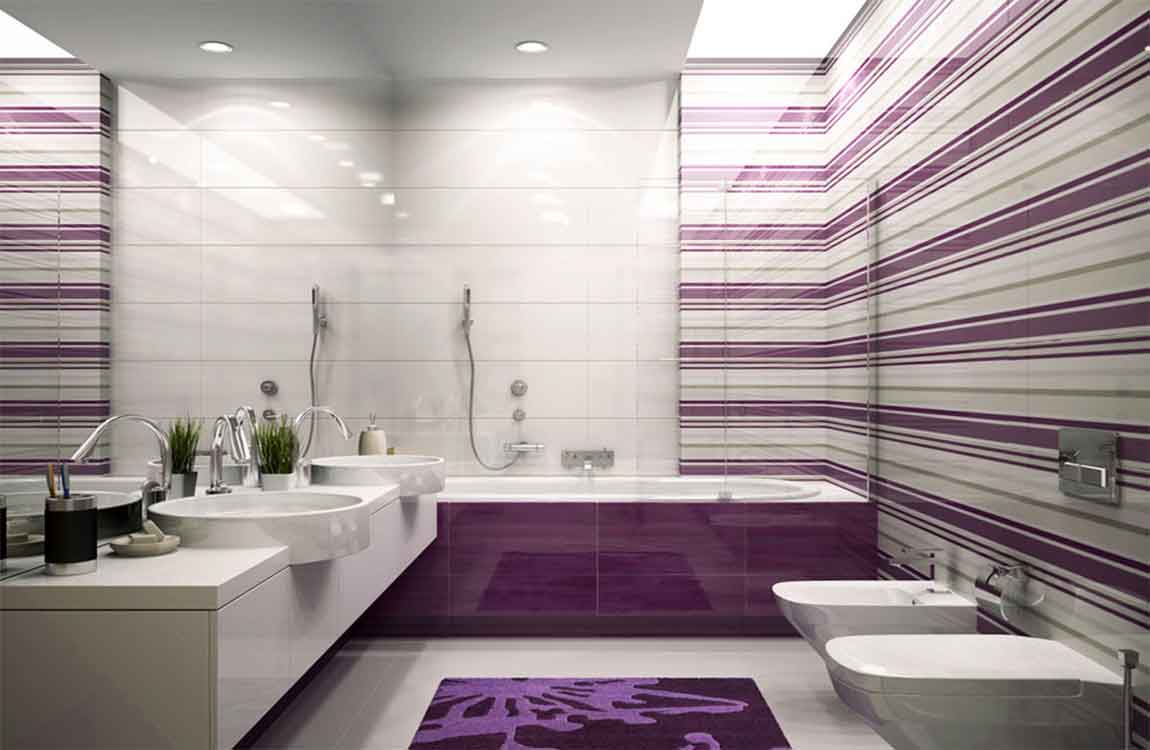

Drain kits come with all of the plumbing and hardware you need in order to put it together. Tip: Dry-fit the L-shaped pipes to your drains first and measure the length between them to determine how much pipe you need in order to connect the drains together. Make your measurements twice to make sure they’re precise before cutting the pipe.
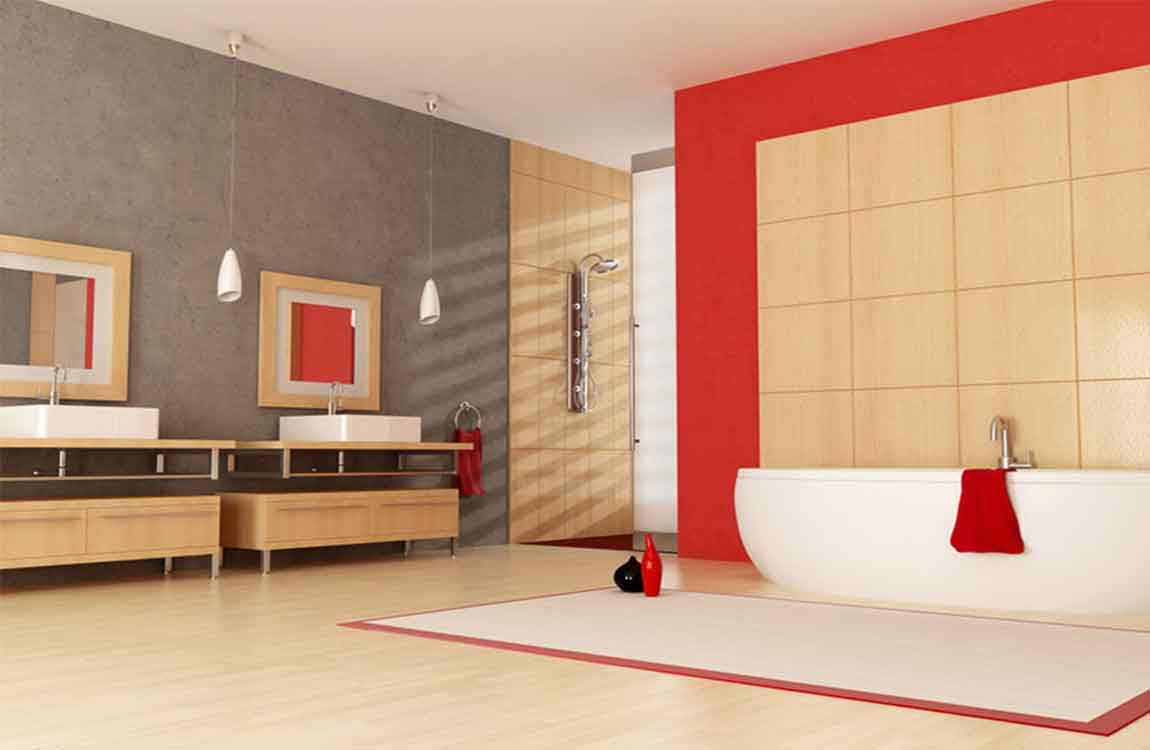

Use a sealant on the drains and pipes to secure the joints in place. ABS glue is a liquid plastic that seals your pipes together. Paint a layer of this glue on the inside and outside of the pipes where they attach on your drain show. Hold the pipes together for 90 seconds until they have time to set. Continue gluing all of the joints together until they are completely set.

Use a clear sealant around the outer edge of the drain inside your tub and hold it in place to seal it. Sealant and ABS glue can be purchased at your local hardware store. Cover the exposed studs and flange with drywall or cement backerboard. Cut the pieces of drywall to the sizes of your gaps with a reciprocating saw.

Hold the piece of drywall or backerboard against the studs so it covers the flange and there’s a 1⁄4 in (0.64 cm) gap between the board and the tub. Use nails to secure the boards in place. Drywall or backerboard can be purchased from your local hardware store. Don’t forget to install new drywall on the access panel you cut out from the other room.

Replace the surround. If you’re using tiles, mix tile mortar in a bucket based on the instructions on the packaging. Stir the mortar with a flat trowel and spread it on the drywall. Press the tiles onto the backerboard and hold it in place for 30 seconds. Use tiles that match the existing ones in your bathroom. Otherwise, you’ll have to retile the entire wall.

How to Quick Cleaning Your Toilet?

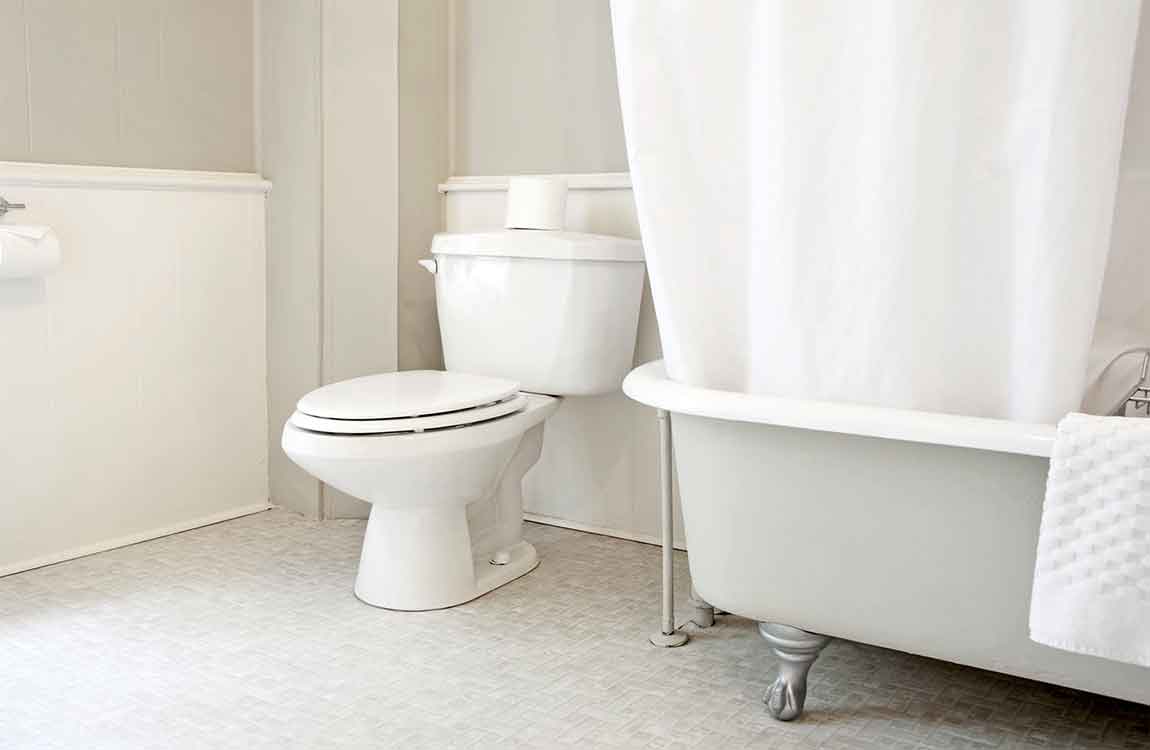
Clean the lids. Now that you’ve cleaned the bowl, it’s time to clean the main points of contact – the top and bottom lids. Use all-purpose cleaner and rags/paper towels (or disposable sanitary wipes) to give both the lids a quick but thorough cleaning on both sides. If you want to, use an old toothbrush to scrub the hard-to-reach spots between the lid and the body of the toilet as well as the hinges.

Give the body of the toilet a quick wipe-down. Finally, it’s time to give your toilet‘s porcelain a squeaky-clean shine. Using a spray bottle, mist the exterior of the toilet with an all-purpose cleaner. Use a rag or paper towel to wipe down the toilet‘s porcelain, paying special attention to the handle. Alternatively, you may simply dip a rag or paper towel in cleaning solution or warm water, re-dipping the rag or towel when it is soiled.

Start cleaning the highest point on the toilet first – this way, if dirty water or cleaning fluid drips down, it will only touch areas you haven’t cleaned yet. Don’t forget to clean hard-to-see areas like the base of the toilet and the back of the tank, which faces the wall. To successfully clean these areas, you may need to use pipe cleaners or a tooth-brush.

Flush! Your toilet should now be looking much better than it did before. Give your toilet a flush to dispose of any dirty water that’s accumulated in the bowl. If you used any toilet tissue while cleaning your toilet, this is also a good chance to get rid of it, provided you used an amount small enough that you’re sure your toilet won’t clog.

As a precaution, wash your hands after taking your gloves off. Small amounts of water may have splashed inside the gloves while cleaning. If your toilet only needed a quick, “light” clean, congratulations – you’re done! If, however, your toilet has serious stains or hasn’t been cleaned in a long time, you may have more success with the “deep cleaning” method below.