How Applying the New Finish?
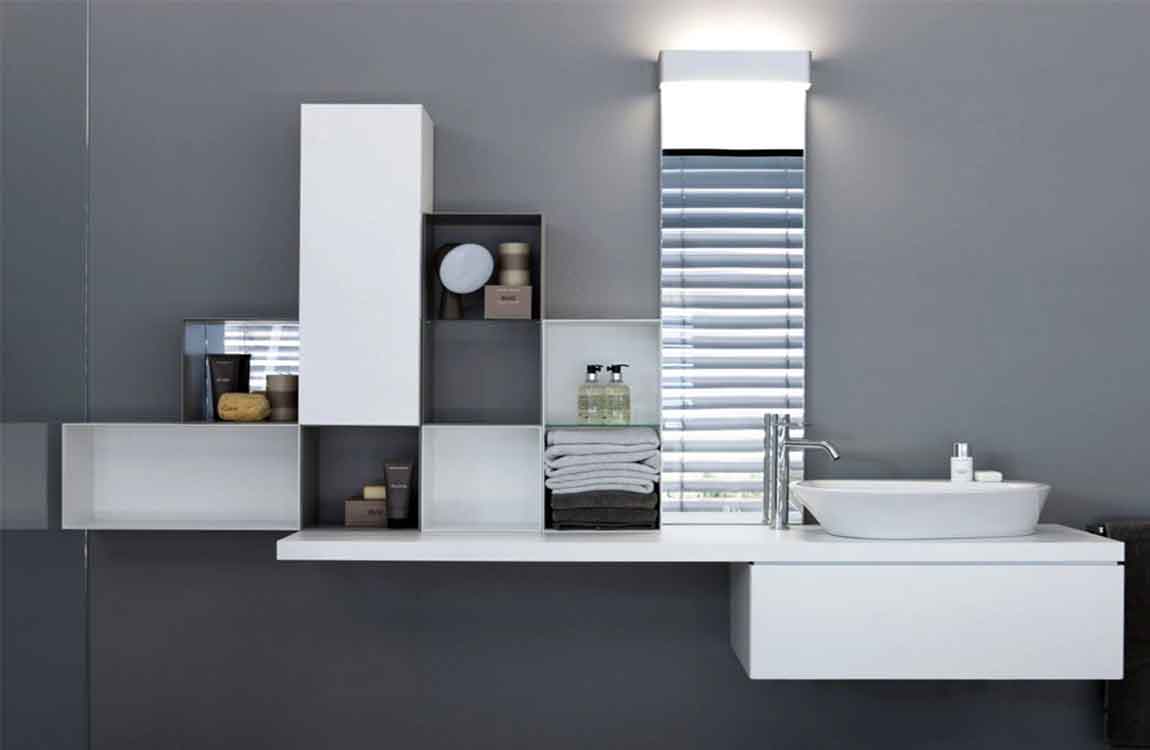
Apply the new finish over the tub in smooth, even rows. If you are using a spray on finish, hold the can about 12 inches (30 cm) from the tub and apply it from left to right. Don’t back track, instead, keep spraying it from left to right in the same direction to create even, overlapping coats. If you are painting the finish on, roll it in one direction for the same reasons.

Apply one coat of the finish, taking your time to ensure you cover every bit of the tub with an even layer. Do not touch the finish after you lay it on or it may create permanent marks. Give the finish 15 minutes to dry. You’ll be applying additional coats of the glaze or finish to the tub, but each coat needs a few minutes to cure before applying the next.
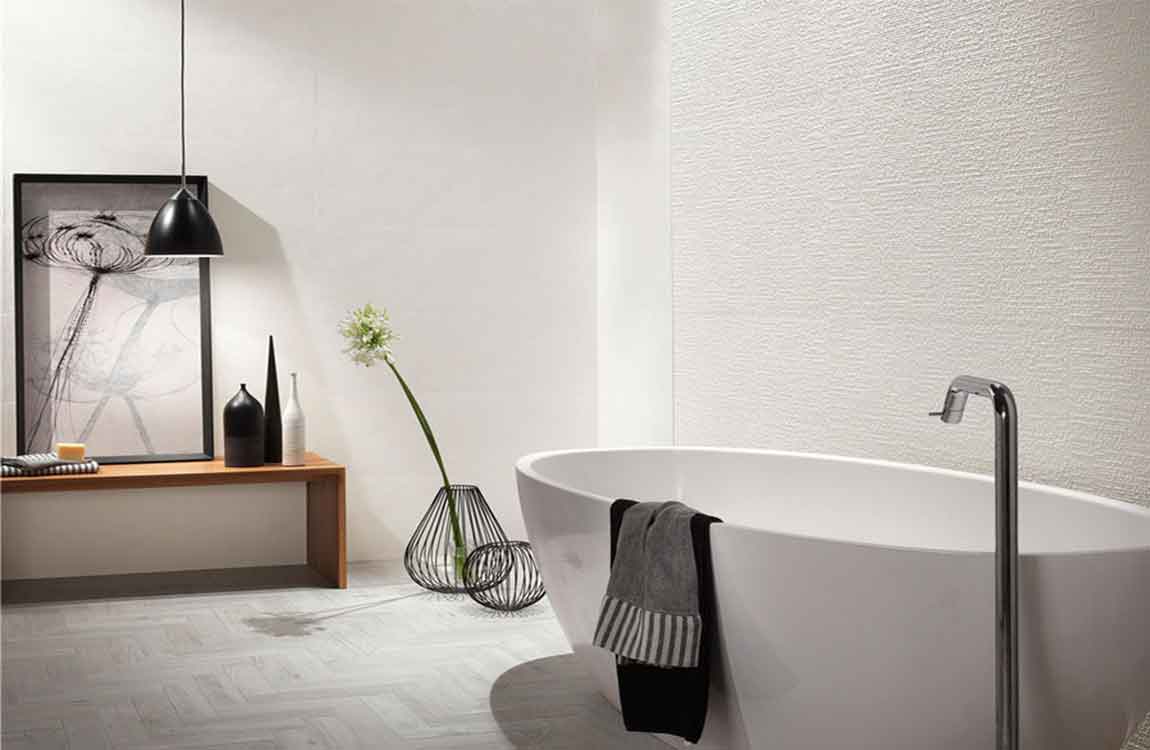
If it’s a particularly humid day or your bathroom isn’t well ventilated, you may want to wait a little bit longer. Letting each coat dry slightly before applying the next will help them better seal and adhere to one another. Add 2 more coats, waiting 15 minutes between each. You should have a total of three coats applied to your tub before you’re done, though each coat does not need to be completely dry before applying the next one.
Waiting 15 minutes should make the previous coat tacky enough to adhere to the next. Apply each coat in the same, smooth, left to right fashion whether painting or spraying. Make sure you cover the entire tub with each coat. Give the tub at least a day to dry. Don’t run any water through the tub or attempt to touch the new finish for at least one full day.
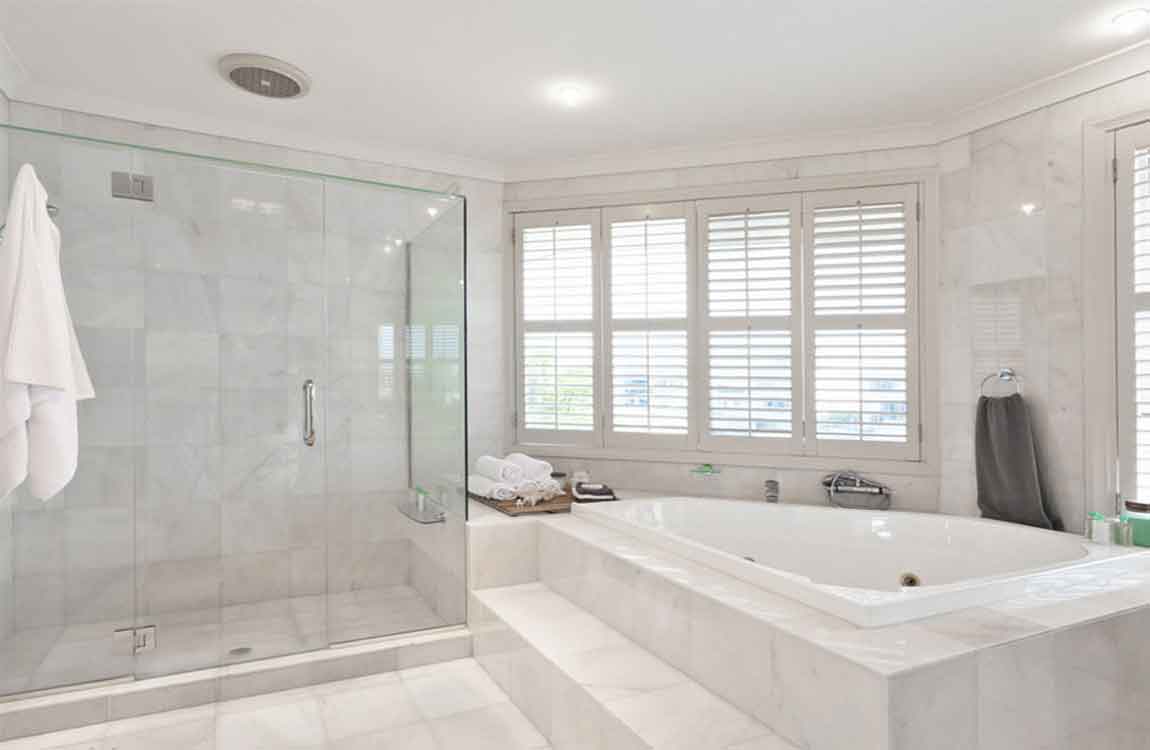
Keep the doors and windows open with the fan running if possible to keep the area ventilated and aid in the drying process. Don’t let anyone use the toilet in the bathroom while it dries as the fumes can still be dangerous. Remove the tape and plastic. With the tub mostly dry, you can now remove all of the plastic, tape and paper you used to protect the walls and hardware in your tub.

