Posts

How Dissolving Hair with Chemicals?

Purchase an enzymatic drain cleaner to dissolve hair. Purchase a drain unclogging formula that is specifically made to dissolve hair and soap scum. Typically, these types of solutions contain bacteria like bacillus that is intended to feed on hair. Enzymatic drain cleaners are also gentle on pipes and bathroom surfaces.


Check the ingredients list. Caustic drain cleaners made with sodium hydroxide (and other alkaline ingredients) will dissolve soap scum but not hair. While most enzymatic drain openers are free of harmful toxins, always check the label to see if you need to wear protective clothing.

Wear protective clothing, if necessary, before opening the bottle. Refer to the instructions on the bottle about whether or not you need to protect your eyes and skin. If you’re not sure, better to be safe and wear glasses and gloves anyway. If you don’t have protective goggles, sunglasses will work just as well.

Stand outside the shower and pour the cleaning solution down the drain. Pour a slow and steady stream of the solution down the drain until half or all of the bottle is gone. You don’t need to remove the drain stopper. Refer to the instructions on your particular cleaner to see how much you should use. For heavily clogged drains, you might want to use the whole bottle.


Make sure there is no standing water in the shower or tub. If there is, wait until it has drained away before you pour in the formula. Let the unclogging formula sit for 2 hours or for the recommended time. Allow at least 2 hours for the drain opener to dissolve all the hair and grime in the pipes. Refer to the instructions on the bottle to see how long the manufacturer says to let it sit.

How to Remove Black Flaking in a Jetted Bathtub?


By the time you see any type of flaking coming out of the jets of a whirlpool bathtub. it’s already too late. The flaking are remnants of bacteria, mostly harmful, condos that have now decayed and are ruining your visual of a relaxing spa bath. Don’t use bleach. First things first, we don’t use bleach because over time it will breakdown gaskets, bushings, etc.


We also won’t use any dishwashing detergent since it will put a coating layer on the flaking we are trying to remove. Fill the jetted tub up with warm water 1″ about the highest jet. Add a non toxic bio cleaner to the water per the instructions on the cleaning product label, normally it is 1 teaspoon or 1 capful, depending upon the bio cleaner.


Run the jets, turn off the air valve if you have one, on high for 10-15 minutes. This allows the bio cleaner to scrape off the gunk (flakes) that are solidified on the pipe and jet walls. Bio Cleaners use special properties that are ecological, green and non toxic and have the capability to eradicate bacteria, algae, mold, mildew, dead skin, soaps, and other gunk in the piping and remove them to the sides of the tub.


When you have completed the 10-15 cleaning cycle, remove 2 inches (5.1 cm) of water, clean the “ring around the tub”, refill with 2 inches (5.1 cm) of water and repeat the process. You will have to add more bio cleaner in as well. To maintain a clean jetted tub, you really need to clean it once a week, preferably after a bath to save on water.


Paint on 2-3 coats of the new finish with a brush and roller. Always paint in 1 direction when you apply the new coat to your tub. Roll on the new finish to the floors and sides in even back-and-forth rolls until the flat area is completely covered. Fill in the corners and curves of the tub with even back-and-forth brush strokes. Let each coat dry for at least 30 minutes before you put the next coat on.

How Designing Your Tray?


Decide what your tray will hold. First, think about what you intend to keep on your tray during baths and how much space each object will need. Make sure that you use a piece of lumber that is wide enough to hold everything. Allow extra space so nothing is sitting on the edge of the tray. For example: A 1” x 10” (2.5 x 25 cm) board should be wide enough to hold a book, candle, and glass with room to spare.


However, be aware that lumber sizes (such as 1” x 10”) refer to when the wood is freshly cut before it dries out and shrinks. So, if you have something wider than 10 inches that you want to place on your tray, you will need a wider board than a 1” x 10”. Choose how many layers of wood you will need. Decide between making a simple tray with no raised surfaces or one with holders for certain objects.


For the simplest tray, plan on using a single piece of lumber. Or, to minimize the risk of spilling stuff into the tub, purchase a second piece of equal size to create holders before attaching it to the base board. Alternately, you could rim the entire tray by screwing smaller pieces of lumber, like a 1” x 2” (2.5 x 5 cm), around all four edges of the base board instead of creating individual holders.


Line the tray with wood trim on each side 1 to 1.5 in (2.5 to 3.8 cm) wider than the tray to have an attractive raised lip. Use a piece of plexiglass as the base layer and a piece of wood the same size on top with holders cut into it. The plexiglass is easy to clean, waterproof, and it will protect the wood.

Measure your tub. Use a measuring tape to determine the width of your tub. Be sure to include the rim on either side, since this is where your tray will rest. Also double-check that the rim on either side is level with each other. Surround units (where the tub and the shower stall are all one unbroken piece) may incorporate designs without a level rim on the inside of the stall.
How Preparation of Install a Bathroom Fan?


Determine the correct CFM rating for your bathroom. The first thing you need to do when installing a new bathroom fan is determine the CFM rating for your bathroom, so you can buy the appropriate strength fan. CFM stands for “Cubic Feet per Minute” and refers to how much air the fan can move per minute. Small bathrooms will need low CFM fans, while larger bathrooms may require fans with a much higher CFM.


To calculate the CFM for your bathroom, multiply the room’s cubic footage (length x width x height). For example, if your bathroom measured 120 square feet, you would multiply that by the height of the ceiling (say 8′) to get 960. THEN divide by 7.5 to get a CFM rating of 128. You will find the CFM rating of a new fan printed on its box.


Consider the sound rating of your fan. The next thing to consider is the sound rating of your new fan, which is measured in sones. New fans usually have a sound rating somewhere between 0.5 (very quiet) and 6 (very loud) sones. Some people prefer to have very quiet fans, while others value the privacy offered by louder fans, especially in public areas of the home.


Like the CFM, the sone ratings of new fans will be printed on the box. Choose the location of the fan. The location of your bathroom fan is important. It should be installed at the center point between your shower and toilet for optimum ventilation. However, if your bathroom is very large, you may need to install more than one fan.


If you are installing a new fan, you will need to consider the layout of your attic, where the bulk of the fan will be located. It should be placed in the the space between two joists, in an area free from any pipes or other obstructions. If you are replacing an old fan, the easiest thing to do is just to put the new fan in same location (unless you have a very good reason for wanting it in a different spot).

How Protecting Your Travertine?

Squeegee and wipe down your travertine after showering. Use a squeegee to remove excess water from the tile after showering. Then, use a towel to wipe your travertine dry to keep soap scum from building up over time. Plus, it’s easier to remove soap residue before it dries.

Pay special attention to pools of water in corners and around edges. If you have a glass shower door, leave it open after showering to allow the water to dry. Establish a regular cleaning routine. Soap scum can cause hard water deposits to accumulate on your travertine. To keep your shower looking its best, clean your travertine shower with non-acidic cleaner a once a week.

If you have a detachable shower head, use it to rinse the tile with warm water after showering to remove soap scum. Creating a calendar reminder can help you remember to incorporate cleaning your shower into your household routine. Clean travertine as soon as something spills.

Whether it’s a colored shower gel or shampoo tinted to enhance hair color, when something spills on your travertine, clean it up right away. Certain bath products contain dyes, which can permanently stain your stone. Inspect grout and tiles for damage.

Bits of grout breaking off can scratch your travertine and trap dirt and grime. Cleaning is a great time to get up close and personal with your tile. Examine your grout and stone for cracks or chips. Be sure to replace chipped or broken tiles and have your grout touched up wherever necessary.

How Buying Your Bathroom Mirror?

Stick to your budget. Mirrors can range widely in price, so take into account your desired size and style when determining a budget. Mirrors with more accessories, such as built-in lighting or technological features, will be more expensive than simpler models. You can also cut costs and create a unique piece by adding your own trim to a frameless mirror.

Head to the specialty mirror store if you want professional help. The staff can give you advice about style, sizing, and accessories if you need guidance. Make sure you bring in your measurement information to aid with selection. Purchase online if you’re confident in your decision. Buying online can be cheaper if you know exactly what you want. Be sure to read the labeling carefully and know the exact dimensions of the mirror before you buy, since you can’t see it in person.

Try the clearance section, but know the return policy first. Finding a cheap mirror on clearance can be great, but it can often look different on the wall than it did in the store. Make sure you can return it if necessary.

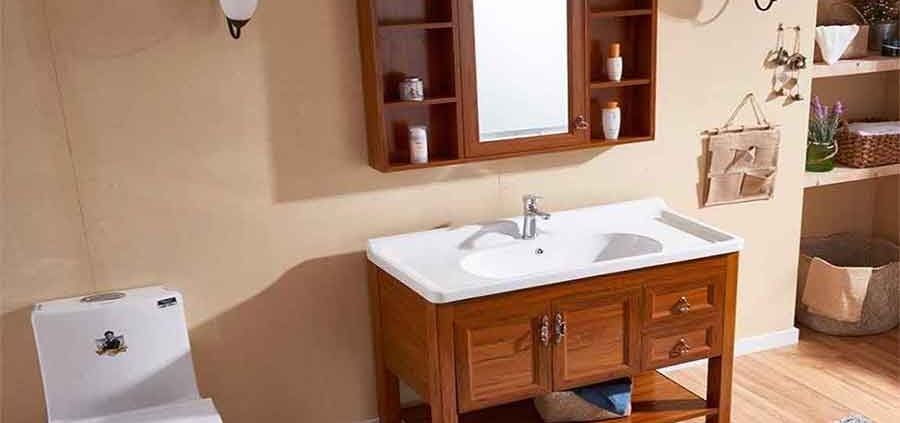
Choose a vanity cabinet with a mirrored front for more storage. You can save space by having your mirror also serve as a medicine cabinet. You can choose a mounted cabinet, which stands out from the wall, or a recessed one, which is set into the wall so the mirror is flush with the surface of the wall.

Choose a mirror with built-in lighting if your bathroom is poorly-lit. This can save you the hassle of buying lights or sconces separately. For those looking to achieve a sleek, modern look, mirrors with backlit LED light borders are an elegant, futuristic-looking choice.

How to Remove Bathroom Mold?

Mold commonly thrives in bathrooms because of the humidity and excess water. Luckily, it’s easy to get rid of the mold with a few basic cleaning supplies! Use either a vinegar, Borax, or bleach solution in a spray bottle to tackle the mold. Simply spray the solution on showers, shower, basins, tiles, grout, or caulking. Then use either a cleaning cloth or a toothbrush to remove the mold. You can also remove mold from bathroom ceilings or walls using similar methods. Always wear protective gloves when cleaning mold and keep the area well-ventilated.

Replace the grout or caulking if you can’t remove the mold stains. If the mold builds up too much, you won’t be able to scrub it away. In this case, use a flathead screwdriver to dig into the grout or caulking, and then lift it up to remove it. Apply the new grout or caulking and clean it regularly to prevent the mold forming more stains. You can apply a sealer over the new grout or caulking to prevent it from being stained.

Wear old clothes and wash them in hot water after cleaning mold. It’s best to wear old clothes that you don’t mind getting stained or damaged by the cleaning solutions and hot water wash cycle. Always use hot water to wash your clothes with immediately after you have finished cleaning so that the spores trapped in the fabric are killed and don’t spread. It’s especially important that you wear old clothes if you are using bleach. This is because bleach can remove the color from fabrics.

Keep the bathroom ventilated while you are cleaning. Open as many windows are possible and turn on the bathroom fan if there is one. This helps to prevent you inhaling the mold spores and any toxic fumes that may be released by the cleaning solutions. You can also bring a portable fan into the bathroom if you have one.

How to Organize Bathroom Cabinets

Keeping your bathroom cabinets neat and orderly can be a challenge. And given the importance of the morning preparation that commonly starts the average day, knowing where to find things is a huge help. Luckily, by following a few simple organization tips, you can take charge of the messy state of your bathroom cabinets and keep your belongings as accessible as possible.

Place a spinning turntable into your deep cabinets for easy access. Also known as a Lazy Susan, these can make hard-to-reach items more accessible. Place some glass jars onto the turntable and label them with their contents. Cotton swabs, bath salts, cleaning wipes, and other products that come in bulk amounts are ideal for jars.

Cut out labels from a decal sheet and spell out the categories using adhesive letters. Conceal utilitarian items using wicker baskets for better aesthetic. Although these containers work for any kind of product, they’re ideal for items that you don’t want to display, like extra tissue paper stock. You can label each one by fixing paper tag labels to each basket with string.

Install an extra curtain rod for towels. Position it under your current curtain rod and give yourself 2 to 3 inches (5.1 to 7.6 cm) of space in-between. This is a prefect way avoid wet towels cluttering up your bathroom. Mount the towel bar behind the curtain so that your towels can drip-dry into the tub.

Selecting the Bathroom Fixtures

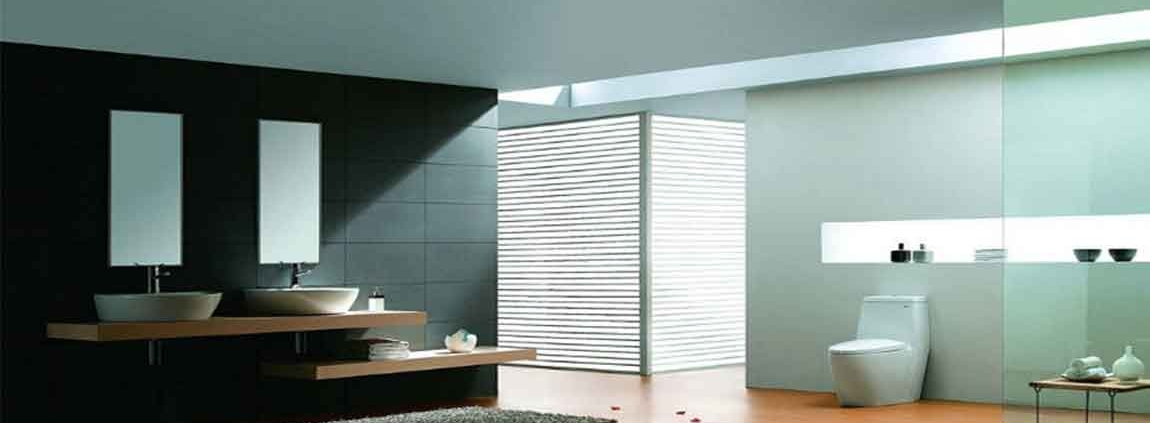
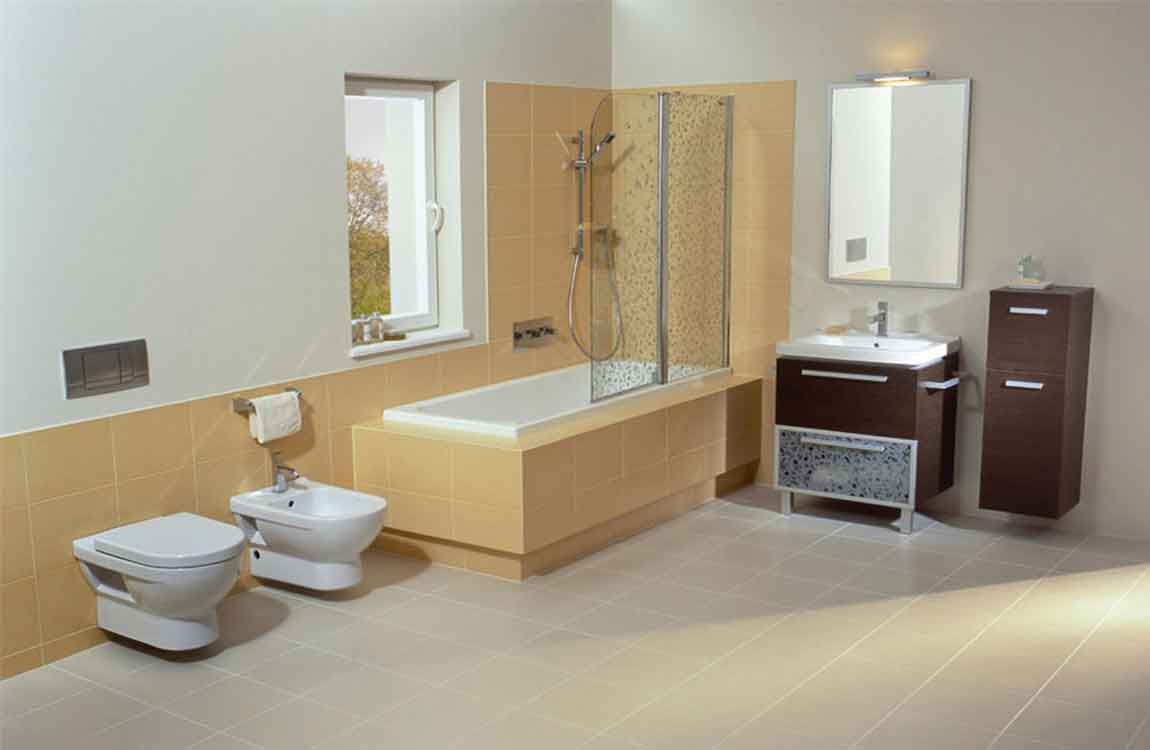
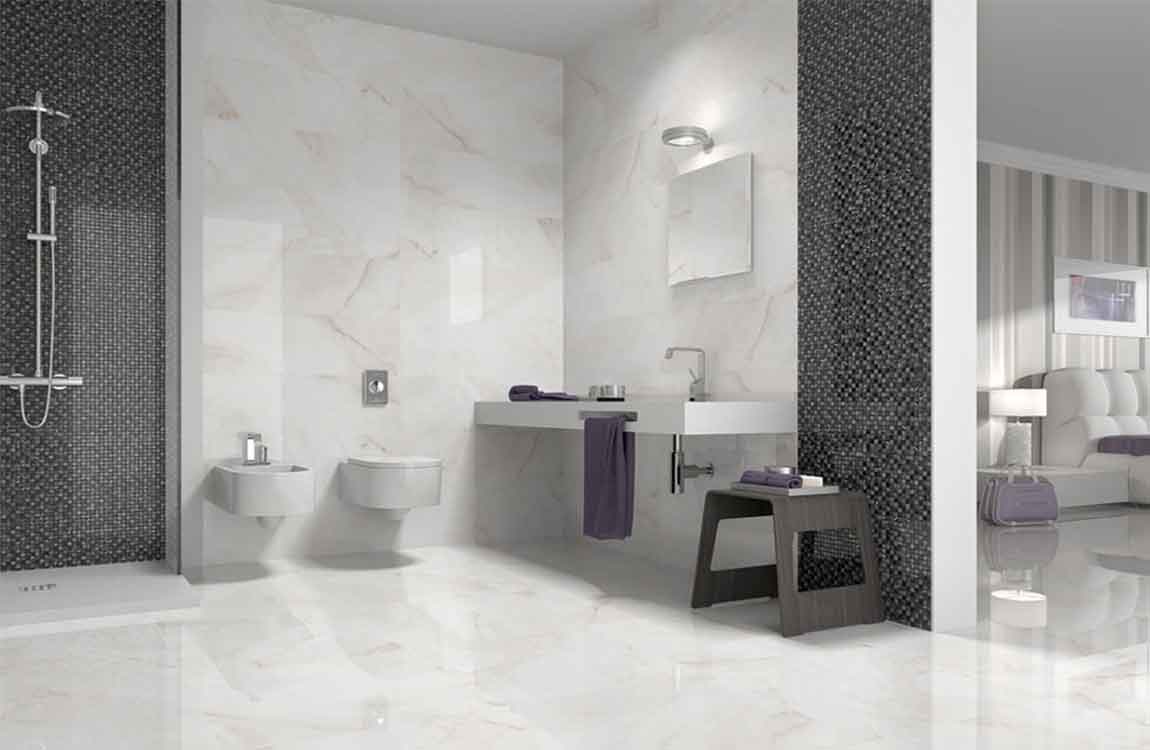
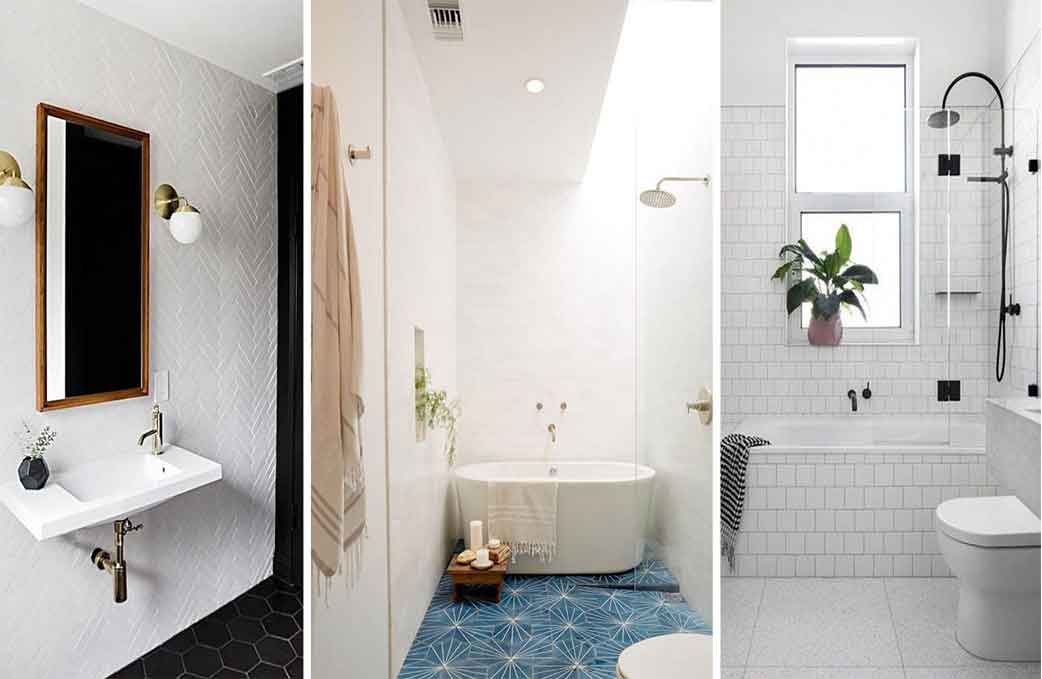
Get a high mounted toilet to save space. Mount the toilet on the wall if you want it to float off the ground. Mounting it high on the wall will allow you to conserve space, especially if the room is small. You can also mount the toilet on the floor if you prefer. However, this may take up more space. Mount the toilet at regulation height so everyone can use it.

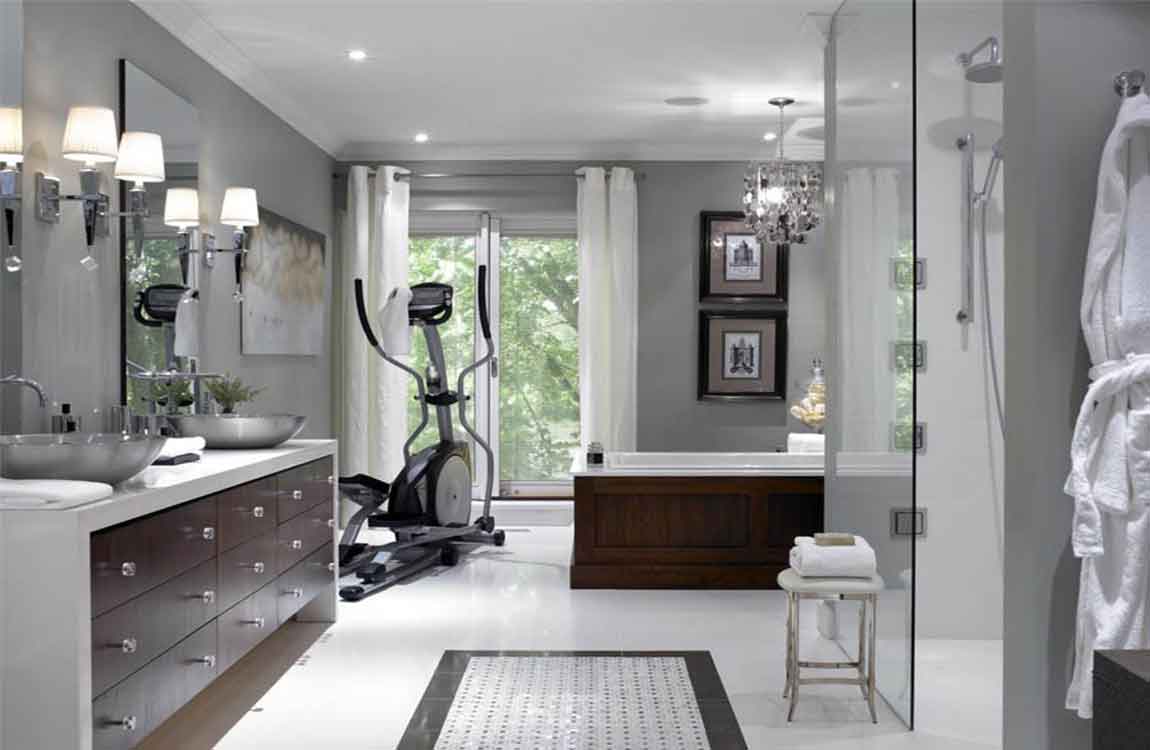
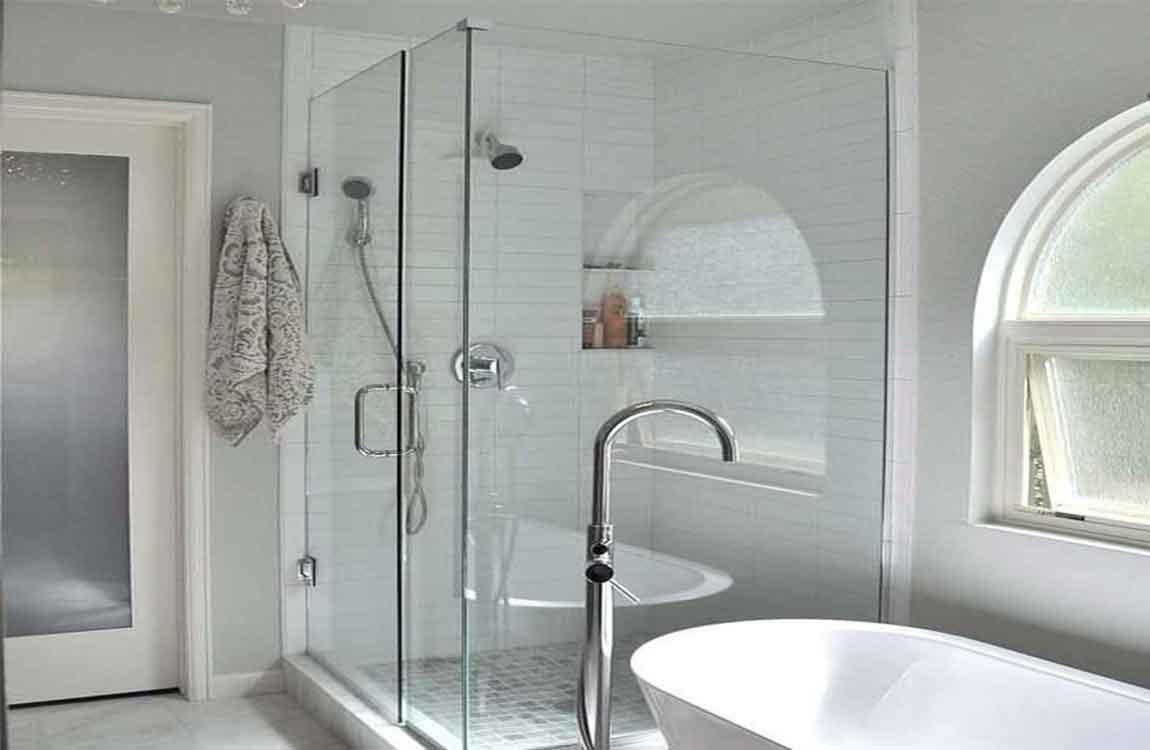
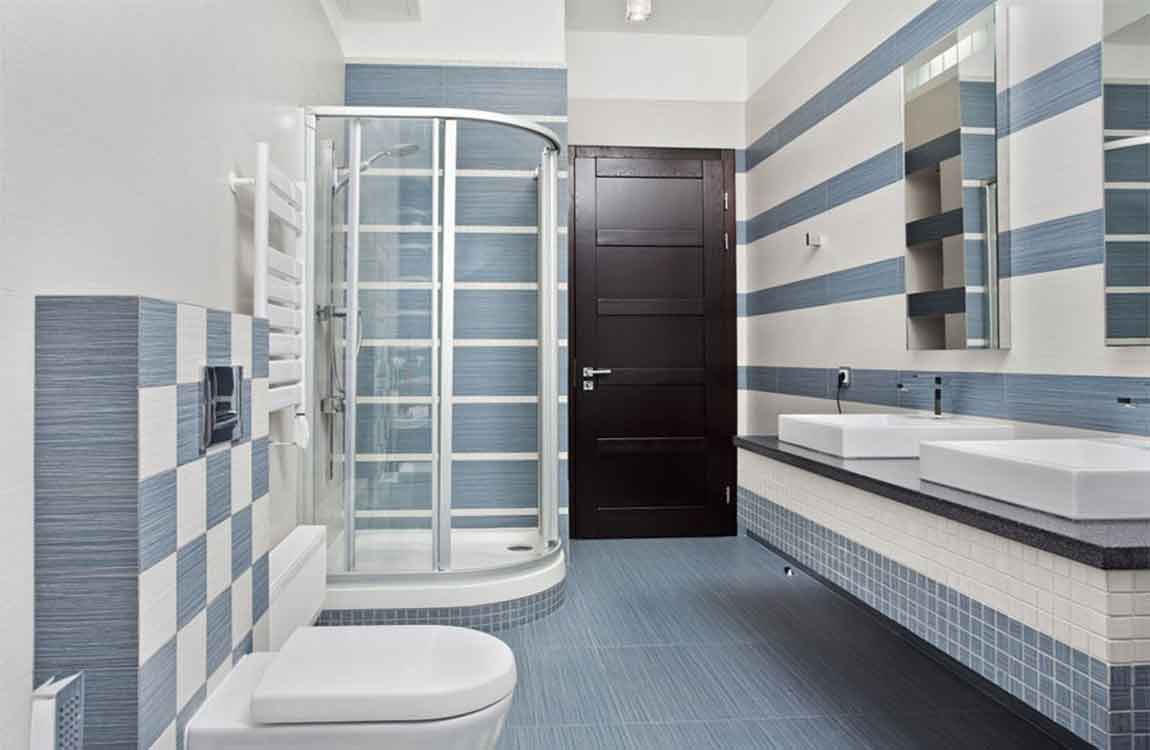
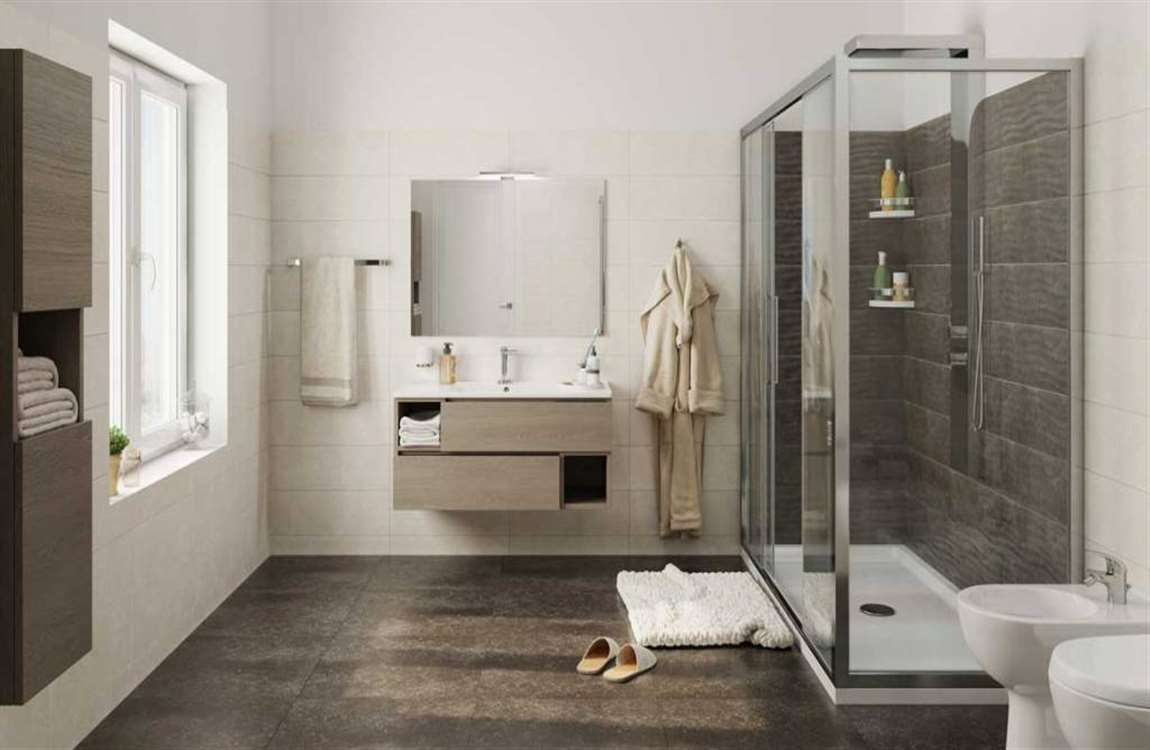
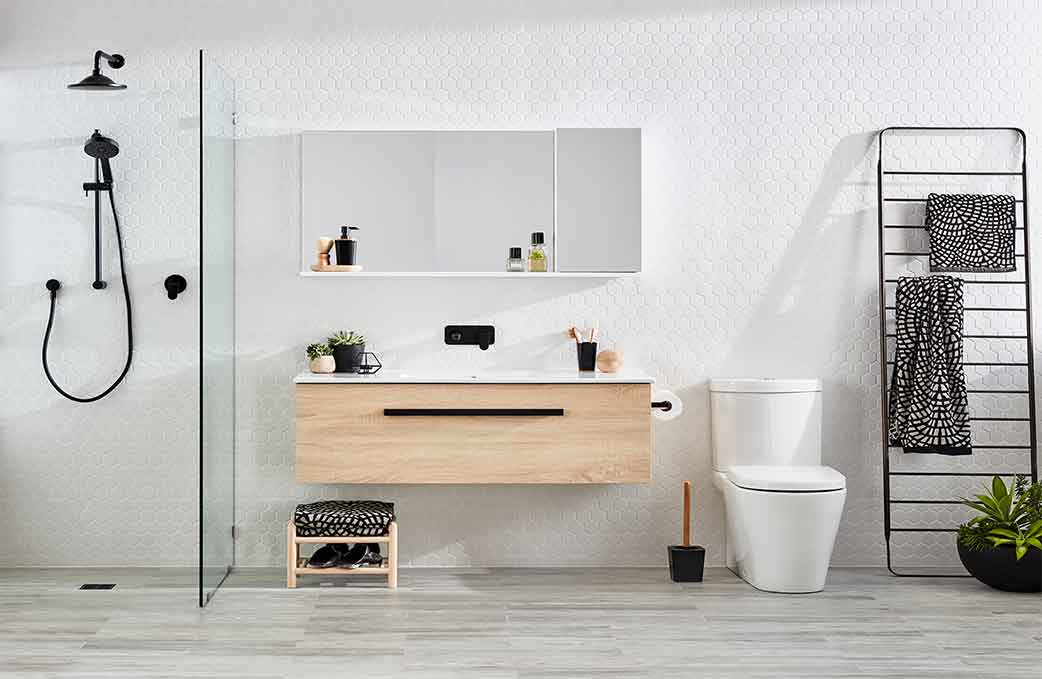
Use a sliding glass door for the shower for a sleek look. Make a stand-up shower more sleek and space conscious by using a glass door that slides, rather than opens. Get glass doors that fit the shower properly and slide easily open and closed. A sliding glass door can be more expensive than a shower curtain, so you may opt for the curtain if you are budget-conscious. In some cases, you do not need to put up a full door on the shower. Instead, having a long pane of glass on the front of the shower, with space for you to get in and out, is enough. You could also choose a seamless glass door that swings open on hinges for a sleek look.

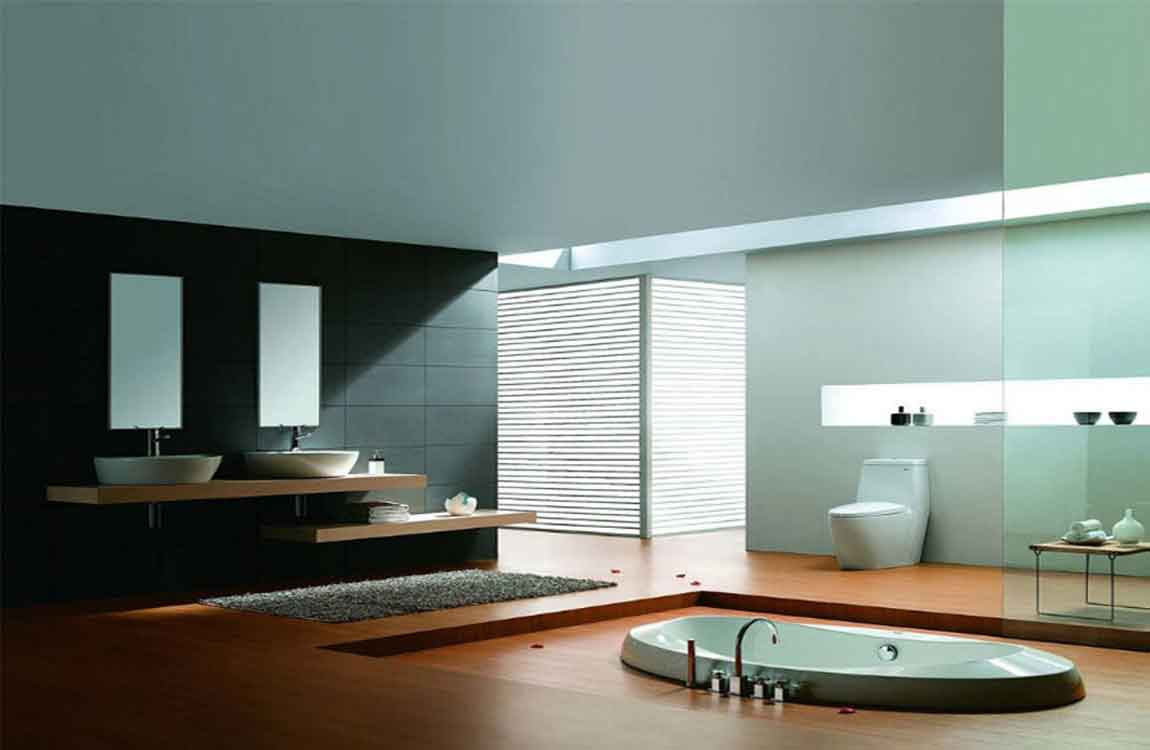
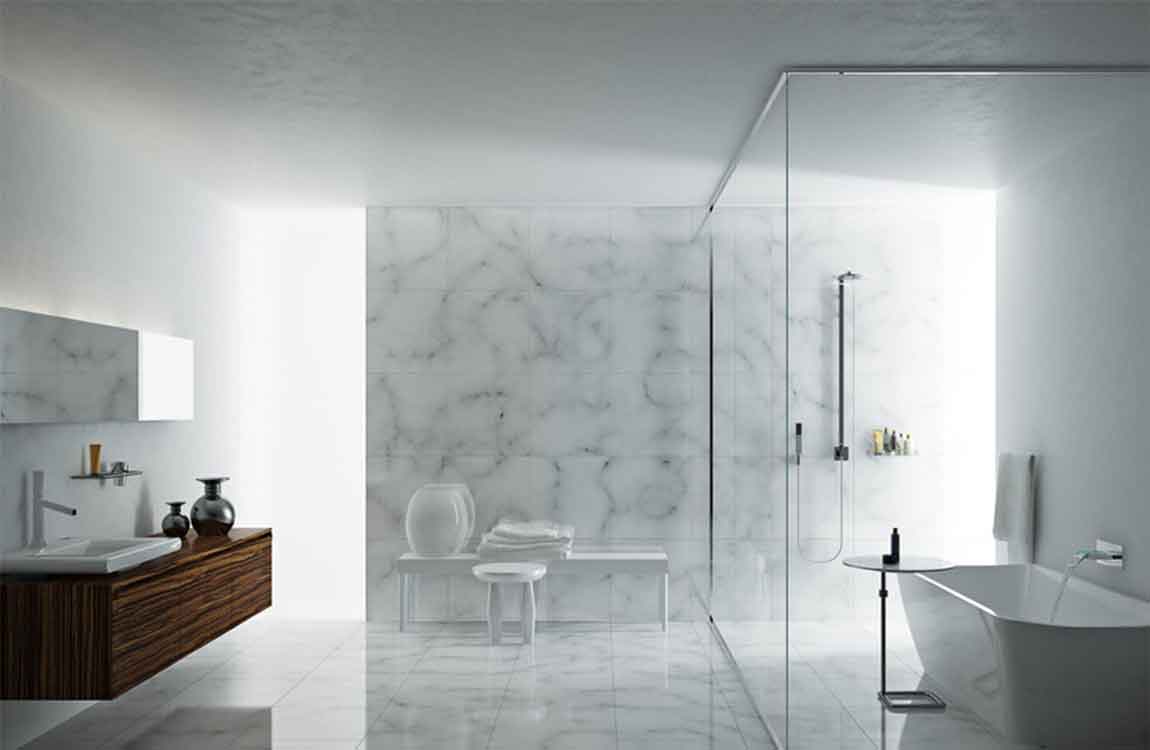
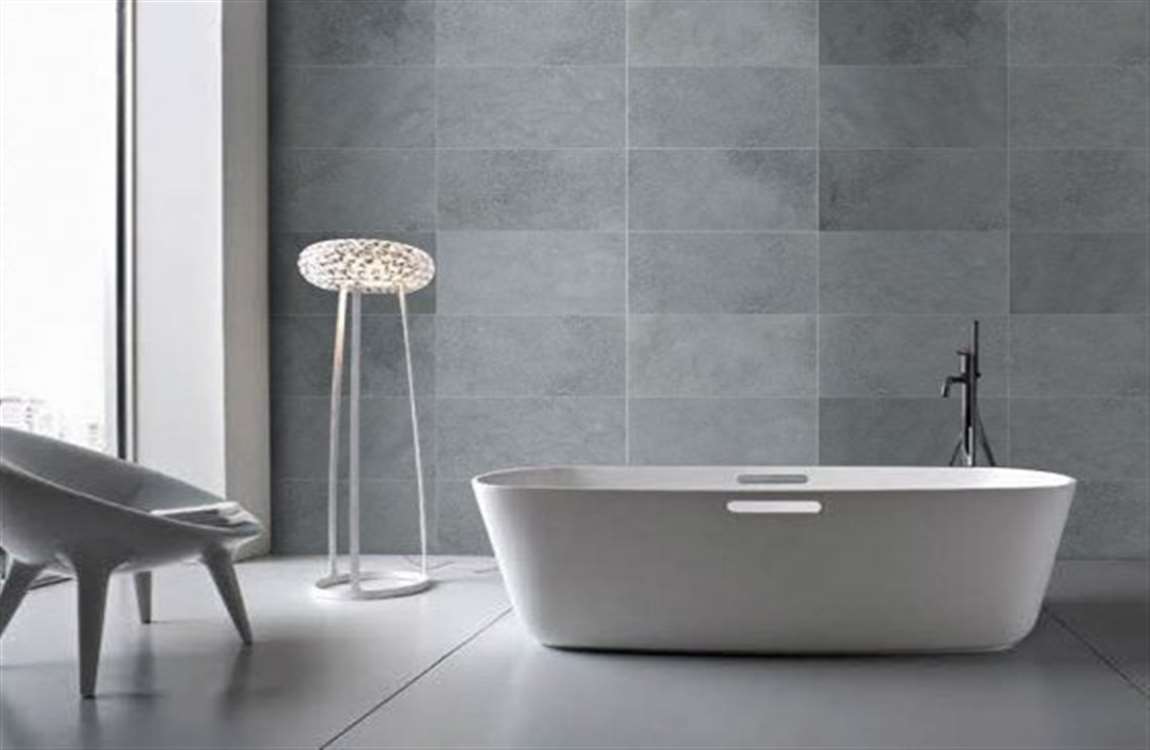
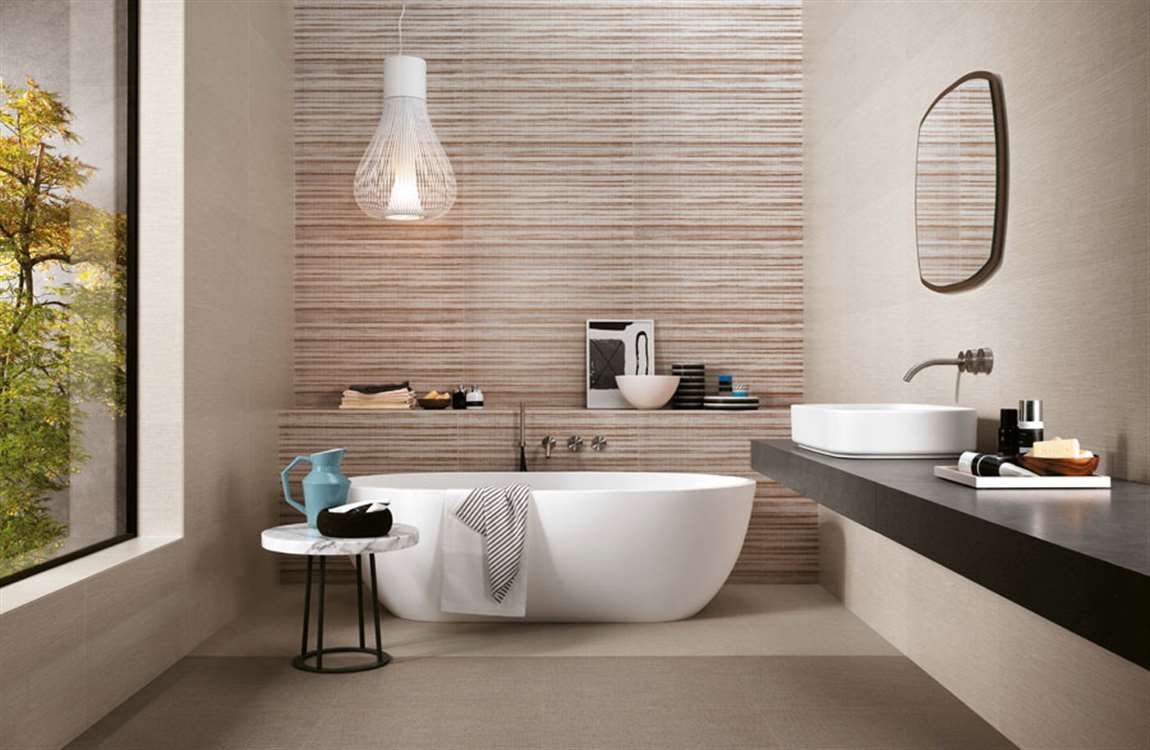
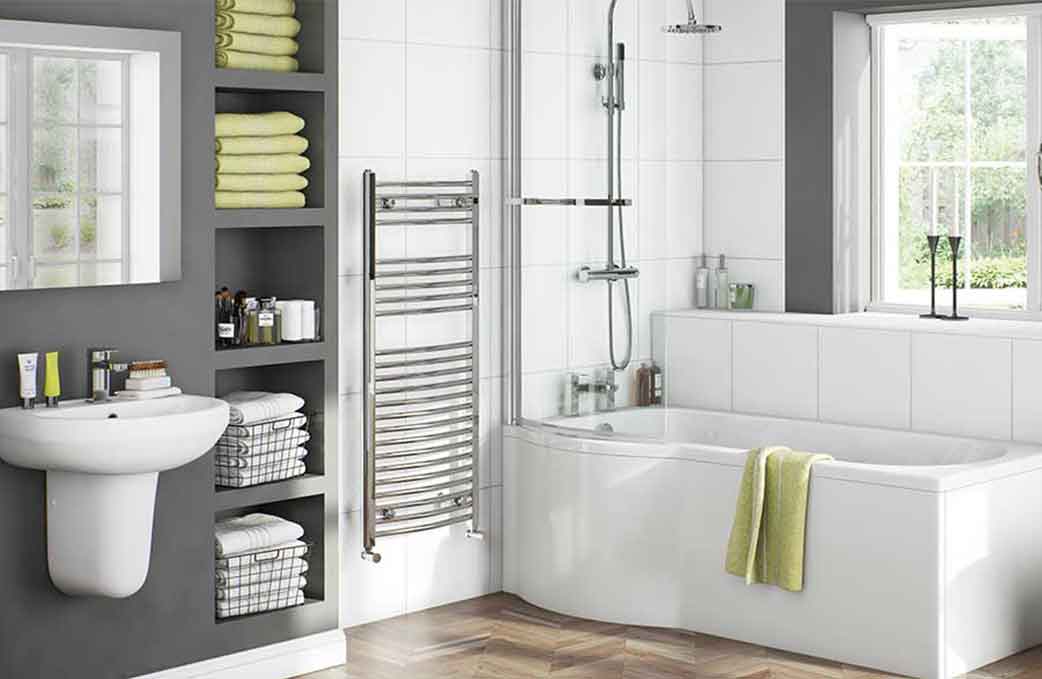
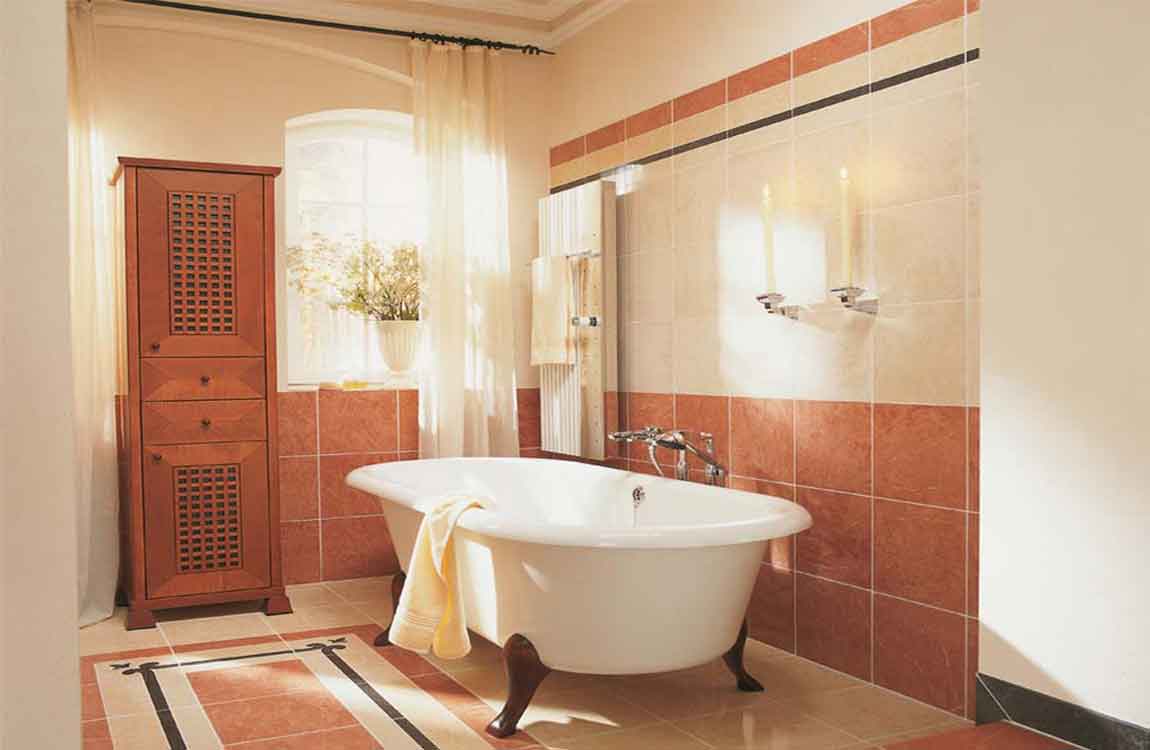
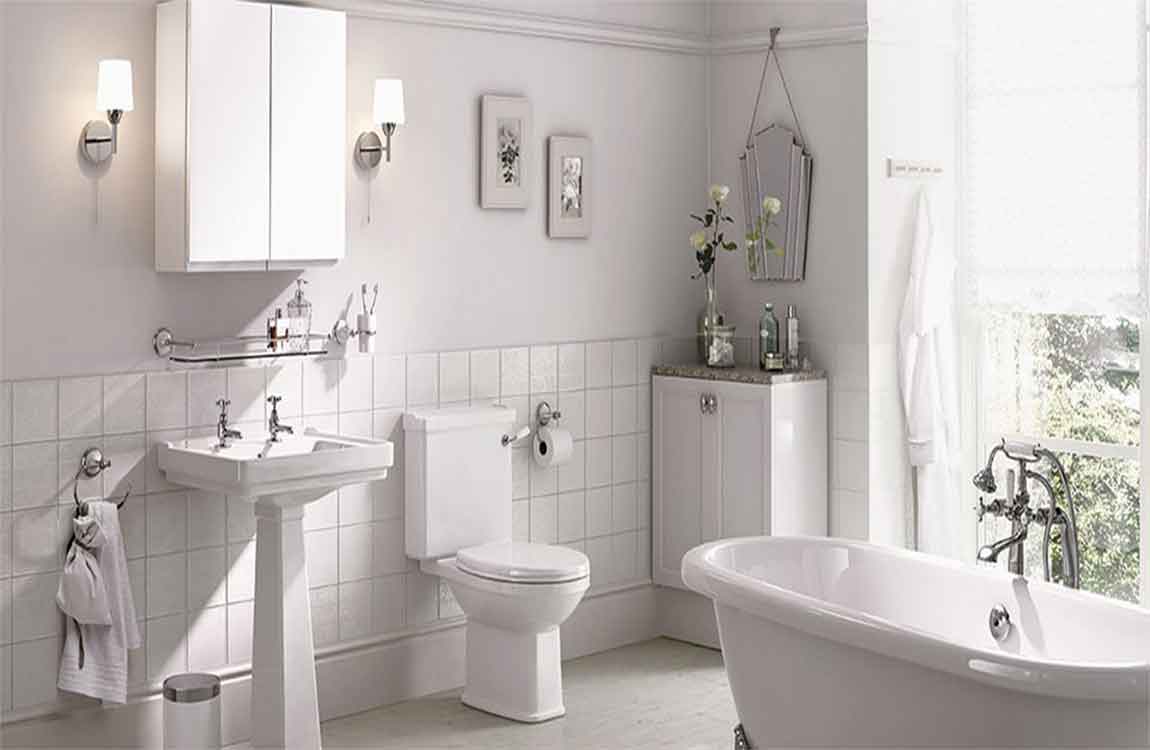
Get a free-standing tub for a more luxurious option. A tub that sits on the ground and is not mounted to the wall can be a great option if you like taking relaxing baths. Look for a rounded tub or a tub with claw feet for a luxurious design. Make sure you have enough room to fit a free-standing tub in the space before you get one.

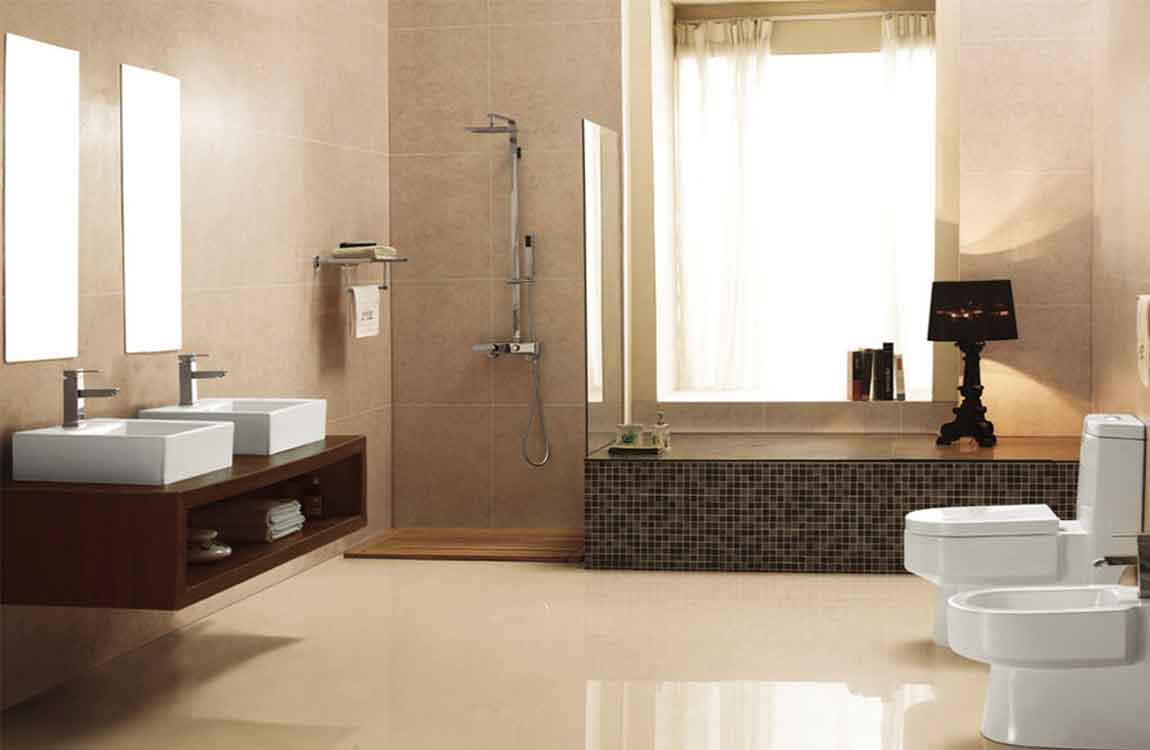
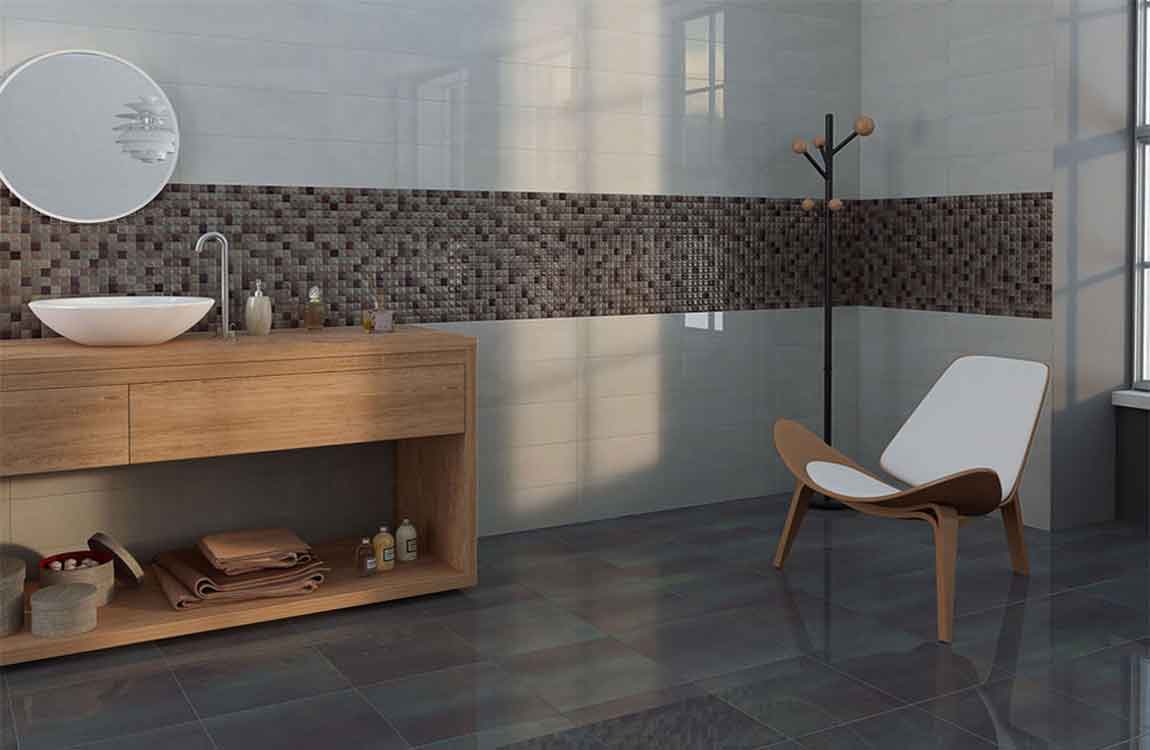
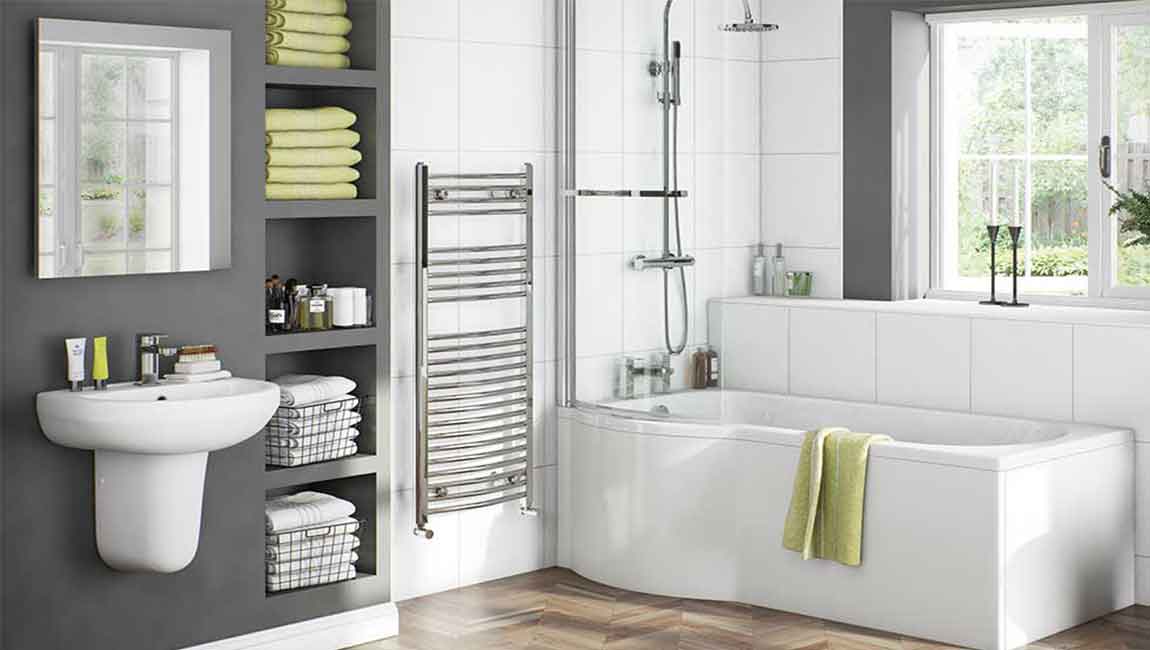
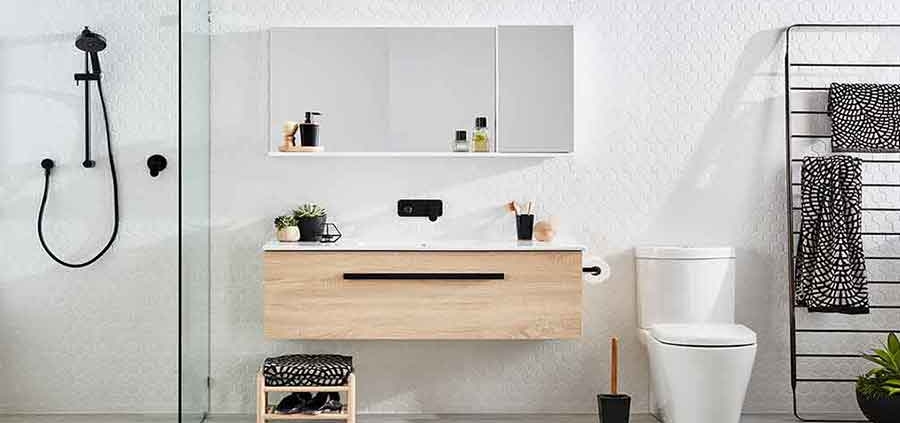
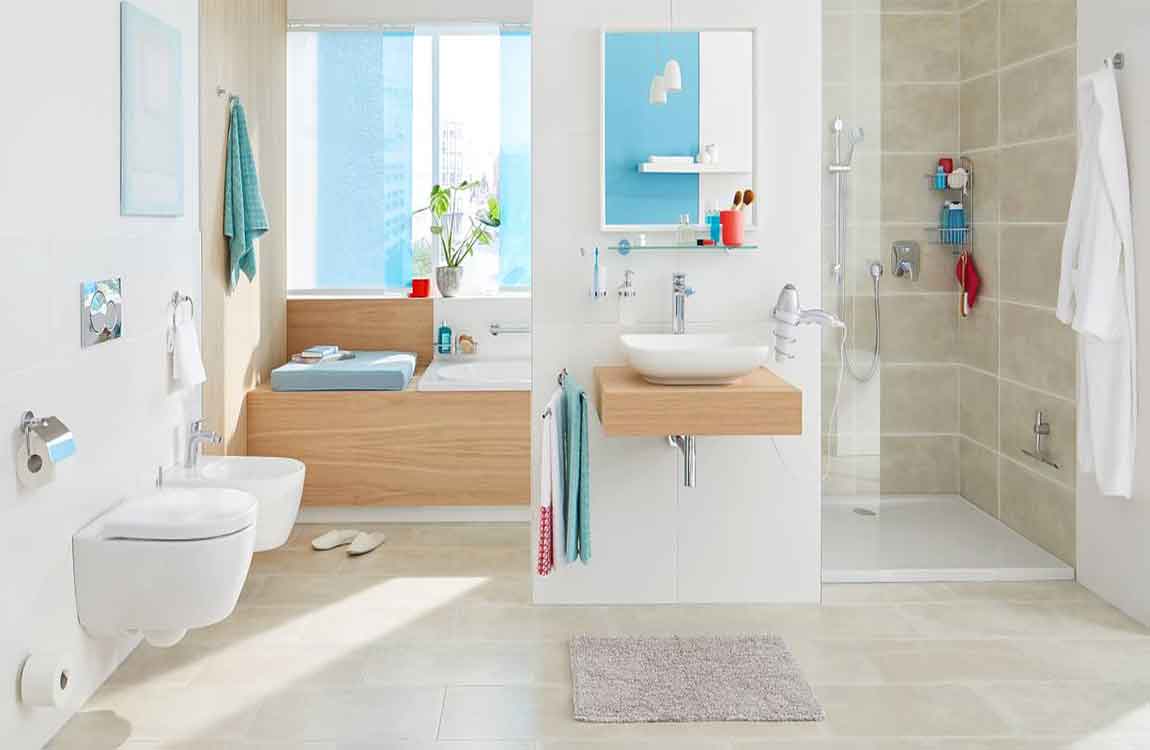
Float or round the sink to save space. Go for a sink that has rounded sides for a small space. Or mount it to the wall so it floats and takes up less room. A trough style sink that floats is a good option for a narrow space. A rounded sink on a skinny pedestal is a good option for a space that is wide, rather than narrow. Look for a sink with a vanity that has a shelf to save space and create more storage.

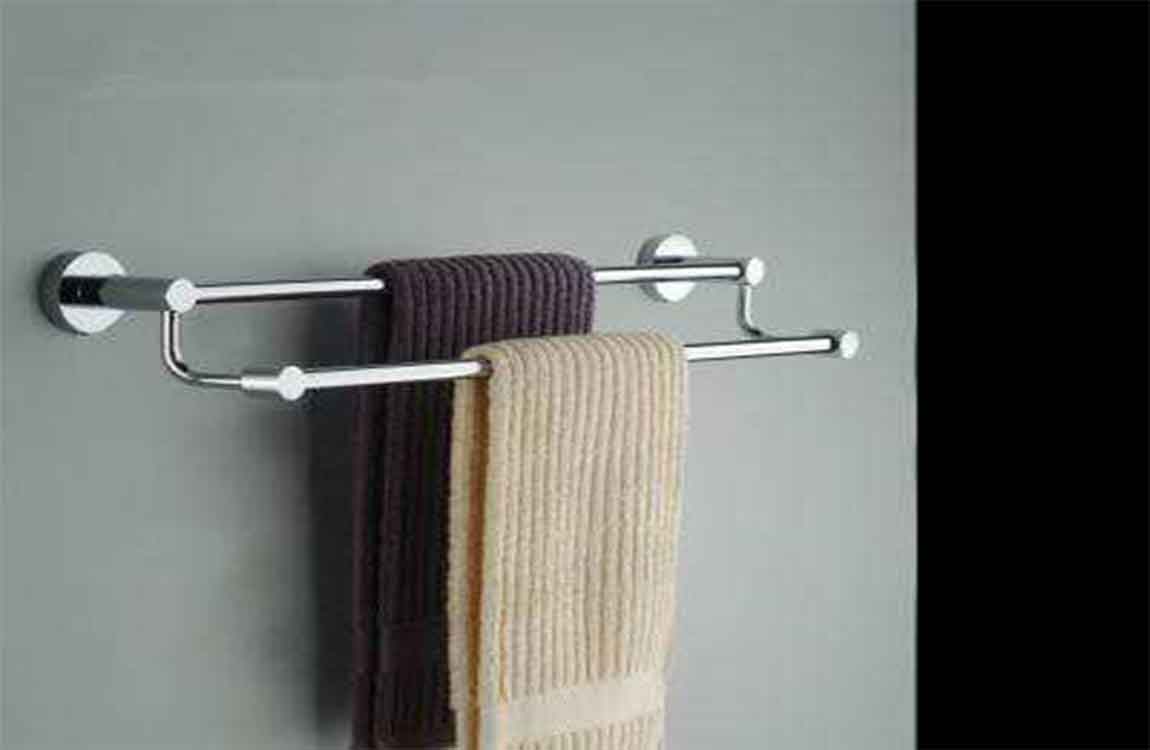
Go for towel racks that are flush to the wall. Look for towel racks that are slim and can be positioned close to the wall so they do not take up too much space. Have a towel rack for your larger towels and a smaller rack for a hand towel. Position the towel racks at shoulder height so you can hang towels on them easily.

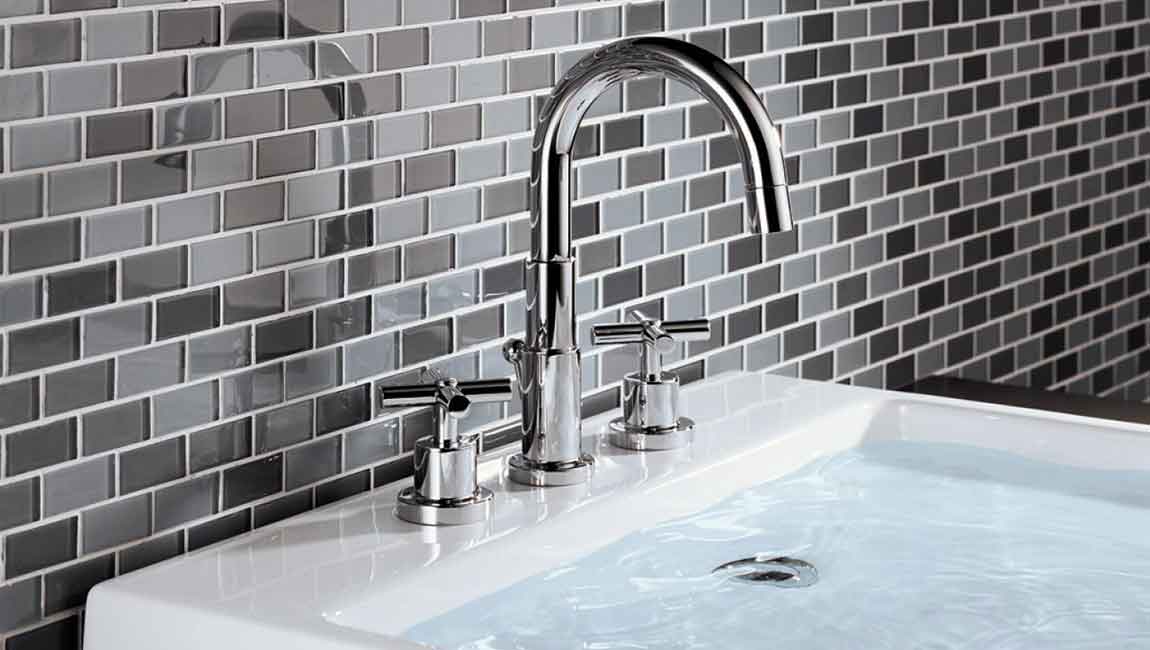
Put the towel rack on the back of the bathroom door if you do not have space on the walls in the bathroom. There should also be a towel rack close to the shower or tub so you don’t drip water on the floor. Some glass shower doors have hooks or rods to hang towels. Pick a faucet and taps that are proportional to the sink. Look for a faucet that is not too big or tall for the sink. The taps should match the faucet and be big enough to twist easily. Go for a faucet that floats and is mounted into the wall to save space. Have the faucet and taps match the color and shape of the towel racks for a more uniform look.

Get a toilet paper holder that matches the rest of the decor. Look for a toilet paper holder that is the same color or shape as the towel racks. Place the toilet paper holder on the wall beside the toilet, within arm’s reach. Use a toilet holder on a stand if you do not want to mount it to the wall.

Use Linens and Textiles to Accessorize Your Bathroom

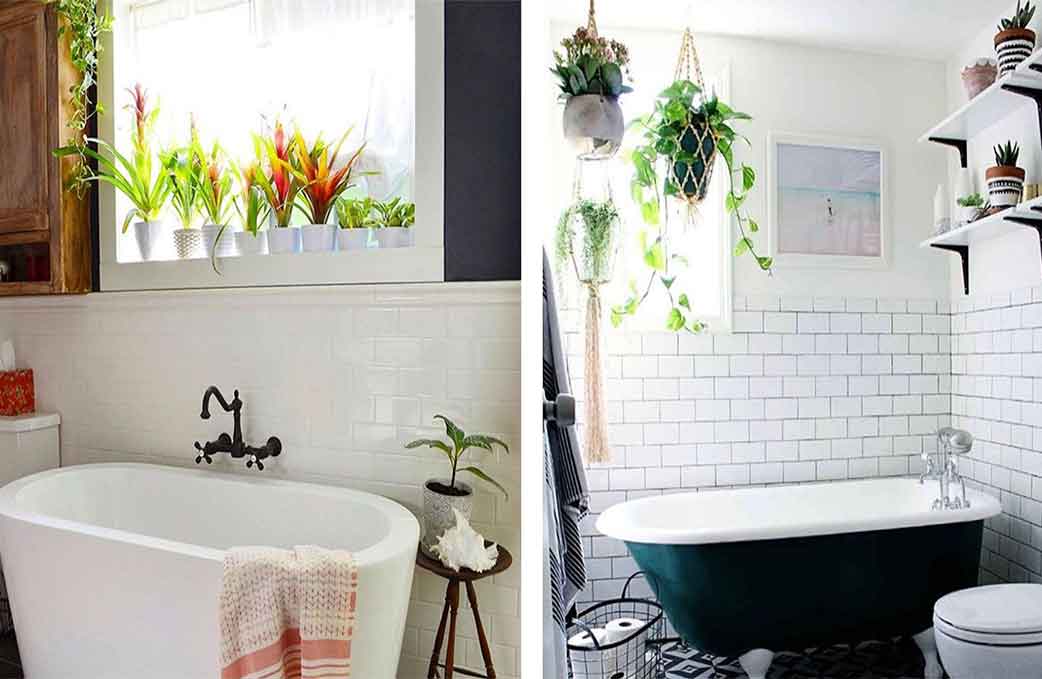
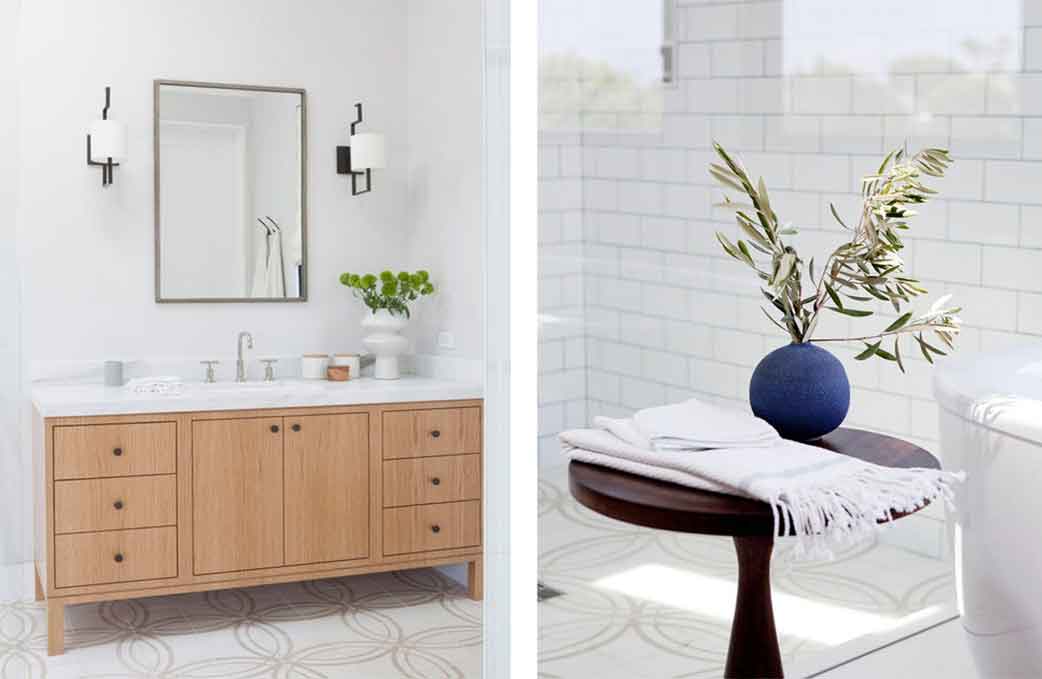
Keep small potted plants on your vanity. Potted plants add a dash of greenery and freshness to your bathroom. Pick a plant like a succulent that doesn’t require a lot of light or water so you have the easiest upkeep. Low-light plants will grow best if your bathroom does not have windows or natural light. Use fake plants or flowers for zero upkeep while still giving your bathroom a pop of color.

Put liquid soap in a nice-looking dispenser. Rather than using the original plastic soap dispensers, purchase a glass or ceramic dispenser for your vanity. Pick a style that matches the rest of the decor in your bathroom. Soap dispensers can be purchased in home decoration or big-box stores. Liquid soap refills can be purchased in a large container and are perfect for refilling the dispensers.

Hide a tissue box under a tissue cover. Provide tissues so you and your guests don’t have to tear off toilet paper to blow their nose or fix their makeup. While tissue boxes usually have designs on them, it may not match the style of your bathroom. Place a cover over the tissue box to hide the original cardboard that it came in.

Lay bath mats on the floor to catch any moisture. Lay mats right outside of the tub and underneath your vanity so water doesn’t get on the floors. Pick up mats that are absorbent and has an anti-slip material so it sticks to the floor. Bath mats can be purchased in most big box stores.

Purchase matching towels. Over the years, you may have gathered a large variety of towels that are mismatched. For a clean and cohesive look in your bathroom, purchase a set of towels that are all of the same color and brand. If you cannot purchase new towels, display towels from a matching set and keep the rest in a cabinet out of sight.

Keep fresh rolled towels in a basket near the shower. Rolled towels add a sense of sophistication to your towel display. Keeping a basket large enough to hold 3 or 4 towels next to your bath makes them easy to access for your guest while providing visual interest. You can also roll up washcloths and arrange them on the counter for guests to dry their hands with.

Replace your shower curtain. Having a fun shower curtain can help add accent and flare to your bathroom. If you’re following a color-scheme, find a curtain that matches or complements the main colors of the room. Keep a clear plastic curtain inside the tub to avoid getting your new curtain wet. To add a sense of fun to the room, consider getting a novelty shower curtain with a funky pattern or design.

Avoid using toilet rugs or covers. Not only do fluffy toilet covers look dated, they also collect germs easily. As an alternative, place a simple bath mat in front of the toilet if needed or leave it without a rug.