
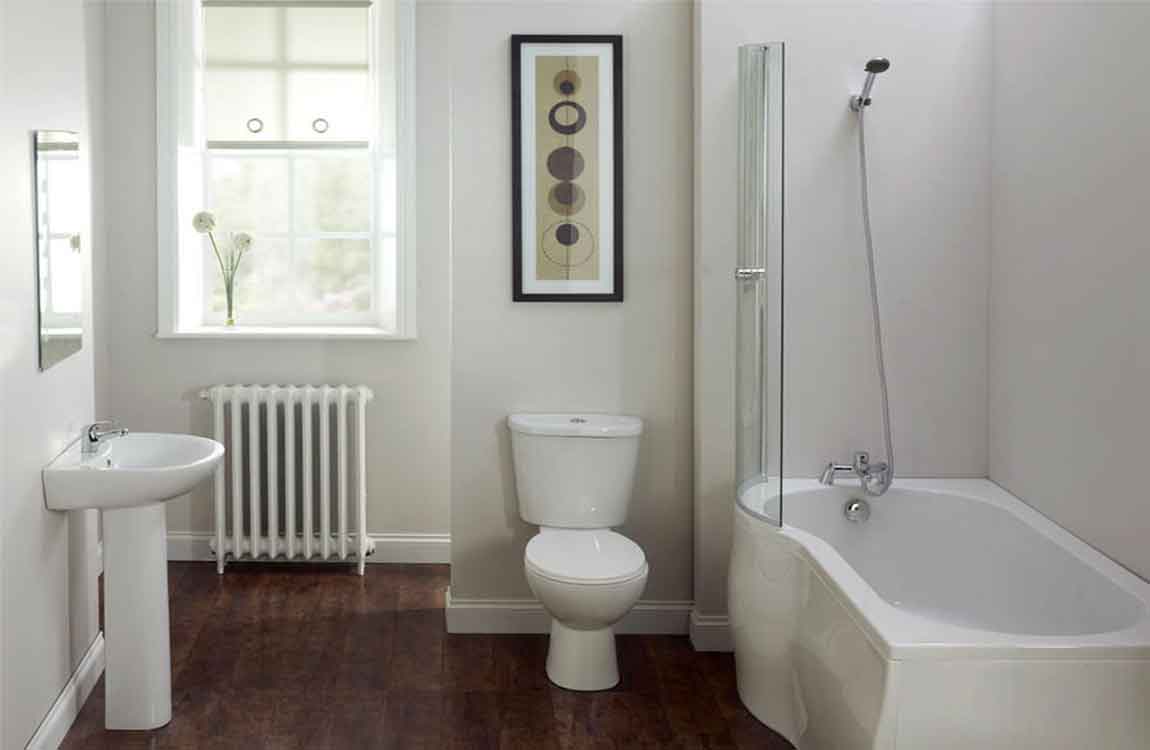
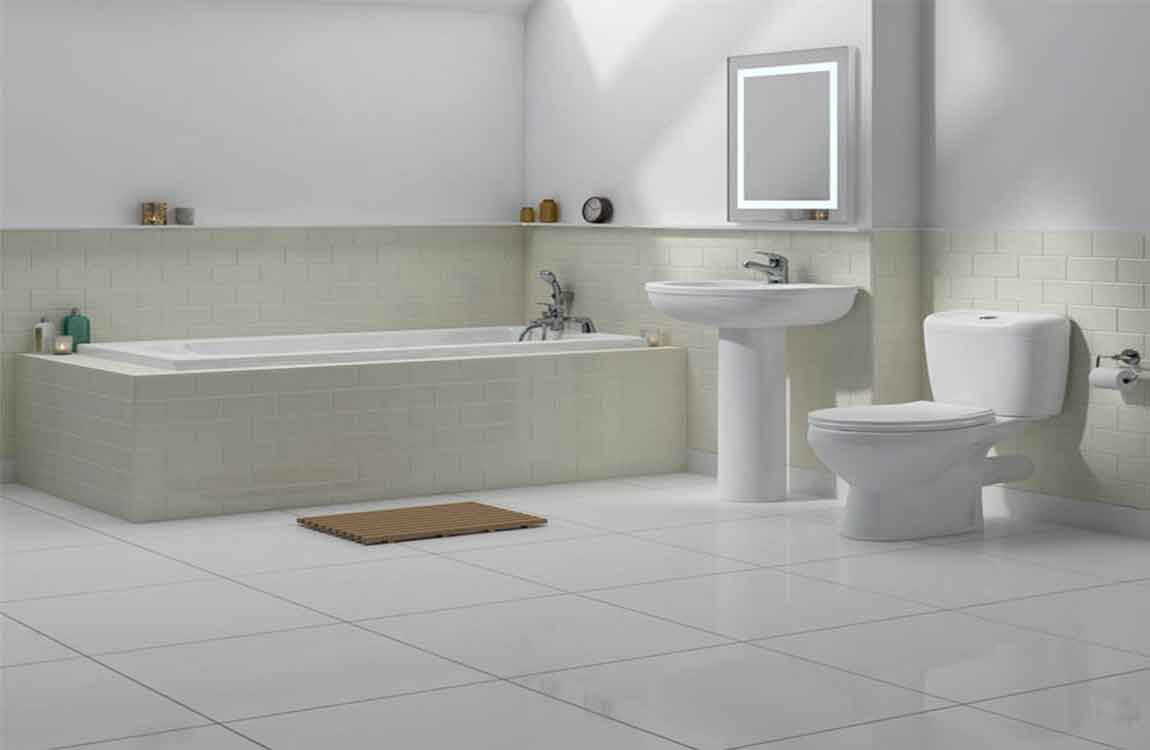
How to Make a Bathtub Tray?

Making a tray for your bathtub is a pretty basic DIY project requiring very little carpentry know-how! The first step is to simply purchase a piece of lumber large enough to fit your tub and hold all of your bath gear. If you want to be fancy about it, you can create holders for specific items by purchasing an extra piece of wood, cutting holes out of it, and then attaching that to your baseboard.
Or you can keep it simple by sticking to just 1 piece of wood. Either way, it’s only a matter of sealing your wood, sticking some grippers to the bottom, and attaching a pair of handles if desired. An older clawfoot tub may not support a tray without it falling in. Add support legs to the ends of your tray so it braces against the side of the tub.

Purchase lumber cut to size. Bring your tub’s measurements to the store. Select the size board you need (for example, a 1” x 10”). Ask the staff to cut it down to size to match the width of your tub. When you bring it home, double-check that the board rests on both sides of your tub’s rim. If you are creating holders, remember to ask for a second board of equal size.
To avoid confusion, remember that lumber sizes are H x W (for example, 1” high and 10” wide). Therefore you are cutting the board’s length to match your tub’s width. Add an extra half-inch (1.25 cm) or so to each measurement to make sure the object has adequate room to fit. For square or rectangular holders, use a table saw to cut them. For circular holes, attach an appropriately sized hole saw to a screw gun.

Attach the 2 boards. First, sand the edges of each cut with sandpaper so they’re smooth, as well as the top of the base board. Then place the top board on top of the base board so they line up evenly. Use drywall screws to screw them together around all four sides. Make sure your screws aren’t so long that they poke through the bottom of your base board.


