Wait 24 hours before turning on the water. To give the caulk and other adhesives time to dry, wait at least a full day. Then, you can turn on the water and check for leaks. If you find any problems, contact a certified plumber. Make sure you apply this paste to the corners of your shower door’s frame, as this is where rust and soap scum are likely to build up and harder to clean otherwise.
You can run the vent through the sidewall or roof, whichever is most convenient. Just make sure the duct pipe is as straight as possible and that it won’t be stretched too tightly. Attach the vent cap. The process for attaching the vent cap will vary depending on whether the exit point is on the roof or sidewall.
If your exit point is on the sidewall, pick a point between two wall studs and take some reference measurements on the inside so you can locate the same point on the outside. Use a 4-inch hole saw to cut through wall from the outside, then secure the vent cap in place.
If your exit point is on the roof, draw an appropriate sized circle on the inside and use a reciprocating saw to cut it out. Then get on the roof (taking all of the proper safety precautions) and remove the shingles covering the newly cut hole. Install the vent cap, using roofing cement and roofing nails, then replace any loose shingles. Move back into the attic and attach the end of the duct pipe to the vent cap’s connector duct using foil duct tape.
Wire the connections in the housing unit. Depending on the type of fan, you may need to wire the connections from the attic or from the bathroom. Make sure to read the manufacturer’s instructions and double check that the power is off before proceeding. Open up the housing unit and pull out the fan wires from the electrical splice unit. Strip 5⁄8 inch (1.6 cm) back from each of the wires on both the fan cable and the electrical cable you inserted earlier.
https://baranasanitary.com/wp-content/uploads/2019/10/Install-a-Bathroom-Fan-3.jpg7501150adminhttps://baranasanitary.com/wp-content/uploads/2017/01/logo-3.pngadmin2019-11-01 08:00:322019-10-31 09:07:26The Knowledge of Install a Bathroom Fan
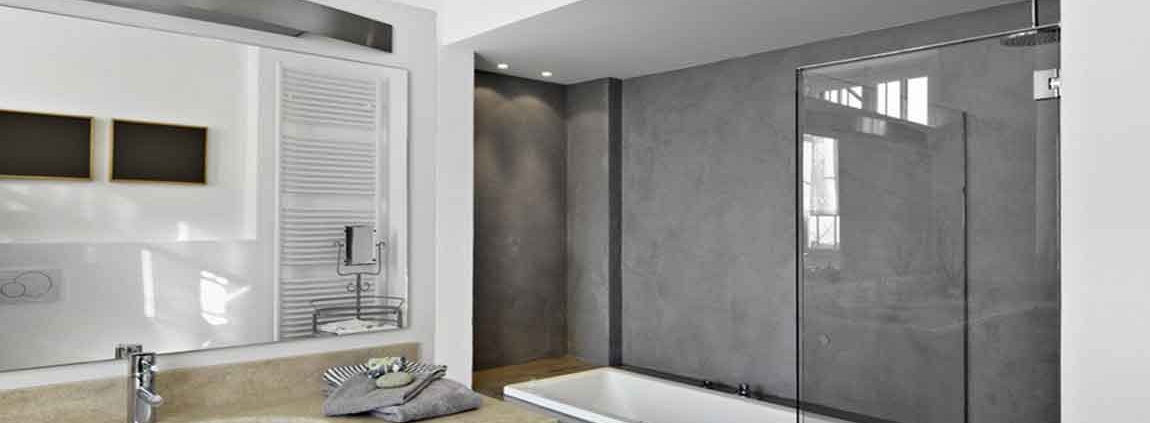
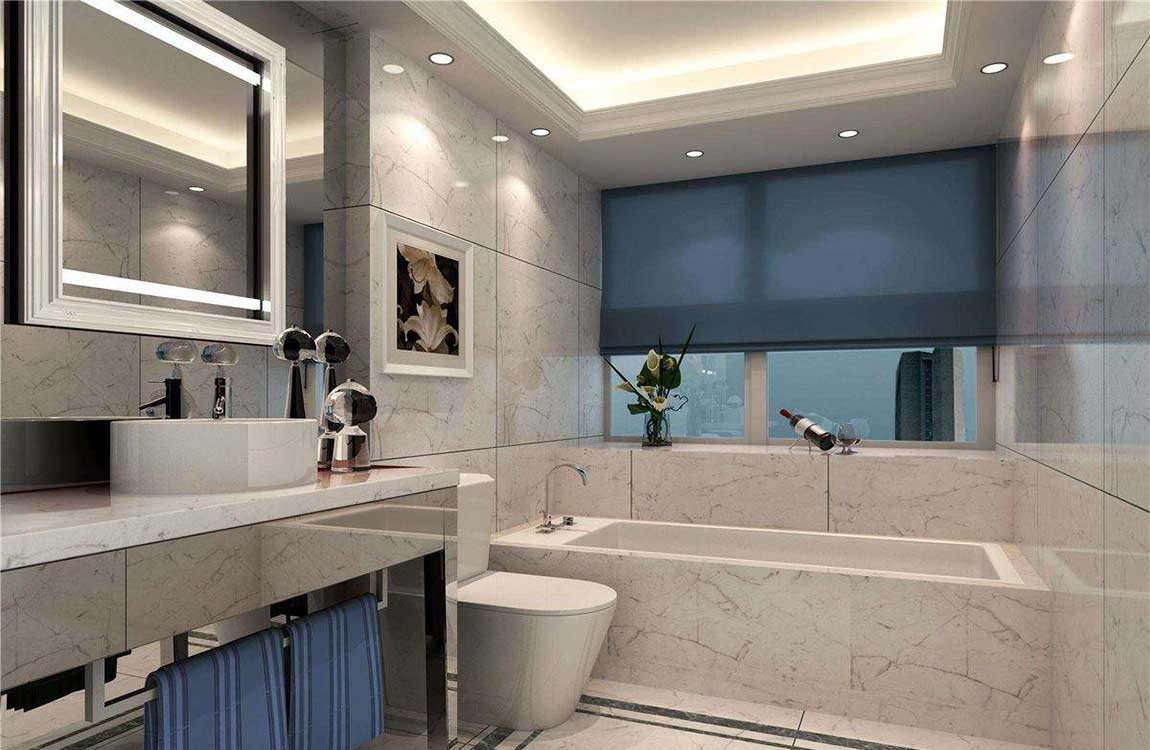
Set the tub in place and level it. Carefully position the tub in the alcove so that the drain rests over the drain opening in the floor. Place a level on each side of the tub. If any spots are uneven, position hardwood shims underneath the tub and glue them in place. Some manufacturers may advise you to spread mortar on the floor and set your tub on the mortar to secure it in place.
Secure the tub to the studs. There will be a small flange, or vertical lip, around the outside of the tub. Follow the manufacturer’s directions to secure the flange to the studs in the wall. In most cases, you can use a hammer to drive roofing nails through the flange to secure it to each stud in the wall.
Fit a new tub surround. The surround is made up of the panels that protect the wall around your tub from moisture and mildew. First, dry-fit the surround and mark the location of the accessories, including the faucet and water handles. Ensure that the faucet will line up with the water lines in the wall. Then, cut out the accessory openings with a jigsaw.
Make sure you measure the location for accessories multiple times before cutting into the surround!A one-piece surround is the easiest type to install. Caulk the tub to the surround and secure the surround to the studs. Place a bead of silicone caulk around the entire perimeter of the tub on the ledge next to the flange. Then, carefully set the surround on top of the silicone caulk.
Next, use a drill to screw the surround into each wall stud. Aim to use a screw every 6 inches (15 cm) up the length of the surround. Be sure to choose silicone caulk meant for use in bathrooms.
https://baranasanitary.com/wp-content/uploads/2019/10/Securing-the-Tub-and-Surround-2.jpg7501150adminhttps://baranasanitary.com/wp-content/uploads/2017/01/logo-3.pngadmin2019-10-09 08:00:522019-10-10 09:09:50How Securing the Tub and Surround?
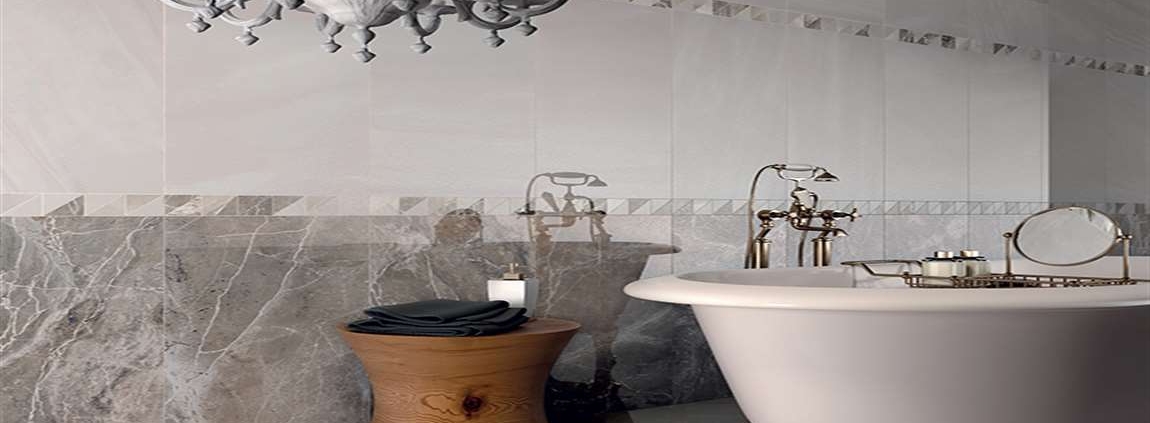
Travertine is an attractive type of limestone known for its looks and durability. Naturally, some people choose it as a shower finish. Riddled with small, natural holes, travertine is beautiful, but prone to collecting soap scum. By performing routine cleaning and protecting your travertine, you can keep your shower looking great.
Remove hard water stains with fine steel wool. Be sure to choose 0000-grade steel wool, as it is very fine and shouldn’t scratch the tiles. Lightly buff away hard water stains with the steel wool. Rinse the shower with warm water. Turn the shower on and rinse your newly cleaned travertine tiles with warm water.
If there are any spots you can’t reach with the showerhead, fill your bucket up with clean water and rinse the tiles clean manually. Dry your travertine with a clean towel. Use a towel to wipe down your travertine to remove any traces of stone cleaner. It may be helpful to open a window to dry the area more quickly.
Get your travertine sealed once a year. Sealing your travertine makes the stone more resistant to damage from soap, grit and hard water. Have a stone professional seal your travertine once a year to keep it looking and functioning great.
Allow the sealer to set for 24 hours. Let the sealer fully absorb and dry into your marble before trying to use your shower again. You should seal your marble bathtub once every six months. Let everyone in your house know that using the shower before the sealer dries could damage your marble.
https://baranasanitary.com/wp-content/uploads/2019/08/How-to-Clean-a-Travertine-Shower-1.jpg7501150adminhttps://baranasanitary.com/wp-content/uploads/2017/01/logo-3.pngadmin2019-08-21 08:00:282019-08-29 03:45:31How to Clean a Travertine Shower?
Nobody likes the thought of taking a soak in a dingy bathtub. With constant exposure to moisture, bacteria and mold can collect on the walls of your tub, creating a mess that’s both unsightly and unsanitary. Being diligent about keeping your bathtub clean is the best way to prevent dirt and gunk from getting out of hand, but sometimes you’ll have to bring out the big guns to chip away at heavy, set-in stains. Fortunately, this can usually be done with the aid of a few basic household products and a little elbow grease.
The longer you let the solution sit, the more effective it will be at lifting long-settled residue. Wear gloves and work in a well-ventilated area when handling chemical cleaning solutions. Scrub out the stains gently. Use a soft sponge or microfiber towel to avoid leaving marks or scratches. Go over the stains using a gentle circular motion. When you’re finished, rinse away any remaining dirt and cleaning solution and let the tub dry completely.
If necessary, apply another burst of cleaning solution. Wipe and repeat until the stains come out of the enamel finish. Using anything more abrasive than a sponge to scrub enamel may wear down the finish.
Add enough water to produce a paste. Spray purified or ordinary tap water onto the cleaning powder. With the addition of moisture, the powder will take on a thick, foamy consistency. Rub this paste into the stains and give it about half an hour to take effect. You can also wet a clean sponge or washcloth and use it to rub in the cleaner until it thickens.
Another option is to wet the tub before you apply the cleanser. Spray the tub with the shower head or fill a cup with water and pour it around the inside of the tub. Be careful not to add an excessive amount of water. The cleaner won’t be as effective if it’s too thin.
https://baranasanitary.com/wp-content/uploads/2019/07/How-to-Clean-Tough-Stains-from-a-Bathtub-4.jpg7501150adminhttps://baranasanitary.com/wp-content/uploads/2017/01/logo-3.pngadmin2019-07-22 08:57:212019-07-31 06:27:25How to Clean Tough Stains from a Bathtub?
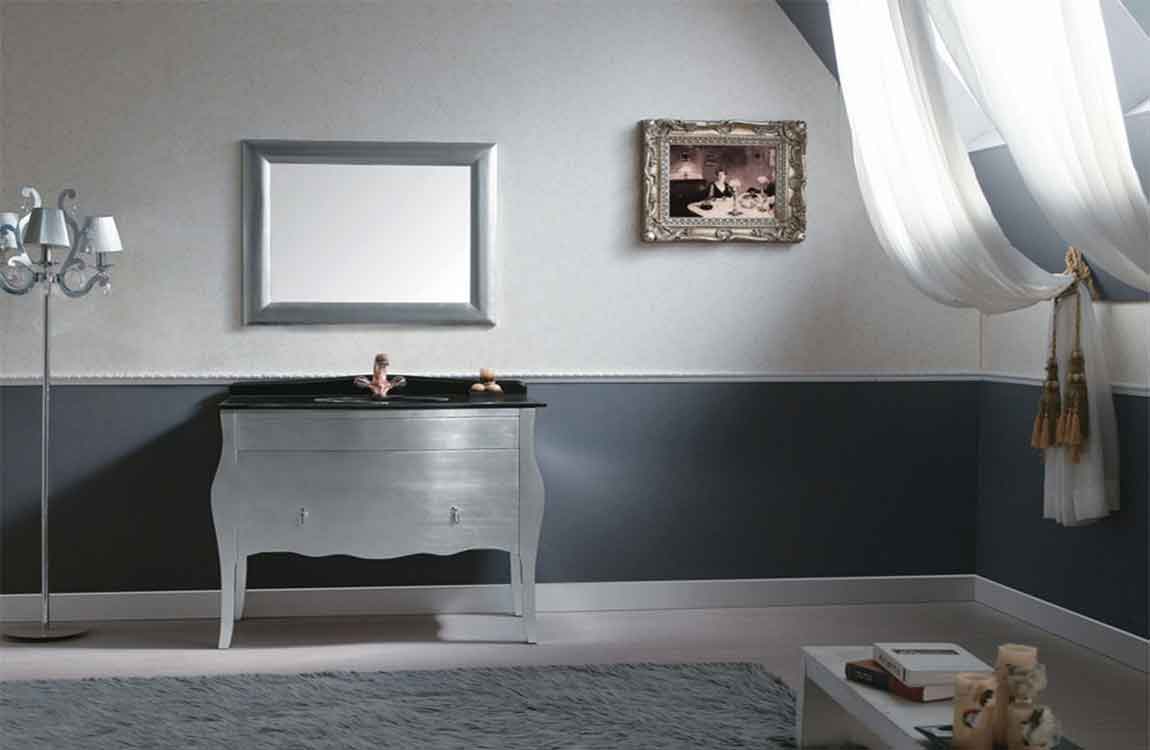
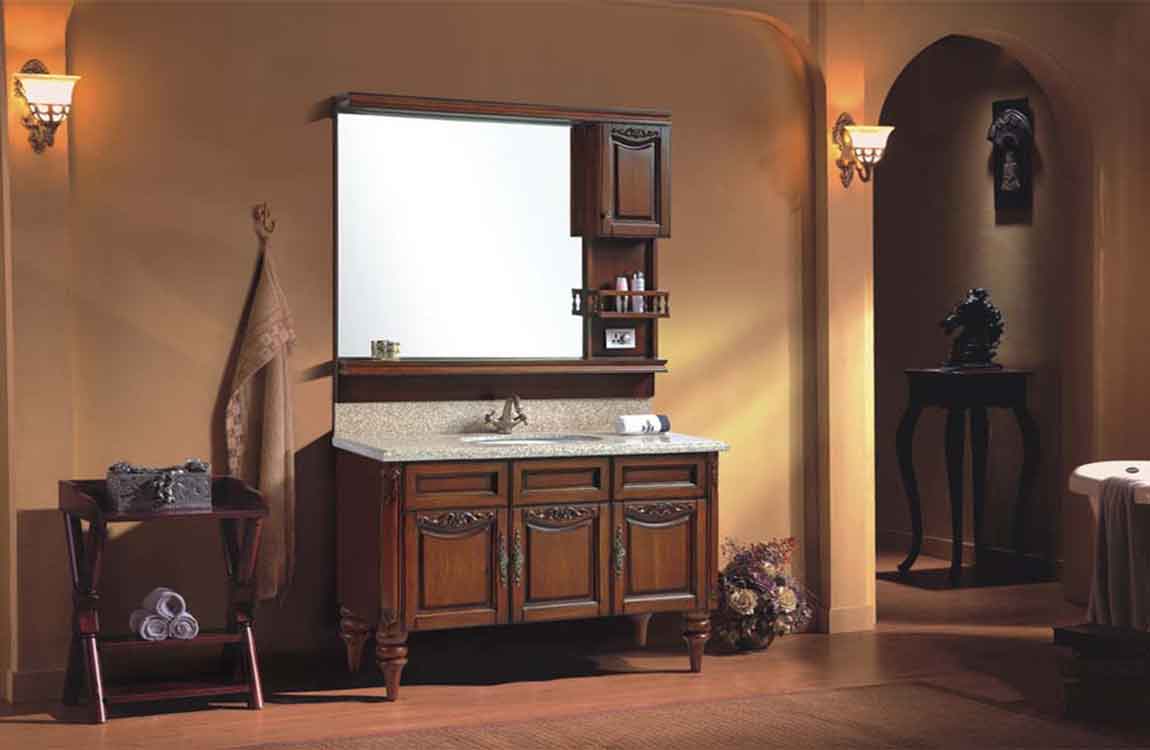
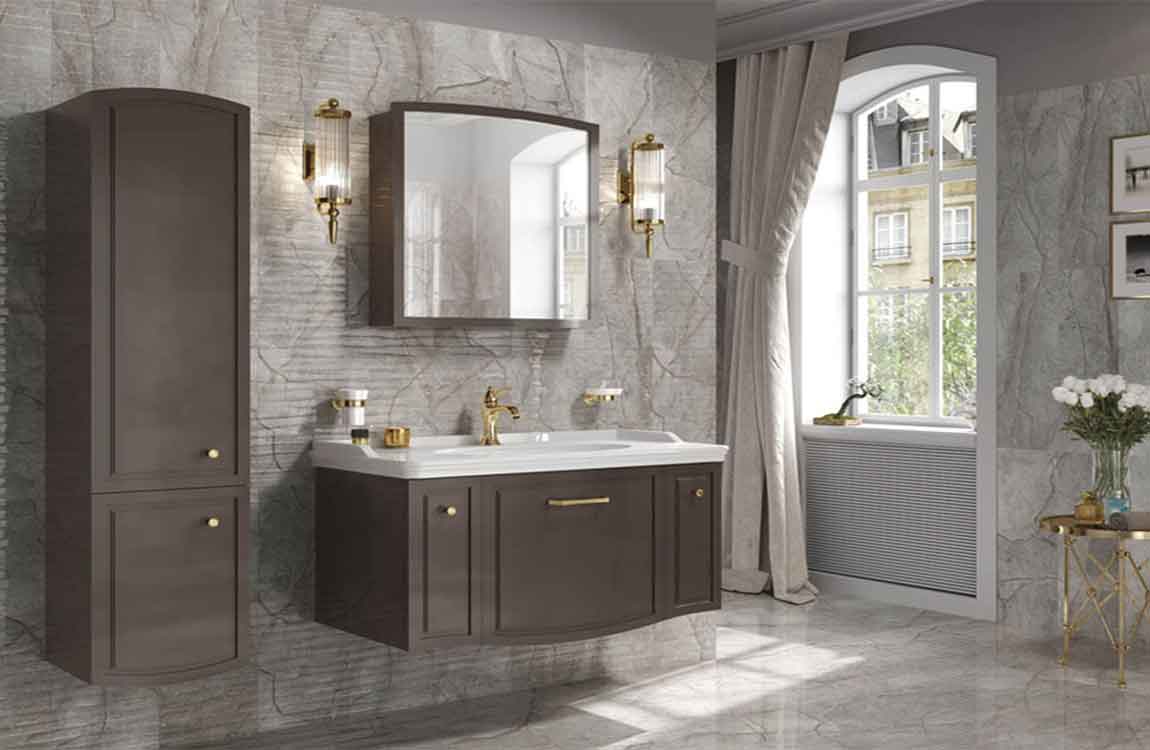
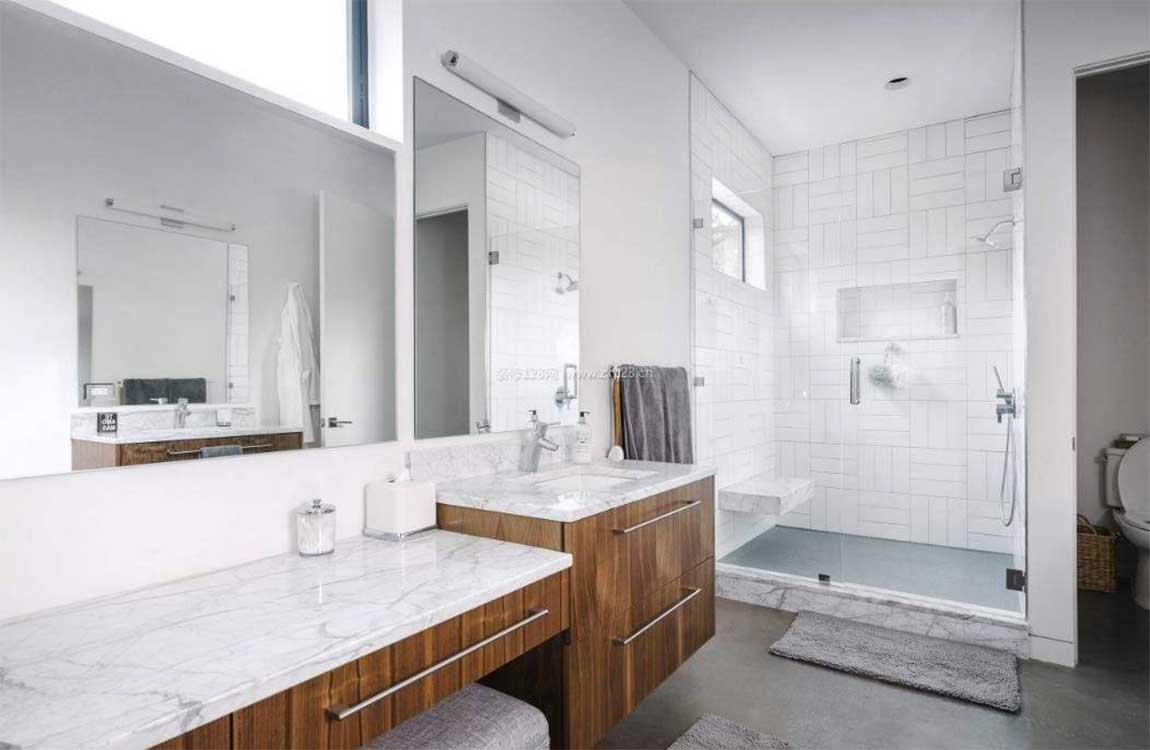
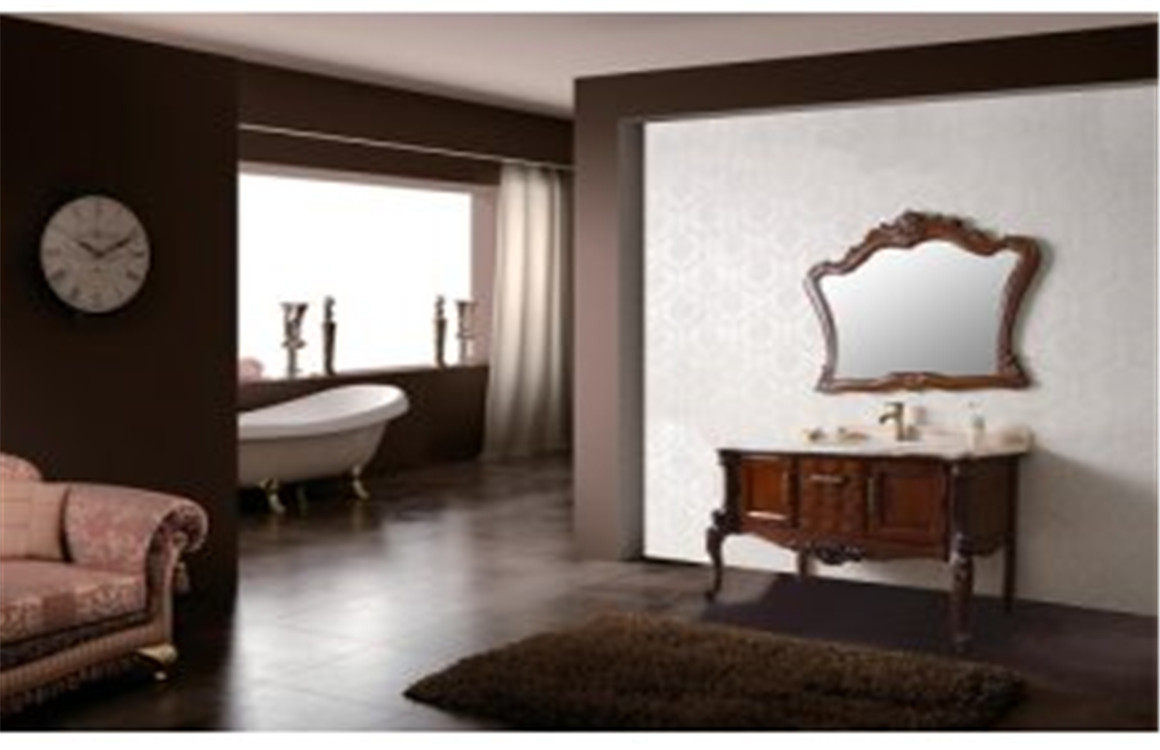
Decide on a style. A bathroom cabinet should fit into its environment, so you will want to choose cabinetry that complements your home’s existing furniture and architectural details. Consider the following design elements: Doors. You may opt for open-shelved cabinets, which have no doors, or for decorative glass or solid doors.
Material. Bathroom cabinets come in a wide array of materials, including wood, plastic, wicker, glass, bamboo, porcelain and laminate. Accessories. Pay attention to things like drawer pulls, door handles, cabinet tops and mirrors, as these details contribute to the cabinet‘s aesthetic and style.
Add another coat if the paint looks patchy and let it dry overnight. After letting the first layer dry overnight, you may notice that the paint has some patchy areas. Apply a second coat, brushing on paint over edges and corners and using a foam roller on flat surfaces. Let the vanity and all of the painted pieces sit undisturbed for a full night and check them in the morning.
Patchiness often occurs with darker paint colors. When applying extra coats of paint, you may need to let the vanity dry for up to 48 hours. Rinse the product away. Use warm water to clear away the chemical you used. Use a once-a-month cleaner. Products such as Scrubbing Bubbles Mega Shower Cleaner are meant to deep clean your shower once a month. To use, apply the product to the tub and walls. Leave it on for 3 minutes. Wash away the product.
Ensure the room is ventilated. Open a window. Keep the bathroom door open. Run a fan. Do what you need to do to create good airflow. Apply the sealer with an applicator brush or sponge. Put some sealer on the applicator, and work it into the grout. Only do a small area, so you can keep track of what you’ve done. In about 10 minutes, wipe off any excess. You need to remove the excess sealer from the tile and grout. The sealer should have soaked in during this time.
No one likes a grimybathtub, but no one likes to clean it either. However much you dread this task, you have many options available to make the process simpler. You can use a natural cleaning product, such as grapefruits and salt, or a commercial product to thoroughly clean your bathtub.
Use baking soda paste. This paste works well for rust stains, but you can also use it as a general cleaner. To make the paste, add water to the baking soda until it forms a paste-like substance. Then, use a sponge to apply the paste to the areas you want to clean. Scrub the paste into the surface to help remove the stains. Finally, rinse away the paste.
If your bathtub is very dirty or stained, apply the paste onto the affected areas, then spritz over it with white vinegar. Allow the baking soda and vinegar to set on the stain for 10-15 minutes, then scrub with a sponge. Finally, rinse away the baking soda and vinegar. This should remove the stains.
Try borax and a lemon. This coupling also works well on hard stains. Dust the stain with borax. Cut a lemon in half, and rub it on the stain. Let it stand for at least 15 minutes. Wash it away.
Practice everyday cleaning. If you clean out your tub every time you shower, you won’t have a buildup over time. Use the shower to sprinkle the tub with warm water, washing away any dirt. Wipe off the water with a towel or sponge.
Apply as directed. Leave the cleaner to sit, or scrub it in as directed by the manufacturer. Don’t use a metal or abrasive brush as it can damage your tub. For hard to reach places, try scrubbing using an old toothbrush and one of the aforementioned cleaning products.
https://baranasanitary.com/wp-content/uploads/2019/07/How-to-Clean-a-Bathtub-3.jpg7501150adminhttps://baranasanitary.com/wp-content/uploads/2017/01/logo-3.pngadmin2019-07-08 08:05:062019-07-09 08:23:44How to Clean a Bathtub?
Secure the sink in position with a piece of lumber and a bar clamp. Cut a section of 2 in × 4 in (5.1 cm × 10.2 cm) lumber so it’s at least a few inches/centimeters longer than the width of the opening for the sink in the countertop. Lay this piece of wood across the opening. Then, while a second person lifts the new sink up into place from beneath, feed the bar clamp up through the drain opening of the sink so that one of its clamps holds up the sink from below. Secure the other clamp to the piece of wood and tighten it.
Make sure the clamp is tight enough to make the some of the silicone caulk squeeze out between the rim of the sink and the underside of the counter. Wipe away this excess caulk with a damp rag. Secure the included clips in place with screws or epoxy. Your new undermount sinkwill come with support clips to place around the underside of the sink where it meets the underside of the counter. In some cases, these clips may attach with screws. If so, drill pilot holes and use a screwdriver to secure the clips in place. Otherwise, use the brand or type of epoxy recommended by the sink manufacturer.
In most cases, the clips are adhered in place with a 2-part epoxy that hardens in about 10 minutes after being combined. Follow the product instructions carefully and apply the proper amount to each clip. Then press them into place as per the installation instructions for your sink.
Wait 24 hours, then install the drain. Even though the epoxy should be fully set in 10 minutes, it’s important to give the silicone adhesive time to cure fully. Leave the piece of lumber and bar clamp in place for a day before removing them. After that, you can put the drain in place and continue with the installation.
Like faucets, drain installations vary by type and brand, but the process is DIY-friendly if you follow the instructions carefully. You could rely on the epoxy to hold everything in place after 10 minutes and not wait the full 24 hours before proceeding, but this is not recommended. Be patient.
https://baranasanitary.com/wp-content/uploads/2019/05/The-Knowledge-of-Replacing-an-Undermount-Sink2.jpg7501160adminhttps://baranasanitary.com/wp-content/uploads/2017/01/logo-3.pngadmin2019-05-22 07:32:162019-07-31 06:55:41The Knowledge of Replacing an Undermount Sink
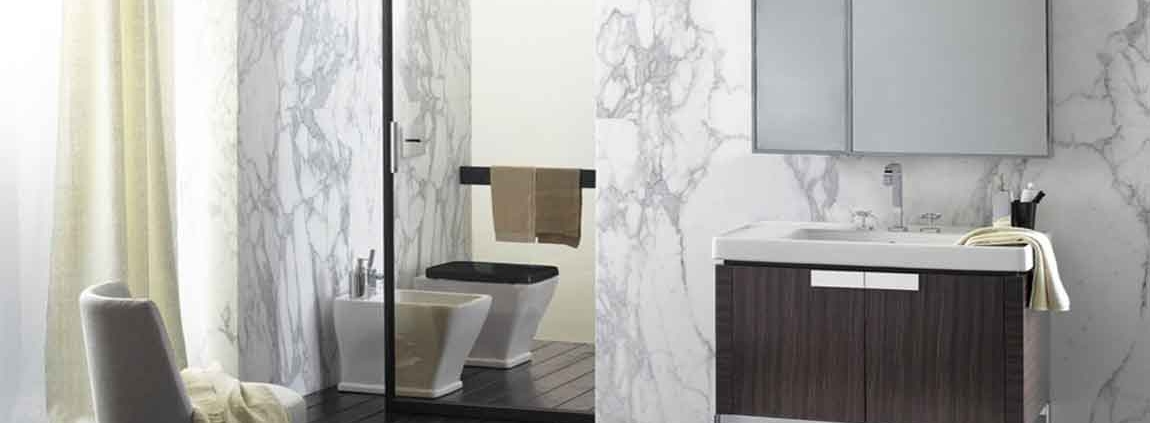
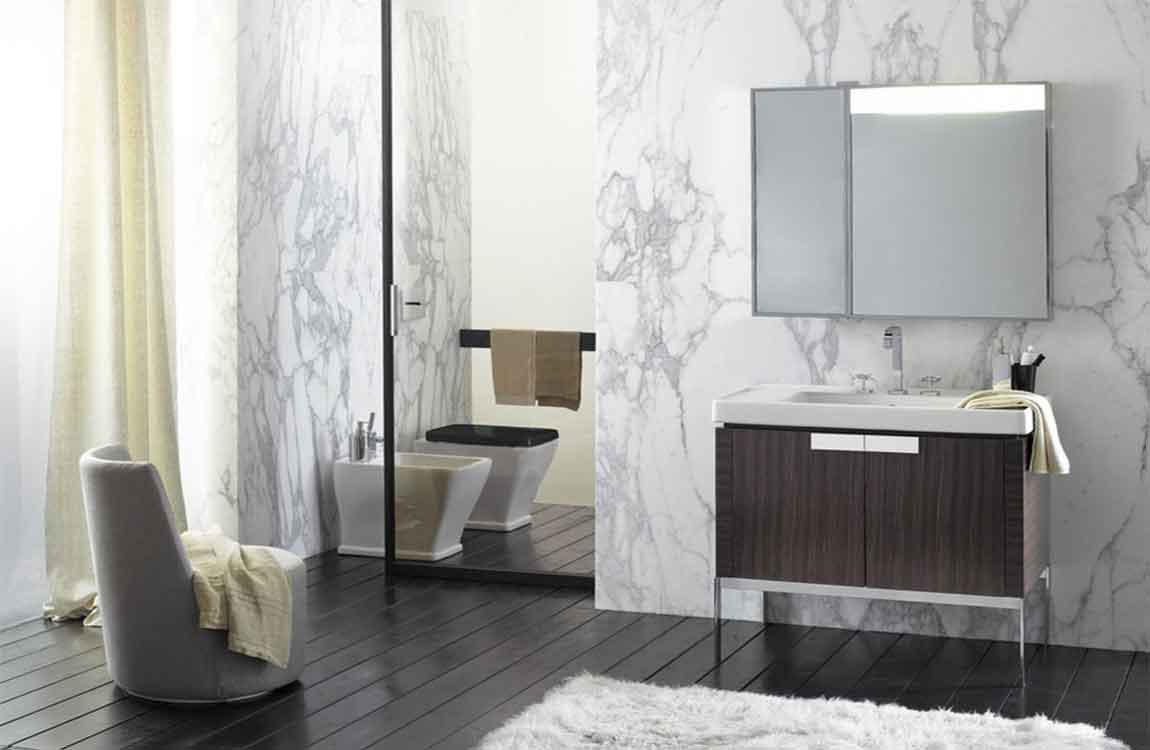
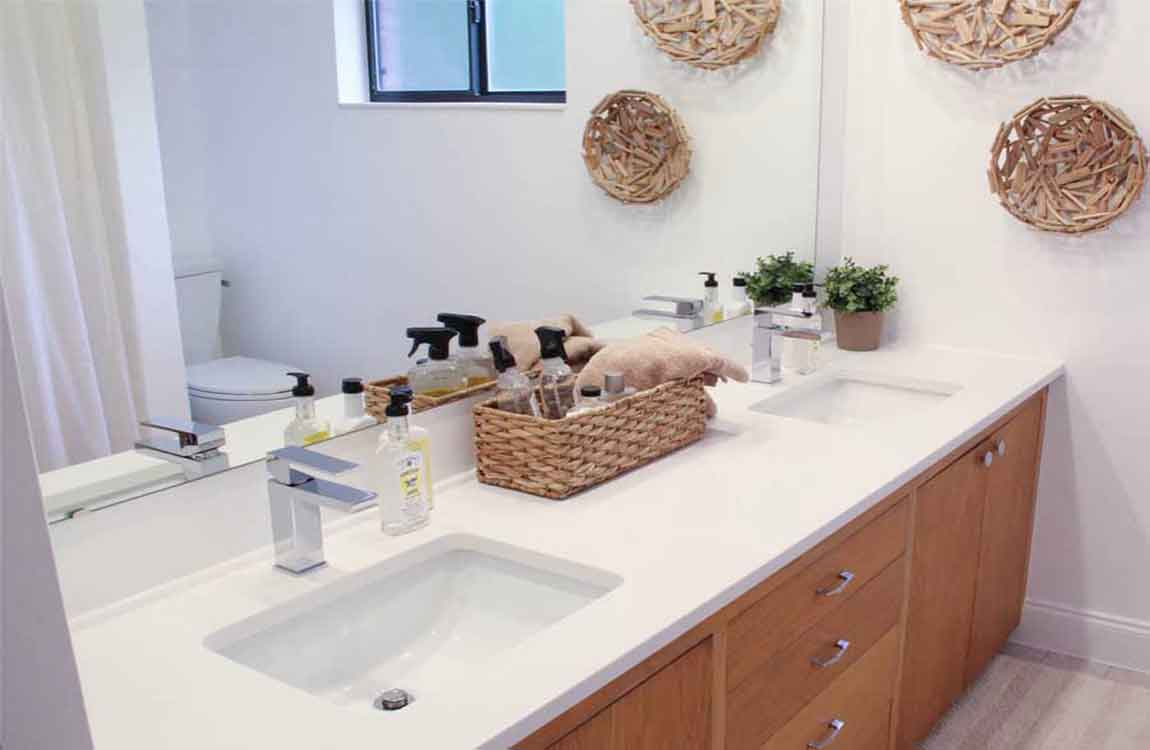
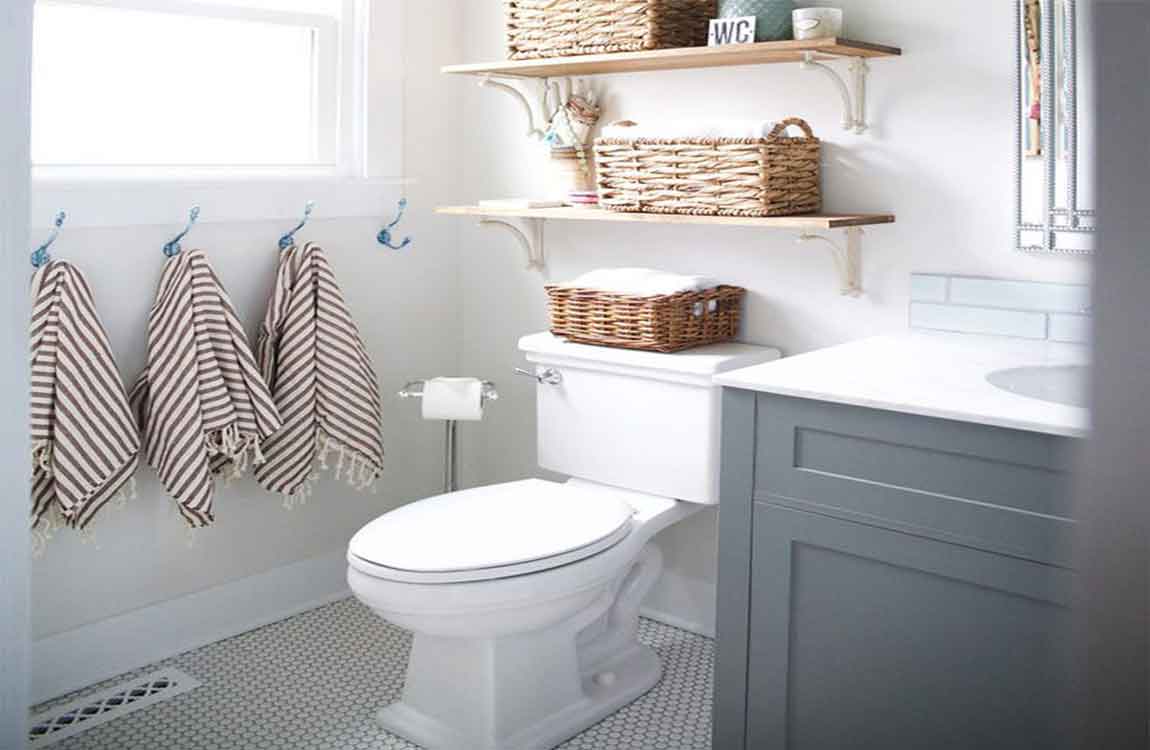
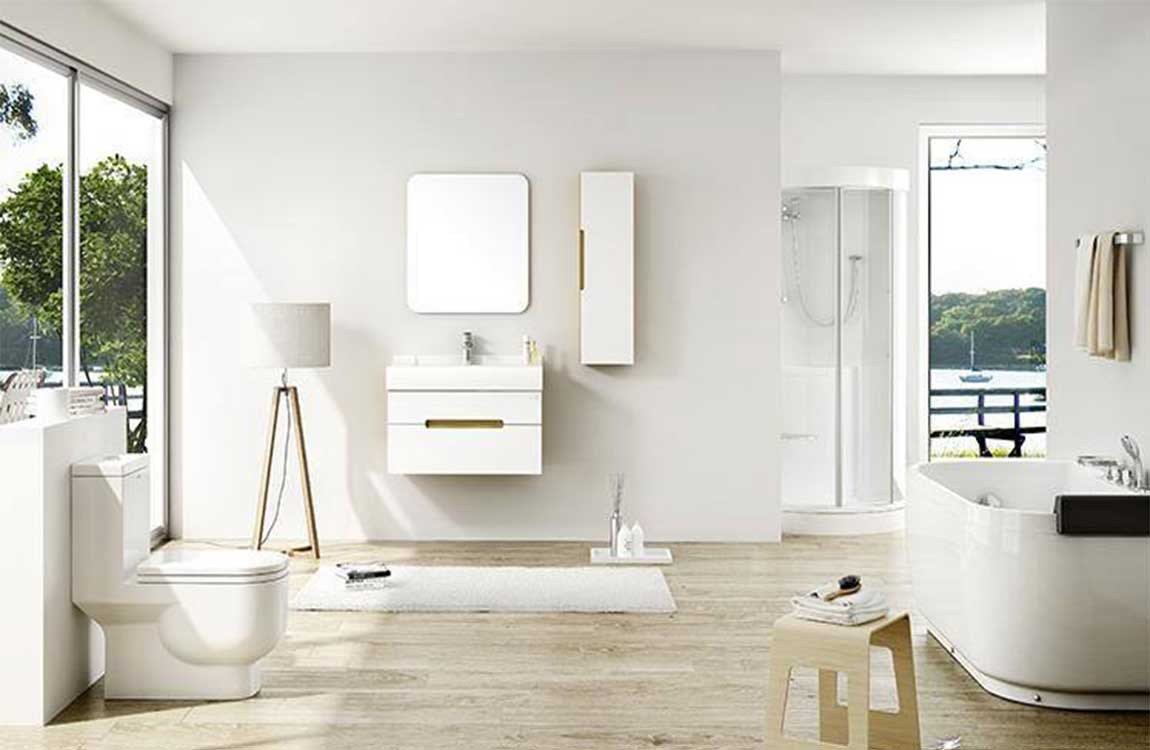
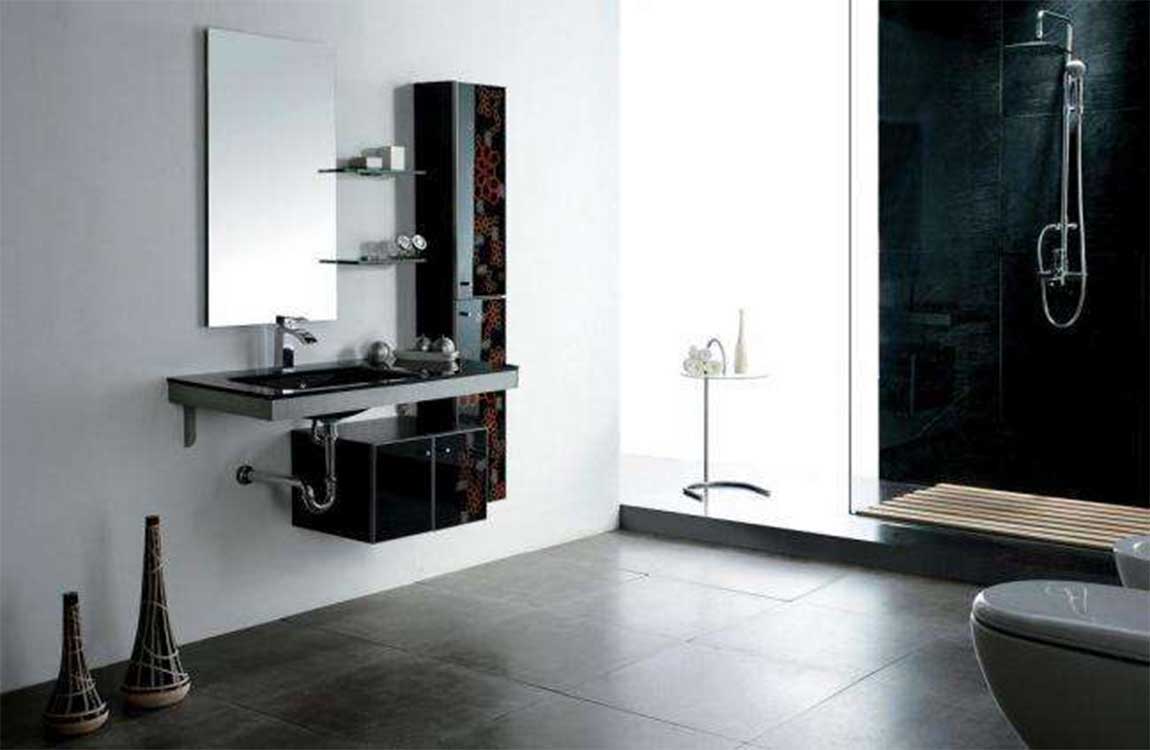
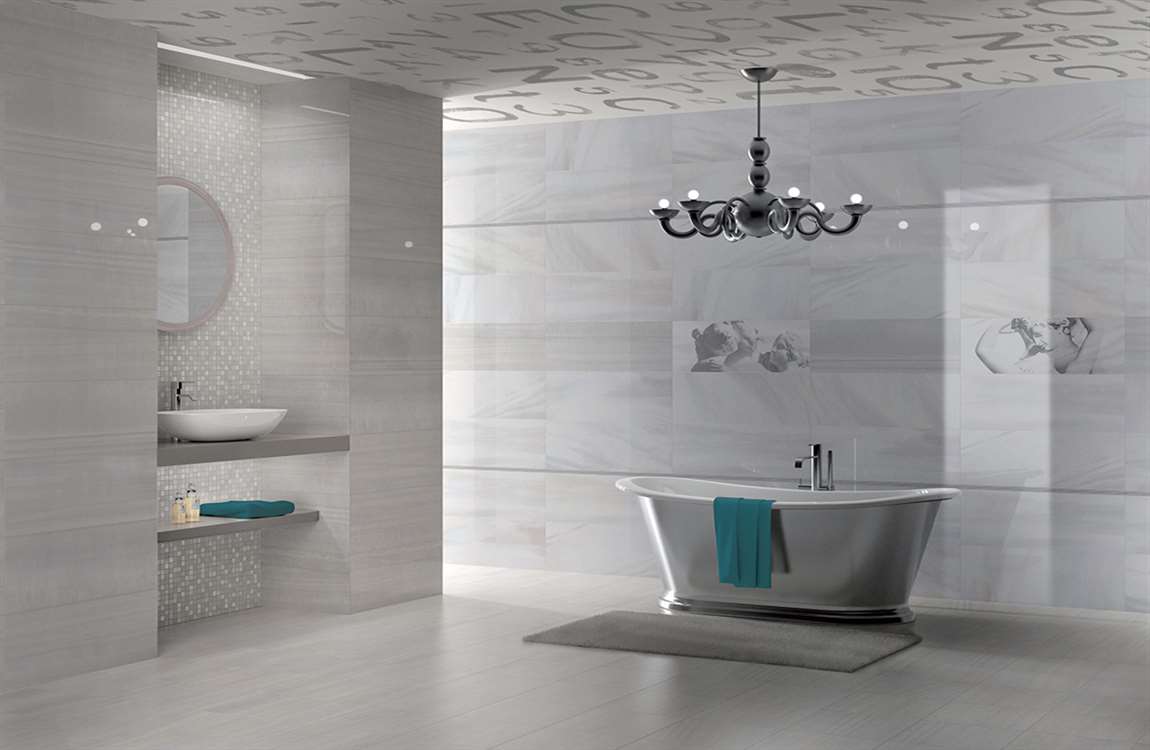
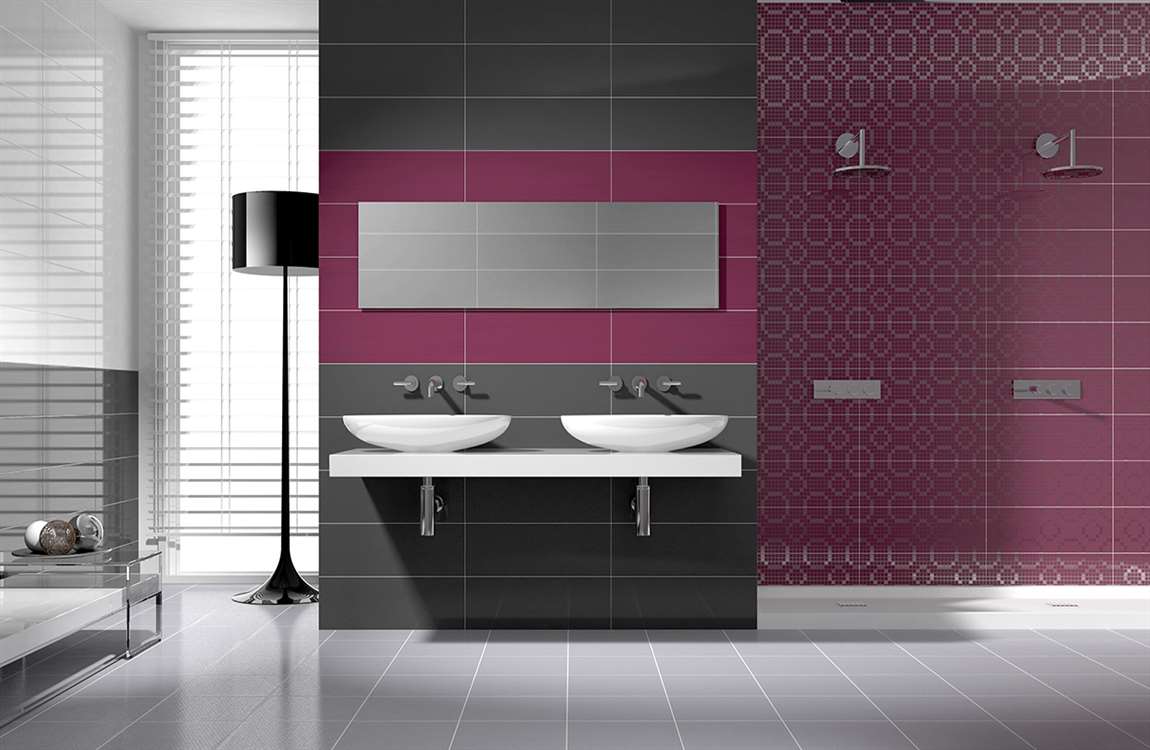
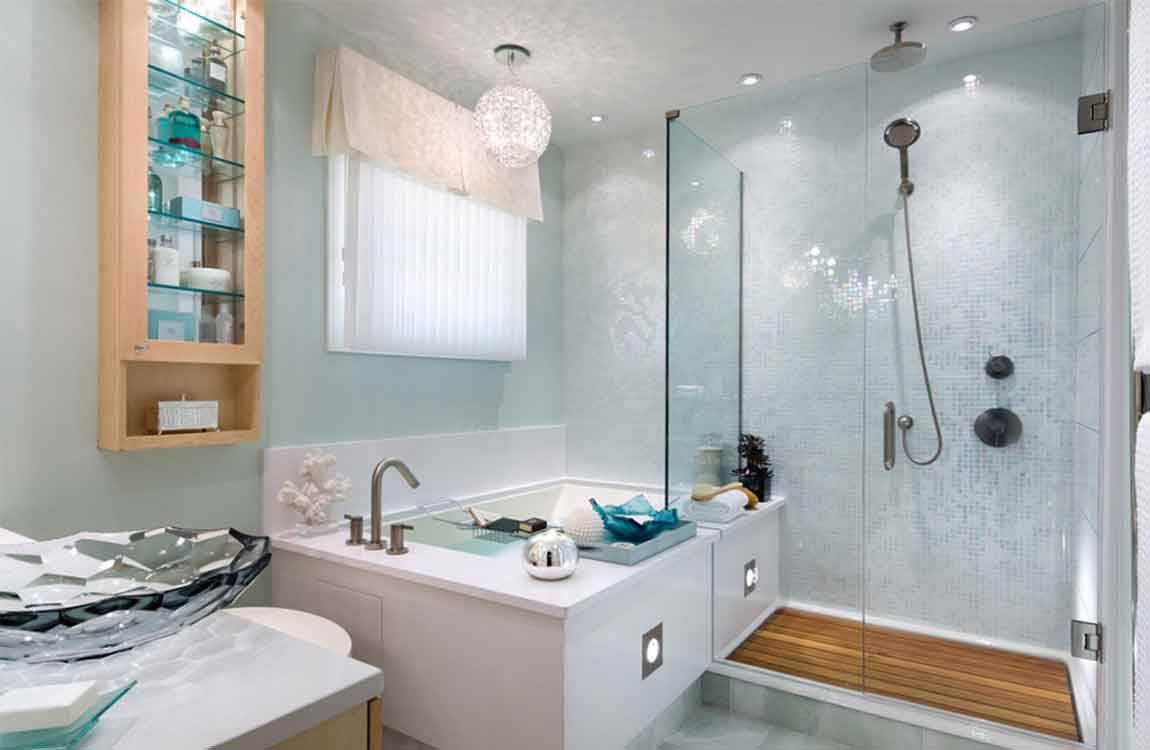
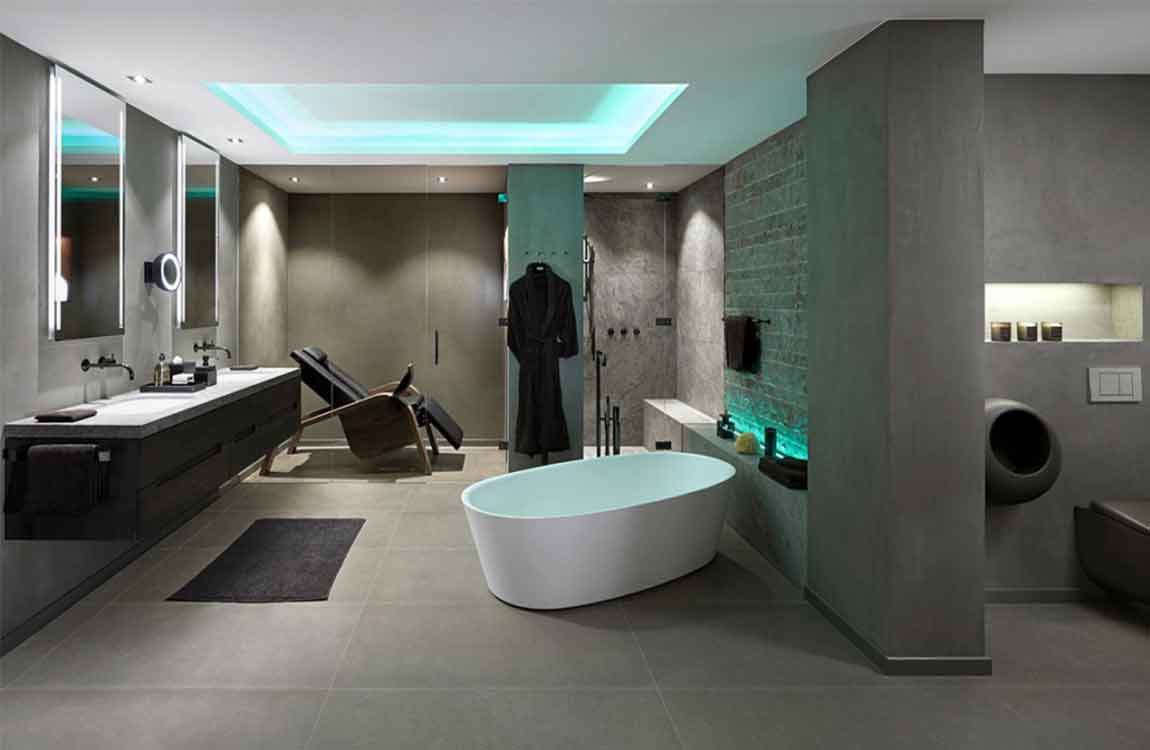
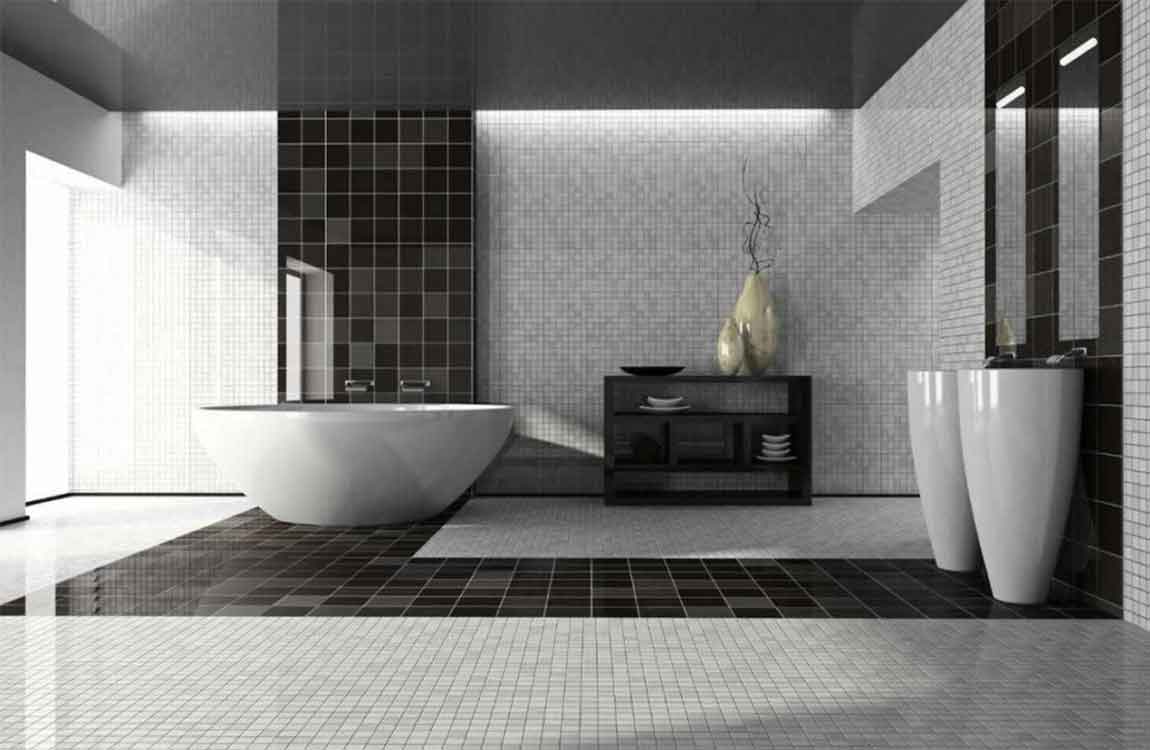
Replace your fixtures. Do away with old hardware, like faucets, towel racks and sink and drawer handles. With time, these pieces can rust, stain or just become tedious, making them unpleasant to look at. Spend a little time and money picking out new eye-catching fixtures that more accurately reflect your evolving tastes and design ideas for your bathroom. You’d be surprised how much difference a new set of knobs or shower curtain rod can make.
Though they’re small touches, your fixtures say a lot about the state of your bathroom. They tend to be in the areas that receive the most use, which means they’re one of the things people commonly notice. Choose fixtures with finishes that are the same or complementary to each other. Make sure you clean and polish your hardware regularly to keep it looking new.
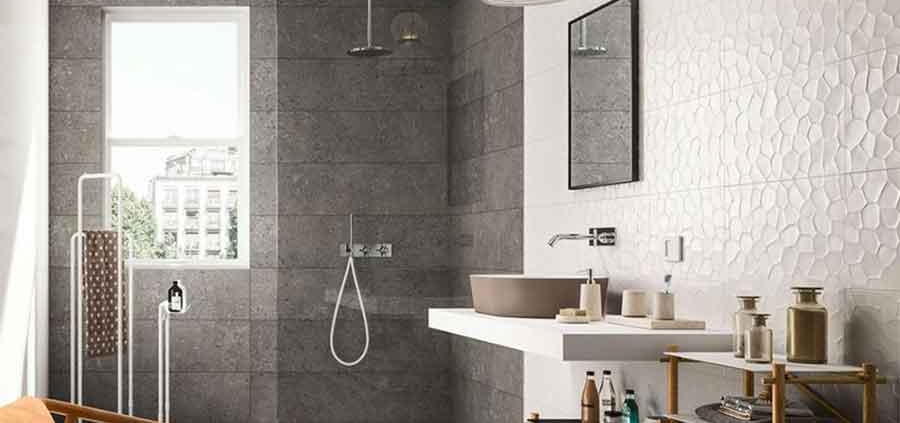
Put in a new shower head. Chances are, you’re still using the original shower head your bathroom came outfitted with. While this is more equipment than decoration, investing in a new showerhead can do wonders for both your physical comfort and the look of your shower area. Consider which practical features you like, then shop around for different sizes and stylish designs and finishes.
You can readily find inexpensive shower heads in elegant finishes like brass or graphite, while more expensive shower heads will also allow you to control the flow and pressure of the stream.
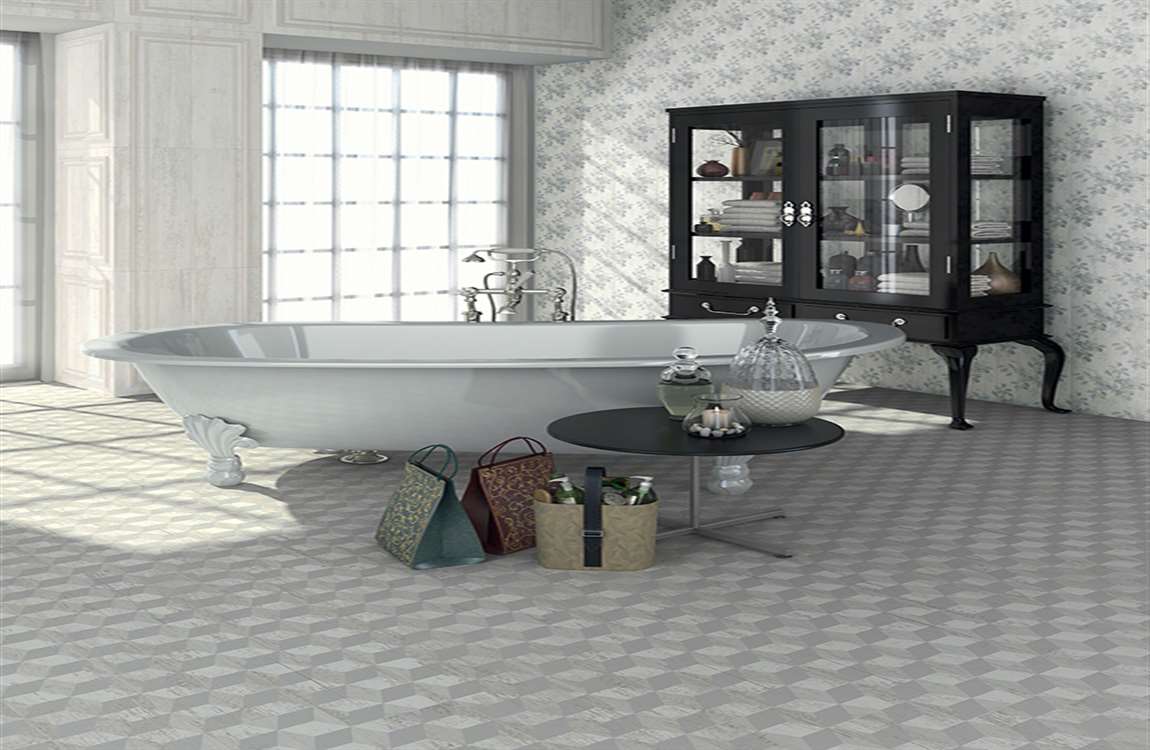
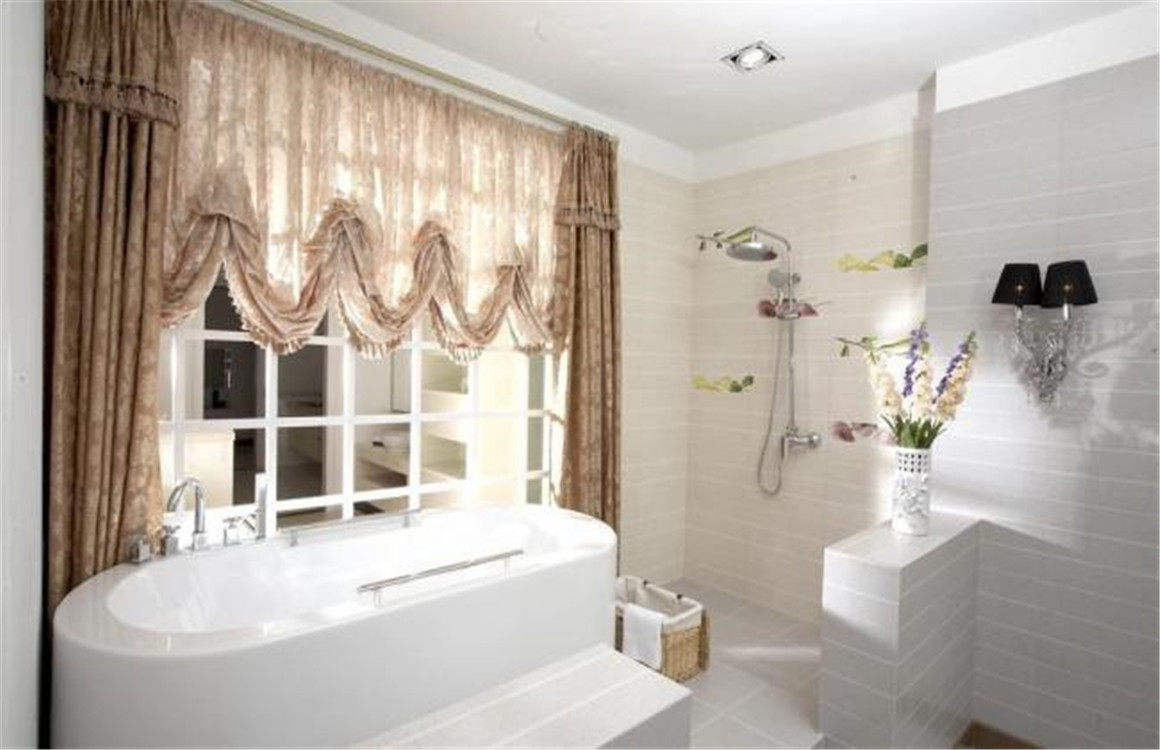
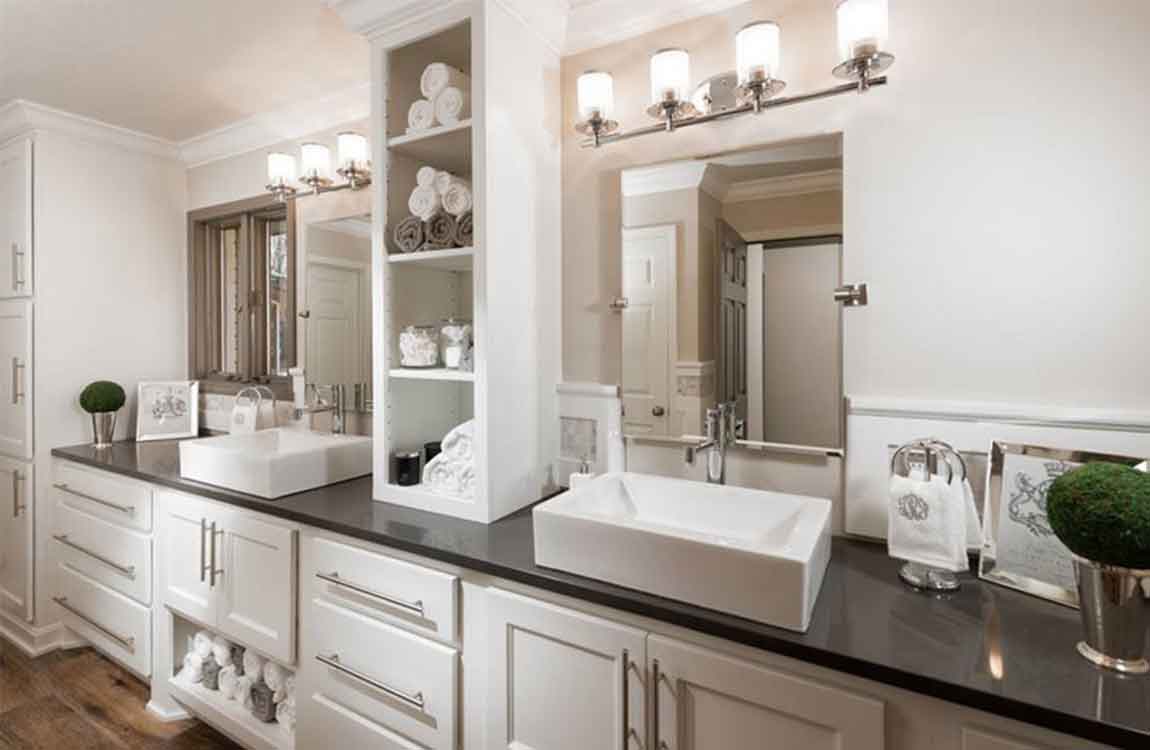
Make use of racks, shelves and cabinets. Forget about stowing everything away under the sink. Mount an extra rack or shelf, or make room for a small, open cabinet and use this to organize your bath items. With more storage space, you’ll not only be able to change the appearance of your bathroom, but also eliminate the kind of clutter that has a tendency to accumulate in the areas where you spend the most time getting ready.
Hang a standard kitchen spice rack and use it to store hand soaps, deodorant, shaving supplies and other items. Stow away toiletries you don’t want out in the open in an old repainted nightstand.
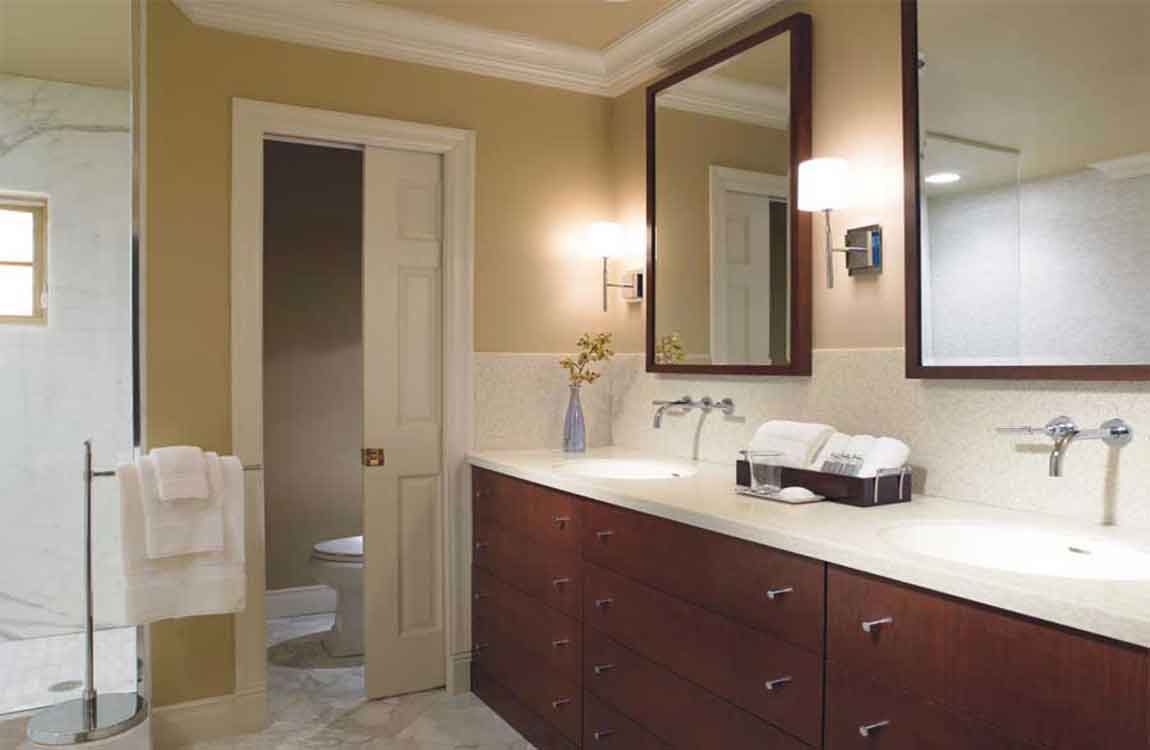
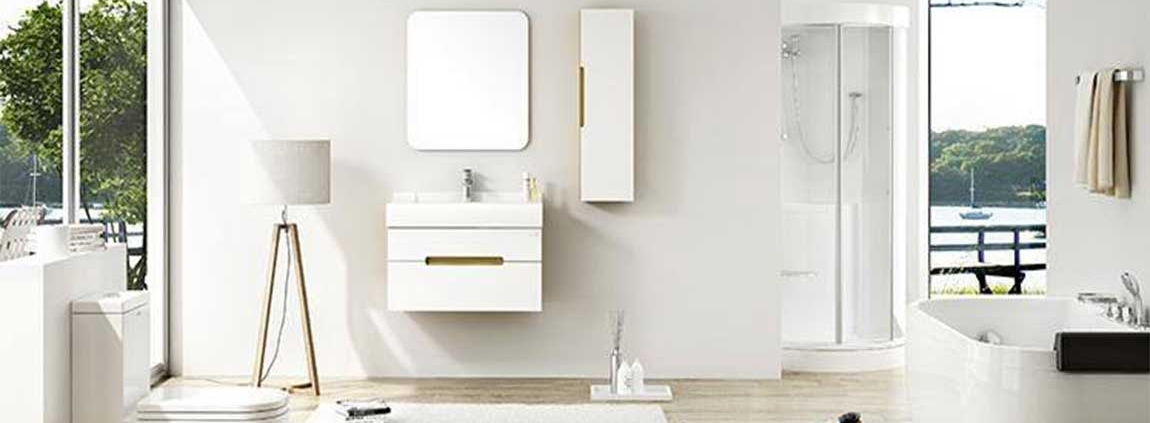
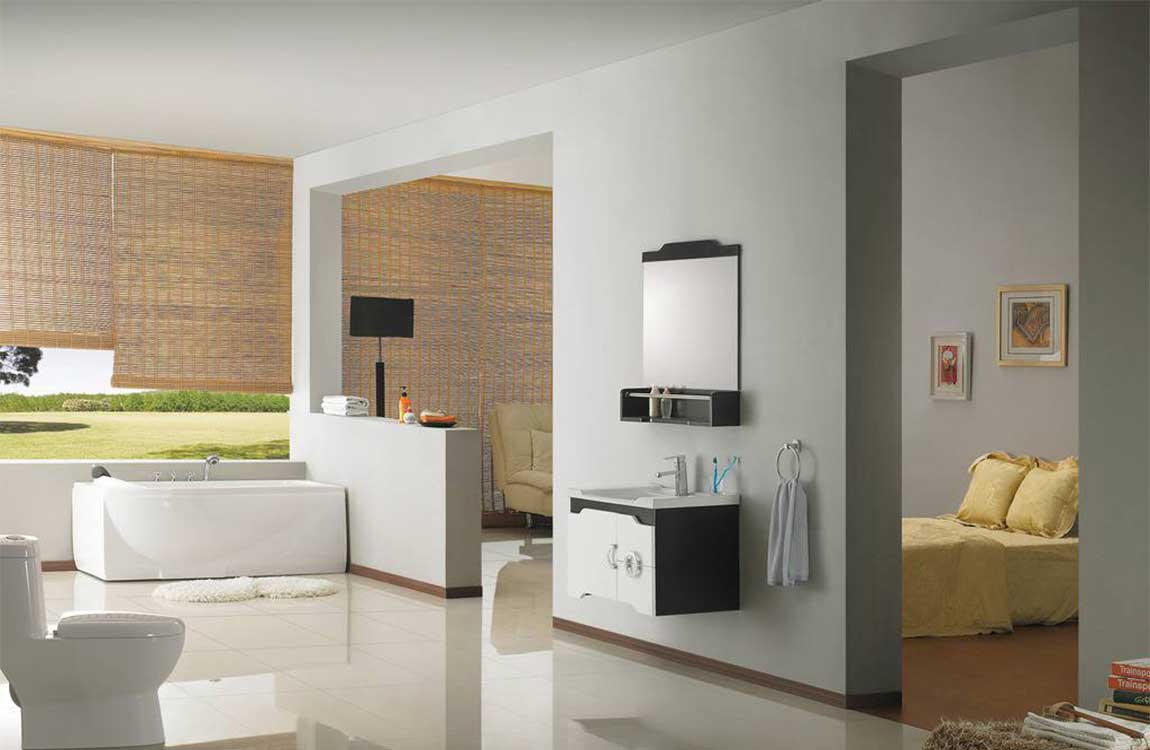
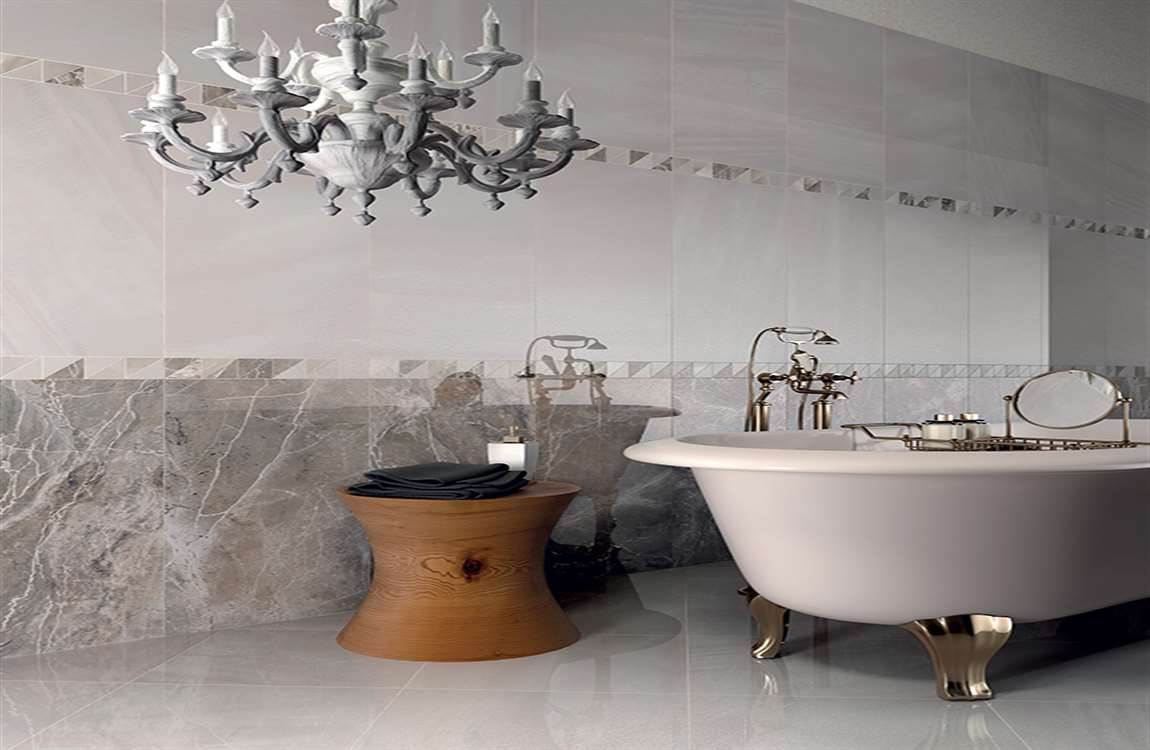
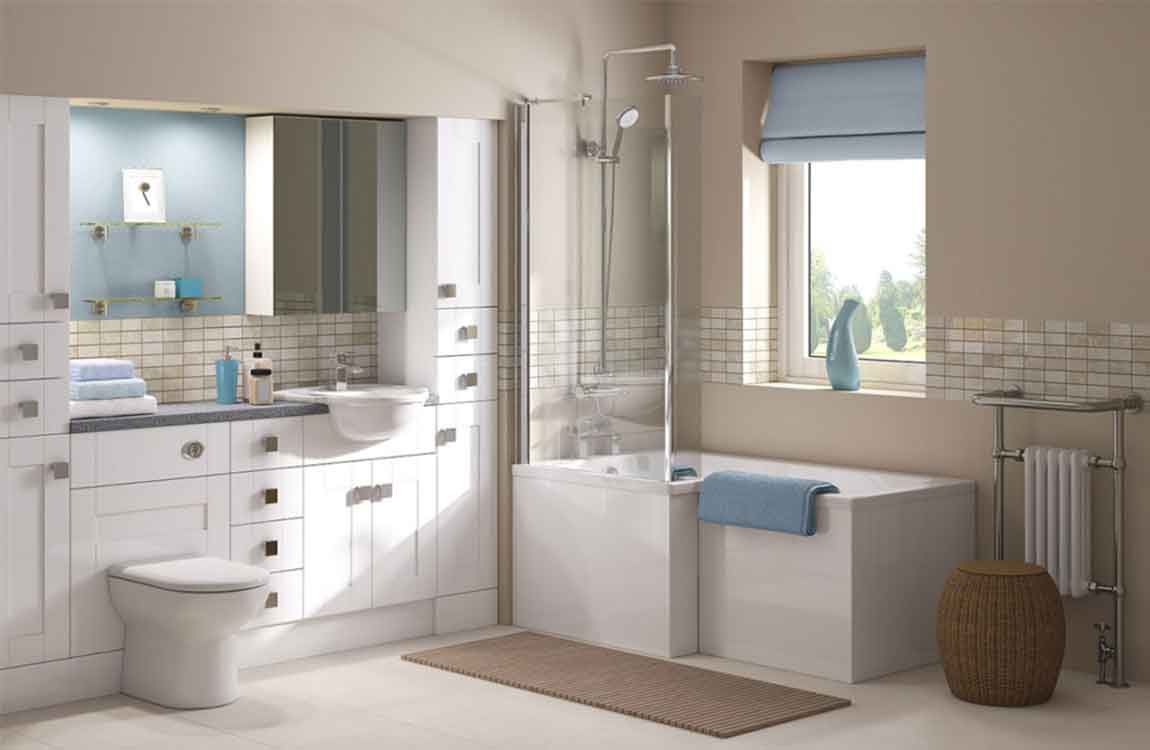
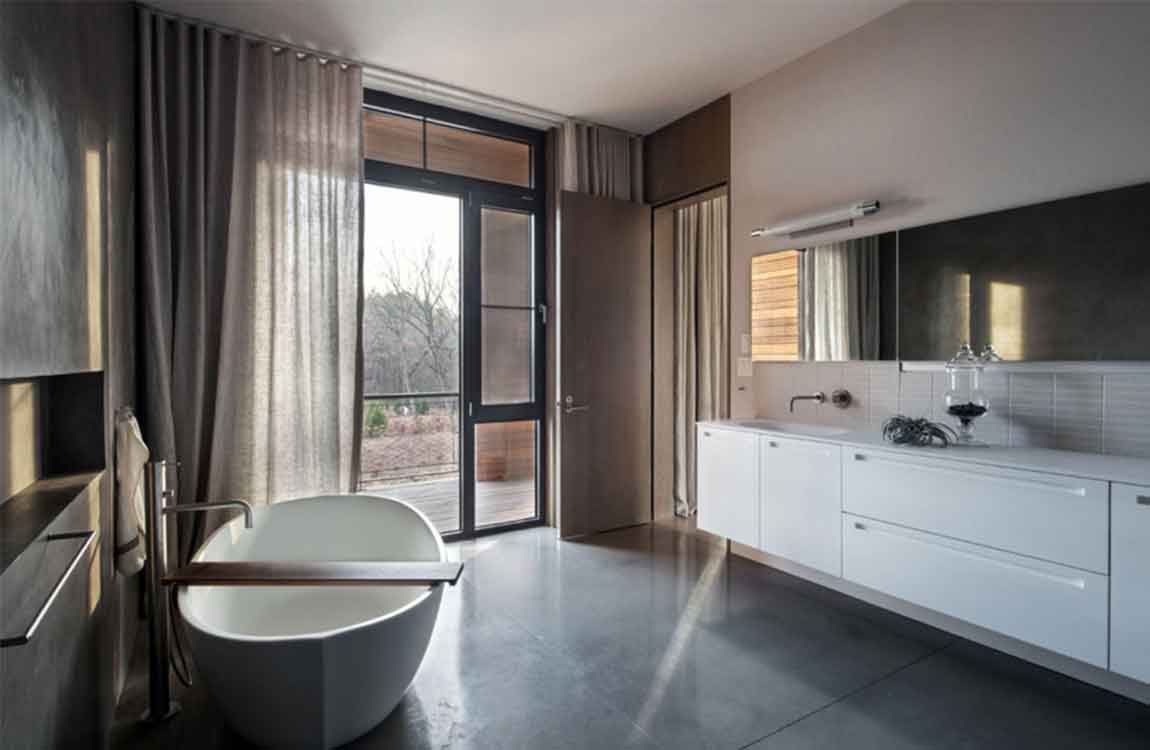
Install a dimmer light switch. One simple trick that can make your bathroom more cozy is to soften the lighting. By swapping your standard light switch for a dimmer, you can fine-tune the brightness of the room, cranking it up when you’re shaving or doing your makeup and lowering it to a soft glow when you want to treat yourself to a spa-like experience. Custom lighting can lend a bit of class and tranquility to an otherwise unremarkable room.
Lower light is perfect for taking a relaxing bubble bath, or for those times when you get up to use the restroom in the middle of the night and don’t want bright light shining right in your eyes. A good contractor can install a dimmer switch in just a few minutes, or you can look up instructions for how to do it yourself here. Alternatively, add ambience with candles (with real or fake flames). Candles are a cheap and easy way to spruce up your bathroom and also make the room smell great.
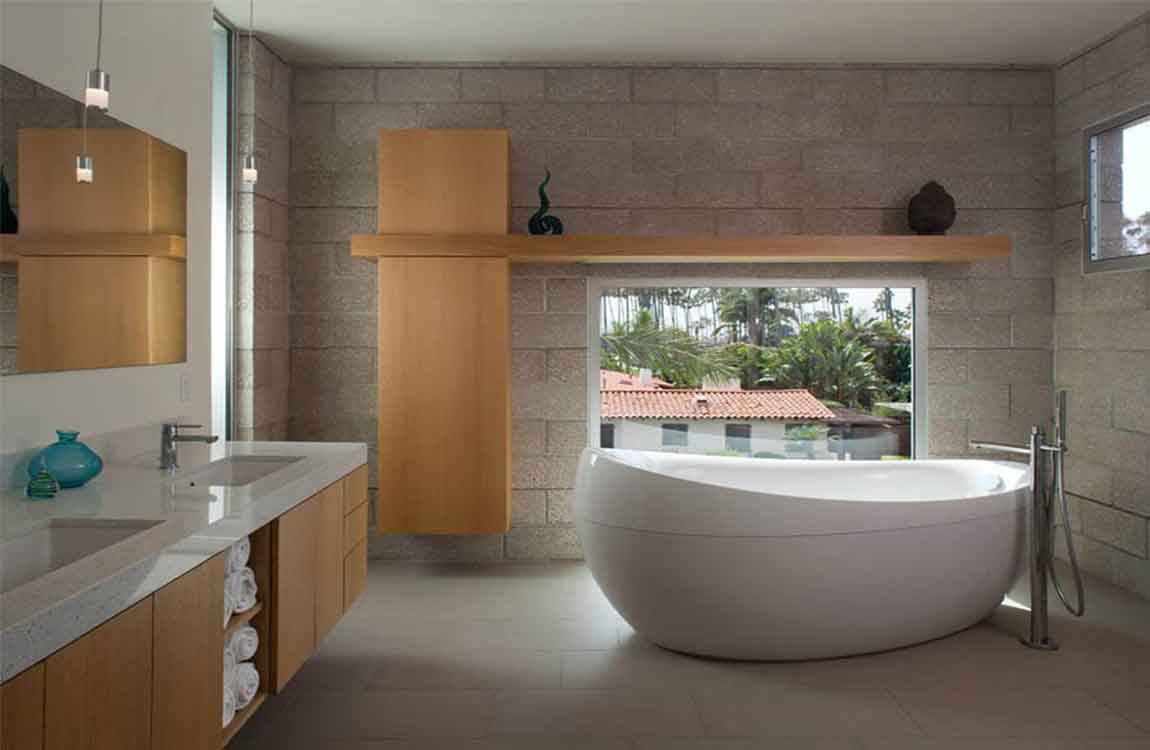
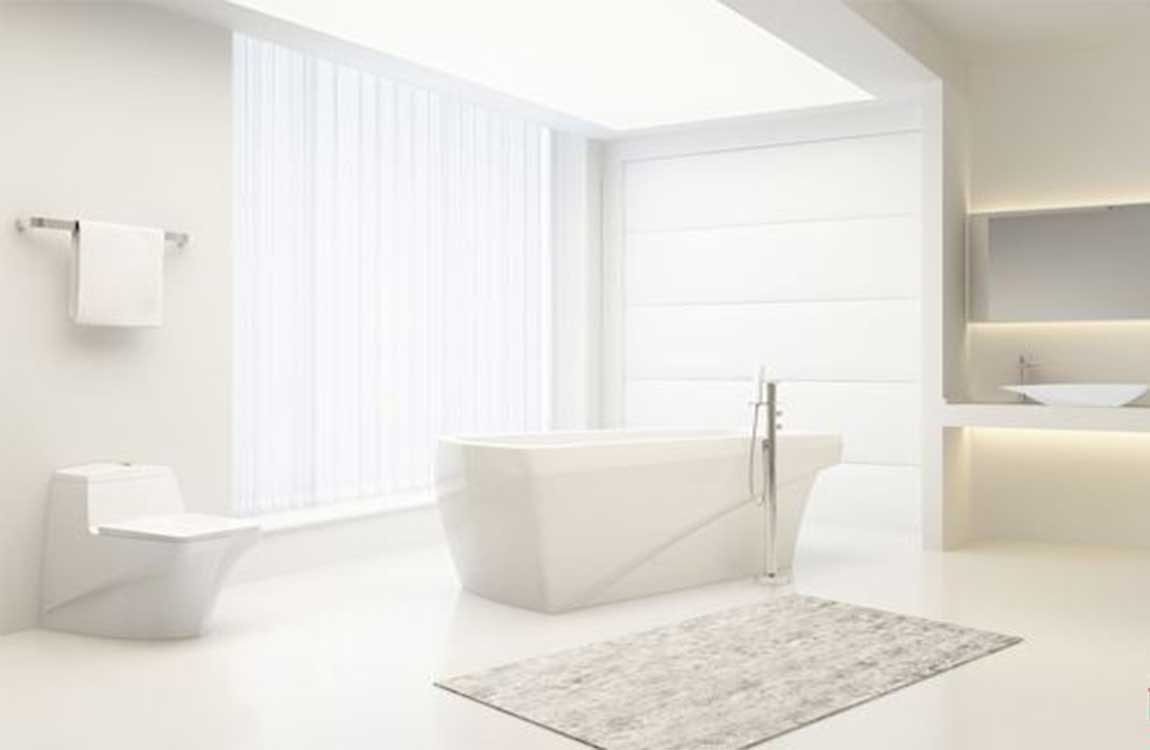
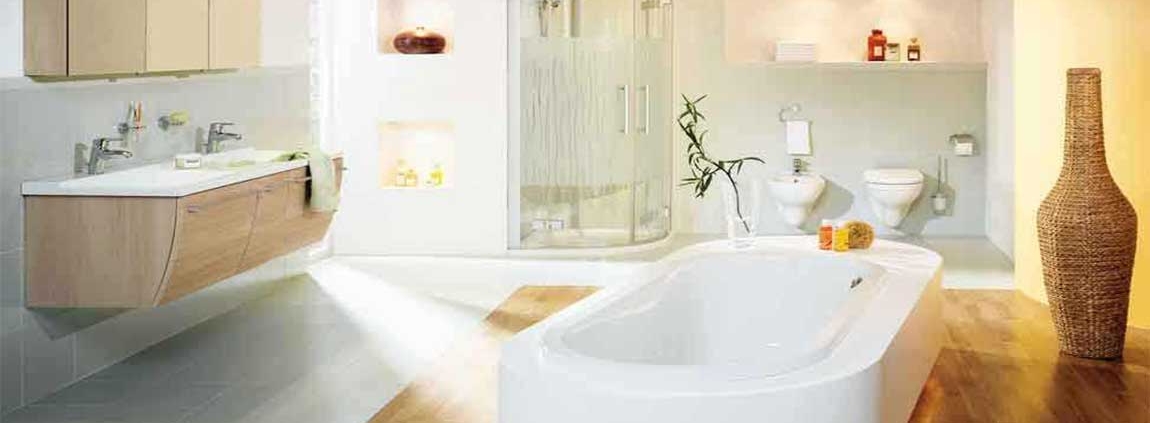
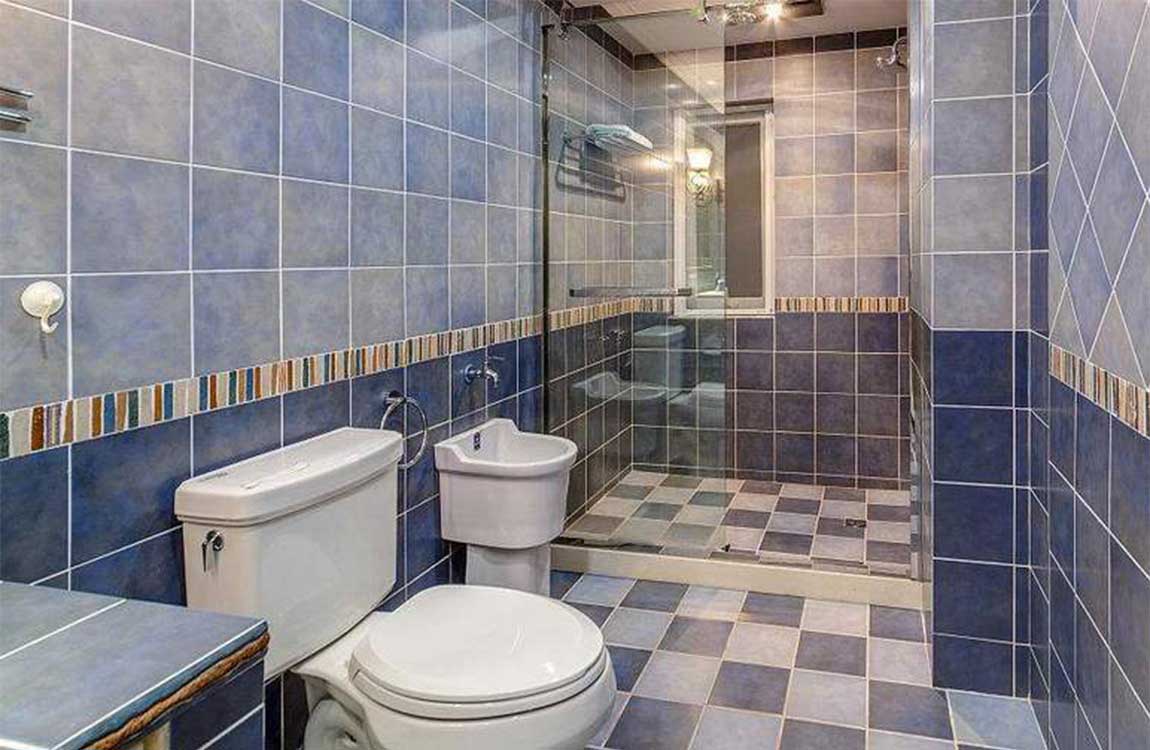
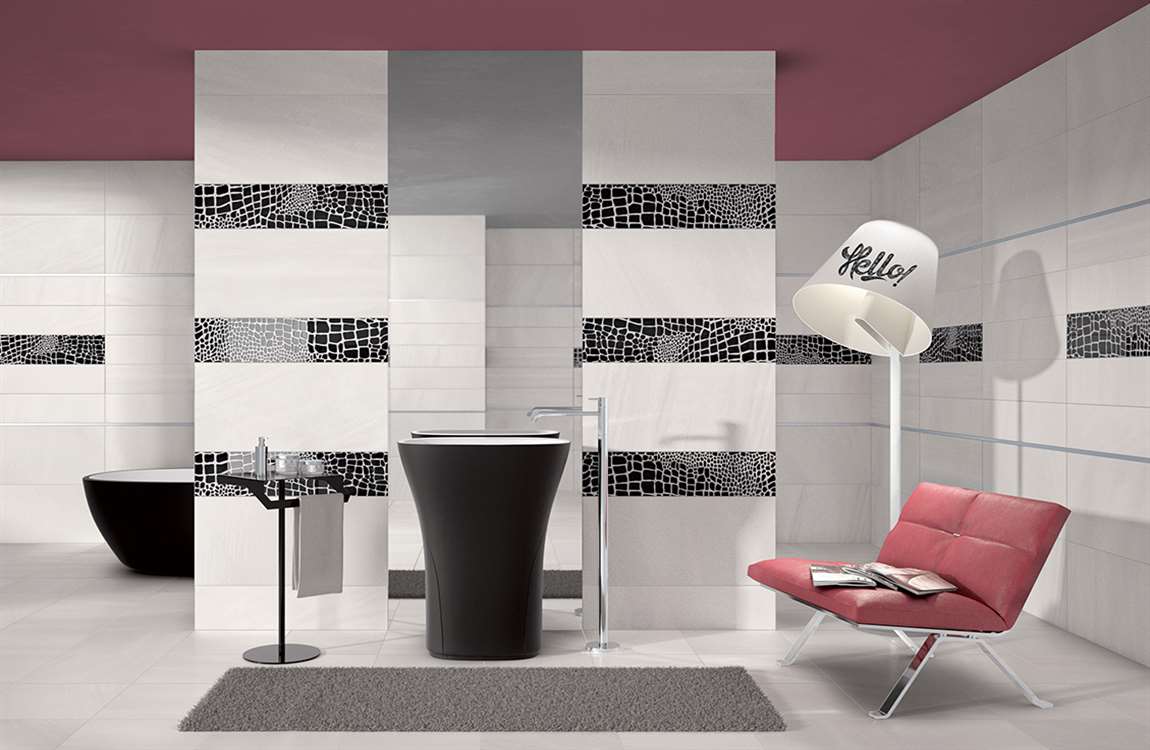
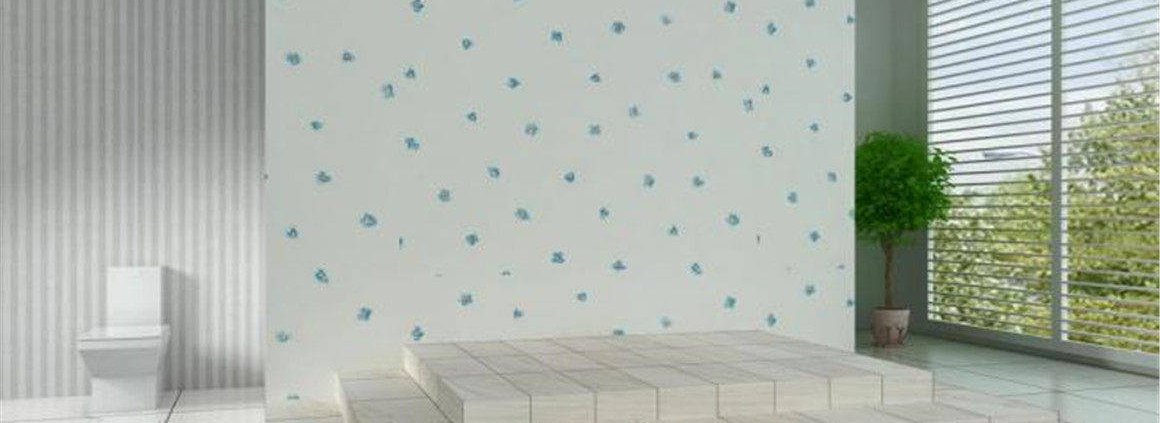
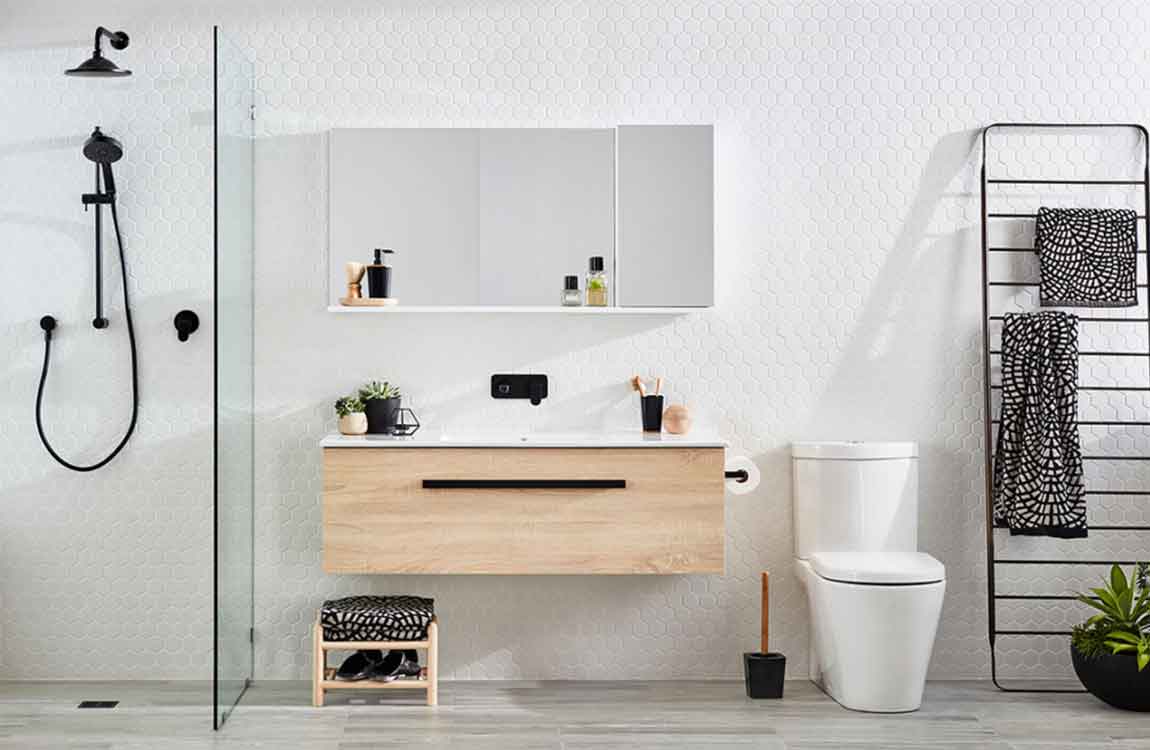
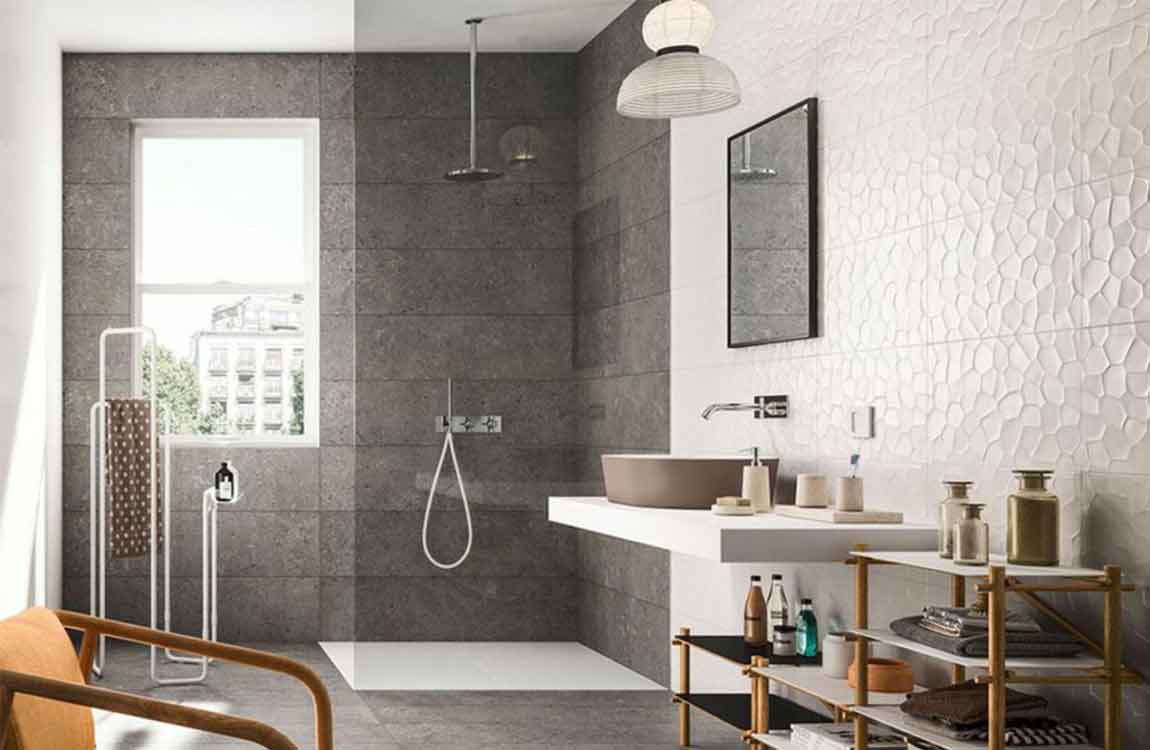
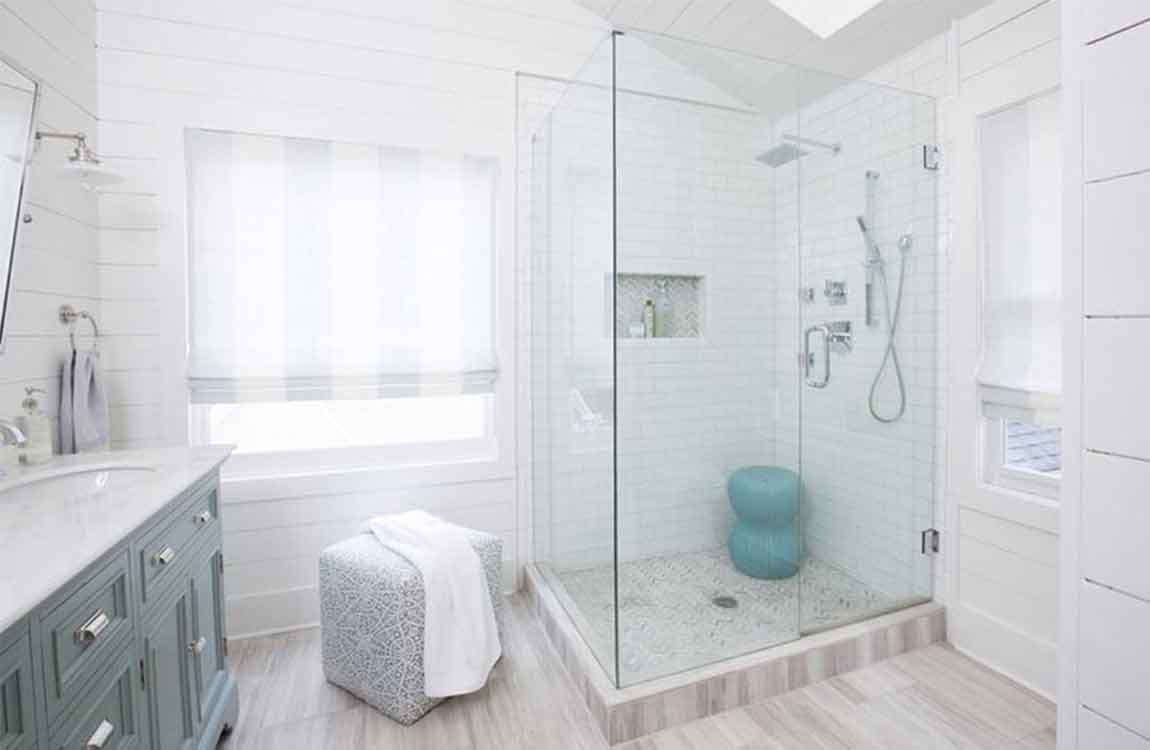
Put in new tile. Ceramic tile is a relatively inexpensive way to refresh the appearance of your bathroom, and, since it covers so much surface area, makes a big impact on the room’s appearance without the need to knock out a wall or have the plumbing redone. Natural stoneware or bright, colorful tiles can be used to cover up time-worn walls and floors, giving your lavatory the dressing up it desperately needs. While installing new tile is a bigger project than simply buying a new set of towels, it can usually be done in a single weekend, and allows you to fully customize the final outcome.
Provided you have the right budget to work with, you can install new tile yourself for only a few hundred dollars worth of tools and materials. This could save you thousands of dollars in contractor’s fees. Compare tiles in different shades, patterns and configurations to find the perfect match for your redesigned bathroom. If your tile is in good shape, you can paint it instead of replacing it, which is quicker and cheaper.
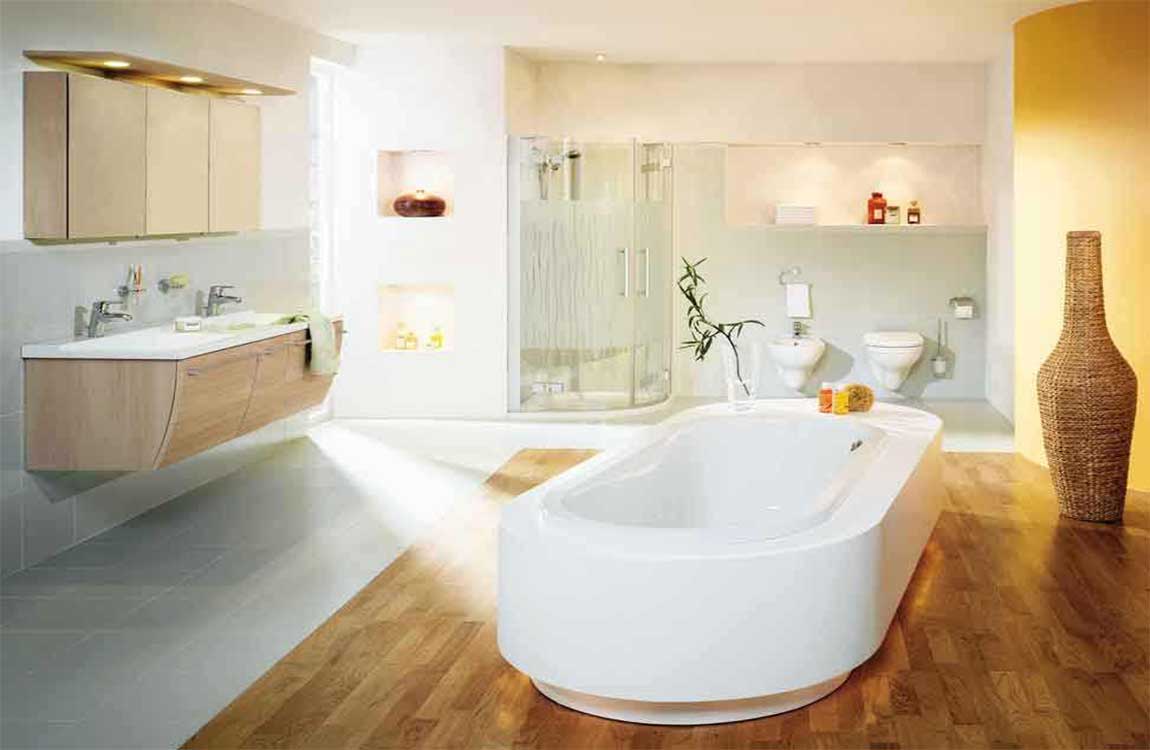
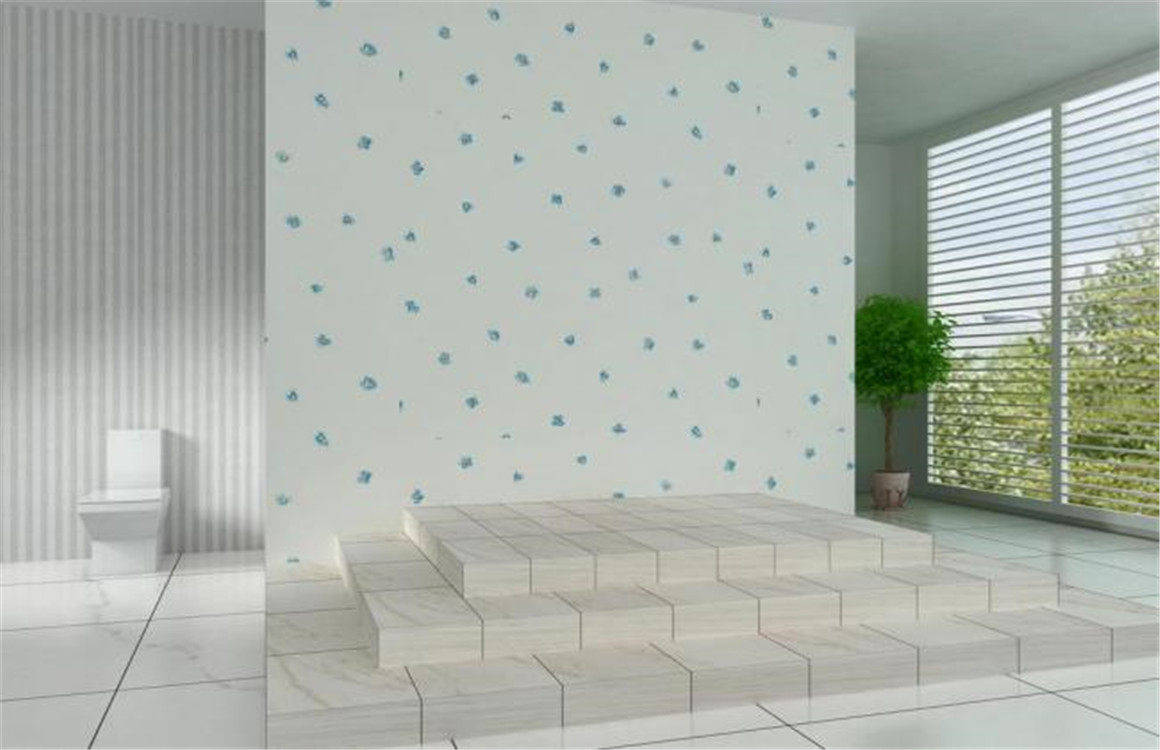
Chisel away tiles instead. This method is slower, but allows you to save some of the tiles for reuse. Scrape away some of the grout in a long line using a utility knife, grout saw, or rotary grinder. Place a chisel against the edge of a tile in this line, almost flat against a wall, and tap with a hammer. If all goes well, the tile will pop out. If it doesn’t budge or if a small piece chips off, remove grout from the sides and try again. This becomes easier once the first tile is removed. An electric chisel can speed this job up.
Remove adhesive. After chiseling away tiles, scrape away the adhesive with a putty knife or hand scraper. Try soaking the tiles in water first to soften the mortar.
https://baranasanitary.com/wp-content/uploads/2018/09/How-to-Improve-a-Bathroom-Without-Remodeling-900600.jpg600900adminhttps://baranasanitary.com/wp-content/uploads/2017/01/logo-3.pngadmin2018-09-28 05:48:492019-08-21 06:51:41How to Improve a Bathroom Without Remodeling?