Posts

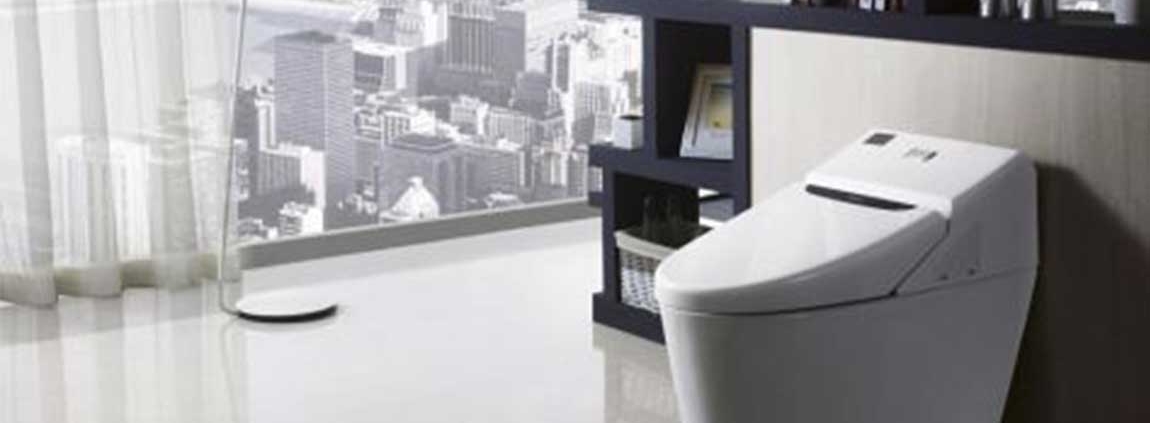
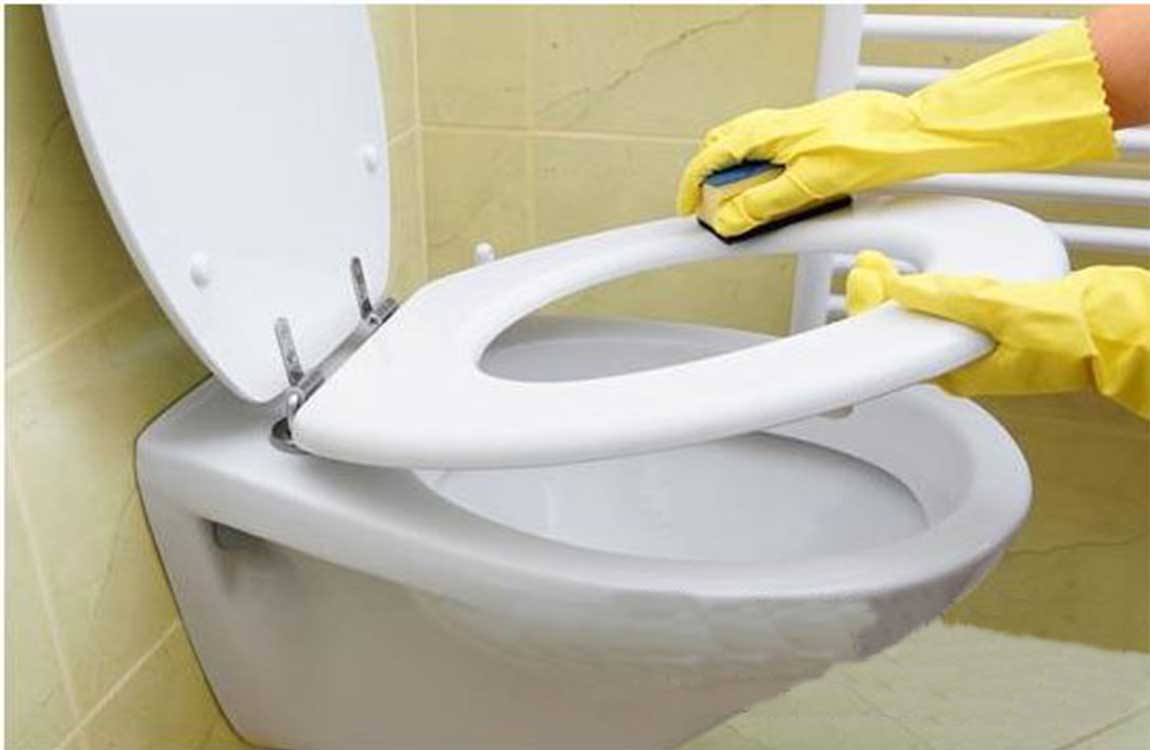
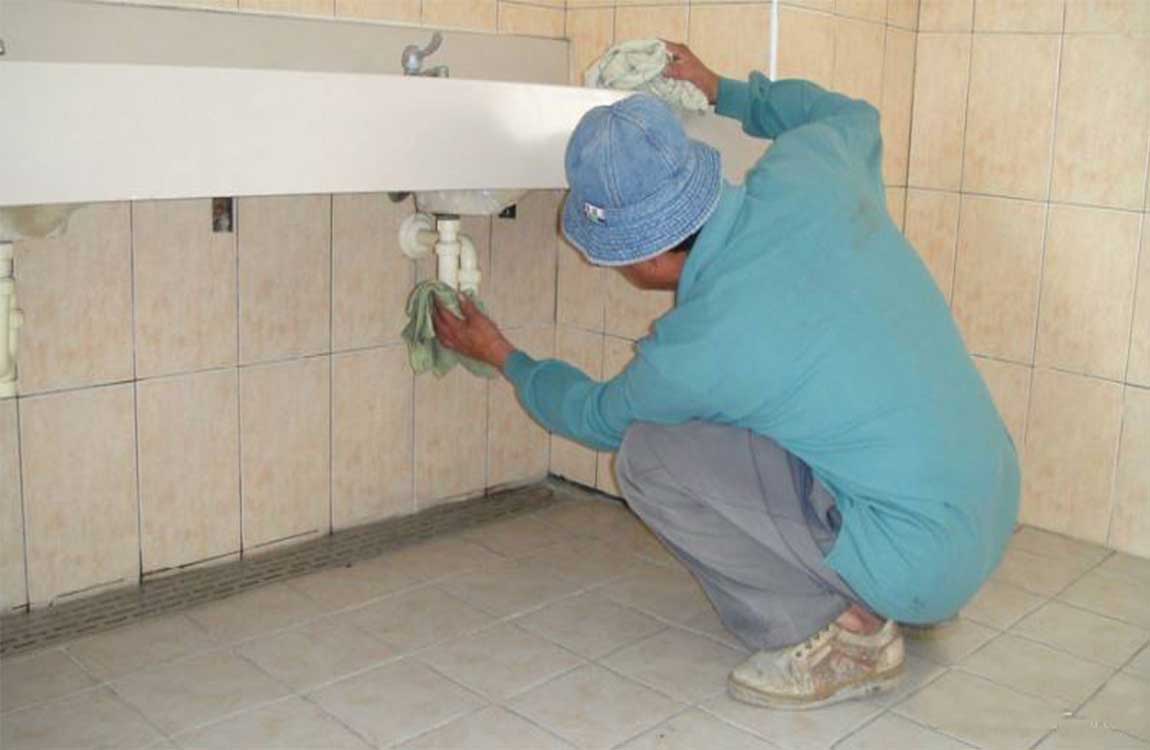
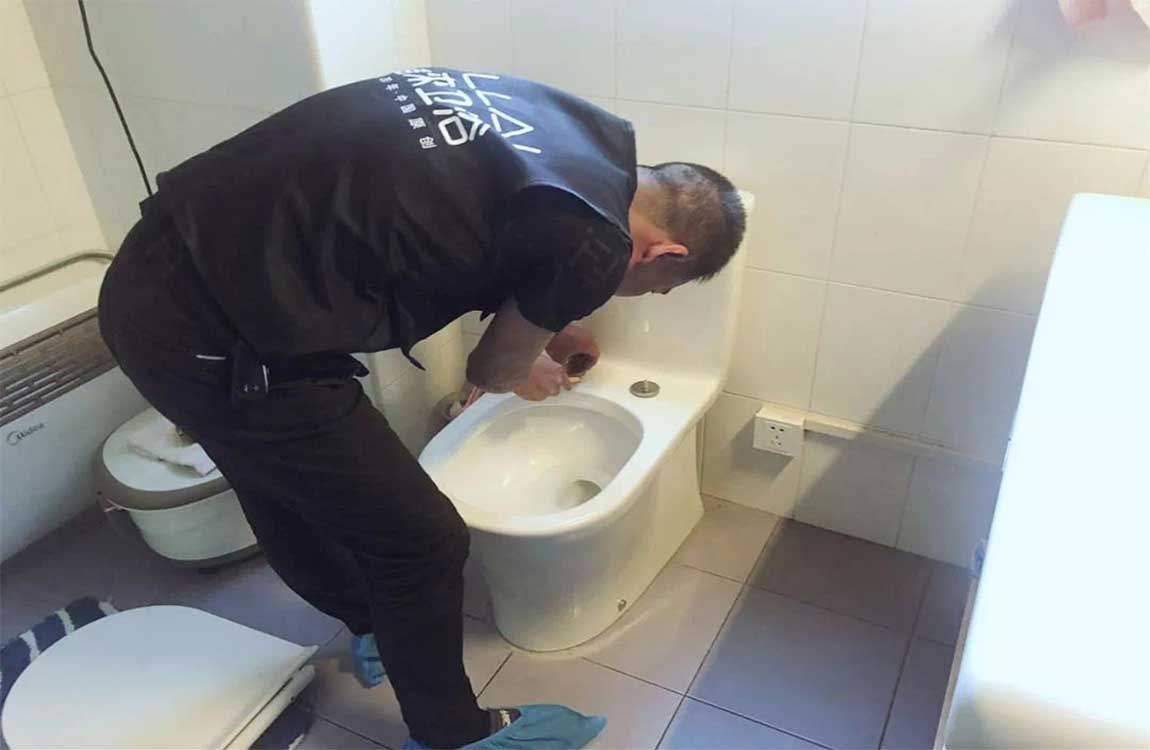
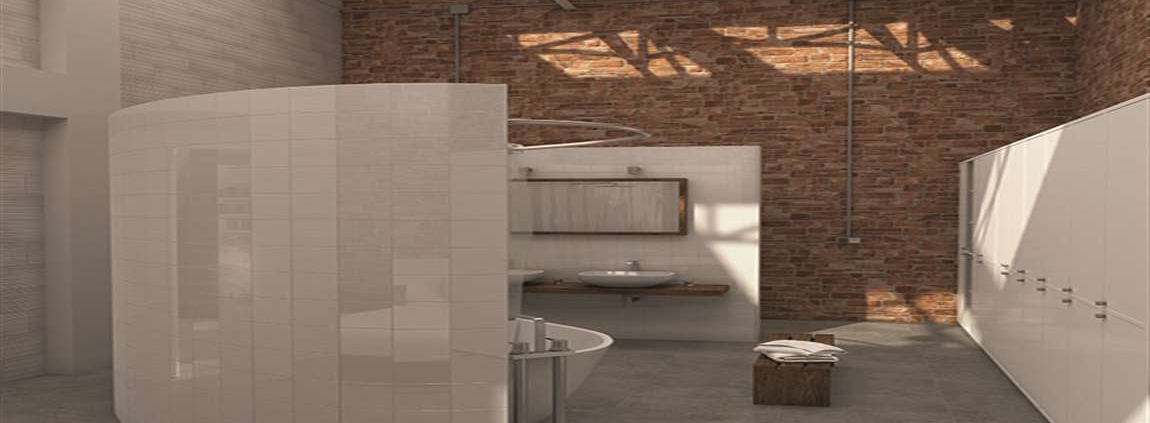
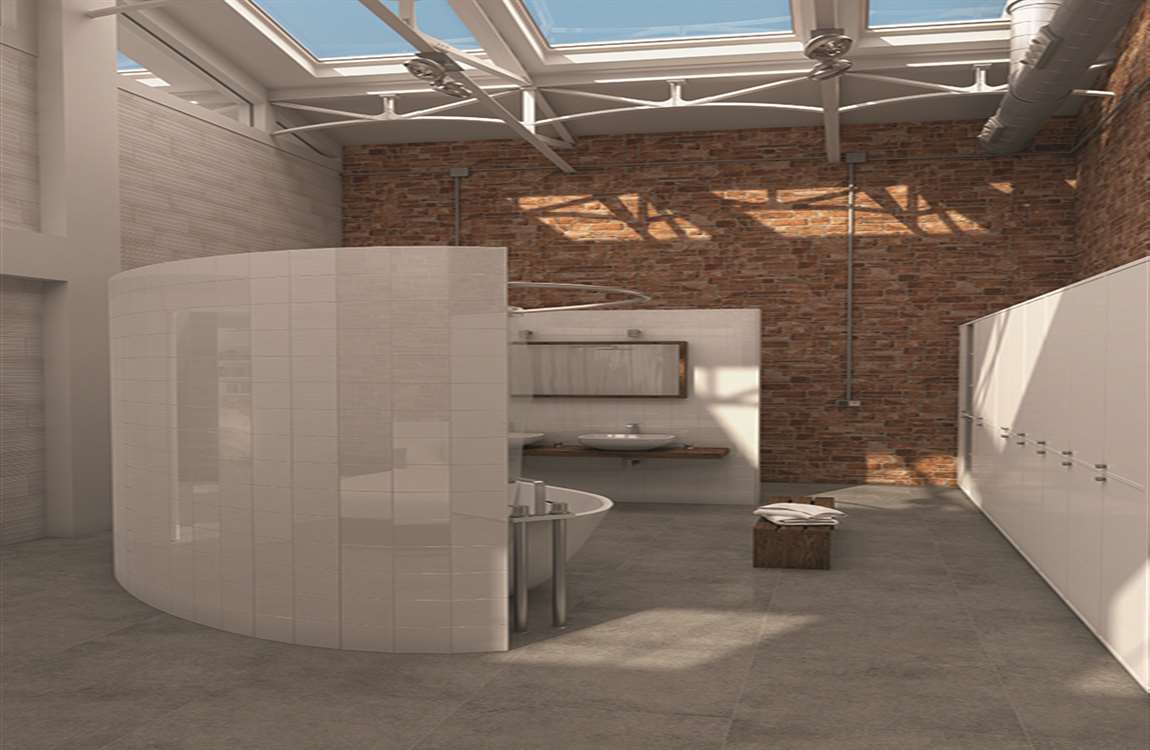
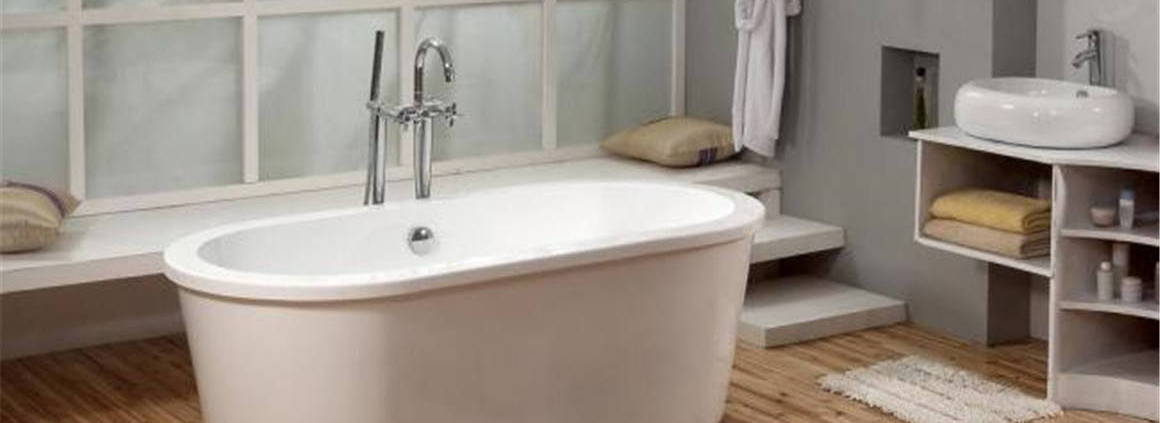
How Cleaning the Tub?


Turn on your bathroom fan and open the doors and windows. The fumes from the cleaning agents and bathtub reglazers are dangerous, so it’s important that you ensure your bathroom is well ventilated before getting started. You should also open the doors and windows in the rooms adjacent to the bathroom for air flow.


If you don’t have a fan or a window, be sure to open as many windows in the adjacent room as possible to increase airflow and allow the fumes to exit. Use a box fan to increase air flow. The fan will not only help to ensure air is being circulated through the bathroom, but it will also help to dry the bathtub faster. The tub will need to be completely dry before moving on from a number of steps in the refinishing process.


Place the box fan in the window for maximum circulation. If you don’t have a bathroom window, place it in the bathroom doorway instead. Use a putty knife to cut away the caulk sealing the tub. All the caulk will have to be removed before you can refinish the tub. Most of the caulk will be in the seam where the tub meets the wall and the floor, but there may also be a strip that’s sealing any glass shower doors over the tub.


To remove the caulk, slice into it with the edge of the putty knife lengthwise, like you’re splitting it in half. Continue to slice into the caulk like that until it becomes loose enough to cut out. Once there are a number of slices through the caulk, it will be easier to use the putty knife to pry up and remove the caulk.


Remove any remaining caulk with a razor blade and sandpaper. A razor blade isn’t very effective for large deposits of caulk, but it will do wonders on hard to remove, thin layers than remain after most of the caulk has been removed. Most caulk can be found where the tub meets the wall, but in bathtub showers with glass doors instead of a shower curtain, there may also be caulk where the door fixtures meet the tub.

How Preparation of Install a Bathroom Fan?


Determine the correct CFM rating for your bathroom. The first thing you need to do when installing a new bathroom fan is determine the CFM rating for your bathroom, so you can buy the appropriate strength fan. CFM stands for “Cubic Feet per Minute” and refers to how much air the fan can move per minute. Small bathrooms will need low CFM fans, while larger bathrooms may require fans with a much higher CFM.


To calculate the CFM for your bathroom, multiply the room’s cubic footage (length x width x height). For example, if your bathroom measured 120 square feet, you would multiply that by the height of the ceiling (say 8′) to get 960. THEN divide by 7.5 to get a CFM rating of 128. You will find the CFM rating of a new fan printed on its box.


Consider the sound rating of your fan. The next thing to consider is the sound rating of your new fan, which is measured in sones. New fans usually have a sound rating somewhere between 0.5 (very quiet) and 6 (very loud) sones. Some people prefer to have very quiet fans, while others value the privacy offered by louder fans, especially in public areas of the home.


Like the CFM, the sone ratings of new fans will be printed on the box. Choose the location of the fan. The location of your bathroom fan is important. It should be installed at the center point between your shower and toilet for optimum ventilation. However, if your bathroom is very large, you may need to install more than one fan.


If you are installing a new fan, you will need to consider the layout of your attic, where the bulk of the fan will be located. It should be placed in the the space between two joists, in an area free from any pipes or other obstructions. If you are replacing an old fan, the easiest thing to do is just to put the new fan in same location (unless you have a very good reason for wanting it in a different spot).

How Fitting the New Tub and Installing the Drain?

Select a tub that will fit in the designated space. Measure the length and width of the alcove where you will install the tub. Also, measure the height and width of your bathroom doorway to make sure the tub will fit through the bathroom door! Take your measurements to a home improvement store to guide your purchase.

If you’re replacing an old tub, choose a new tub with a similar configuration and make sure the drain and faucets are on the same side and in roughly the same location to make installation easier. Make sure your tub comes with all the faucets, drains, and accessories you will need. Typically, you’ll need a faucet, water handles, and the drain, which includes the drain chute, strainer, strainer cover, trip lever, stopper, linkage, and overflow drain cover.

Dry-fit the tub in the alcove. To ensure the tub fits, place it in the designated area. Check that the drain hole in the bottom of the tub lines up with the P-trap in the floor underneath the tub. Ensure you have the right fittings to connect the water supply lines to the faucet you purchased, as well.

Set the tub somewhere safe after you make sure it fits so you can move onto installing a ledger board. Use caution to prevent scratches or other damage to your new tub! Install a ledger board. Cut a 2 by 4 in (5.1 by 10.2 cm) board to the length of the wall that the long edge of the tub will be placed against. Measure the height of the lip, or flange, of the tub, then mark that height measurement on the back wall.

Use a drill to screw the ledger board to the studs in the wall so that the top of the ledger board is just below the flange when the tub is sitting level in the alcove. A ledger board helps support the weight of the tub and ensures it can be securely attached to the wall.

How Removing Stains from an Enamel Bathtub?


Try cleaning with vinegar first. Though it’s a mild natural cleanser, vinegar will typically be potent enough to deal with most stains when applied heavily and given time to set up. Spray the tub down thoroughly, let the vinegar sit for a few minutes, then scrub aray the stains using a sponge or stiff-bristled brush. If you discover that vinegar isn’t having the desired effect, you can move on to more intensive methods. There will come a point when simply adding more and more vinegar won’t suffice.


Use a bleach-free commercial cleaning spray. Products like Lysol All Purpose Cleaner, Kaboom, Shout! and Scrubbing Bubbles shower cleaner are good for eating away at tough stains without damaging delicate surfaces. Since most of these products contain a similar combination of ingredients, any of them will work as well as another. Just make sure whatever product you choose doesn’t contain bleach, as this can severely weaken the outer enamel layer of the tub.


Only buy cleaners that have been approved for use on enamel-coated bathroom surfaces. Be sure to check the label carefully before buying a particular cleaning product so you’ll know you’re getting what you need. If possible, open a nearby window, open the door, and turn on a fan to ventilate the bathroom while you clean with any of these products.


Make your own natural cleaner. If you’re reluctant to go shopping, you can formulate a simple all-purpose bathroom cleaner at home by mixing together warm water, baking soda, Castile soap and essential oils in a spray bottle. All of these ingredients are readily available and safe to use but are quite potent when brought together. Once they’re combined, spray the mixture onto the stained surface and give it a few minutes to take effect before wiping it away.


If you’re having trouble tracking down Castile soap, hydrogen peroxide will make an acceptable substitute. Essential oils like tea tree and peppermint can also act as natural disinfectants. Soak problem areas for several minutes. Mist on the solution and give it a chance to sit. Pay special attention to places with heavy staining and discoloration. The cleaning solution should get to work dissolving these stains right away.

How Cleaning the Bathtub Naturally?

Wash away any grit and hair. Use your shower to wash away any debris in the way. If you have a removable shower head, use it to spray around the tub. Otherwise, use a cup or small bucket to pour water around. If you have a lot of hair and debris in your tub, it’s best to wipe it away with a paper towel before you rinse the tub using your shower head. Otherwise, you may accidentally clog up your drain.

Try a grapefruit and salt scrub. The acid from the grapefruit combined with the abrasiveness of the salt helps to scrub away grime. Plus, the grapefruit leaves your bathroom smelling like citrus. Cut a grapefruit in half. Cover the open half with salt. Sprinkle salt on the wet tub.

Scrub the tub with the grapefruit, releasing juice as you go. You may need to switch to another half to scrub away all the grime in your bathtub. You may even need more than one grapefruit. Rinse away any salt and pulp.

Create a bathtub and sink scrub. You may already have the ingredients in your home, especially if you like organic soaps. Mix 1 cup of baking soda with 1/2 cup of Castile soap and a few drops of peppermint or tea tree essential oil. Use the mixture on a sponge to scrub down your tub. It works especially well on soap scum. Rinse it away when your tub is clean.

Make a vinegar spray. Vinegar is slightly acidic, so it can help remove bacteria and stains. In a clean spray bottle, add 1 cup of vinegar and 1 cup of water. Shake vigorously. Spray it on your tub. Use a sponge to scrub it down. Rinse away the vinegar.

How to Decorate a Bathroom?

Change the fixtures in your bathroom for a more adventurous project. This can be difficult for someone who has not done it before, so if the task is too intimidating for you, hire a handyman. Make sure that the colors go well with the overall theme of your bathroom. For example, if your bathroom is ornate with lots of burgundy and gold, consider gold fixtures. If your bathroom has a modern or Zen theme, try matte silver fixtures instead.

Keep cotton balls, Q-tips, and other toiletries in glass jars or vessels. Instead of leaving these items in the cabinet, transfer them into glass or clear acrylic containers, then keep the containers on your bathroom counter. Use 1 container for each type of item.

For example, keep your cotton balls in a tall jar and your Q-tips in a squat container. Consider a vase or apothecary-style jar for extra bath bombs, mini lotion bottles, or hand soaps. Tiered cupcake stands and cake stands make cute displays for perfumes, nail polish, and other cosmetics.

Old Mason jars are a great, low cost option for storing your items! If you don’t like the look of them plain, add a ribbon or piece of fabric to make them match your decor. As another option, you could paint the jars, though you wouldn’t be able to see into them anymore.

Make use of soap dispensers and toothbrush holders. Instead of keeping your liquid hand soap in the plastic bottle it came in, pour it into a glass or ceramic soap dispenser. If you prefer to use solid soap, keep it in a little dish or tray instead. Keep your toothbrushes in a toothbrush holder. Make sure that it matches your soap dish or soap dispenser. If you like to use mouthwash, consider pouring it into a glass vessel or bottle instead. Have some paper cups nearby, so that you have something to pour the mouthwash into.


How to Removing the Old Faucet?

Disconnect the supply tubes. These are the tubes that connect the faucet to the water supply. Use the adjustable wrench to loosen the nuts where the hoses attach to the water supply. Use the basin wrench to loosen the nut attaching the hoses to the faucet. Turn the nuts to the left (counterclockwise) to loosen them. Once you’ve loosened the nuts with the wrenches, you can remove them the rest of the way by hand. Wipe up any water that drips onto the bottom of the vanity immediately to prevent damage or warping.

Loosen the lock nuts to take out the old faucet. Most faucets are attached to the sink by locknuts attached to the tailpieces under the sink. Use your hands or an adjustable wrench to loosen the nuts and unthread them from the tailpieces. Turn them to the left (counterclockwise) to loosen them. Remove the nuts and the washers from the tailpieces. Once you’ve removed the supply lines, nuts, and washers, the faucet will be loose. Hold the faucet in both hands and pull it straight out from the mounting holes. Remove the gasket if there is one and set it aside with the faucet. Use the flashlight to locate the nuts under the sink if you’re having trouble locating them.

Scrub the faucet holes. With a sponge or gentle abrasive pad, scrub the mounting holes around the sink where the faucet sits. Use soap and water or your favorite cleaner or detergent. Once the area is clean, rinse it well, pat it dry, and let it air dry completely. To remove old sealant or silicone, dampen a sponge or rag with mineral spirits and wipe the area clean. Then rinse the area with clean water and pat it dry.

Determine what kind of faucet you have. Once you’ve removed the old faucet from the mounting holes, you can figure out what hole configuration you’re working with and the type of faucet you need. There are three major types of faucets:

Single hole, where the sink will only have one hole for the faucet, and the faucet will all be one simple piece with a single handle. Center-set, where there will be three holes in the sink and the one-piece faucet will have separate handles controlling the hot and cold water. Widespread or split-set, which work with three-hole basins, but the spout and two handles come in three separate pieces.

Purchase a new faucet. Before you go to the home or hardware store for a new faucet, determine the type of faucet you have, look at your basin hole configuration, and measure the distance between the holes so that you get the right replacement faucet. Write down the number of holes your basin has, the type of faucet that was on there, and the distance between the holes. If you want to replace your old faucet with a new kind, you’ll have to replace the basin as well.

the skill of choosing the squatting pan

The Skill Of Choosing The Squatting Pan

the skill of choosing the squatting pan

1, look at the whole
Whether the sample is placed neatly or beautiful can reflect the attention and intention of the manufacturer to the brand.

2. Touch the surface
High grade squat toilet surface glaze and body are relatively delicate, hand touch surface will not have uneven feeling. The glaze of middle and low squat pan is relatively dark. Under the illumination of the light, it will find the pores, and the glaze and the body are rough.

3, weigh weight
High-grade squatting must be used in high temperature ceramic sanitary ceramics, the ceramic sintering temperature is over 12%, the material structure completed phase transformation, generating structure was very compact glass phase, reached the requirements of sanitary ware, porcelain, hand weigh heavy feeling.
Medium and low-grade toilet is used in low temperature, ceramic sanitary ceramics, the two kinds of ceramic because of its low temperature sintering, sintering time is short, unable to complete the phase transformation, so as not to porcelain requirements.

4, specific water absorption
The most obvious difference between high temperature ceramics and medium and low temperature ceramics is water absorption. The water absorption of high temperature ceramics is less than 0. 2%, the product is easy to clean, will not absorb odor, will not occur glaze cracks and local water leakage phenomenon.
Medium and low temperature ceramic water absorption rate is much higher than this standard, and easy to enter the sewage, not easy to clean, but also send out unpleasant odor, long time will crack and leakage phenomenon.