Posts

Replacement a Bathroom Fan


Turn off the power. Before you begin, you will need to turn off the power to the fan from the circuit breaker box. Unplug the motor and disconnect the wiring. Put on a pair of gloves, safety goggles and a respirator and remove the grille covering from the old fan. You may be shocked at the amount of dirt and debris that fall out of it!


Unscrew or unplug the motor blower assembly from the housing unit, then open up the electrical splice unit and carefully pull out the wires. Remove the connectors and untwist the wires to disconnect them. It’s a good idea to double check that power to the wires is off before doing this. Loosen the cable clamp to free the electrical cable from the fan housing.


Go to the attic and remove the housing. In the attic, detach the duct pipe from both the housing unit and the vent cap connector duct. Pull the electrical cable and wiring free from the housing unit. Use a power drill to remove the screws securing the old fan’s brackets to the joists, then lift the old fan from the ceiling.


Install the new fan. Head back down to your bathroom and remove the new fan from its packaging. If it has the same measurements as your old fan, you will be able to install it immediately. But if the new fan is bigger than the old one, you will need to enlarge the hole in your ceiling. You can do this by tracing the outline of your new fan onto the ceiling, then cutting around the outline with a drywall saw.


If your new fan is smaller than the old one, you can caulk around the edges of the housing unit to fill in any gaps once the fan is installed. Go to the attic and lower the new fan into the preexisting or newly enlarged hole. Make sure the unit is properly oriented for all electrical and duct work connections. Slide out the extendable mounting brackets and secure them to the joists using your power drill and 1 inch (2.5 cm) drywall screws. You may need a helper to hold the fan in place from below as you do this.

How to Clean Soap Scum from Glass Shower Doors?


If you have glass doors in your shower, you’ve probably noticed that after a while, a white film tends to build up on the glass. This soap scum is caused by the mixture of animal fats in soap with some of the minerals in your shower water. Fortunately, you don’t have to put up with this scum on your door! You can easily clean off the scum with a commercial cleaner or ordinary household products. Then, all you have to do is make a few simple lifestyle changes in order to keep the scum from building up again.

Mix vinegar and baking soda to clean stains as well as soap scum. Pour 1/2 cup (115 grams) of baking soda into a small bucket, then add about 1⁄4 cup (59 mL) of white vinegar to the bucket. Use a spoon to stir these ingredients into a paste. Dip a clean sponge into the paste and wipe it on your shower door. Let it sit for 15 minutes, then rinse the paste off the door while scrubbing it with a microfiber cloth.


The paste that forms in the bucket should be about the consistency of pancake batter. You may need to add a bit more baking soda or a bit more vinegar to the mix in order to get it to this consistency. This is the best method to use if there are also hard water stains on your shower door that you want to get rid of.


Go with toilet bowl cleaner if that’s all you have. Although it’s not designed for cleaning glass shower doors, toilet bowl cleaner is occasionally effective at removing soap scum. Soak a sponge in hot water, then apply a small amount of toilet bowl cleaner to the sponge. Wipe the shower door with the sponge to clean off the soap scum, then rinse off the residue once you’re done.


Be sure to keep your bathroom well ventilated when using toilet bowl cleaner. The odors from the cleaner can be pretty powerful, especially in a small room. Use lemon juice and salt if the door frame is made of metal. This is the best cleaning method to use to also remove any rust on your door’s metal frame. Mix 1 tablespoon (15 mL) of lemon juice with 2 tablespoons (34 grams) of salt to form a cleaning paste. Use an old toothbrush to scrub this mixture into the door frame and let it sit for about 5 minutes. Finally, rinse it off with warm water.

The Knowledge of Shower Head Clean


If you don’t have a detachable shower head, the easiest way to rinse your shower walls is to use a cup or bucket to splash warm water onto the areas that need rinsing. Never use abrasive scrubbers, such as wire brushes or rough kitchen sponges, to clean an acrylic surface. These will leave behind tiny scratches in the finish that will then trap dirt in the future, making it much harder to remove.


Scrub the acrylic with a soft cloth. Use a clean, dry washcloth, microfiber towel or sponge to erase any last traces of loose residue. Wipe with gentle circular motions and apply pressure where needed to break up tough stains. Afterwards, rinse the interior of the shower with hot water. Dig into hard-to-reach spots with your fingertips or the corner of a sponge.


Slice a large lemon in half. With a little creative application, a single lemon can serve as both cleaning solution and sponge. Cut the lemon down the middle widthwise. You can now grip it by the peel-side and use it as a handheld scrubber to treat yucky shower stains.


Pick out the seeds before you start scrubbing so they don’t end up at the bottom of your shower. The natural acids in lemon juice are safe enough for you to use them to clean your shower as often as you’d like without having to worry about wearing down the acrylic finish. You may also have success using another type of citrus, such as grapefruit.


Rub the lemon directly onto the surface of the shower. Work the exposed fruit over the acrylic surface. As you press the lemon into the acrylic, the juice will gradually squeeze out, breaking up hard water stains, mold and mineral deposits.

How Removing Tough Stains?


Dissolve limescale buildup with equal parts vinegar and water. Avoid using commercial products that have anti-limescale ingredients since they could leave the enamel looking dull. Instead, remove the chalky buildup by mixing together equal parts of white vinegar and water. Dip a soft cloth into the diluted vinegar and rub it on the limescale until it dissolves. Rinse the area and dry it immediately.


Avoid rubbing the diluted vinegar over other parts of the tub that don’t have limescale since this could damage it. Apply diluted chlorine bleach to stains. For most stains, mix together 1/2 cup (120 ml) of chlorine bleach and 1 gallon (3.8 liters) of water. Dip a cloth in the solution and rub it over the stain. You can also spray the solution directly on the stain. Let the bleach solution sit for 1 to 2 minutes and then rinse it off. Dry the tub once the stain is removed.


Do not apply bleach right after you apply vinegar, as they will form a noxious gas if they mix. When you need to use both vinegar and bleach, make sure you thoroughly rinse away the vinegar before you apply the bleach, and vice versa.


Soak stains with a paste of hydrogen peroxide and cream of tartar. If you have tougher stains that don’t disappear after using the bleach solution, make a gentle cleaning paste. Mix together 1 part hydrogen peroxide with 2 parts cream of tartar. Spread this paste over the stains and let it sit for 30 minutes to 1 hour. Use a soft cloth to wipe away the paste and then rinse the area. Dry it if the stains are gone.


As an alternative, you can use baking soda and vinegar to remove tough stains. Sprinkle the baking soda over the stain, then spray vinegar onto the baking soda. The vinegar and baking soda will react to each other, creating a foam. Let the foam sit for 5-10 minutes, then scrub it away with a clean cloth. If the stains aren’t gone, you can repeat the treatment until they disappear.

How Removing Stains from a Porcelain Bathtub?

Pick up a canister of abrasive cleaning powder. For thick buildup on porcelain surfaces, you’ll need to use something a little more heavy-duty. Use a product like Comet or Ajax that comes in powdered form. The small particles will be able to penetrate deeper into stains that have set up on the surface of the tub to remove them.


Powdered cleansers contain chemicals known as surfactants which have mild abrasive properties. This makes them much more effective for addressing hardened, stuck-on residue. Apply abrasive cleansers sparingly. For most jobs, a single canister be enough for a single thorough cleaning.


Stick with natural alternatives. Alternately, tough stains like rust and hard water residue can be treated with a mixture of hydrogen peroxide and cream of tartar. Blend the two ingredients together until they’re about the same consistency as cake frosting and spread them directly over the stains. After 10 minutes, buff the stains with a nylon brush or pumice stone until they’re erased completely.


Homemade concoctions like hydrogen peroxide and cream of tartar will be preferable for those who are wary of the health and environmental effects of chemical cleaning products. Hydrogen peroxide will also help treat age-related discoloration and lighten the finish of the tub.


Sprinkle the cleaning powder around the stained tub. A moderate dusting should be enough to deal with most messes. The powder won’t stick to the surface of the porcelain on its own, but when combined with a liquid it will form a paste that can be spread directly over stains. Be sure to cover the bottom of the tub, where accumulated mold can become a slipping hazard.

How Removing Stains from an Acrylic Bathtub?

Avoid abrasive chemical cleaners. When cleaning an acrylic bathtub, stay away from harsh astringent powders such as Comet and Ajax, as well as harsh chemicals like bleach. Acrylic is a soft material and is therefore easily damaged. These types of products are almost guaranteed to ruin your tub’s finish. It’s generally a good idea to start with the gentlest cleaning solution available to you and work your way up to more powerful options if that doesn’t work.

Spray the stains with vinegar. Distilled white vinegar makes an excellent natural cleaning solution, especially on smooth surfaces like acrylic that release stains easily. Fill a spray bottle with vinegar and keep it on hand for routine bathroom cleaning tasks. Apply the vinegar liberally to completely cover the affected area. Lemon juice makes a fine alternative to vinegar if you happen to have some in the refrigerator.

Allow the vinegar to sit for 10-20 minutes. As it sits, the acidity in the vinegar will break down mold, grime and discoloration so that they can wiped away with ease. You may even see stains begin to dissolve and run off on their own, before you even begin scrubbing. Make sure you give the vinegar ample time to begin working. For especially troublesome spots, sprinkle a little baking soda onto the vinegar as it soaks.

How Cleaning Your Shower Walls and Tub?

Empty your shower. Remove bottles, loofahs, razors, soap, and other items. Wipe down plastic items to remove mildew and excess water. Throw out empty bottles and items you aren’t currently using. Having too many items in your shower makes it harder to keep your shower clean.

Rinse your shower walls and tub. Using a bucket or cup, splash the shower walls and tub with hot water. If you have a handheld shower head, they work very well. You don’t need to be perfect with this step; you just want to get all the hair, dirt, and other particles down the drain and out of your way. Rinse your walls and tub once a week between deep cleanings to maintain cleanliness. For best results, use a cleaner that helps prevent mildew and soap scum. Deep clean your shower and tub once a month.

Open the bathroom door. If you have a window, open it as well for extra ventilation. Cleaning products can be dangerous if you inhale them, so leave the room if you start to feel lightheaded or nauseous. If your bathroom has a fan, turn it on to help with ventilation.

Divide your shower wall into three to four sections. Mentally divide your shower so that you can make your cleaning task more manageable. Cleaning in sections will prevent the product from drying before you have a chance to work it into the surface. If you have a bathtub, include it in your sections.

Spray the first section with a cleaning agent. Let it soak for 5-10 minutes, unless the package recommends a different amount of soak time. Make sure that your cleaning agent is appropriate for the type of material that your shower is made from. Never use acids like vinegar, ammonia, and normal bathroom cleaners on marble. Only use products that are labeled for use on marble. Make your own cleaning agent by mixing 1 cup (237 milliliters) of vinegar, 1/2 cup (118 milliliters) baking soda, 1 cup (237 milliliters) ammonia, and 1-1/2 gallons (5.5 liters) of hot water.

clean bathroom 4 fine: make bathroom clean and bright

Clean Bathroom 4 Details: Make Bathroom Clean And Bright

clean bathroom 4 fine: make bathroom clean and bright
1, the toilet

To add the right amount of water in the toilet, take the toilet brush to clean it, then pour about 5-10 ml of detergent or hydrochloric acid solution, scrub with a brush coated evenly, such as dirt heavier, can pour a little detergent soaked after brushing, and then washed with water until clean, dry clean.

2, shower head

The dirt surface of the nozzle after cleaning with pliers and unscrew the nozzle outlet interface, the filter inside the clean water nozzle is not smooth, with a needle to each outlet patiently through it, if the needle tip is sharp, and no patience with brute force to dredge it is likely the damage caused to change the direction of the water outlet.

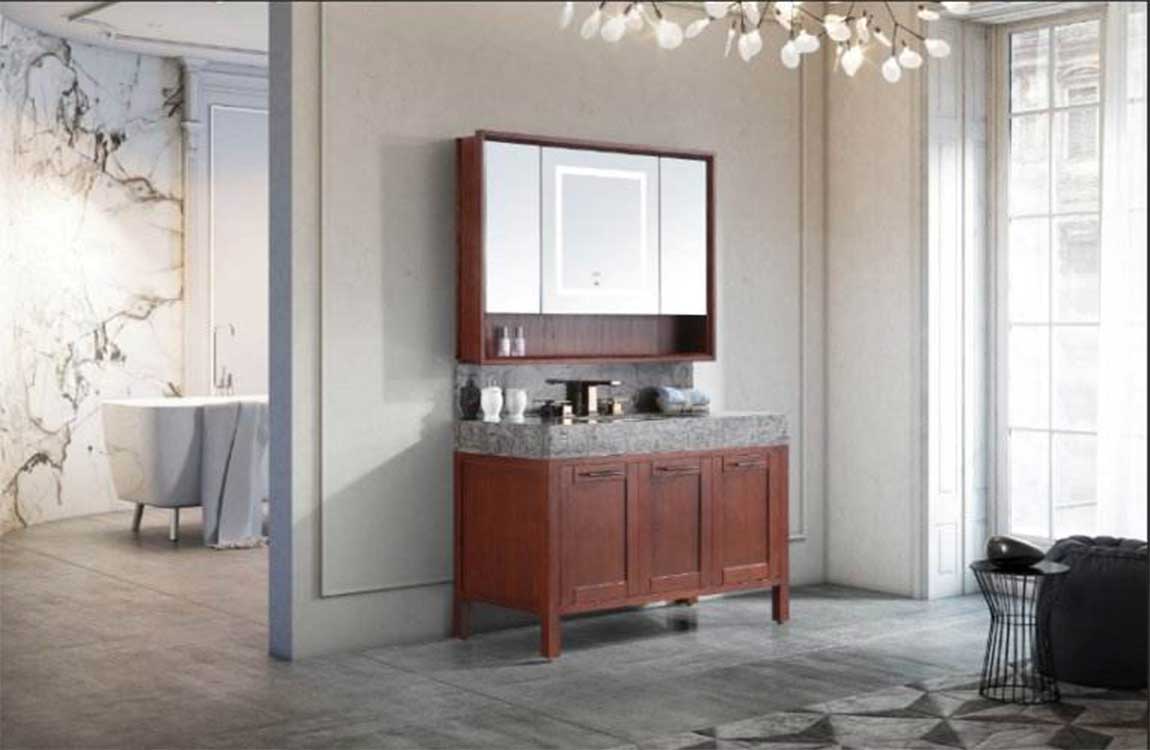
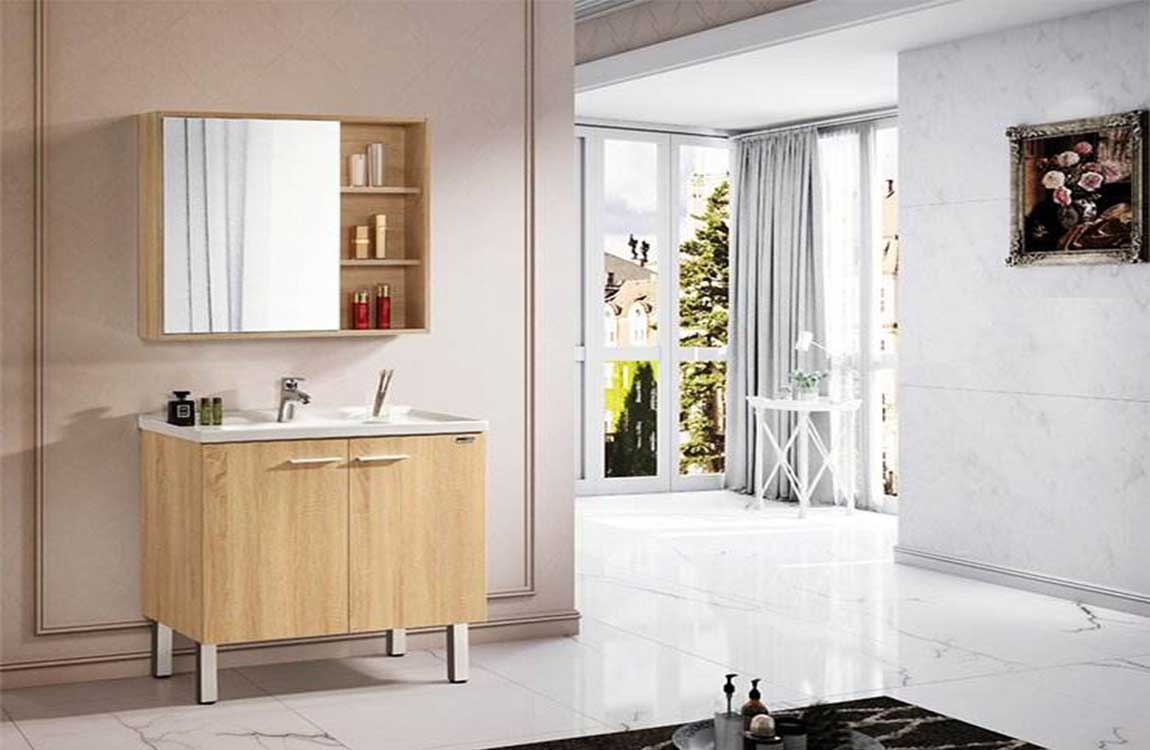
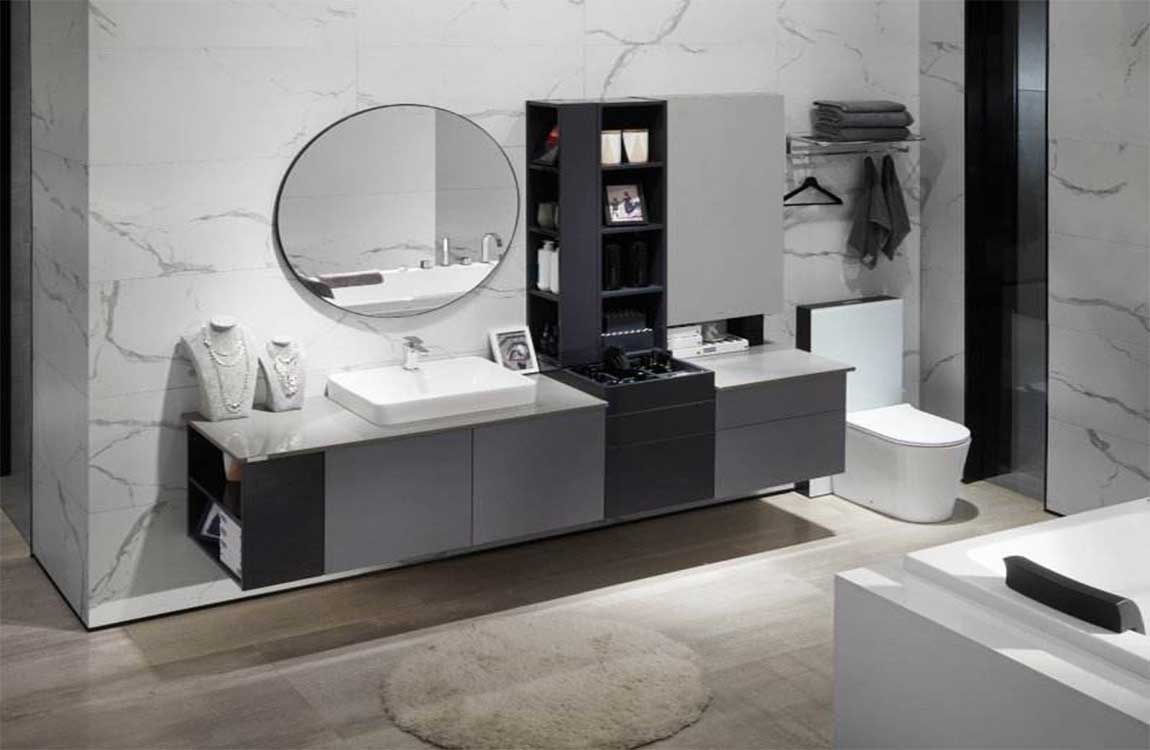
3, bathroom cabinet

When cleaning the bathroom cabinet should pay attention to good, do not choose a dry cloth, so as not to scratch the surface, to avoid the water washing, to avoid corrosion, if the surface stains, can not use alcohol, gasoline and other chemical solvents, a better choice of neutral cleaning agent.

4, bathtub

Clean the bath generally have three methods can be used in vinegar, rag soaked in vinegar, then cover the stains on the next morning, the baking soda and vinegar tune into a paste, and then use the brush to clean, it is easy to clean; outdated old newspapers can also be used to clean the bathtub; in addition the above two, generally is the most commonly used special bathtub cleaning agent, bath can not only remove stains, and time-saving, no damage to the surface of the tub is good, clean bath method.