Pop off the bolt caps, if necessary. Look at the edge of the old toilet seat, near the tank. You may see plastic caps where the seat’s hinges attach to the toilet bowl, one on each side. If so, gently slide the flathead screwdriver under their edge and pry them off. If there are no bolt caps, you will just see the bolts themselves attaching the hinges of the seat to the toilet bowl.
Loosen the nuts. Hold your adjustable wrench and look underneath the edge of sides of the toilet bowl. You should see bolts going down through the porcelain, held in place by nuts. There will be one on each side of the bowl. Attach the adjustable wrench to each nut. Turn the wrench counterclockwise to loosen the nuts.
Remove the old seat’s bolts. The bolts at the base of the hinges on top of the toilet bowl may be slotted for a screwdriver. If so, use yours and turn each bolt counterclockwise until it comes out. Otherwise, you can continue turning the nuts counterclockwise until they come off. If your old seat has washers between the nut and bowl, remove those as well.
Wrestle with the old bolts, if they’re stuck. On some older toilets, the bolts might be rusted or stuck in place by grime. If so, they may not come out easily. Don’t panic — you have some options! First, spray WD-40 on the threads of the rusted bolts. Let it sit for 10 minutes, then try again to remove the bolts.
If that doesn’t work, place your adjustable wrench on the nut. Hold it in place as you use the screwdriver in your other hand and attempt to turn the bolt out. If the bolts are still stuck, use your small hacksaw to saw them off. Place the blade just under the toilet bowl, at the top of the nut, and gently saw back and forth until you cut the bolt all the way off.
Dispose of the old seat and hardware. Lift the bolts out of the bowl, if you haven’t already. You should then be able to remove the toilet seat and its hinges easily. Toss out the old seat, bolts, and nuts.
https://baranasanitary.com/wp-content/uploads/2019/01/How-to-Removing-the-Old-Seat-Before-Install-a-New-Toilet-Seat-01.jpg7501150adminhttps://baranasanitary.com/wp-content/uploads/2017/01/logo-3.pngadmin2019-01-28 07:16:522019-07-31 07:30:33How to Removing the Old Seat Before Install a New Toilet Seat?
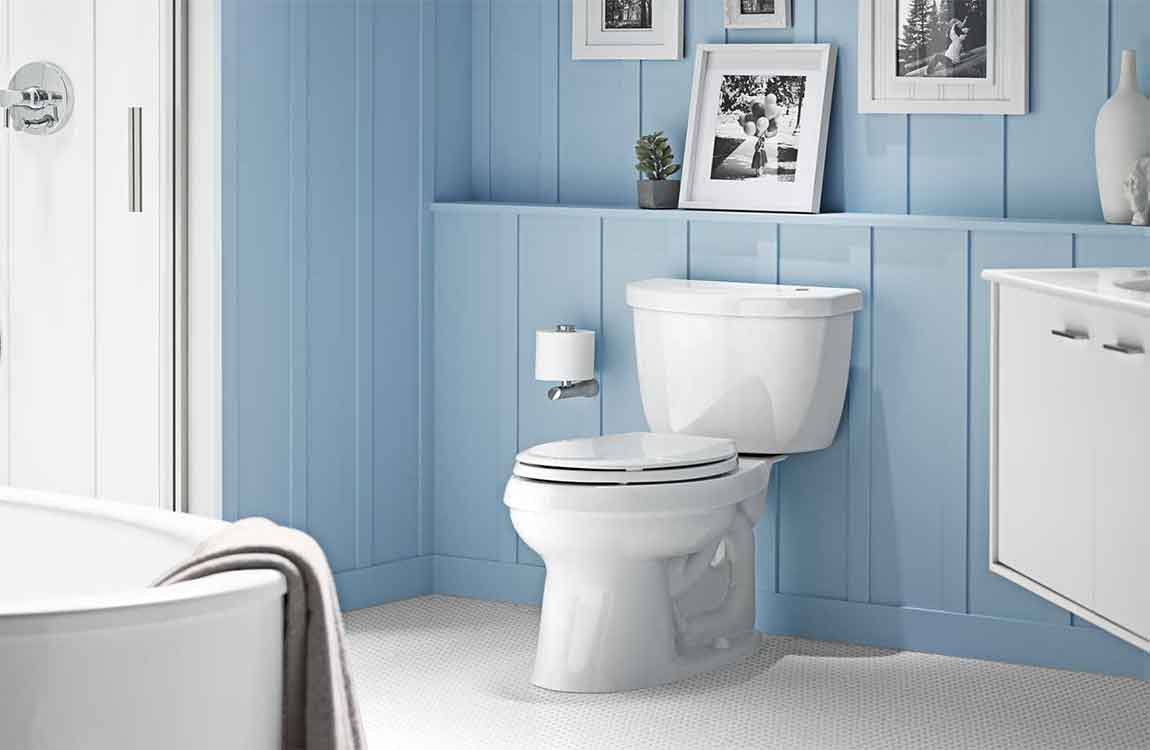
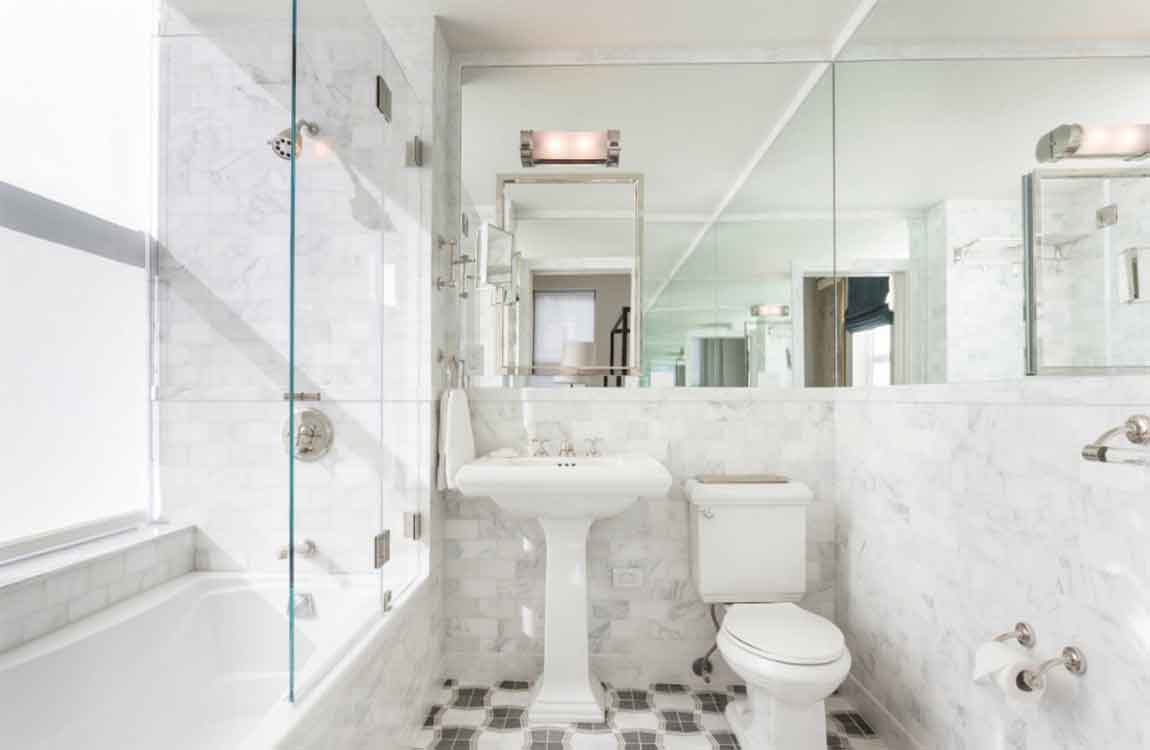
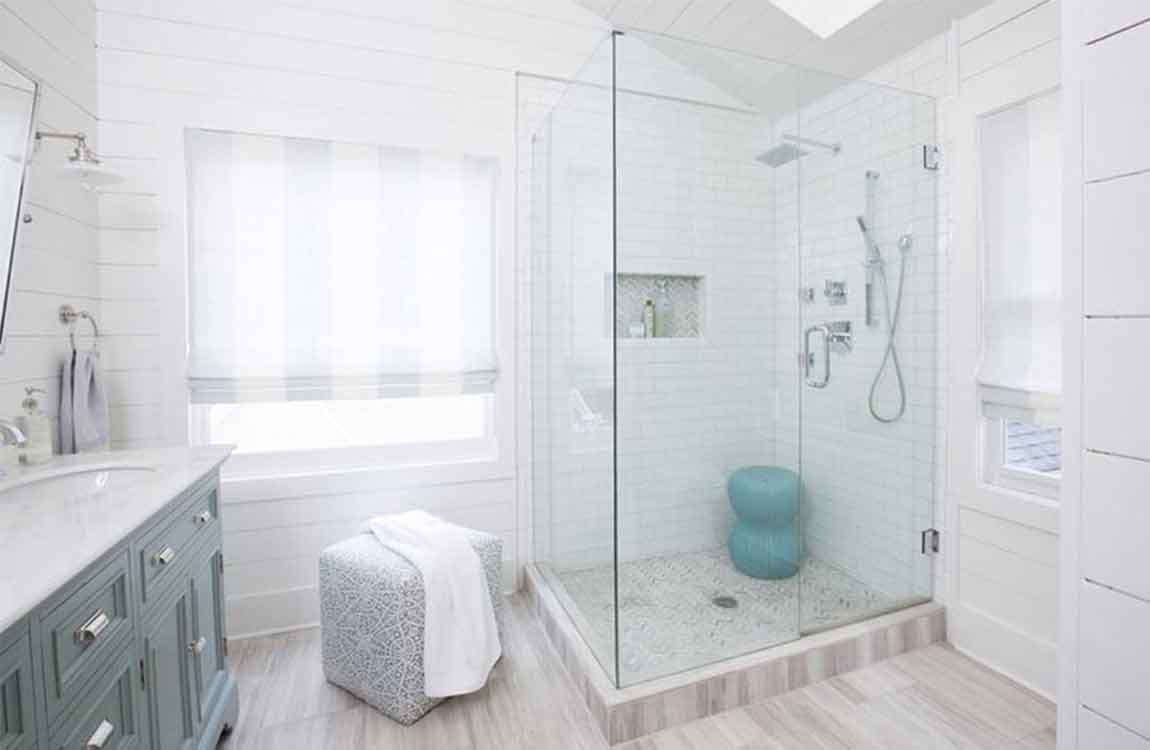
Installing a new toilet seat is an easy DIY project. Whether you’re replacing yours because it’s old, or because you just want a new style, all you need are some basic tools and a few minutes. Unbolt the old seat, then pop the new one in place using the hardware included in your new toilet seat’s box. The only trouble you’re likely to run into is if the old bolts are stuck, but a little elbow grease can take care of that problem.
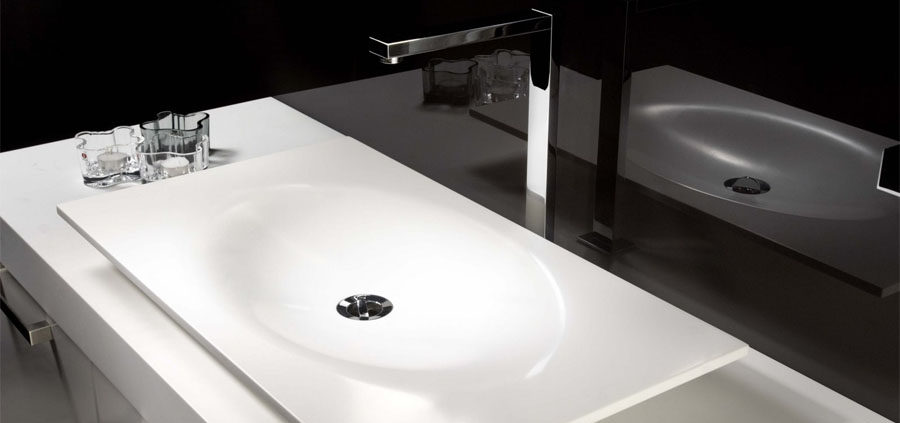
Measure your current toilet bowl before buying a new seat. Most toilets are standard sized, and any replacement seat should fit. If you want to be extra sure, take a tape measure to check the distance between the bolt holes in the toilet bowl. Then make sure the distance between the bolts on the replacement seat is the same.
Choose the style of seat you want. Toilet seats come in 2 basic styles, and a home supply store should have several brands to choose from. The standard variety is rounded, but you can choose an elongated one if you prefer. You can also purchase a “whisper close” seat that has special pads on the bottom to prevent it from slamming down on the bowl. Toilet seats come in a range of prices. You should be able to find the cheapest for $20-30, but others that cost twice as much or more.
Choose a seat color that matches your current toilet bowl. You can find toilet seats in a variety of colors. Choose one that matches the toilet bowl (usually white) for a classic look, or choose a contrasting color to make a bolder statement. For instance, you could choose a blue or wooden toilet seat to contrast with a white bowl.
Gather your tools for the project. You’ll need just a few simple ones to handle this project. If you don’t already have these at home, head down to the hardware store and get: An adjustable wrench or pliers. A flathead screwdriver. Spray oil such as WD-40 (optional). A small hacksaw (optional)
https://baranasanitary.com/wp-content/uploads/2019/01/How-to-Choosing-a-New-Seat-Before-Install-a-New-Toilet-Seat-02.jpg7501150adminhttps://baranasanitary.com/wp-content/uploads/2017/01/logo-3.pngadmin2019-01-25 07:14:552019-07-31 07:30:51How to Choosing a New Seat Before Install a New Toilet Seat?
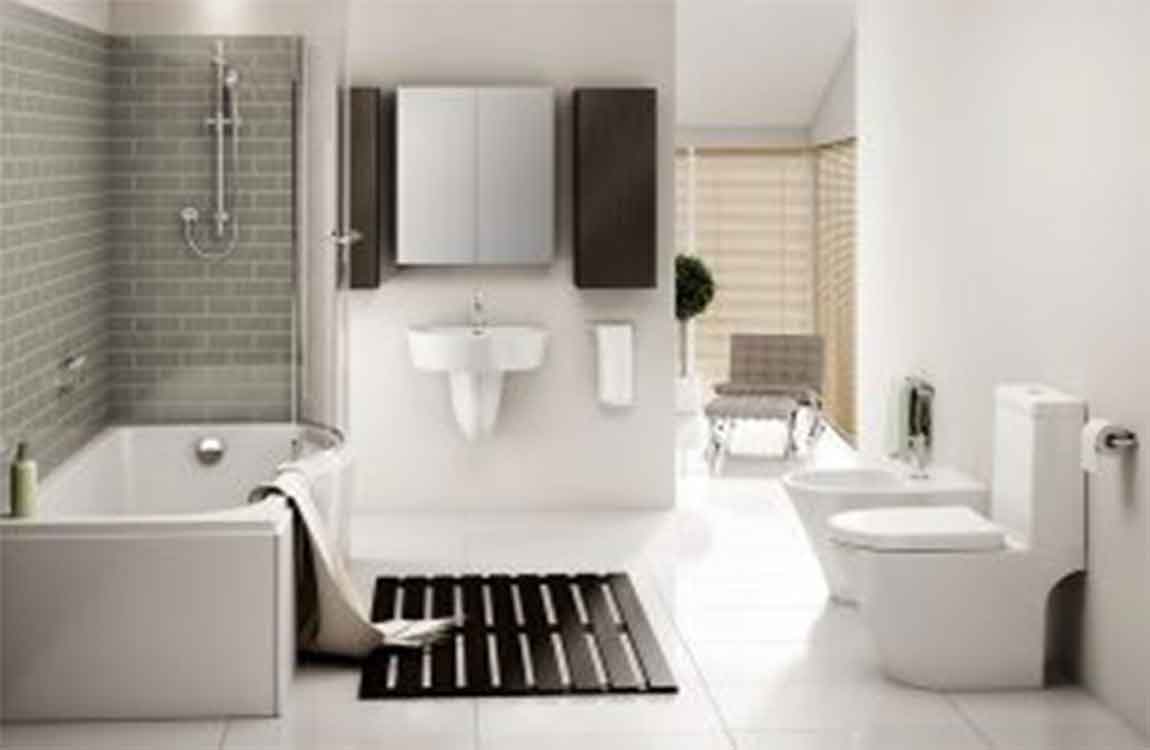
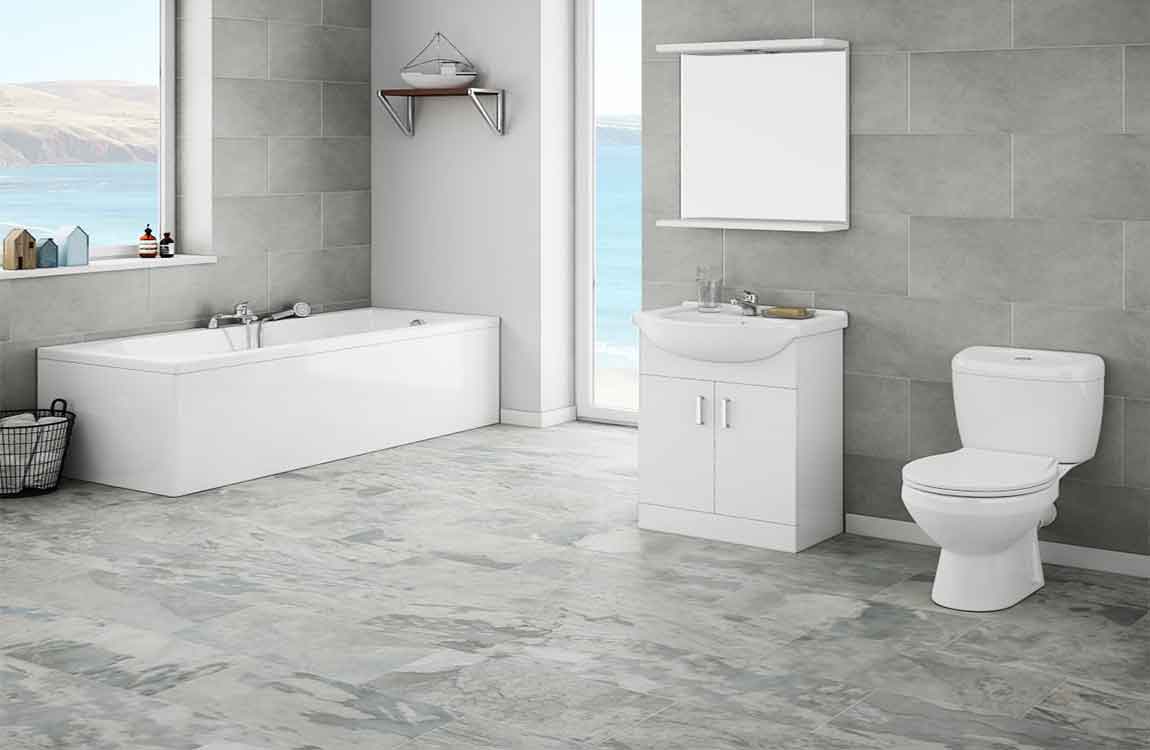
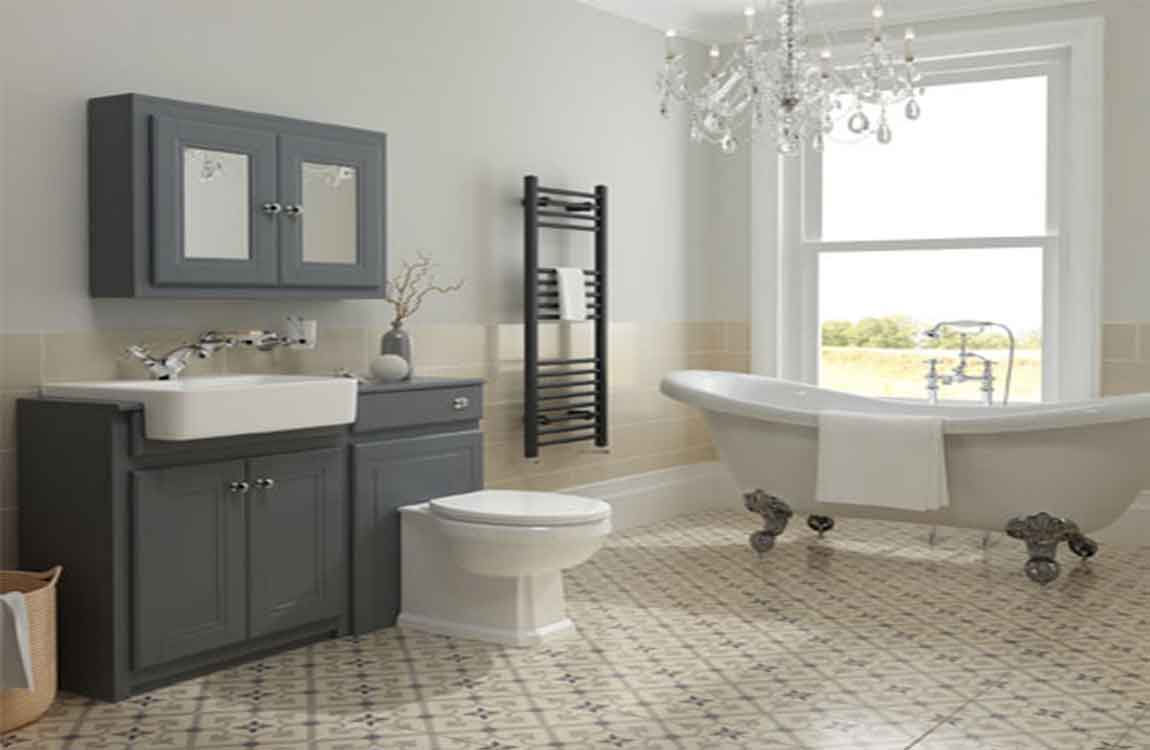
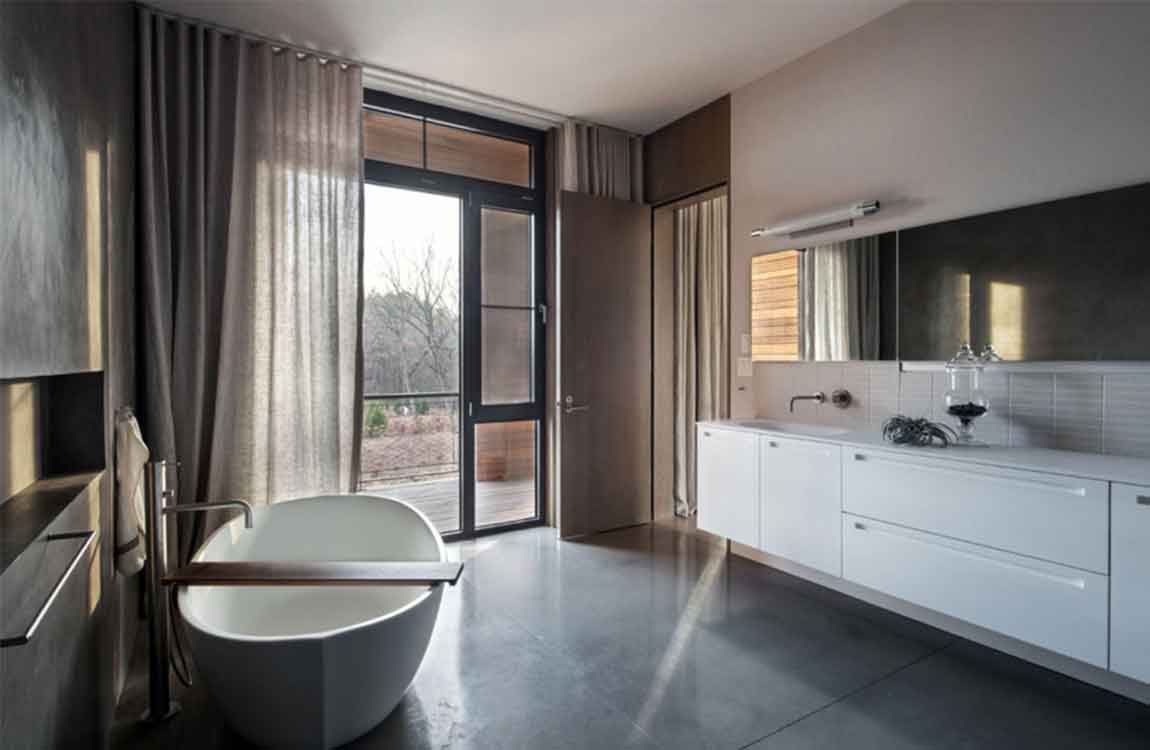
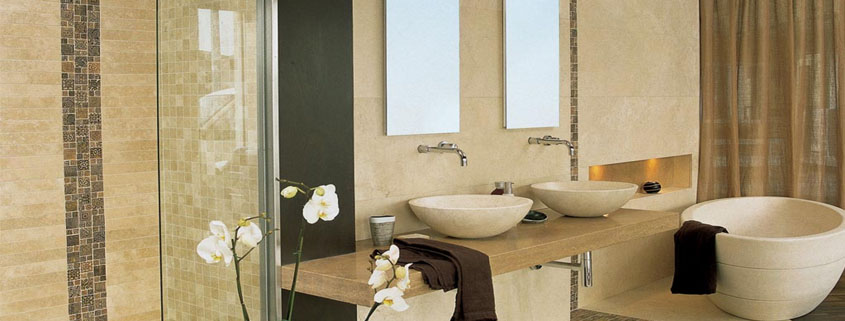
Replace your fixtures. Do away with old hardware, like faucets, towel racks and sink and drawer handles. With time, these pieces can rust, stain or just become tedious, making them unpleasant to look at. Spend a little time and money picking out new eye-catching fixtures that more accurately reflect your evolving tastes and design ideas for your bathroom. You’d be surprised how much difference a new set of knobs or shower curtain rod can make.
Though they’re small touches, your fixtures say a lot about the state of your bathroom. They tend to be in the areas that receive the most use, which means they’re one of the things people commonly notice. Choose fixtures with finishes that are the same or complementary to each other. Make sure you clean and polish your hardware regularly to keep it looking new.
Put in a new shower head. Chances are, you’re still using the original shower head your bathroom came outfitted with. While this is more equipment than decoration, investing in a new showerhead can do wonders for both your physical comfort and the look of your shower area. Consider which practical features you like, then shop around for different sizes and stylish designs and finishes.
You can readily find inexpensive shower heads in elegant finishes like brass or graphite, while more expensive shower heads will also allow you to control the flow and pressure of the stream.
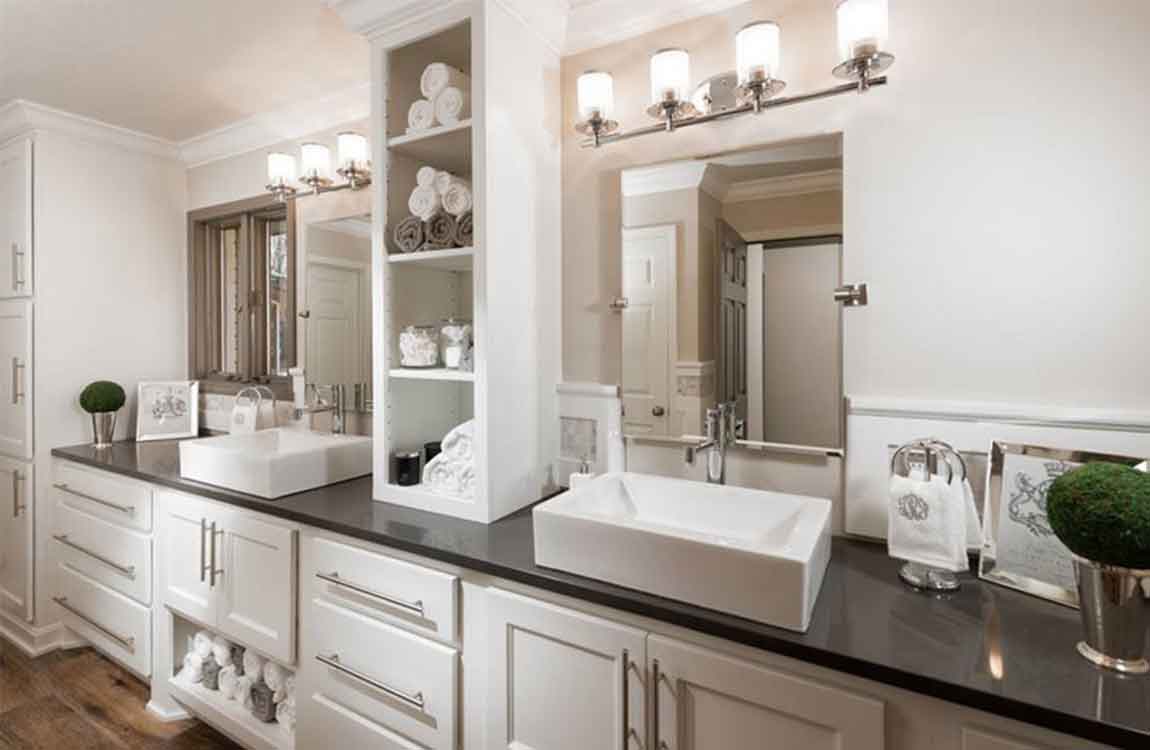
Make use of racks, shelves and cabinets. Forget about stowing everything away under the sink. Mount an extra rack or shelf, or make room for a small, open cabinet and use this to organize your bath items. With more storage space, you’ll not only be able to change the appearance of your bathroom, but also eliminate the kind of clutter that has a tendency to accumulate in the areas where you spend the most time getting ready.
Hang a standard kitchen spice rack and use it to store hand soaps, deodorant, shaving supplies and other items. Stow away toiletries you don’t want out in the open in an old repainted nightstand.
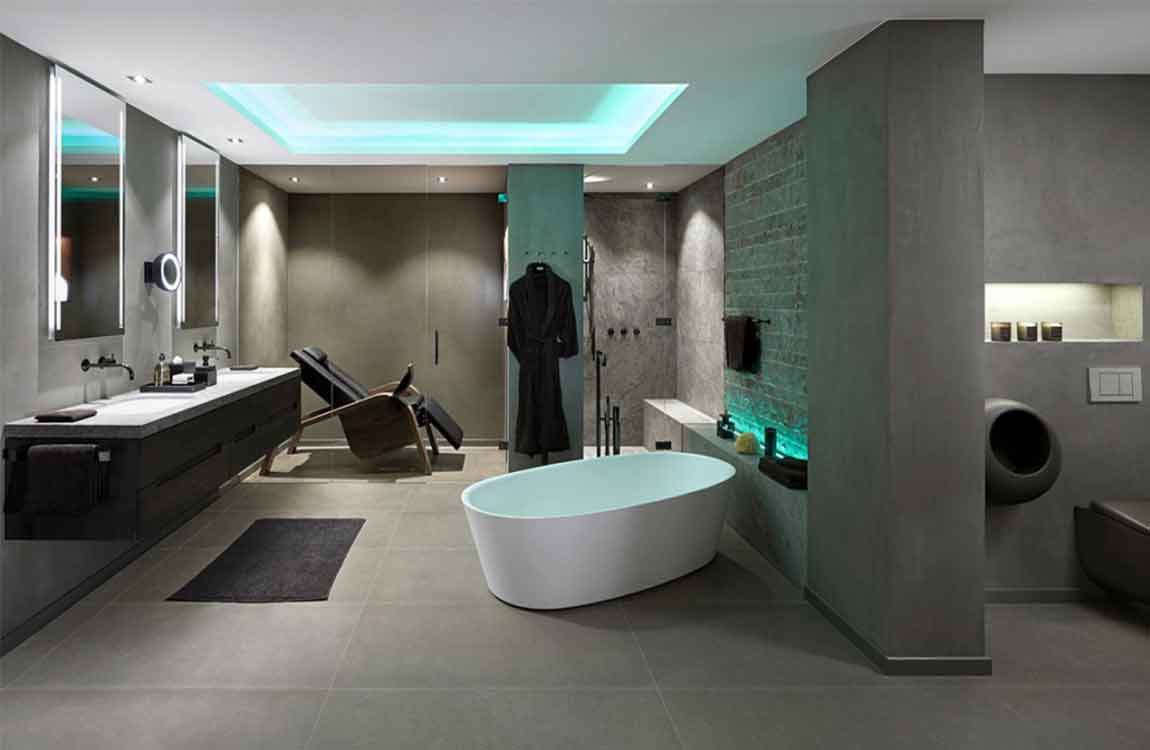
Install a dimmer light switch. One simple trick that can make your bathroom more cozy is to soften the lighting. By swapping your standard light switch for a dimmer, you can fine-tune the brightness of the room, cranking it up when you’re shaving or doing your makeup and lowering it to a soft glow when you want to treat yourself to a spa-like experience. Custom lighting can lend a bit of class and tranquility to an otherwise unremarkable room.
Lower light is perfect for taking a relaxing bubble bath, or for those times when you get up to use the restroom in the middle of the night and don’t want bright light shining right in your eyes. A good contractor can install a dimmer switch in just a few minutes, or you can look up instructions for how to do it yourself here. Alternatively, add ambience with candles (with real or fake flames). Candles are a cheap and easy way to spruce up your bathroom and also make the room smell great.
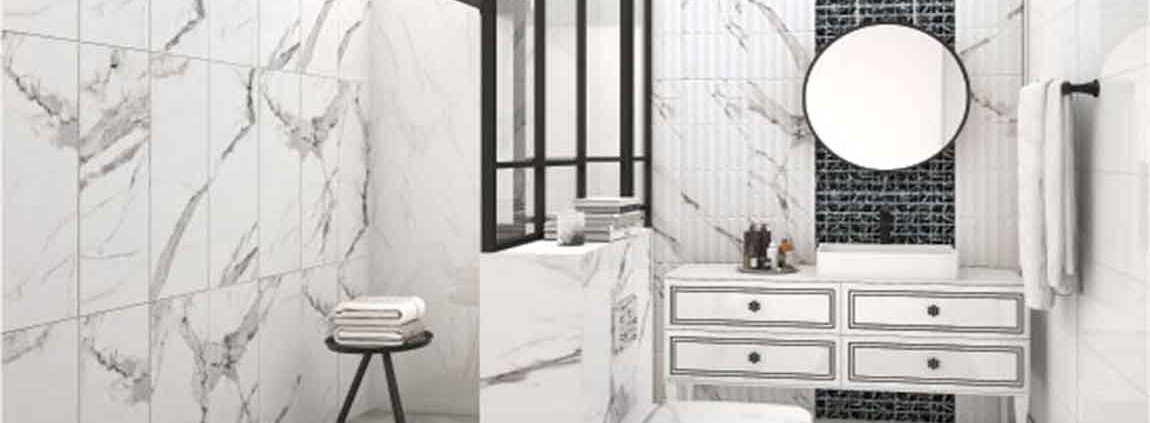
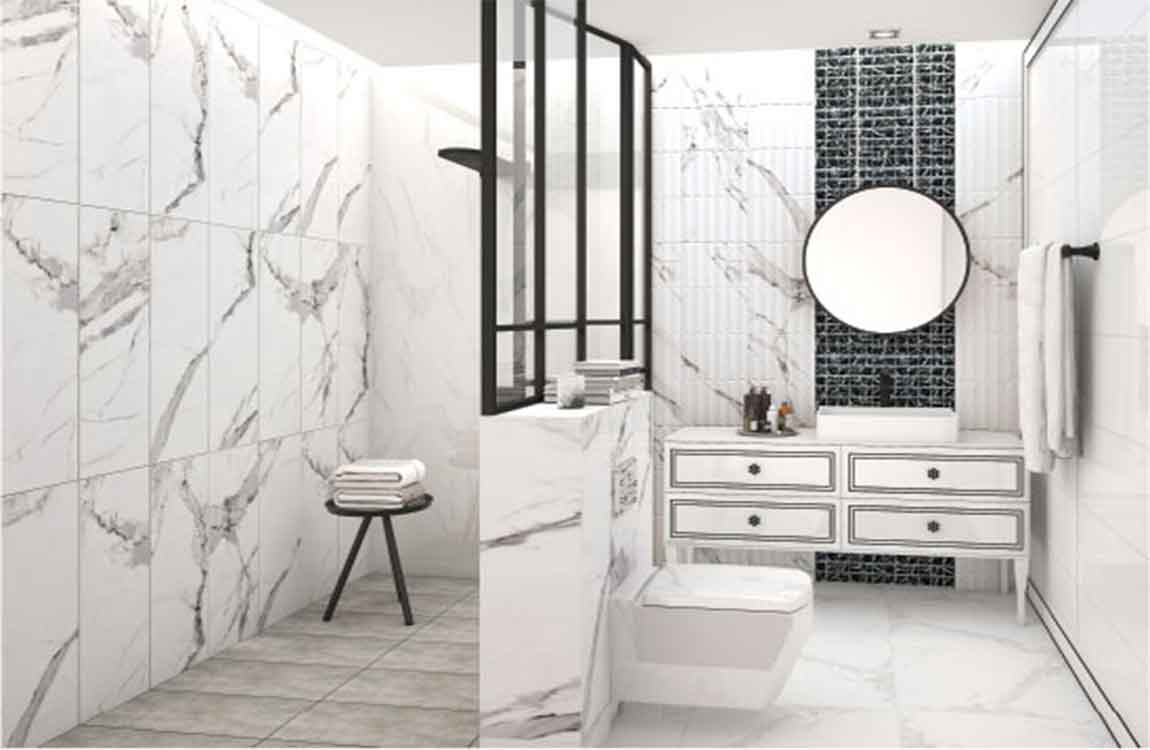
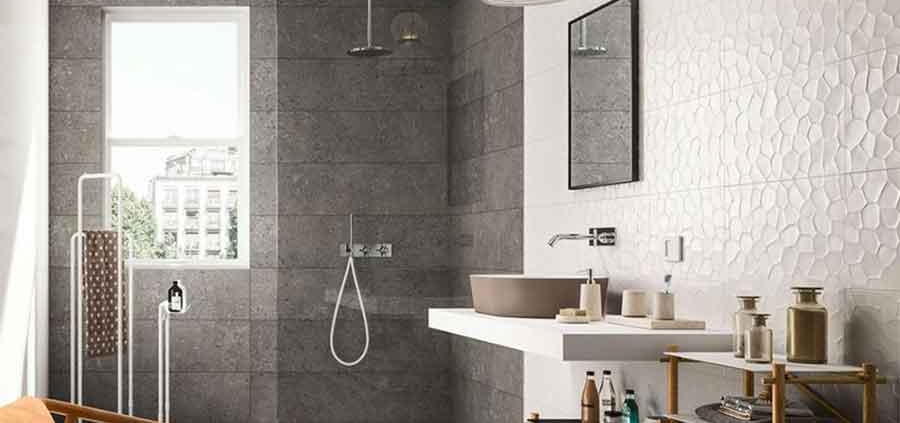
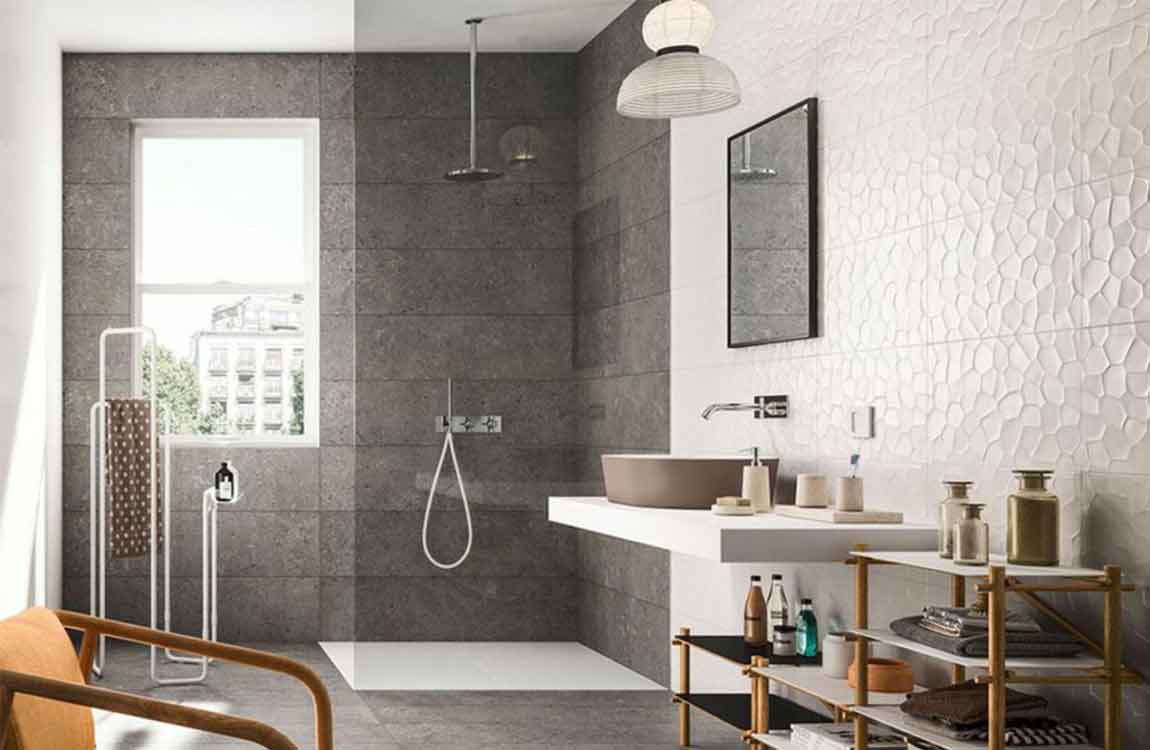
Put in new tile. Ceramic tile is a relatively inexpensive way to refresh the appearance of your bathroom, and, since it covers so much surface area, makes a big impact on the room’s appearance without the need to knock out a wall or have the plumbing redone. Natural stoneware or bright, colorful tiles can be used to cover up time-worn walls and floors, giving your lavatory the dressing up it desperately needs. While installing new tile is a bigger project than simply buying a new set of towels, it can usually be done in a single weekend, and allows you to fully customize the final outcome.
Provided you have the right budget to work with, you can install new tile yourself for only a few hundred dollars worth of tools and materials. This could save you thousands of dollars in contractor’s fees. Compare tiles in different shades, patterns and configurations to find the perfect match for your redesigned bathroom. If your tile is in good shape, you can paint it instead of replacing it, which is quicker and cheaper.
Chisel away tiles instead. This method is slower, but allows you to save some of the tiles for reuse. Scrape away some of the grout in a long line using a utility knife, grout saw, or rotary grinder. Place a chisel against the edge of a tile in this line, almost flat against a wall, and tap with a hammer. If all goes well, the tile will pop out. If it doesn’t budge or if a small piece chips off, remove grout from the sides and try again. This becomes easier once the first tile is removed. An electric chisel can speed this job up.
Remove adhesive. After chiseling away tiles, scrape away the adhesive with a putty knife or hand scraper. Try soaking the tiles in water first to soften the mortar.
https://baranasanitary.com/wp-content/uploads/2018/09/How-to-Improve-a-Bathroom-Without-Remodeling-900600.jpg600900adminhttps://baranasanitary.com/wp-content/uploads/2017/01/logo-3.pngadmin2018-09-28 05:48:492019-08-21 06:51:41How to Improve a Bathroom Without Remodeling?
First, glaze finish, brightness
In the purchase of ceramic basin, first with the ordinary white ceramic basin, should focus on the glaze smoothness, brightness. Glazed finish and good brightness good, pure color, not easy to dirty fouling, easy to clean, long-term use is still bright as new.
Two, water absorption index
The so-called water absorption, is to judge the ceramic products on the water absorption and permeability of good or bad indicators. It is understood that the water will be sucked into the ceramic, ceramic will produce certain expansion, ceramic basin is also so, it is easy to make the ceramic surface of the glaze due to expansion and cracking. Thus, the lower the water absorption, the better the quality of ceramic products. According to the relevant standards of national water absorption standards, sanitary ceramics with water absorption below 3% are high-grade ceramics.
Three, process, pattern, color
Most of the basin are used in high-end hand-painted color ceramic glaze technology, which is currently the best ceramic technology, so buy ceramic basin should pay attention to distinguish, to prevent illegal dealers in overglaze underglaze posing as genuine. Underglaze decoration pays attention to fine brushwork freehand brushwork, it must be drawn by hand, not printed, applique, and the color should be bright.