Posts

How Fitting the New Tub and Installing the Drain?

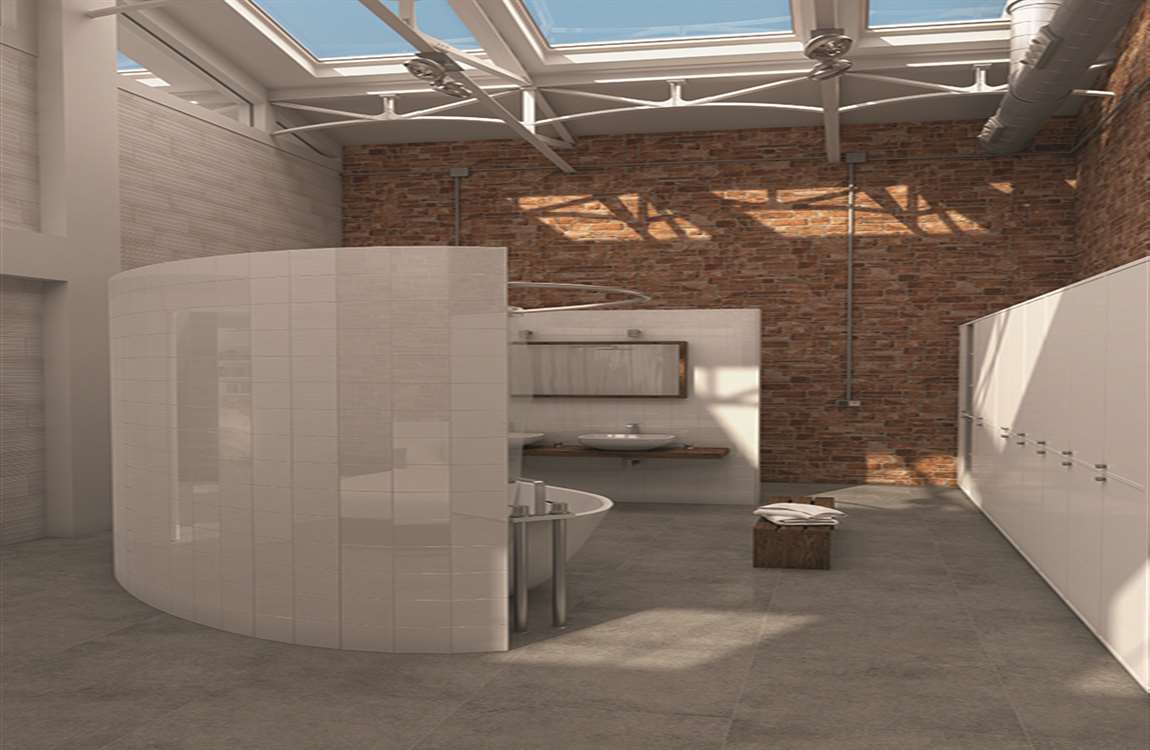
Select a tub that will fit in the designated space. Measure the length and width of the alcove where you will install the tub. Also, measure the height and width of your bathroom doorway to make sure the tub will fit through the bathroom door! Take your measurements to a home improvement store to guide your purchase.

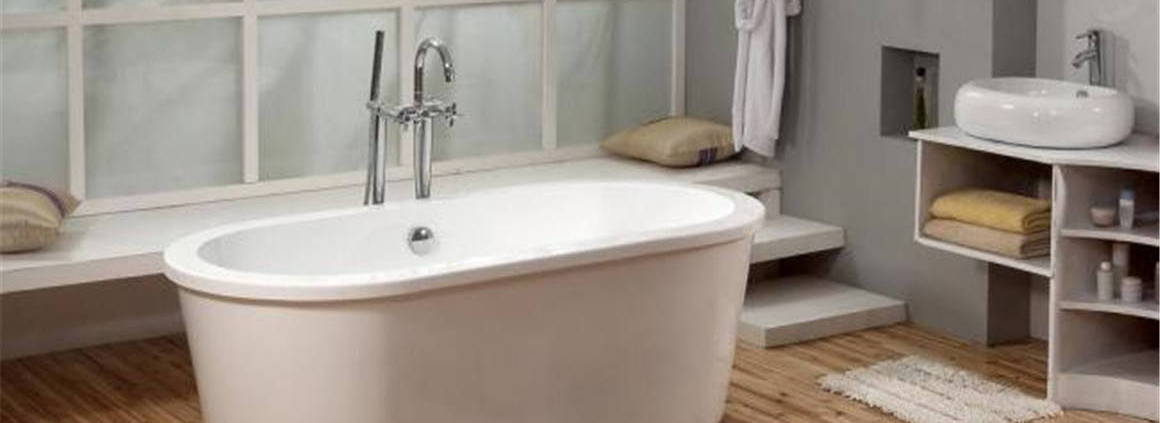
If you’re replacing an old tub, choose a new tub with a similar configuration and make sure the drain and faucets are on the same side and in roughly the same location to make installation easier. Make sure your tub comes with all the faucets, drains, and accessories you will need. Typically, you’ll need a faucet, water handles, and the drain, which includes the drain chute, strainer, strainer cover, trip lever, stopper, linkage, and overflow drain cover.

Dry-fit the tub in the alcove. To ensure the tub fits, place it in the designated area. Check that the drain hole in the bottom of the tub lines up with the P-trap in the floor underneath the tub. Ensure you have the right fittings to connect the water supply lines to the faucet you purchased, as well.

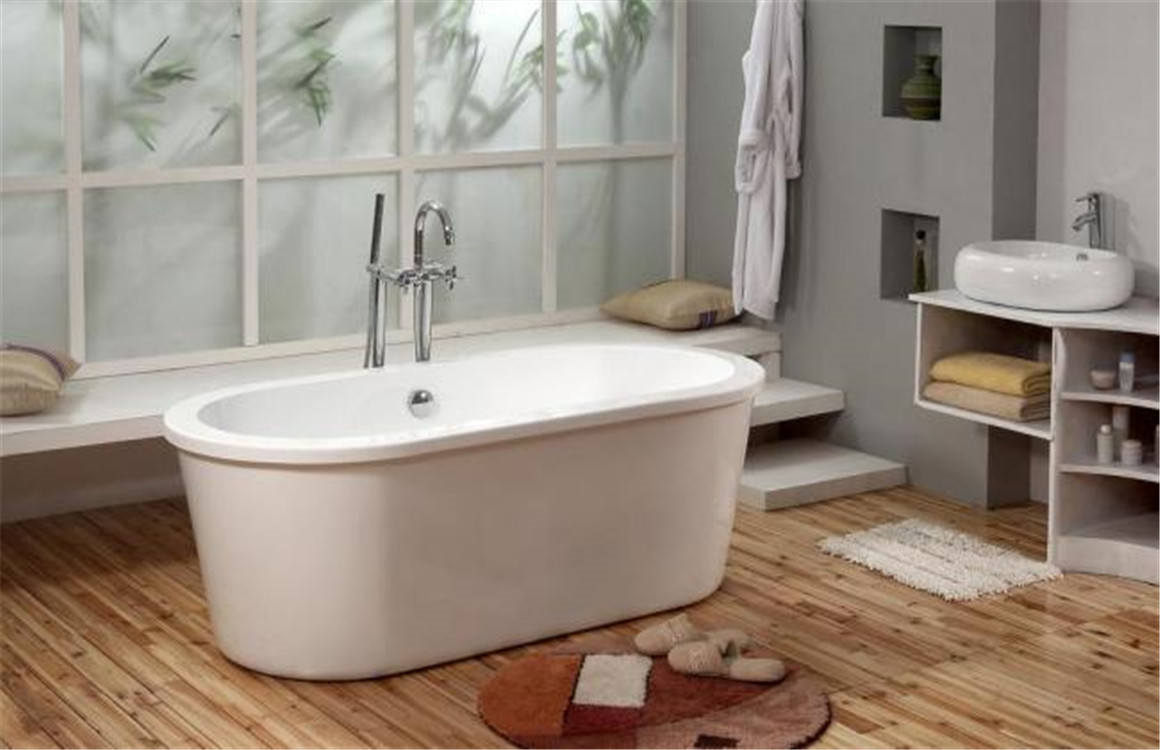
Set the tub somewhere safe after you make sure it fits so you can move onto installing a ledger board. Use caution to prevent scratches or other damage to your new tub! Install a ledger board. Cut a 2 by 4 in (5.1 by 10.2 cm) board to the length of the wall that the long edge of the tub will be placed against. Measure the height of the lip, or flange, of the tub, then mark that height measurement on the back wall.

Use a drill to screw the ledger board to the studs in the wall so that the top of the ledger board is just below the flange when the tub is sitting level in the alcove. A ledger board helps support the weight of the tub and ensures it can be securely attached to the wall.

How Removing the Caulk?


Use a caulk-removing tool and isopropyl alcohol to clear away the caulk. Apply the isopropyl alcohol to the caulk via a spray bottle or blot it on with an old washcloth—this softens the caulk and makes it easier to remove. Use your caulk-removing tool to scrape away as much of the caulk as you can. Wear rubber gloves while you work to protect your hands. You shouldn’t have to pay more than $10 for the caulk-removal tool.


Discard of the old caulk so it doesn’t get in your way. Keep a garbage bag nearby as you scrape off the caulk so you can easily put it to the side. You won’t be able to reuse it for anything, so throw it away with your regular trash. If you can’t get all of the caulk off, that’s okay—you’ll be sanding down the tub later and can work off any bits that are stuck then.


Remove the drain and the spout so they don’t get painted. Use a screwdriver to take out the drain and water spout fixtures, then set them to the side. If you’re having trouble getting a part out, try lubing it with some oil to loosen the screws. This is also a great time to give those fixtures a thorough cleaning. Submerge the fixtures in warm water and dish soap to loosen any hardened grime. Use an old toothbrush to scrub away any remaining dirt.


Allow the lemon juice to sit for 10-20 minutes. Once you’ve given the shower a thorough scrubbing, give the lemon juice a little time to work its magic. Though mild, the acids that the juice contains will usually be enough to deal with the majority of commonplace stains. The longer you let the juice soak, the better the end result will be.


Lemon juice is especially useful for dissolving stains that result from exposure to hard water or chemicals. Citric acid will not only clean and disinfect, it will also help brighten up the acrylic and restore it to its original luster.

How to Clean a Shower/Tub the Easy Way?


Do you LOVE a sparkling clean shower stall but HATE cleaning one? Me too! I started using this method about 20 years ago out of necessity because I had to clean 6-8 bathrooms a day thoroughly and QUICKLY while working for a residential cleaning service.


Ventilate bathroom and quickly spray soap scum type cleaner on entire shower stall and tub, concentrating spray on the parts that need extra attention (tub ring, etc.) Leave the room and find something else to clean! Let the spray do the work for about 10-15 minutes.


When you return – get the broom just slightly wet under tub faucet – then turn the water OFF. Use the broom to scrub and sweep the scum away working from top of stall walls down to bottom of tub – concentrating of worst areas. You can use the tips of bristles to clean grout and crevices, also great around the faucets and drain.


Run tub faucet using warm water. While water is running rinse the broom. Fill your container of choice with fresh water from the tub and rinse walls and tub several times. Use the broom to rinse walls and sweep the remainder of dissolved soap scum into the tub and down the drain – rinse thoroughly.


Enjoy your sparkling tub and shower stall. After you’ve worn the lemon down, simply grab the other half or cut a new one and keep going over the area until it’s spotless. Just as a precaution, avoid using lemon in conjunction with other green cleaning ingredients like sea salt. Even water-soluble abrasives may be enough to scratch up acrylic.

How to Clean an Acrylic Shower?


If the highlight of your morning is stepping into a hot, revitalizing shower, chances are you’ve put some thought into the best way to keep your bathroom sanctuary sanitized and sparkling. Luckily, newer showers and shower liners made from synthetics like acrylic are a breeze to clean. That being said, acrylic is a soft material that can easily be scratched or discolored, so it’s important to make sure you have the right tools for the job to avoid causing permanent damage.


The key to cleaning acrylic safely and effectively is to use a mild acid-based solution, followed by a wipedown with a non-abrasive cloth. All-Purpose清洁剂或Bar Keeper’s Friend. Choose a non-abrasive cleaning solution. Acrylic is a soft, malleable finish, which means it can easily be scratched or marked up if you’re not careful. To prevent doing lasting damage to your shower, pick out a product that doesn’t contain any harsh chemicals or astringents.


Your best bet is to use a mild acid-based solution like Lysol Power Bathroom Cleaner, Formula 409 All-Purpose cleaner or Bar Keeper’s Friend. Stay away from any type of astringent cleanser, including Comet, Ajax and Scrubbing Bubbles, as well as solvents like acetone. Whenever possible, using natural derivatives to clean your bathroom will be your safest choice.


Spray the product onto shower stains. Apply the cleaner liberally to areas where grime, soap scum and hard water stains have accumulated. Focus on spots that suffer from visible dirt or discoloration. You may need to use quite a bit of cleaner in order to penetrate multiple layers of dried-on residue.


Be sure to remove all soaps, shampoos and other hygiene products from the shower before you get started so that you can clean underneath them. Pull back the shower curtain all the way and turn on the overhead fan to keep the bathroom properly ventilated while you clean.

How Doing a Basic Cleaning of Enamel Bathtub?


Mix hot water and liquid dishwashing soap. Get out a small bucket and pour 2 tablespoons (30 ml) of gentle dishwashing soap into it. Use a dishwashing soap that will cut through grease and grime. Pour 1 gallon (3.8 liters) of hot water into the bucket. Stir the mixture until it’s soapy and combined.


Rub the cleaning solution over the entire tub. Dip a sponge or soft cloth into the soapy cleaning solution. Wipe the solution along the bottom and sides of the enamel tub. Gently scrub the tub to loosen any grime or soap deposits. Avoid using sponges that have an abrasive side, which could damage the enamel.


Rinse the tub with clean water. Fill a clean bucket with clean water and pour it over the soapy tub to rinse it. You may need to fill the bucket a few times to remove all of the soapy residue. Wipe the tub dry. You could also turn on the shower and direct the nozzle to rinse away the soap. If your shower head is a handheld model, this is the easiest way to rinse the bathtub.


Since you’ll be drying the tub immediately, you can use any temperature of water to rinse it. Clean the enamel tub every week. Remember to clean your tub at least once a week or more, if you use it more frequently. If you keep the enamel tub clean on a regular basis, it’s less likely to develop stains or limescale buildup.


Scour the stains with a sturdy scrubber. Since porcelain has a hard, durable finish, you can scrub it safely with an abrasive implement without worrying about scratching it up. For best results, equip a pumice stone or stiff-bristled scrubbing brush. Work on the stains until they’re completely erased, then rinse the tub with clean water and let it dry before using it again.

How Removing Stains from a Porcelain Bathtub?

Pick up a canister of abrasive cleaning powder. For thick buildup on porcelain surfaces, you’ll need to use something a little more heavy-duty. Use a product like Comet or Ajax that comes in powdered form. The small particles will be able to penetrate deeper into stains that have set up on the surface of the tub to remove them.


Powdered cleansers contain chemicals known as surfactants which have mild abrasive properties. This makes them much more effective for addressing hardened, stuck-on residue. Apply abrasive cleansers sparingly. For most jobs, a single canister be enough for a single thorough cleaning.


Stick with natural alternatives. Alternately, tough stains like rust and hard water residue can be treated with a mixture of hydrogen peroxide and cream of tartar. Blend the two ingredients together until they’re about the same consistency as cake frosting and spread them directly over the stains. After 10 minutes, buff the stains with a nylon brush or pumice stone until they’re erased completely.


Homemade concoctions like hydrogen peroxide and cream of tartar will be preferable for those who are wary of the health and environmental effects of chemical cleaning products. Hydrogen peroxide will also help treat age-related discoloration and lighten the finish of the tub.


Sprinkle the cleaning powder around the stained tub. A moderate dusting should be enough to deal with most messes. The powder won’t stick to the surface of the porcelain on its own, but when combined with a liquid it will form a paste that can be spread directly over stains. Be sure to cover the bottom of the tub, where accumulated mold can become a slipping hazard.

How Cleaning the Bathtub Naturally?

Wash away any grit and hair. Use your shower to wash away any debris in the way. If you have a removable shower head, use it to spray around the tub. Otherwise, use a cup or small bucket to pour water around. If you have a lot of hair and debris in your tub, it’s best to wipe it away with a paper towel before you rinse the tub using your shower head. Otherwise, you may accidentally clog up your drain.

Try a grapefruit and salt scrub. The acid from the grapefruit combined with the abrasiveness of the salt helps to scrub away grime. Plus, the grapefruit leaves your bathroom smelling like citrus. Cut a grapefruit in half. Cover the open half with salt. Sprinkle salt on the wet tub.

Scrub the tub with the grapefruit, releasing juice as you go. You may need to switch to another half to scrub away all the grime in your bathtub. You may even need more than one grapefruit. Rinse away any salt and pulp.

Create a bathtub and sink scrub. You may already have the ingredients in your home, especially if you like organic soaps. Mix 1 cup of baking soda with 1/2 cup of Castile soap and a few drops of peppermint or tea tree essential oil. Use the mixture on a sponge to scrub down your tub. It works especially well on soap scum. Rinse it away when your tub is clean.

Make a vinegar spray. Vinegar is slightly acidic, so it can help remove bacteria and stains. In a clean spray bottle, add 1 cup of vinegar and 1 cup of water. Shake vigorously. Spray it on your tub. Use a sponge to scrub it down. Rinse away the vinegar.

How to Decorate a Bathroom?

Change the fixtures in your bathroom for a more adventurous project. This can be difficult for someone who has not done it before, so if the task is too intimidating for you, hire a handyman. Make sure that the colors go well with the overall theme of your bathroom. For example, if your bathroom is ornate with lots of burgundy and gold, consider gold fixtures. If your bathroom has a modern or Zen theme, try matte silver fixtures instead.

Keep cotton balls, Q-tips, and other toiletries in glass jars or vessels. Instead of leaving these items in the cabinet, transfer them into glass or clear acrylic containers, then keep the containers on your bathroom counter. Use 1 container for each type of item.

For example, keep your cotton balls in a tall jar and your Q-tips in a squat container. Consider a vase or apothecary-style jar for extra bath bombs, mini lotion bottles, or hand soaps. Tiered cupcake stands and cake stands make cute displays for perfumes, nail polish, and other cosmetics.

Old Mason jars are a great, low cost option for storing your items! If you don’t like the look of them plain, add a ribbon or piece of fabric to make them match your decor. As another option, you could paint the jars, though you wouldn’t be able to see into them anymore.

Make use of soap dispensers and toothbrush holders. Instead of keeping your liquid hand soap in the plastic bottle it came in, pour it into a glass or ceramic soap dispenser. If you prefer to use solid soap, keep it in a little dish or tray instead. Keep your toothbrushes in a toothbrush holder. Make sure that it matches your soap dish or soap dispenser. If you like to use mouthwash, consider pouring it into a glass vessel or bottle instead. Have some paper cups nearby, so that you have something to pour the mouthwash into.