Posts

How to Remove Black Flaking in a Jetted Bathtub?


By the time you see any type of flaking coming out of the jets of a whirlpool bathtub. it’s already too late. The flaking are remnants of bacteria, mostly harmful, condos that have now decayed and are ruining your visual of a relaxing spa bath. Don’t use bleach. First things first, we don’t use bleach because over time it will breakdown gaskets, bushings, etc.


We also won’t use any dishwashing detergent since it will put a coating layer on the flaking we are trying to remove. Fill the jetted tub up with warm water 1″ about the highest jet. Add a non toxic bio cleaner to the water per the instructions on the cleaning product label, normally it is 1 teaspoon or 1 capful, depending upon the bio cleaner.


Run the jets, turn off the air valve if you have one, on high for 10-15 minutes. This allows the bio cleaner to scrape off the gunk (flakes) that are solidified on the pipe and jet walls. Bio Cleaners use special properties that are ecological, green and non toxic and have the capability to eradicate bacteria, algae, mold, mildew, dead skin, soaps, and other gunk in the piping and remove them to the sides of the tub.


When you have completed the 10-15 cleaning cycle, remove 2 inches (5.1 cm) of water, clean the “ring around the tub”, refill with 2 inches (5.1 cm) of water and repeat the process. You will have to add more bio cleaner in as well. To maintain a clean jetted tub, you really need to clean it once a week, preferably after a bath to save on water.


Paint on 2-3 coats of the new finish with a brush and roller. Always paint in 1 direction when you apply the new coat to your tub. Roll on the new finish to the floors and sides in even back-and-forth rolls until the flat area is completely covered. Fill in the corners and curves of the tub with even back-and-forth brush strokes. Let each coat dry for at least 30 minutes before you put the next coat on.

How Laying the Tiles?


Mark your tile layout on the substrate and mark out your first course carefully. If your shower enclosure walls are not perfectly square, or if you plan to install accent tiles, the layout of these tiles becomes increasingly important. Measure up from the bottom of the backer board the height of a tile minus 1/2″. This will give you a 1/2″ overlap over the tile lip on your shower pan.


Make sure that you allow room for the grout joints as well. Mark this with a sharpie or chalk and using a level, transfer the mark across the shower stall. This will be a guide for the top of the first row so that all tiles will be level. Only use dry tiles make sure that the lay out works as well. Another way to plan out the first row of tiles is to measure the high part and low part of the shower pan.


Make the cut spot on the low end a full tile, mark it, and then cut the tiles on the high side down to the level of the uncut tile on the low side. Keeping grout lines away from the inside corners of the enclosure can prevent the need for tiny tiles and poor grout joints. Plan accordingly and always make cuts tight on the inside corner.


Mix enough thin-set for the bottom row. You want your thin-set to be the consistency of peanut butter — not too thick or it will dry out and not too thin or you’ll have a hard time setting the mortar with strength and cleaning. Use an electric drill and a mortar mixing bit attached to your drill to mix your thin-set mortar. This will ensure even consistency and ultimately a better product.


Let the mortar set for seven minutes and then mix it again. Dampen the cement board with a sponge before applying the mortar. If you do not, the cement board will draw the moisture out of the thin-set too quickly, making for a brittle set that is susceptible to cracking.

Putting up Wall Decor to Accessorize Your Bathroom


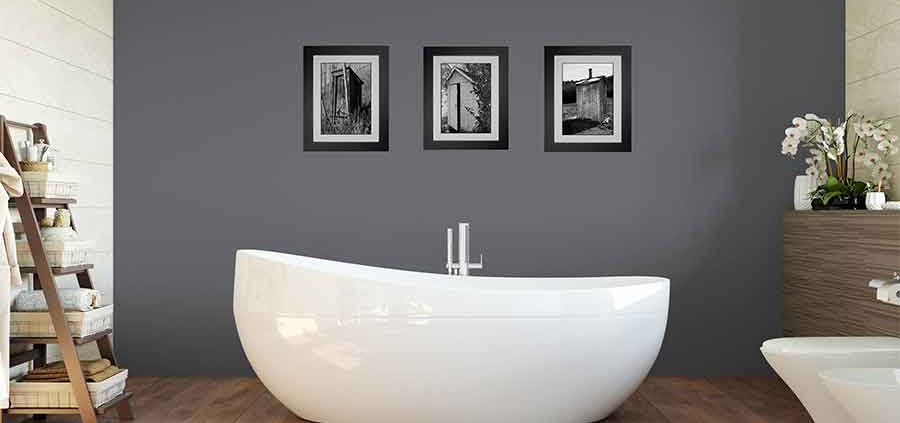
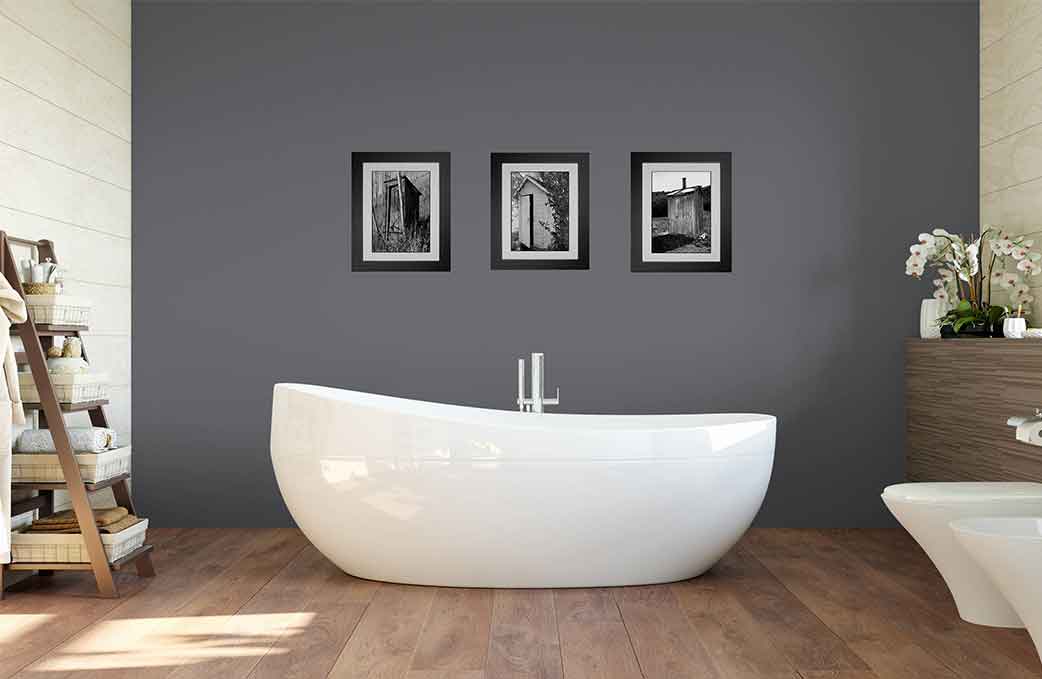
Hang artwork on empty walls. Stick to artwork that is inexpensive since it may be humid in your bathroom. Works on canvas or unframed paintings will not build up moisture since there is no possibility of it getting caught behind glass. If you have framed artwork, keep your bathroom door or window open so humidity is not trapped.


Put up 3-D art to avoid the risk of moisture damage. Sculptural works pop out from the wall and make for a great focal point in your bathroom. Materials such as plaster or metal are not damaged by moisture or humidity. Limit your bathroom to 1 piece of 3-D art so it is not visually overwhelming. Don’t hang anything next to the shower, though, as hot steam and moisture could ruin it over time.


Add accents with new paint colors. If you have extra wall paint laying around, add a new design to the wall to make the room pop. Choose a color that fits into the color scheme of the entire room. Practice designs on a paper before committing them to the wall.


Consider painting a horizontal stripe halfway between the wall and floor to add visual interest. Add circles in a lighter color to simulate bubbles to create a playful and carefree environment. For an eclectic look, paint 1 wall a bold color.


Make a backsplash for your vanity. Adding a tile backsplash can add a fun accent to the wall. Many backsplashes come in a peel-and-stick package so you can easily mount it to the wall yourself. Find tiles that match the color scheme of your bathroom to put behind your vanity. Be sure to choose tiles that are moisture- and mildew-resistant.

Use Linens and Textiles to Accessorize Your Bathroom

Keep small potted plants on your vanity. Potted plants add a dash of greenery and freshness to your bathroom. Pick a plant like a succulent that doesn’t require a lot of light or water so you have the easiest upkeep. Low-light plants will grow best if your bathroom does not have windows or natural light. Use fake plants or flowers for zero upkeep while still giving your bathroom a pop of color.

Put liquid soap in a nice-looking dispenser. Rather than using the original plastic soap dispensers, purchase a glass or ceramic dispenser for your vanity. Pick a style that matches the rest of the decor in your bathroom. Soap dispensers can be purchased in home decoration or big-box stores. Liquid soap refills can be purchased in a large container and are perfect for refilling the dispensers.

Hide a tissue box under a tissue cover. Provide tissues so you and your guests don’t have to tear off toilet paper to blow their nose or fix their makeup. While tissue boxes usually have designs on them, it may not match the style of your bathroom. Place a cover over the tissue box to hide the original cardboard that it came in.

Lay bath mats on the floor to catch any moisture. Lay mats right outside of the tub and underneath your vanity so water doesn’t get on the floors. Pick up mats that are absorbent and has an anti-slip material so it sticks to the floor. Bath mats can be purchased in most big box stores.

Purchase matching towels. Over the years, you may have gathered a large variety of towels that are mismatched. For a clean and cohesive look in your bathroom, purchase a set of towels that are all of the same color and brand. If you cannot purchase new towels, display towels from a matching set and keep the rest in a cabinet out of sight.

Keep fresh rolled towels in a basket near the shower. Rolled towels add a sense of sophistication to your towel display. Keeping a basket large enough to hold 3 or 4 towels next to your bath makes them easy to access for your guest while providing visual interest. You can also roll up washcloths and arrange them on the counter for guests to dry their hands with.

Replace your shower curtain. Having a fun shower curtain can help add accent and flare to your bathroom. If you’re following a color-scheme, find a curtain that matches or complements the main colors of the room. Keep a clear plastic curtain inside the tub to avoid getting your new curtain wet. To add a sense of fun to the room, consider getting a novelty shower curtain with a funky pattern or design.

Avoid using toilet rugs or covers. Not only do fluffy toilet covers look dated, they also collect germs easily. As an alternative, place a simple bath mat in front of the toilet if needed or leave it without a rug.

How to Accessorize a Bathroom?

A well-accessorized bathroom is both stylish and functional. Towel hooks and decorative containers can both help to create a cohesive look throughout the room and make the bathroom easier to use. Keep a clutter-free bathroom and decorate the space to your liking.

Find a decorative mirror. The mirror is one of the focal points in a bathroom and a decorative mirror can help add visual interest. Play with shapes like round, square, and oval mirrors to find what fits the best in the space. Keep a consistent shape language throughout your bathroom by not using too many different shapes in your decor.

Make sure the decorative mirror is large enough to be functional as well. Securing a mirror from the ceiling with rope or wire can help add a nautical or industrial theme to your bathroom.

Hang a hand towel next to the sink. Make it easier for you and your guests to find a place to dry their hands. Install a towel ring on the wall next to the sink so water doesn’t drip throughout your whole bathroom. As an alternative, get a standing towel holder and place it on the countertop. This is a great option if you’re renting your home and can’t put holes in the wall.

Use small jars to store cotton swabs or cotton balls. Keep your daily toiletries in containers on your vanity hidden in containers to reduce clutter. This way, they’re easy to access for you and anyone visiting that may need to do a quick touch-up. Follow the “rule of 3’s” when decorating. Try to display 3 containers to add a balance. Fill containers with cotton balls, cotton swabs, and even bandages.

Buy ornamental bar soaps to display. Display soaps that are not meant to be used in a small dish next to the hand soap. Not only does this add fun visuals to your vanity, it also helps your bathroom smell better. Soaps can be purchased at home specialty stores.

Soaps can be purchased in a variety of shapes, like seashells or flowers. Find soaps that match the style you’re setting in the bathroom. You can even switch out the soaps based on the season or holiday.

Light candles or use potpourri to eliminate odors. Keep candles or a tray of potpourri either on the vanity or on top of the toilet tank. That way you’re greeted with a fresh scent whenever you enter the bathroom. It also provides ambience and a sense of calm in the room.

Place bathroom sprays in an easy to reach spot to freshen up the room in a pinch. As an alternative, use an oil diffuser to add a natural aroma and spa-like feel.

The Important Things Before Renovate Bathroom

If you are removing any knobs, faucets, light switches, or towel rods, be sure to put them into a box so that they stay together. This is especially important if you plan on using these items again.

Get rid of anything that you will be replacing. This includes faucets, towel rods, and toilets. The less clutter you have in your bathroom, the easier your renovation will be. You can either donate the items you won’t be using anymore, sell them online, or dispose of them according to your city’s requirements. Some places will ask you to leave the item outside your home so that it can be picked up and disposed of, while others will require you to take it to a facility.

Start by painting your bathroom. Use a paint roller, and be sure to let each layer dry completely before adding another. Most paints will dry between two to four hours, but you might want to refer to the label on your can of paint for more specific drying times. If you don’t do this, the paint may not cure properly and become sticky or bumpy. Leave the last coat of paint until after you have installed all cabinets, shelves, sinks, and tubs.

Add tile or new flooring once the paint has dried. This also includes the backsplash tile behind the sink. If you are not changing the floors, then you can remove any protective coverings off the floor at this time.

Install any toilets, sinks, tubs, and showers. You will most likely need to hire a plumber to do this step for you, especially if you are going to move a toilet, sink, tub, or shower from one side of the bathroom to the other. After you have installed the toilet, sink, tub, or shower, be sure to caulk around the edges so that moisture doesn’t seep through. If you don’t caulk, water will get into the floor and cause mildew.

Install any new cabinets, shelves, cabinets, and towel rods. You can place these wherever you want in your bathroom, but keep in mind that you will need to reach these items easily. Towel rods should be placed about 4 feet (1.22 meters) above the floor. The top of a cabinet should be about 6 feet (1.83 meters) above the floor. Place the toilet paper roll holder 6 inches (15.24 centimeters) in front of the toilet.

Install new lights and faucets. Be sure to properly caulk around the faucets after you install them. When buying caulk, try to get an acrylic or hybrid formula. They don’t need chemicals to remove. This will make any future re-caulking easier.

Clean any dust, paint, or debris. When you are done renovating your bathroom, peel off any leftover painter’s tape and discard any sheets of plastic or paper. Be sure to wipe down the counters and sinks, and to vacuum or mop the floors. This will make your bathroom look better and give it that nice, finishing touch.

Before Renovate Bathroom We Can Do…

Molded bathtubs sit right on the floor, and are the most common. They come in all sorts of shapes and sizes. Some even include fancy features, such as benches for shaving on and jet streams. When you go to buy a bathtub, you might also want to sit in it to make sure that it is comfortable. After all, you will likely sit in your bathtub while using it at home.

Choose storage that is both efficient and stylish. This includes things like storage units, caddies, cabinets, and shelving. You want your storage to look good and be functional. You should be able to reach your cabinets and shelves easily, and have accessto them when you need to. You also want your storage to fit everything it needs to fit. Cabinets don’t always have to stick straight out of the wall. Consider having some cabinets recessed into the wall. This will save some space.

Make sure you have adequate lighting in your bathroom. Lighting is very important. If there is not enough lighting, then your bathroom could become dangerous. Take advantage of natural light first by letting as much of it in as possible. Plan on having at least 4 watts of artificial light per square foot. You can let lots of natural light into your bathroom with skylights.

Make sure that you have adequate ventilation. Poor ventilation will lead to mould, decay, rot, and smells. Having vents, windows, and fans is always a good idea. When choosing a fan, consider getting a quiet one for master bathrooms, so that you don’t wake your significant other if you have to use the restroom at night. Get a noisier one for powder rooms; the noise will give the guest more privacy, especially if the bathroom is close to a living room.

Pick out some new accessories to match your new bathroom. This will include things such as towels, wash cloths, and bathmats. It will also include things like soap dispensers, mirrors, and towel racks. Try buying these items when they go on sale. They can be inexpensive, but the price will add up.

Switch off all water valves if you are going to do anything to the sink, bathtub, shower, or toilet. You can find them behind toilets and under sinks. If you don’t do this, you might end up with a flood.

Cover anything that isn’t getting renovated with plastic or paper to protect it. If you are painting your bathroom, you will want to cover the floors, sinks, counters, toilets, and light switches so that they don’t get dirty. You can use paper, cardboard, or plastic sheeting. Be sure to tape the edges down so that the paint or dust doesn’t get underneath is.

How To Choosing a Bathroom Cabinet Paint?

Use a satin or semi-gloss paint. Most experts recommend choosing a paint with a smooth, creamy consistency, rather than one with a lot of luster or texture. This will make your bathroom cabinets easier to clean. It can also help diffuse the lighting in your bathroom cabinets and create a soft, warm atmosphere. Silky finishes also tend to last longer, as they don’t lose as much shine as time goes on.
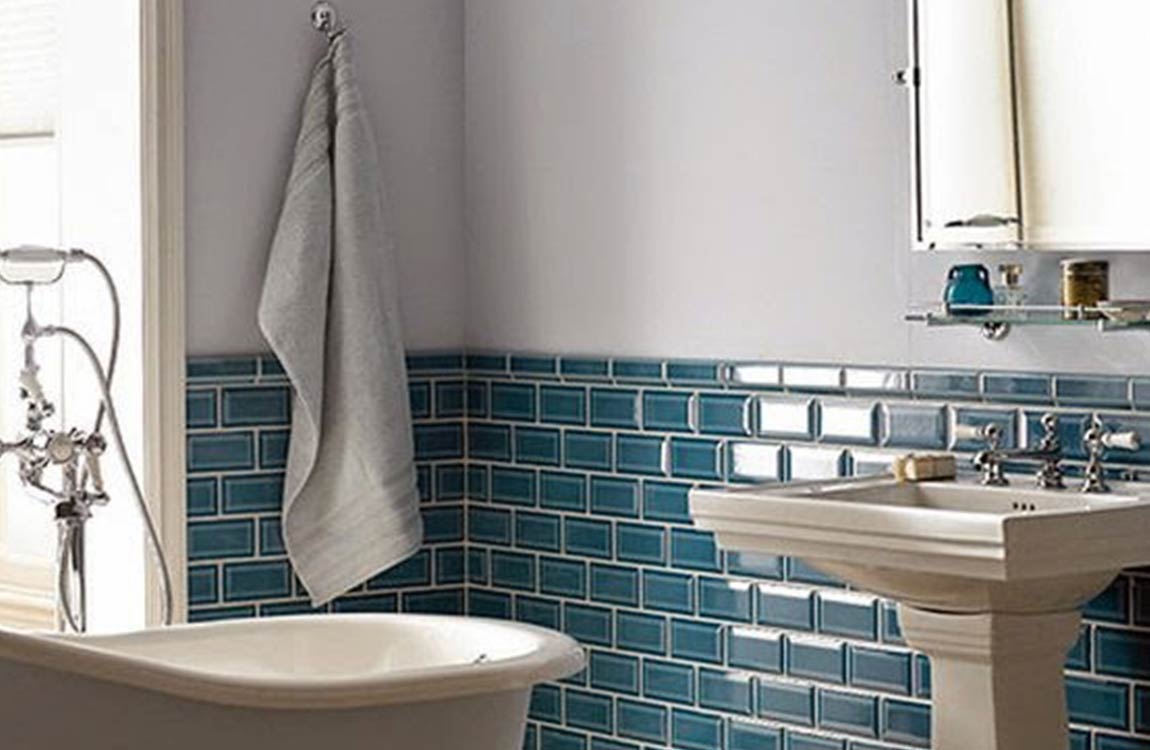
Smooth paints are easy to clean and resistant to mildew buildup, which will be a plus for humid bathrooms where bathing is done. A single gallon of paint should be more than enough to redesign your bathroom and still have some left over for future projects.

Go with what you like. When picking out paint for your bathroom, listen to your gut and get as creative as you please. Now is your chance to reimagine the room with a beachy aesthetic complete with a seafoam green vanity, or lend it a peaceful springtime glow using lavender or other pastels. Feel free to explore new, daring ideas.

To make your home more cohesive, consider matching the color of the bathroom cabinets to the cabinets in other bathrooms or to your kitchen cabinets. Compare samples until you find a paint that really stands out to you. Don’t be afraid to experiment with different colors in order to find the right one. If it doesn’t come out the way you want, all you have to do is repaint.

Change the ambiance of the room. If you’ve traditionally had light or dark bathroom cabinets in your bathroom, switch things up and reverse the appearance of the room. Redo dark shades or wood stains in a light cream finish, or paint over plain white surfaces with sleek, attractive colors like gunmetal or hunter green. Taking your bathroom’s color scheme in the opposite direction will make it look and feel like a whole new room.

Lighter shades will be good for country-style homes and bathrooms with large windows, and for making small half baths look roomier. Dark colors can be used to establish a relaxing spa-like atmosphere, especially when paired with natural hues and materials.

Complement new fixtures and decorations. Choose a paint that suits the rest of the decor in the bathroom. For instance, you could bring out the ruddy hues of a brass faucet with teal or rustic red paint, or use navy or charcoal gray to highlight the polished shine of chrome hardware. Look at the entire room as a whole and go with colors and finishes that look natural and tasteful together. Neutral colors will go with the widest range of accessories. Bright colors should be chosen carefully so as not to clash with ornamental fixtures that attract a lot of attention.
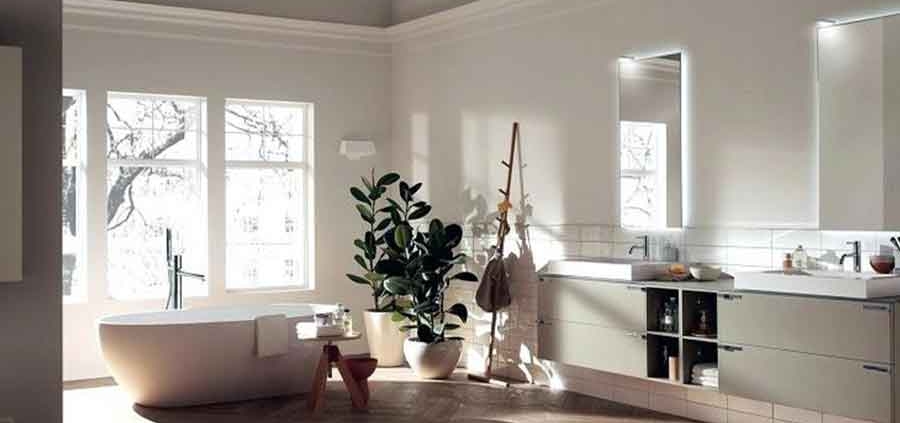
bathroom basin how to install

Bathroom basin how to install?

bathroom basin how to install

Undercounter innstallation method

On the stage of the basin installation is relatively simple, just press the installation drawings on the surface of a predetermined position opening, will put in the hole, the gap can be filled with glass glue.
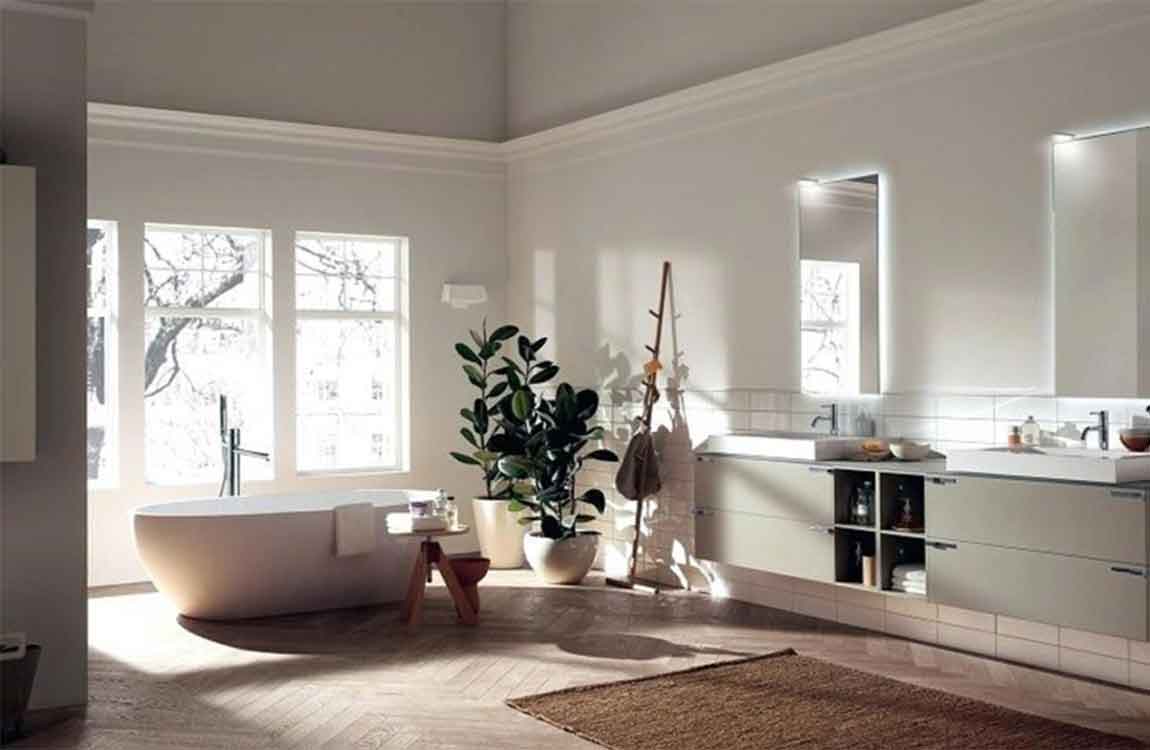
Installation method of table under basin

Undercounter installing a countertop complex installation, first need to install the bracket to customize the size under counter basin, then  basin is installed in a predetermined position, the fixed bracket, will have a good hole in the basin on the table cover. When installing, note that the position of the bracket should be fixed and accurate, besides, the hole should be rounded.

Installation method of column and basin

The general method of installation of column and basin is that first, the launching device of the cylinder is installed, and then the faucet and hose are installed. Then put the column, porcelain column in the corresponding position, put the tray carefully put, pay attention to the water pipe, just inserted into the original ground left the sewer. Then the upper pipe is connected to the upper nozzle. Finally, put a glass of glue along the edge of the column.