Posts

How Removing your Stuck Shower Head?


Use a wrench or pair of pliers to remove the shower head. Often, you can rely on simple tools, such as wrenches or pliers, to loosen your stuck shower head. When one method does not work, try the next method. Cover the fixture’s connector or plumbing nut with an old cloth to protect the metal. Grip the connector or nut with a wrench or pair of locking pliers.

First, turn the wrench or pliers clockwise in an attempt to break the rust or mineral deposits. Turn the tool counterclockwise to loosen and remove the shower head. Apply a rust, calcium, and lime remover to the shower head. Treating the rust and mineral build-up with chemicals may loosen the connector or nut.

Read the instructions on the bottle of rust, calcium, and lime remover. Apply the product as instructed. Allow the product to sit for the allotted time. Scrub off the product with a wire brush, removing the rust, calcium, and lime in the process. Wipe the shower head and shower arm clean.

Apply penetrating lubricant to the shower head. Penetrating lubricants, like WD-40 and Liquid Wrench, can work wonders on a stuck shower head. Apply one coat of the penetrating lubricant to the connector or nut. Allow it to sit for two hours. Apply a second coat of the penetrating lubricant to the connector or nut. Allow it to sit for two hours.

Cover the connector or nut with a cloth. Grip the fixture or nut with a wrench and attempt to loosen the shower head. Consult your kit’s directions for the exact drying time for your specific finish. If you don’t let the finish dry long enough, you could end up with streaks and bubbles in the new coating and you will need to start the process over again.

How Laying the Tiles?


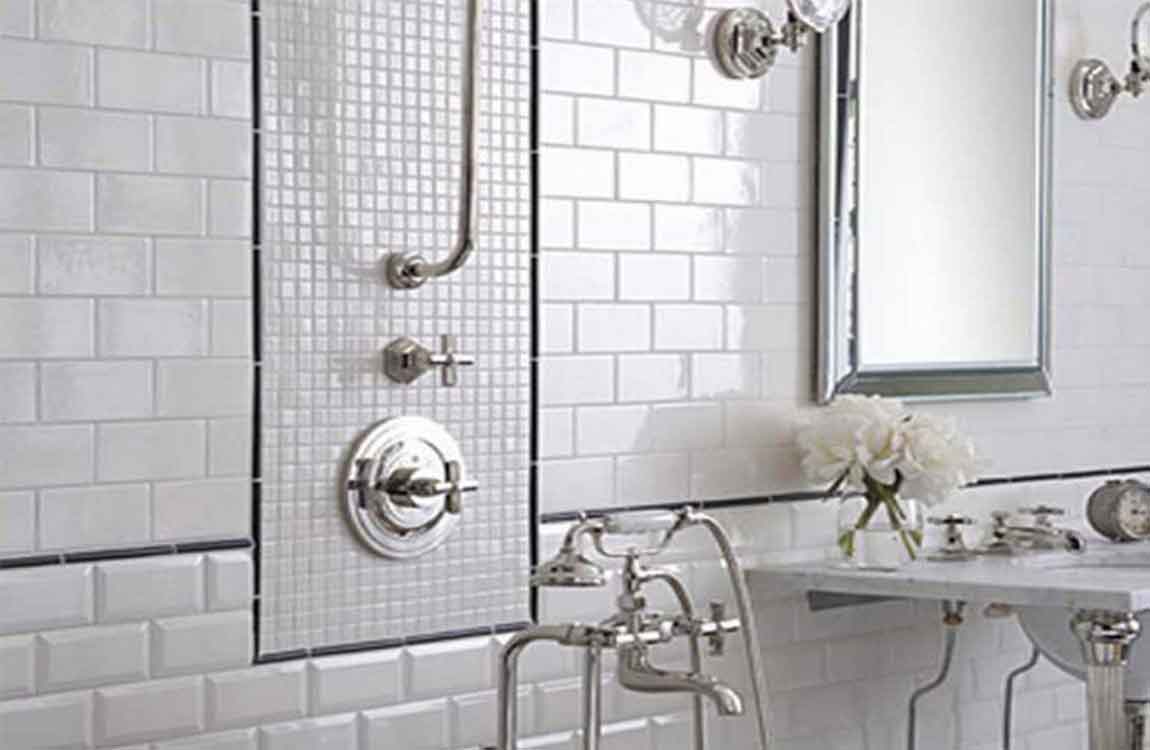
Mark your tile layout on the substrate and mark out your first course carefully. If your shower enclosure walls are not perfectly square, or if you plan to install accent tiles, the layout of these tiles becomes increasingly important. Measure up from the bottom of the backer board the height of a tile minus 1/2″. This will give you a 1/2″ overlap over the tile lip on your shower pan.


Make sure that you allow room for the grout joints as well. Mark this with a sharpie or chalk and using a level, transfer the mark across the shower stall. This will be a guide for the top of the first row so that all tiles will be level. Only use dry tiles make sure that the lay out works as well. Another way to plan out the first row of tiles is to measure the high part and low part of the shower pan.


Make the cut spot on the low end a full tile, mark it, and then cut the tiles on the high side down to the level of the uncut tile on the low side. Keeping grout lines away from the inside corners of the enclosure can prevent the need for tiny tiles and poor grout joints. Plan accordingly and always make cuts tight on the inside corner.


Mix enough thin-set for the bottom row. You want your thin-set to be the consistency of peanut butter — not too thick or it will dry out and not too thin or you’ll have a hard time setting the mortar with strength and cleaning. Use an electric drill and a mortar mixing bit attached to your drill to mix your thin-set mortar. This will ensure even consistency and ultimately a better product.


Let the mortar set for seven minutes and then mix it again. Dampen the cement board with a sponge before applying the mortar. If you do not, the cement board will draw the moisture out of the thin-set too quickly, making for a brittle set that is susceptible to cracking.

How Refinishing Badly-Damaged Tubs?


Buy a bathtub refinishing kit at a home improvement center. Save yourself time by buying a whole kit that has everything you need to refinish your tub. Most kits come with tub cleaner, sandpaper, primer, refinishing paint, a paint tray, a brush, and a roller. Check that the kit comes with a durable resin coating for your tub. Some cheaper kits come with an epoxy coating, which chips and discolors faster.


Tub refinishing kits work to refinish all kinds of bathtubs including ceramic, porcelain, acrylic, fiberglass, and enamel tubs. The kits will provide a new porcelain-like finish to these kinds of tubs. Ventilate the bathroom, cover the floors, and put on protective gear. Open up all the windows and put a fan in the bathroom to ventilate it.


Cover the floors with heavy-duty plastic sheets to keep them safe during the refinishing process. Put on a face mask and goggles. You can also drape plastic sheets over fixtures like the toilet and sink to protect them. Clean the bathtub with the cleaner from the kit. Read the directions on the cleaner to apply it to the tub and use a sponge to scrub the tub clean


Rinse the tub out, then go over it with the sponge and cleaner 2 more times to remove any soap scum and stains before you refinish it. If your kit did not come with cleaner, then purchase an industrial strength bathtub cleaner to use. Let the tub completely air dry, or speed up the process with towels and a hair dryer.


Sand the whole tub with the sandpaper in your kit to remove the old finish. Start with the lowest-grit sandpaper from your refinishing kit and sand the whole surface of the tub in circular motions by hand, or with an electric sander. Work your way up to the highest-grit sandpaper in your kit until the tub is completely smooth.

What Should We Do Before Replace a Bathroom Faucet?

A new faucet is a great way to update your bathroom and give it a whole new look. Whether you are renovating the bathroom or need to replace an old or leaky faucet, this is a relatively simple DIY project that you can accomplish in a few hours. The important thing is to get a faucet that fits your sink, so you should remove the original faucet before purchasing a replacement.

Gather your tools and supplies. Replacing a bathroom faucet is a straightforward job, but it does require a few tools that you’ll need to remove the old faucet and install the new one. The tools you’ll need include: Adjustable wrench, Basin wrench, Bucket, Towel, Flashlight, Measuring tape, Plumber’s tape, Sponge or scrubber, Bathroom cleaner or soap, Rag or cloth, New faucet (purchased after you remove the original)

Prepare your work area. Remove everything from underneath the sink. Place a towel below the pipes to protect the vanity from water damage. Place a bucket over the towel and under the faucet to catch any water that drips down. You can also lay a garbage bag down under the towel for even more protection, or in place of the bucket.

Turn off the water. Locate the water shutoff valve for the bathroom sink. It should be under the sink, inside the vanity. Turn the valve to the right (clockwise) to close the valve and shut off the water to the faucet.

Depending on your plumbing, you may have a single water valve for the entire faucet, or you may have two separate valves for the hot and cold water. If you have trouble locating the shutoff valve, you can turn off the water supply to the entire line running to the bathroom sink.

Drain the water. To remove excess water from the faucet and to relieve pressure before you start working, drain the pipes after you shut off the water. Turn on all the faucets at the sink and keep them running until all the water has drained out. This will protect your sink, vanity, and floors from leaks and water damage, and prevent water from spraying everywhere when you remove the faucet.


How to Decorate a Small Bathroom?

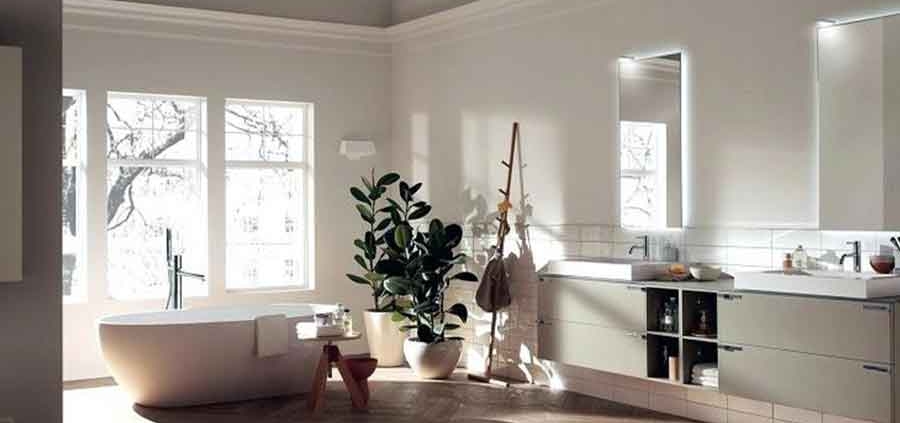
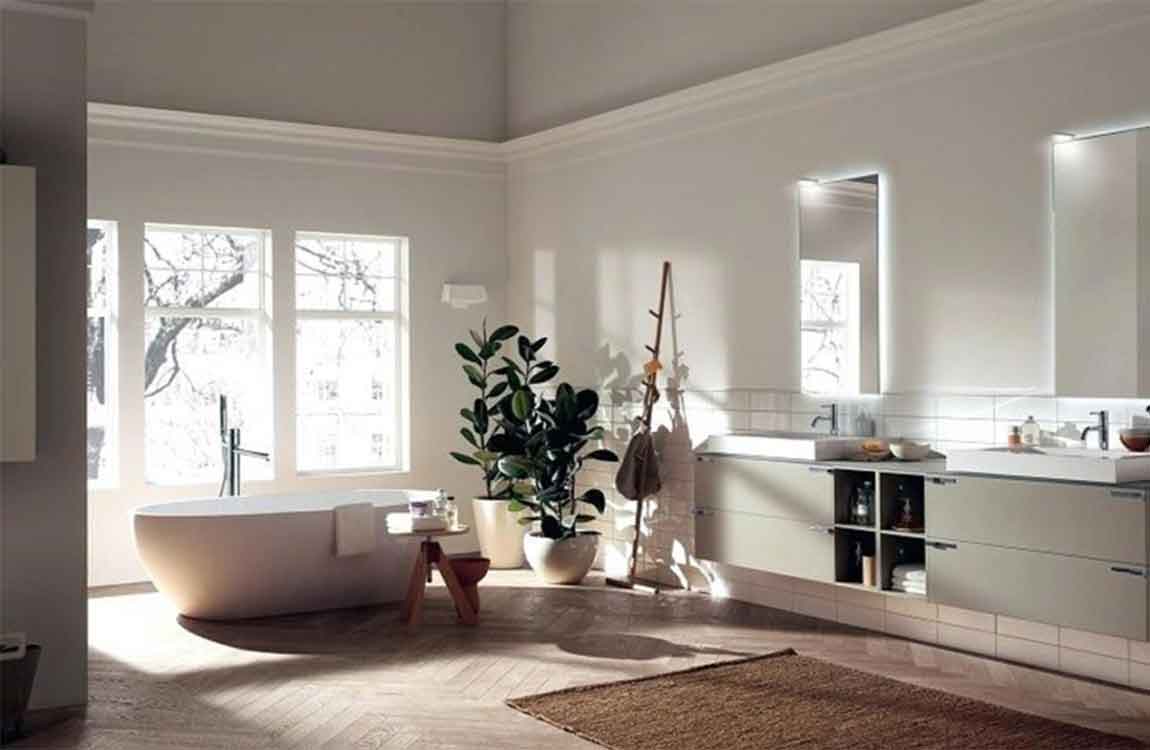
Sprucing up a small, dull-looking bathroom can make an apartment or home feel more comfortable and polished. Whether you want to tear out the tile and get new bathroom fixtures or you’re just looking for ways to bring some life to the room, here are tricks you can employ to make your bathroom seem more spacious and pleasant.

Make use of your bathroom‘s natural light. Even a small bathroom can be a peaceful, relaxing getaway in your home if it gets good natural light. If possible, don’t cover up your windows with dark curtains or blinds. Install curtains or blinds in a light color like oatmeal or cream; make sure they’re thick enough to provide a secure screen, but thin enough to let some light in. You could also install curtains that cover only the bottom half of your windows, letting light in through the top half. If your bathroom is situated away from other people’s view, go ahead and open the curtains or blinds to let the light shine in.

Replace yellowish ceiling lights. If you have an old-fashioned, dull yellow ceiling light – which many bathrooms do – a simple way to transform your bathroom is to update the light fixture with something more modern. Choose a light covering that helps bath the bathroom in white light, rather than yellow, which causes rooms to look gloomy and small. A small chandelier is a good choice for a tiny bathroom; it adds elegance without taking up too much space. Track lighting can also help give the appearance of a bigger space.

Choose paint colors wisely. Painting a room with highly contrasting color can make it look smaller, so choose paint that isn’t too wildly different from your bathroom tiles. For example, if you have cream tile, painting the walls dark blue might make the space feel claustrophobic; go for a lighter shade of cream, peach, pale blue, or another color that isn’t too loud.

If you prefer bolder colors, consider painting the walls a neutral color and adding a more colorful trim or border. You could also paint just one wall a bold color and leave three walls neutral, or use wallpaper in one area and neutral paint everywhere else.

How to Caulk a Bathroom Sink?

Drop-in sinks are made to hang from the top of a counter by their rims. While these rims appear to sit flush to the counter, there is actually a small gap between the rim and counter where water and debris can collect. Caulk fills this gap to make your counter and sink watertight, while helping to eliminate any movement of the rim of the sink. To help prevent leaks or damage to your counter, seal and fill this gap with waterproof caulk whenever the old caulk begins to crack, discolor or peel.

Wipe a clean cloth around the edge of the bathroom sink and the counter it rests on. Make sure the area is clean and dry and has no dust or debris to get in the way of the caulk. Remove any old caulk from the edge of the sink with a utility knife. Caulk is a soft material that cuts easily and stretches when pulled.

Cut away the old caulk where it meets the counter and the sink‘s rim. Pull the caulk free from the sink and counter. Use denatured alcohol to clean up any leftover caulk. Let the sink‘s rim dry completely and ensure no water has seeped into the crack. Use a utility knife to cut the tip off the tube of caulk at a 45-degree angle. Cut just enough of the tip off to allow the caulk to fill the gap next to the rim; cutting away too much of the tip will mean too much caulk on your counter.

Insert the end of the caulk tube into a caulk gun and push the plunger of the gun into the back of the tube. Squeeze the trigger lightly to prime the tube. Hold the caulk tube at a 45-degree angle to the sink‘s rim where it meets the counter top. Squeeze the caulk tube gently until a continuous line of caulk fills the gap around the rim completely.

Wet your index finger with water and gently smooth the caulk against the side of the sink‘s rim and the counter top to completely seal the gap. When you are happy with the results, insert a small screw into the tip to seal the tube of caulk, so you can use it again in your next project. Let the caulk cure for at least 24 hours before using the sink.

How to Organize Bathroom Cabinets

Keeping your bathroom cabinets neat and orderly can be a challenge. And given the importance of the morning preparation that commonly starts the average day, knowing where to find things is a huge help. Luckily, by following a few simple organization tips, you can take charge of the messy state of your bathroom cabinets and keep your belongings as accessible as possible.

Place a spinning turntable into your deep cabinets for easy access. Also known as a Lazy Susan, these can make hard-to-reach items more accessible. Place some glass jars onto the turntable and label them with their contents. Cotton swabs, bath salts, cleaning wipes, and other products that come in bulk amounts are ideal for jars.

Cut out labels from a decal sheet and spell out the categories using adhesive letters. Conceal utilitarian items using wicker baskets for better aesthetic. Although these containers work for any kind of product, they’re ideal for items that you don’t want to display, like extra tissue paper stock. You can label each one by fixing paper tag labels to each basket with string.

Install an extra curtain rod for towels. Position it under your current curtain rod and give yourself 2 to 3 inches (5.1 to 7.6 cm) of space in-between. This is a prefect way avoid wet towels cluttering up your bathroom. Mount the towel bar behind the curtain so that your towels can drip-dry into the tub.

How to Accessorize a Bathroom?

A well-accessorized bathroom is both stylish and functional. Towel hooks and decorative containers can both help to create a cohesive look throughout the room and make the bathroom easier to use. Keep a clutter-free bathroom and decorate the space to your liking.

Find a decorative mirror. The mirror is one of the focal points in a bathroom and a decorative mirror can help add visual interest. Play with shapes like round, square, and oval mirrors to find what fits the best in the space. Keep a consistent shape language throughout your bathroom by not using too many different shapes in your decor.

Make sure the decorative mirror is large enough to be functional as well. Securing a mirror from the ceiling with rope or wire can help add a nautical or industrial theme to your bathroom.

Hang a hand towel next to the sink. Make it easier for you and your guests to find a place to dry their hands. Install a towel ring on the wall next to the sink so water doesn’t drip throughout your whole bathroom. As an alternative, get a standing towel holder and place it on the countertop. This is a great option if you’re renting your home and can’t put holes in the wall.

Use small jars to store cotton swabs or cotton balls. Keep your daily toiletries in containers on your vanity hidden in containers to reduce clutter. This way, they’re easy to access for you and anyone visiting that may need to do a quick touch-up. Follow the “rule of 3’s” when decorating. Try to display 3 containers to add a balance. Fill containers with cotton balls, cotton swabs, and even bandages.

Buy ornamental bar soaps to display. Display soaps that are not meant to be used in a small dish next to the hand soap. Not only does this add fun visuals to your vanity, it also helps your bathroom smell better. Soaps can be purchased at home specialty stores.

Soaps can be purchased in a variety of shapes, like seashells or flowers. Find soaps that match the style you’re setting in the bathroom. You can even switch out the soaps based on the season or holiday.

Light candles or use potpourri to eliminate odors. Keep candles or a tray of potpourri either on the vanity or on top of the toilet tank. That way you’re greeted with a fresh scent whenever you enter the bathroom. It also provides ambience and a sense of calm in the room.

Place bathroom sprays in an easy to reach spot to freshen up the room in a pinch. As an alternative, use an oil diffuser to add a natural aroma and spa-like feel.

The Important Things Before Renovate Bathroom

If you are removing any knobs, faucets, light switches, or towel rods, be sure to put them into a box so that they stay together. This is especially important if you plan on using these items again.
Get rid of anything that you will be replacing. This includes faucets, towel rods, and toilets. The less clutter you have in your bathroom, the easier your renovation will be. You can either donate the items you won’t be using anymore, sell them online, or dispose of them according to your city’s requirements. Some places will ask you to leave the item outside your home so that it can be picked up and disposed of, while others will require you to take it to a facility.

Start by painting your bathroom. Use a paint roller, and be sure to let each layer dry completely before adding another. Most paints will dry between two to four hours, but you might want to refer to the label on your can of paint for more specific drying times. If you don’t do this, the paint may not cure properly and become sticky or bumpy. Leave the last coat of paint until after you have installed all cabinets, shelves, sinks, and tubs.

Add tile or new flooring once the paint has dried. This also includes the backsplash tile behind the sink. If you are not changing the floors, then you can remove any protective coverings off the floor at this time.

Install any toilets, sinks, tubs, and showers. You will most likely need to hire a plumber to do this step for you, especially if you are going to move a toilet, sink, tub, or shower from one side of the bathroom to the other. After you have installed the toilet, sink, tub, or shower, be sure to caulk around the edges so that moisture doesn’t seep through. If you don’t caulk, water will get into the floor and cause mildew.

Install any new cabinets, shelves, cabinets, and towel rods. You can place these wherever you want in your bathroom, but keep in mind that you will need to reach these items easily. Towel rods should be placed about 4 feet (1.22 meters) above the floor. The top of a cabinet should be about 6 feet (1.83 meters) above the floor. Place the toilet paper roll holder 6 inches (15.24 centimeters) in front of the toilet.

Install new lights and faucets. Be sure to properly caulk around the faucets after you install them. When buying caulk, try to get an acrylic or hybrid formula. They don’t need chemicals to remove. This will make any future re-caulking easier.

Clean any dust, paint, or debris. When you are done renovating your bathroom, peel off any leftover painter’s tape and discard any sheets of plastic or paper. Be sure to wipe down the counters and sinks, and to vacuum or mop the floors. This will make your bathroom look better and give it that nice, finishing touch.

Before Renovate Bathroom We Can Do…

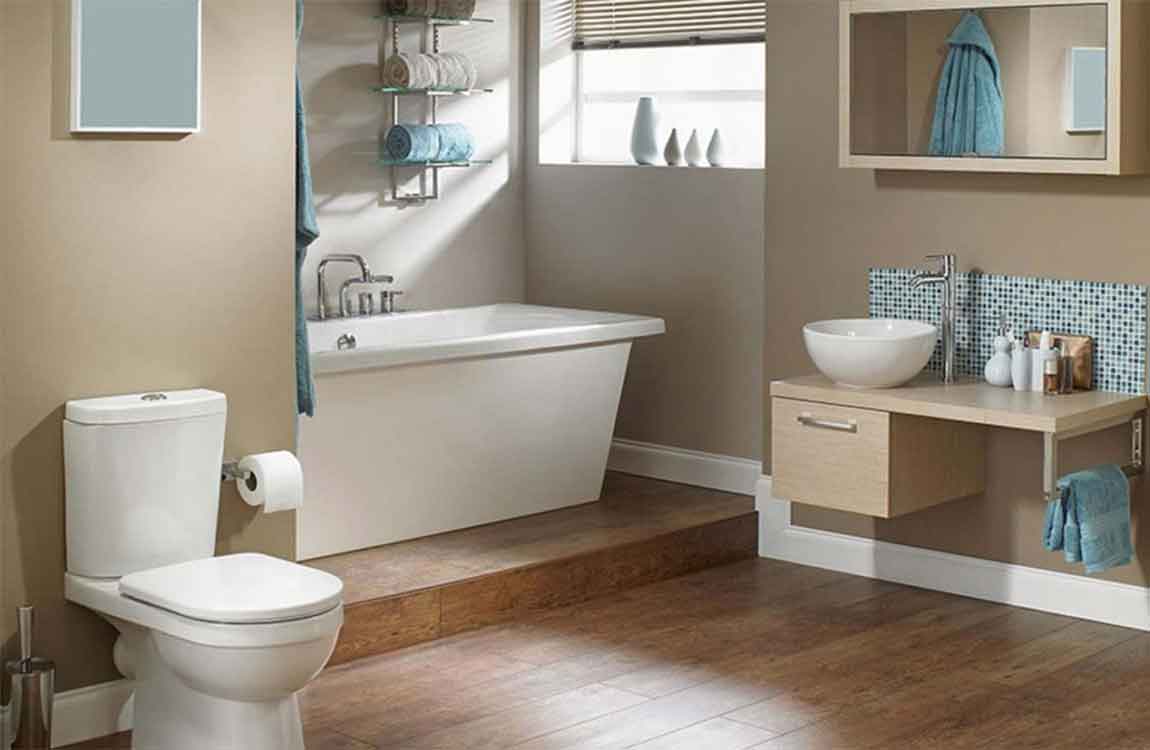
Molded bathtubs sit right on the floor, and are the most common. They come in all sorts of shapes and sizes. Some even include fancy features, such as benches for shaving on and jet streams. When you go to buy a bathtub, you might also want to sit in it to make sure that it is comfortable. After all, you will likely sit in your bathtub while using it at home.
Choose storage that is both efficient and stylish. This includes things like storage units, caddies, cabinets, and shelving. You want your storage to look good and be functional. You should be able to reach your cabinets and shelves easily, and have accessto them when you need to. You also want your storage to fit everything it needs to fit. Cabinets don’t always have to stick straight out of the wall. Consider having some cabinets recessed into the wall. This will save some space.

Make sure you have adequate lighting in your bathroom. Lighting is very important. If there is not enough lighting, then your bathroom could become dangerous. Take advantage of natural light first by letting as much of it in as possible. Plan on having at least 4 watts of artificial light per square foot. You can let lots of natural light into your bathroom with skylights.

Make sure that you have adequate ventilation. Poor ventilation will lead to mould, decay, rot, and smells. Having vents, windows, and fans is always a good idea. When choosing a fan, consider getting a quiet one for master bathrooms, so that you don’t wake your significant other if you have to use the restroom at night. Get a noisier one for powder rooms; the noise will give the guest more privacy, especially if the bathroom is close to a living room.

Pick out some new accessories to match your new bathroom. This will include things such as towels, wash cloths, and bathmats. It will also include things like soap dispensers, mirrors, and towel racks. Try buying these items when they go on sale. They can be inexpensive, but the price will add up.

Switch off all water valves if you are going to do anything to the sink, bathtub, shower, or toilet. You can find them behind toilets and under sinks. If you don’t do this, you might end up with a flood.

Cover anything that isn’t getting renovated with plastic or paper to protect it. If you are painting your bathroom, you will want to cover the floors, sinks, counters, toilets, and light switches so that they don’t get dirty. You can use paper, cardboard, or plastic sheeting. Be sure to tape the edges down so that the paint or dust doesn’t get underneath is.