Posts

How to Refinish Bathtubs?


If you’re hoping to give your bathroom a new look, refinishing your bathtub can be a less expensive alternative to replacing it if you don’t like the color or it’s simply looking dingy and old. Applying a new finish to your tub really only requires a thorough cleaning, a bit of scraping, and some patience. Once you’re armed with the right tools, your tub can be good as new in a weekend.


Use commercial tub cleaner on the entire tub. With all of the caulk removed, spray a commercial strength bathtub cleaner over the entire tub surface. Then use a clean rag or sponge to thoroughly clean the tub. You may have to repeat this step more than once to get all of the soap scum and grime out of an old tub.


It must be completely clean before moving on. Inspect the tub for any leftover silicone, caulk, or grime. Once you’re finished, take a step back and make sure you haven’t missed anything. Any grime, caulk, or debris left in the tub will prevent the new finish from sealing properly. If you spot anything still in the tub, repeat the appropriate step to clean or scrape it away.


If yours needs to be mixed, follow the directions on the package closely to ensure the mixture comes out right. Different finishes require different approaches, so it’s best to follow the instructions on your label. You will need to purchase “reglazer” or a bathtub “finish” that’s made specifically for bathtubs. You can usually find it at your local hardware store.


Recaulk the seams you removed the caulk from before. It’s best to use a non-silicone caulk that has anti-mildew properties. Silicone does not adhere well to bathtub finishes. Apply the caulk by squeezing the tube in an even bead along all of the seams that you removed the caulk from earlier.

How Replacing Parts?


Identify faulty parts. Look at the parts you have just removed. You must find the part to replace. The best way to ensure you will fix the leak is to fix all the wearable parts on both hot and cold faucet valves. Locate replacement parts. Take your old parts to a hardware store or home center.


Since there are thousands of replacement parts available, bringing your old parts with you will ensure you purchase the correct replacements. In some cases, the parts may need to be purchased from a plumbing supplies distributor. Replace parts inside the stem bonnet first. You can replace the washers or the entire stem and bonnet portion of the faucet.


Grease each new part with plumber’s grease before screwing it back on. Replace the seat washer. Unscrew the seat washer screw at the back of the seat. Peel off the rubber seat washer. Replace the seat washer screw and the seat washer after greasing them. Screw the seat back into place with the seat wrench. Tighten it with your hand. It should be tightly sealed but easy to remove by hand.


Replace the bonnet washer. Remove the bonnet washer from the end of the bonnet. Grease it and replace it on the bonnet. Replace the packing nut. Remove the packing nut in the middle of the stem bonnet. Pry the rubber-packing washer from the nut with a flat-headed screwdriver. Grease the stem threads on the front of the stem and insert it into the bonnet.


Replace the packing washer. Grease your new packing washer and place it in front of the greased packing nut. Replace the bonnet. Apply some pipe joint compound to the threads in your bonnet. Insert the bonnet and tighten it with your bath socket wrench or vice grip. Replace the collar, faucet trim, faucet handle, faucet screw and faucet insert. Repeat on the other side to replace parts in the opposite handle.

How to Removing the Old Seat Before  Install a New Toilet Seat?

Pop off the bolt caps, if necessary. Look at the edge of the old toilet seat, near the tank. You may see plastic caps where the seat’s hinges attach to the toilet bowl, one on each side. If so, gently slide the flathead screwdriver under their edge and pry them off. If there are no bolt caps, you will just see the bolts themselves attaching the hinges of the seat to the toilet bowl.

Loosen the nuts. Hold your adjustable wrench and look underneath the edge of sides of the toilet bowl. You should see bolts going down through the porcelain, held in place by nuts. There will be one on each side of the bowl. Attach the adjustable wrench to each nut. Turn the wrench counterclockwise to loosen the nuts.

Remove the old seat’s bolts. The bolts at the base of the hinges on top of the toilet bowl may be slotted for a screwdriver. If so, use yours and turn each bolt counterclockwise until it comes out. Otherwise, you can continue turning the nuts counterclockwise until they come off. If your old seat has washers between the nut and bowl, remove those as well.

Wrestle with the old bolts, if they’re stuck. On some older toilets, the bolts might be rusted or stuck in place by grime. If so, they may not come out easily. Don’t panic — you have some options! First, spray WD-40 on the threads of the rusted bolts. Let it sit for 10 minutes, then try again to remove the bolts.

If that doesn’t work, place your adjustable wrench on the nut. Hold it in place as you use the screwdriver in your other hand and attempt to turn the bolt out. If the bolts are still stuck, use your small hacksaw to saw them off. Place the blade just under the toilet bowl, at the top of the nut, and gently saw back and forth until you cut the bolt all the way off.

Dispose of the old seat and hardware. Lift the bolts out of the bowl, if you haven’t already. You should then be able to remove the toilet seat and its hinges easily. Toss out the old seat, bolts, and nuts.


How to Choosing a New Seat Before Install a New Toilet Seat?

Installing a new toilet seat is an easy DIY project. Whether you’re replacing yours because it’s old, or because you just want a new style, all you need are some basic tools and a few minutes. Unbolt the old seat, then pop the new one in place using the hardware included in your new toilet seat’s box. The only trouble you’re likely to run into is if the old bolts are stuck, but a little elbow grease can take care of that problem.

Measure your current toilet bowl before buying a new seat. Most toilets are standard sized, and any replacement seat should fit. If you want to be extra sure, take a tape measure to check the distance between the bolt holes in the toilet bowl. Then make sure the distance between the bolts on the replacement seat is the same.

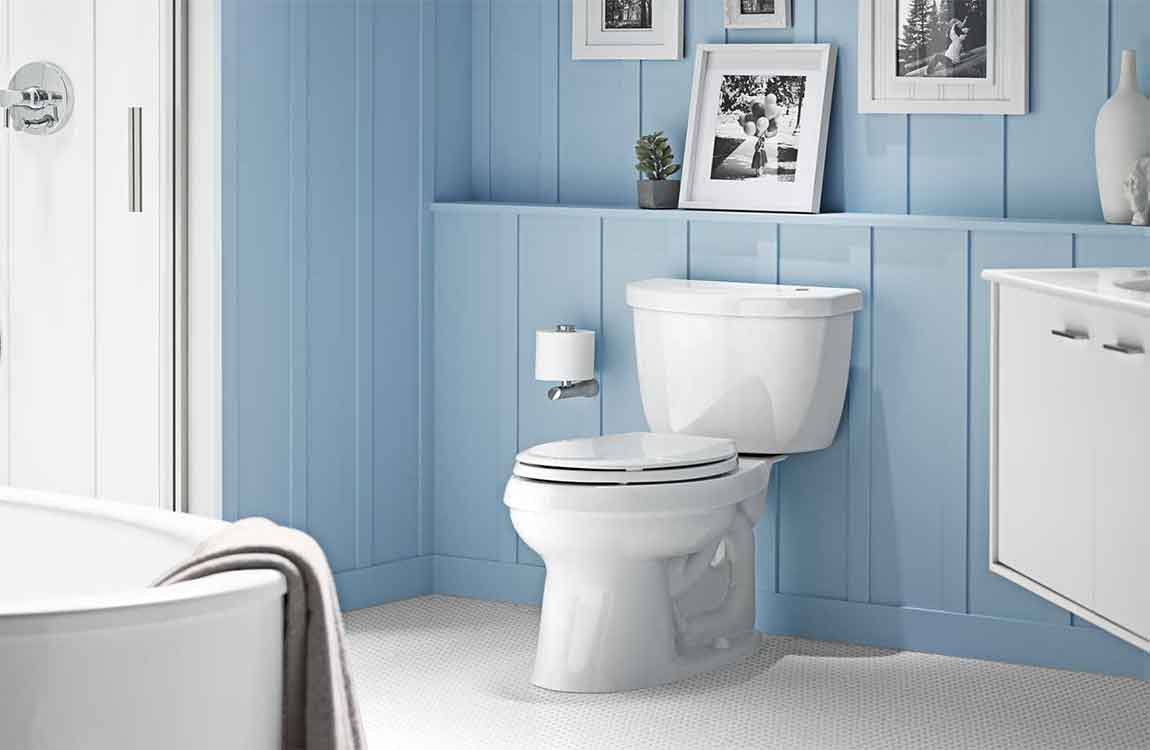
Choose the style of seat you want. Toilet seats come in 2 basic styles, and a home supply store should have several brands to choose from. The standard variety is rounded, but you can choose an elongated one if you prefer. You can also purchase a “whisper close” seat that has special pads on the bottom to prevent it from slamming down on the bowl. Toilet seats come in a range of prices. You should be able to find the cheapest for $20-30, but others that cost twice as much or more.

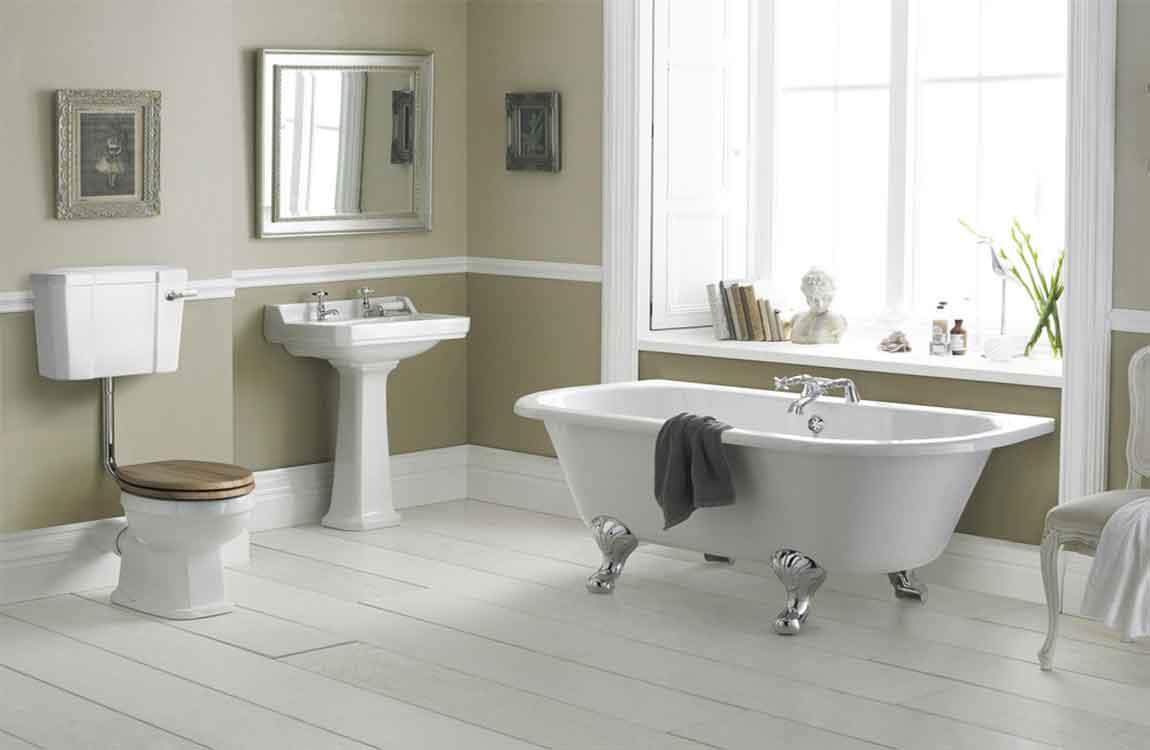
Choose a seat color that matches your current toilet bowl. You can find toilet seats in a variety of colors. Choose one that matches the toilet bowl (usually white) for a classic look, or choose a contrasting color to make a bolder statement. For instance, you could choose a blue or wooden toilet seat to contrast with a white bowl.

Gather your tools for the project. You’ll need just a few simple ones to handle this project. If you don’t already have these at home, head down to the hardware store and get: An adjustable wrench or pliers. A flathead screwdriver. Spray oil such as WD-40 (optional). A small hacksaw (optional)