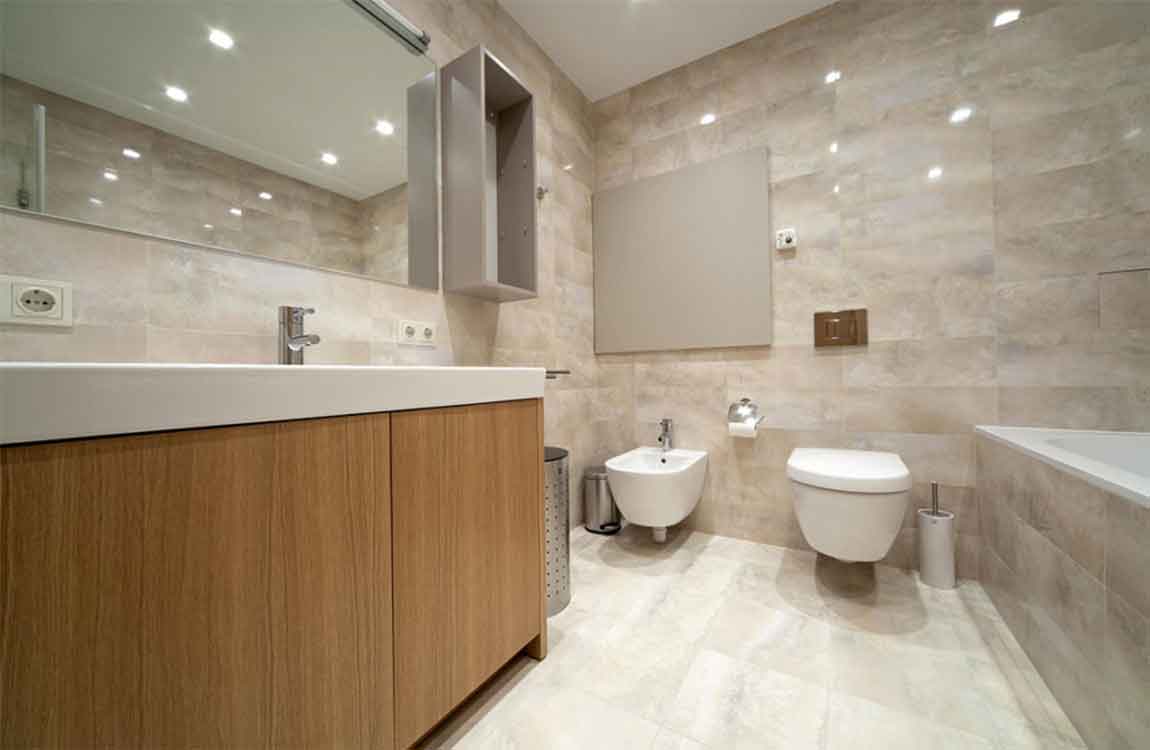
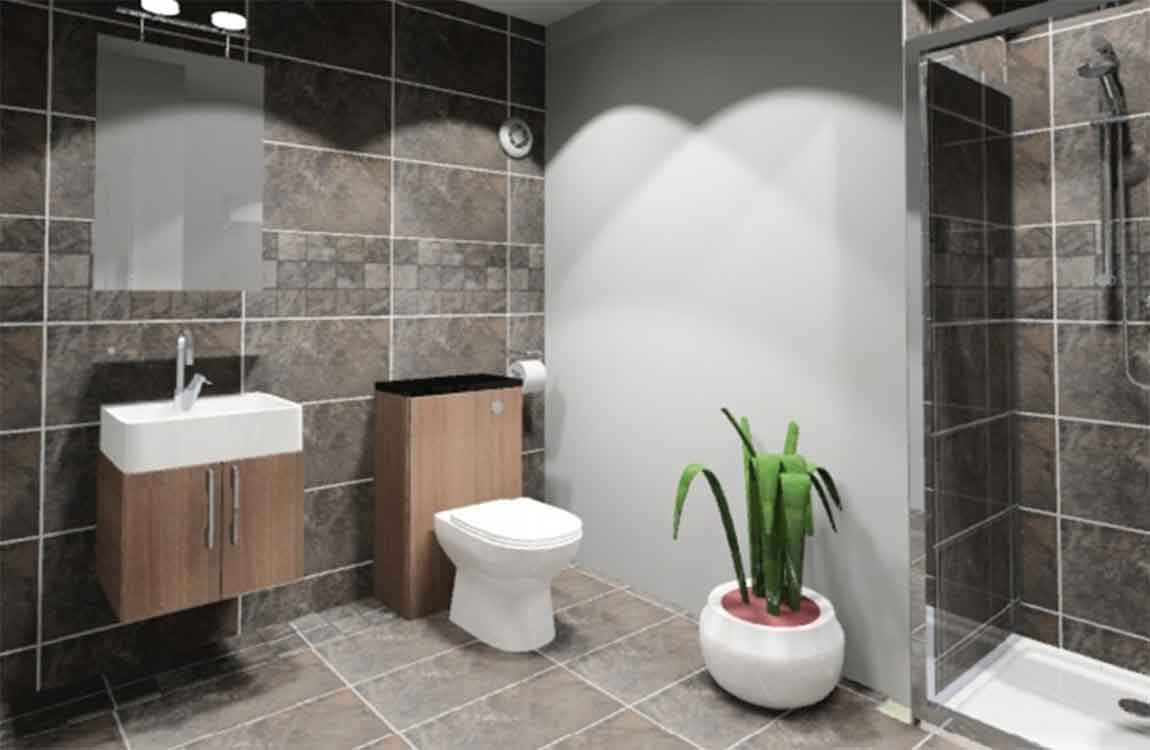
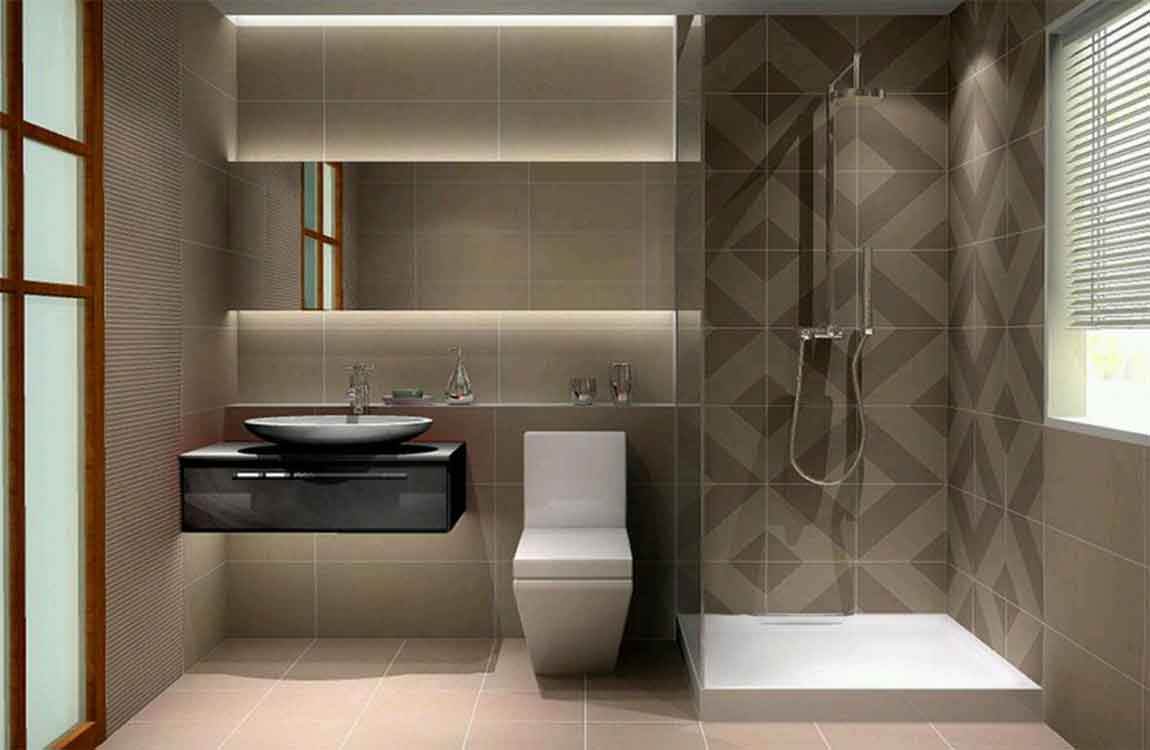
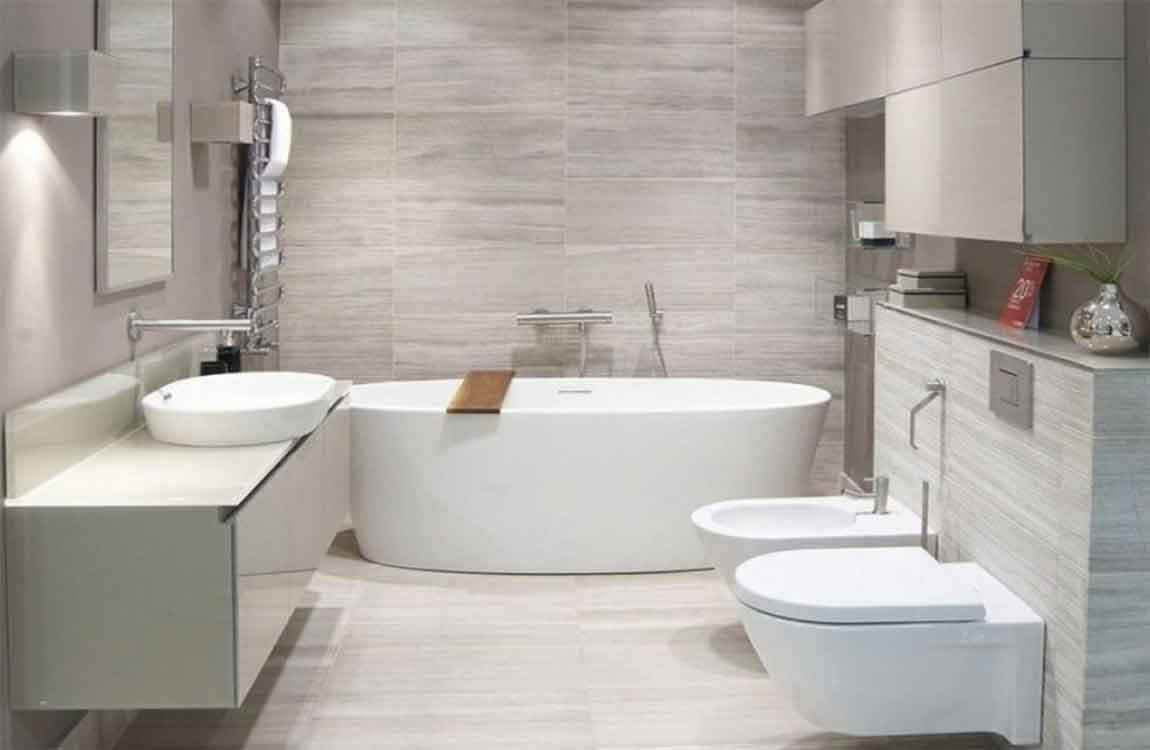
How to Clean a Bathroom Sink?

Bathroom sinks get a lot of use. Not only do you use them in the morning to get ready for work or school, but you use them throughout the day. Because of this, your bathroom sink may accumulate a lot of dirt and grime. Thankfully, there are many ways to effectively clean your bathroom sink. By doing routine cleans, taking steps to remove tough stains, and taking steps to keep your sink clean every day, you’ll have a cleaner bathroom.
Wipe down the sink. Take a clean, wet cotton cloth or dish sponge and wipe down the interior of the sink. Try to get as much debris and grime as you can. Make sure to wipe around the drain. If your sink is especially dirty, you may need to switch out for a fresh cloth. In many cases, it is best to wipe the sink down when it is dry, so you’ll be able to remove hair, grime, and other debris easily. Wipe down the sink on a daily basis, if needed.
Rinse the sink. Make sure to rinse the sink before you use a bathroom cleaning product. If you don’t rinse the sink, you’ll have to contend with a lot of dirt when you spray the sink down. Turn on the faucet and run hot water into the sink. Hot water will loosen soap scum, grime, and dirt. Splash the water around the surface – including the sides – of the sink. You may need to use a clean cotton cloth to wipe down the sides of the sink with hot water.
Spray the sink with a cleaner. Choose a bathroom cleaner of your choice and liberally spray the sink. Make sure to get all parts of the sink, including the faucet and behind the faucet. Most bathroom cleaners are formulated to clean bathroom sinks. You may be able to use a tub and tile cleaner or a cleaner formulated for the type of material you sink is made of. In most cases, this is porcelain. Make sure the cleaner is a disinfectant. This is important as bathroom sinks can potentially accumulate a variety of germs.
Wipe the sink. After spraying your cleaner, take a clean cloth and wipe down the entire surface of your sink. Pay special attention to especially dirty areas and apply pressure when you need. You may need to use several clean cloths. If you need to spray more cleaner while you’re wiping the sink down, do so.

Sprinkle baking soda. If your bathroom sink is still dirty after you’ve done a light clean, you should sprinkle baking all over the sink. Cover as much of the surface as you can. The abrasive force of the baking soda will help remove tough stains. Make sure the sink is dry before you sprinkle the baking soda. Use as much baking soda as you need to cover the surface area of the sink. Take care to sprinkle some baking soda into the grout ring around the drain.

Scrub the sink. Take a clean cloth and scrub the sink down. You may have to apply a lot of pressure in areas that are particularly dirty. Without scrubbing your baking soda into the sink, you won’t be able to remove all stains. Swirl your cloth around in circles while you rub the baking soda into the surface of the sink. Consider using a regular cotton cloth. Microfiber may not have the abrasive power you need to remove some stains. In some instances, you may need to use a mildly abrasive dish sponge.

Rinse the sink. After you’ve scrubbed the sink, you need to thoroughly rinse it to remove all leftover baking soda. If you don’t rinse it immediately, some of the stains may re-set and all your work will be wasted. Make sure to run the water until all the baking soda has washed down the drain. If your sink doesn’t drain properly, you may need to wipe the baking soda out with cloth rags or paper towels.


How to Organize Your Bathroom?

It can be difficult to find what you need when your bathroom is cluttered. Organizing by type of product and using storage bins to keep similar items together can help you find what you’re looking for easily. Spending a few minutes each day to tidy up the bathroom will also prevent you from having to a do a major overhaul after this initial cleaning.

Remove all items from your bathroom. This includes items from the shower, counters, cabinets, and closets. Lay everything out on a flat surface or floor so you can see what you have. Sort items by type. For example: makeup, shampoo/conditioner, hair products, shaving products, soaps, lotions, medicine, first aid, oral hygiene, cleaning supplies, and anything else you happen to have. Throw away anything you don’t use. If you haven’t used it in a year, trash it. Throw away empty bottles or duplicates of stuff. This includes all expired products, including prescription and over-the-counter medicines.

Designate a storage bin for each category. Label each bin: prescriptions, over-the-counter medicines, first aid, soaps, hair products, lotion, shaving products, etc. Clear bins are best, as you will easily be able to see exactly what is inside them. Fill the bins. Keep similar items together. Small items can be grouped in plastic bags before added to the bins. Make a few first aid kits by category – minor scrape, sprain, major cut, etc. This helps you avoid having to weed through a large box of stuff for a bandage. Separate the medications by type (allergy, cold and flu, headache, etc.) and store them in small containers. Place barrettes on a decorative strand of ribbon. Keep bobby pins together by attaching them to a magnetic strip. Use a metal file box to hold hair irons. Keep a basket just for the samples you receive so you can put it out for guests to use.

Clean your bathroom thoroughly. Before you put the items back, clean the shower and tub, sink and counters, mirrors, toilet, and floors. Any room is much easier to clean when empty, and you’ll have your bathroom sparkling in a flash. Decide what will go where. Don’t replace any of your items yet. Just look at the bins you filled and decide where the best spot for each one is. Things you use every day should go in the bathroom closet and things you rarely use like extra shampoo or soap should go under the sink. Put towels and extra toilet paper on a shelf in the bathroom closet. Use organizers on the backs of the cabinet or closet doors to maximize your space. Fill them up with bottles, tub toys, and so on. Use a cutlery tray or a desk organizer in the drawer to organize your makeup.

Label the shelves in the closet and the medicine cabinet. This will make it easier to find and put away items and to know when an item needs replaced. Store only what you use often in the bathroom. Keep the excess in an overflow space. This goes for items like barrettes, too. If you have too many, place some in a plastic bag and tuck them away for future use so you can shop at home when you need more.

How to Replace a Bathroom Sink?

Bathroom sinks may become chipped, stained or scratched. You may want to install a new sink to enhance the ambience of your bathroom and create a fresh, clean look. Replacing a bathroom washbasin may be time consuming, but should not be difficult to accomplish, and could revitalize the entire room.

Measure the dimensions of the old bathroom sink with a measuring tape. When you install a new sink, you want one that will fit in the old countertop. Write down the length, depth and width of the sink, as well as the length and width of the countertop. Buy a new washbasin. Bring the measurements of the old sink and countertop with you to ensure you purchase the correct size before putting in a bathroom sink.

Turn the water off to the sink. The cut off handle is usually located under the sink. When replacing a bathroom washbasin, you want to test the faucets to make sure the water is completely off. Place a bucket underneath the P-trap. When you install a new sink, you have to remove the drainage pipe first. Loosen the bolts that attach the P-trap to the bottom of the sink with channel lock pliers. Hang the P-trap over the bucket, carefully pulling it from the sink.

Unfasten the hot and cold-water hoses from the faucet with a crescent wrench. Replacing a bathroom washbasin entails spending a little time underneath the sink removing hardware. Remove the clips under the sink that attach it to the countertop with a screwdriver. Cut any sealant or putty between the sink and the countertop out with a utility knife. Lift out the old sink from the counter. When putting in a bathroom sink, you want a smooth surface, so clean the countertop off, removing any residual silicon.

Remove the faucet and drain from the old sink if you plan to use it in your new sink. Install the old faucet and drain on the new sink. To install a new sink, you should seal the hardware. Be sure to apply a bead of silicone caulk to the faucet and drain base. If you bought a new faucet, follow the manufacturer’s directions. Apply silicone caulk to the underside of the washbasin’s rim when putting in a bathroom sink. Lower the sink into the hole in the countertop. Push the washbasin into place and wipe off any excess silicone with paper towels.
Attach the sink to the countertop with fastener clips from beneath the counter. You need to make sure it is secure. Reconnect the water lines with a crescent wrench and the P-trap underneath the sink with channel lock pliers. Be careful not to tighten the valves too tight. Turn the water valves back on. Leave the bucket under the P-trap while you test the sink for leaks. Sometimes, putting in a bathroom sink creates water leakage. Twist on the hot water and then the cold water. If there is a leak, shut off the water and re-install the connections wrapping plumber’s tape around the stem of the hose. Let the bathroom  set overnight.

How to Plan a Bathroom Renovation?

You’ve decided to renovate your bathroom. The next step is to plan, plan, plan! The better your planning, the better your result. Don’t rush through this part of the process. You can’t plan for everything, but you can prepare in ways that’ll help you deal with whatever might come up. Determine your budget. What are you able or willing to spend on your renovation? Write it down and stick to it. There are so many options out there that it’s easy to get carried away once the project is in progress.

Get inspired. Start a board on Pinterest of all the bathroom designs and features that you like. Collect inspiration for your vanity, fixtures, flooring, lighting and colours. Once you have collected a number of images you’ll usually start to see a trend emerge. Weed out all the images that don’t fit with this trend, or your needs, and you’ll have a good starting point for the look and feel of your new bathroom.This step will also get you well acquainted with all of the amazing fixture options out there.

Measure. Plot out your space on graph paper and cut out a toilet, vanity, tub, etc. to move around till you have a layout you’re happy with. There are plenty of online resources for bathroom layouts. Here are some space requirements that you’ll want to keep in mind: leave 30″ of clear space in front of any fixture. 18” from center line of. Toilet to wall/other fixture. Recommended minimum of 36 x 36 interior for shower. A separate toilet compartment should be a minimum of 36 x 66 with a swing out or pocket door.

Start sourcing your fixtures. Now that you have a budget and floor plan to work within you should have a good idea of what you require. Make a list of all the items needed and start sourcing your fixtures based on your budget and style board on Pinterest. If you’re doing your research online make sure to pin any items you’re interested in to your Pinterest board. If you’re visiting a shower room or big box store take pictures and note the size and price for reference later on.Things you’ll need: toilet, vanity or pedestal, tub, tub/shower, shower base + glass, or shower unit, shower valve and trim, faucets, tiles, grout, mirror, lighting, bathroom accessories (toilet paper holder, towel ring or bars, robe hooks).

Start talking to contractors/plumbers if you aren’t going to DIY. You now have a pretty good idea of the scope of your project and this will make it easier for your contractor or plumber to price the job for you. Show them your plan and fixture ideas so that if there is anything problematic they can bring it to your attention now and you can address it before the renovation begins.

Once you’ve decided on your contractor/plumber and have a date set for the project to begin, start purchasing your fixtures and finishes. Most items, unless they are in stock, will take between 2 to 4 weeks to arrive. You don’t want anything to hold up your project once you begin and by having all the pieces readily available you will limit the amount of time your house is turned into a construction zone.

If this is your only bathroom in the house, try to have a plan in place for dealing with the inconveniences. Do you need to rent a port-a-potty for the backyard for a few days or can you use your neighbour’s or families facilities? Know that there are usually hidden problems that crop up when renovating and you could be without a bathroom for a few days longer then expected.

How to Install a bathroom sink?

Whether you’re installing a new sink in a recently constructed home or replacing an old one, you can learn to plan properly and install your new sink securely. While different sinks will need to be installed depending on the variations of the kit you’re using, the basic steps in the process are usually the same. Learn how to assemble and fit your new sink into place quickly and efficiently.

Get the necessary tools for the job. You can install a new sink with basic tools and new components that match the valves already installed in your plumbing. Make sure you have: Silicone caulking. Plumbers’ wrenches, either pipe wrench or slip-joint pliers. Basin wrench. Set of plumbing sockets.

Turn off the water supply valves. Typically located beneath the sink, it’s critical that you shut off the water supply to the sink before you remove it. If the valves are not beneath the sink, then you’ll have to turn off the main water supply. This is typically located on a lower level or the basement near the water meter. To test, turn on the hot and cold water on your sink and make sure no water comes out before proceeding.

Remove the old sink, if necessary. If you’re replacing a sink, you’ll obviously need to remove the sink that’s in place before installing the new one. Disconnect the supply and drain lines from the faucet, using locking pliers or a crescent wrench. A small amount of water may leak out when you do this, which is normal. Just use a bucket or a towel to handle the water that leaks out.

Locate the large nut that connects the sink to the drain and disconnect it. This metal or plastic nut will be located either in the wall or the floor. Use your hands or locking pliers to unscrew the nut. Remove the current sink by sliding the edge of a putty knife around the perimeter of the bathroom sink, loosening any caulk that connects it. Pull it loose.

Measure the new sink to make sure it fits the space. All new sinks should come with a template of the mounting opening, marking the location of the faucet holes, including a cutout for the sink. You can use the template to make sure the sink fits in the desired location. If it doesn’t, you may need to do some trimming or, or cut the entire opening if you’re installing a sink in a house under construction. Most new sinks come with clips and screws that are used to hold the sink in place. If you buy a faucet, sometimes it’ll come with the drain and tailpiece for the sink. If it isn’t included, get one before you start. The supply lines for the faucet need to correspond to the faucet and valves under the sink, so make sure they match before you get started.

How to choosing Bathroom Accessories?

Your bathroom should be a comfortable space that is also functional and easy to use. Designing a bathroom to suit your needs requires an attention to detail and a practical approach to the space. Start by determining the layout of the bathroom. Choose the bathroom fixtures, like the toilet, the sink, and the shower or tub, as well as accessories like storage baskets, shelving, and a mirror. Then, create a design plan for the bathroom so you can build it to suit your needs.

Get woven storage baskets for bathroom items. To add more storage to the bathroom, look for deep woven baskets that you can slide under the sink. Put toiletries, spare toilet paper rolls, and other items in the baskets. You can also use large storage baskets to store extra towels.
Add shelving above the toilet or sink for storage. Another option is to install shelves above the toilet for candles, toilet paper, and other items. Make sure the shelves are just as long as the toilet and not too wide so they do not extend too far over the toilet. Shelves above the sink are a good option for extra storage as well. Try having one long shelf that is not too wide so you can still use the sink. You may want to put a shelf between the sink and mirror to store toothbrushes and soap to keep the countertop clear.

Put in a mirror to make the space seem bigger. Include a mirror over the sink so people can see themselves when they get ready for the day. It will also help to keep the space more open. The mirror should be as wide as the sink. If you don’t have room for a mirror over the sink or vanity, install one on the back of the bathroom door. A full-length mirror would work well here.

Include a chair or a bench if there is room. A chair by the sink or close to the door can provide some seating in the bathroom. A bench is a good option if the bathroom is going to be used by multiple people at once and you have the space for it. Choose wooden, metal, or plastic seating. If you go for an upholstered piece, make sure it is water- and mold-resistant. Make sure the chair or bench does not crowd the room or make it feel too small.

How to determining the layout of bathroom?

Have a wet zone and a dry zone in the bathroom. The wet zone is where the floor may get wet, such as by the tub or just outside the shower. The dry zone is where the floor will stay dry, such as by the door or the towel rack. Keep a good amount of space between the wet zone and the dry zone so you do not have to walk in wet spots when you use the bathroom. For example, you may have a wet zone where the toilet is next to the shower and the sink. Then, you may put the towel rack by the door to have a separate dry zone. Keep in mind you can use a bath mat to help control the water so it does not get in the dry zone.

Put the toilet in a separate area for more privacy. One popular option is to have a water closet that is next to the bathroom that contains the toilet. This makes the toilet more private and allows someone to use the shower while someone else uses the toilet. Go for this option if you have a busy household with lots of people using the same bathroom. Doing this can also allow you to have a larger shower or tub and a bigger sink in the bathroom, as you do not have to make room for a toilet. If you can’t create a separate water closet, put a half wall next to the toilet to section it off and create more privacy.

Get a bathtub if you have the space. A bathtub with rounded sides looks more sleek and be more space conscious. A square shaped bathtub will take up more space but may fit your design aesthetic more. Keep in mind that you’ll need to have hardware for a shower head as well as a shower curtain if you want to take showers as well as baths. Some bathtubs are freestanding and aren’t meant to be used as showers.

Pick a stand-up shower if you have limited space. A stand-up shower may be a better option if you do not have a lot of space in the bathroom or want to save space. A stand-up shower is a functional option for a small room. Stand-up showers can be quite luxurious, and you can make them look sleek and modern by using spa-like tiles. They can also incorporate features that a shower/tub combo may not support.

Place the sink close to the toilet. This will make it easier for someone using the bathroom to get up off the toilet and wash their hands. The sink should be a few feet in front of the toilet or adjacent to it against the wall. Do not put the sink above the toilet or too far away from the toilet, as this will make it very awkward to use.

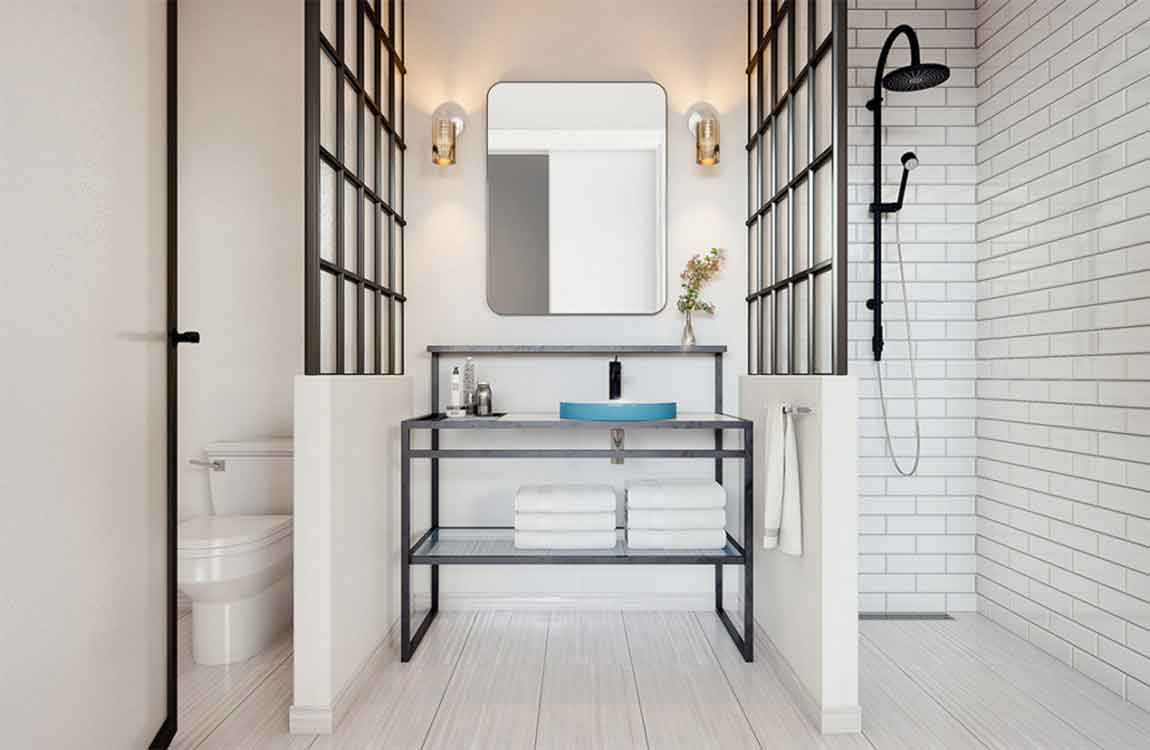
Use dividing walls between the tub and the toilet. If you have the room, keep the different areas in the bathroom separate with high dividing walls. Put a dividing wall between the bathtub and the toilet to keep them separate. Or use a stand-up shower with a dividing wall to keep it separate from the toilet. Using dividing walls that do not reach the ceiling can keep the room separate but still open. They may be a good option if you do not want the bathroom to feel crowded or too small.
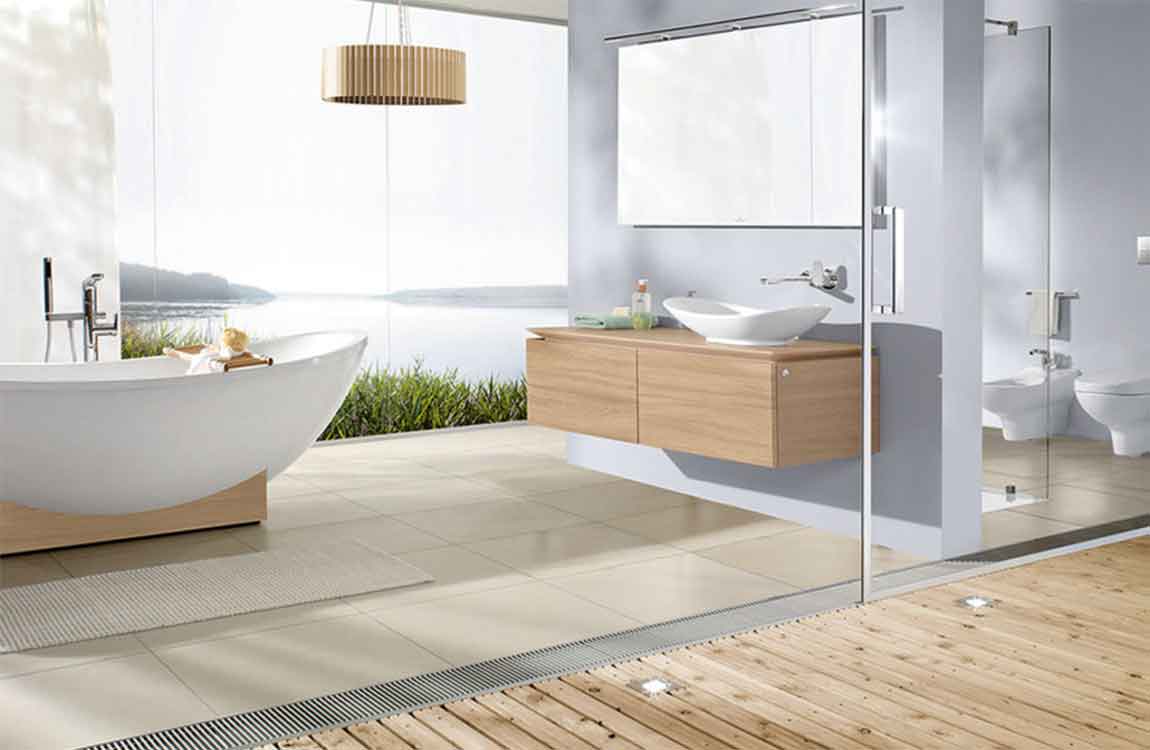
Include small windows for natural light. Put in a small window by the sink or a few feet away from the toilet to let in natural light. Frost the window glass so no one can see into the bathroom. If you include a small window in the shower, make sure it is frosted or can be obscured. Alternatively, you could install a skylight, which is a beautiful and functional choice. Plus, you won’t have to worry about privacy.

Confirm there is enough room for the door to open and close. Bathroom doors are usually 28–36 inches (71–91 cm) wide. Leave between 2–3 feet (0.61–0.91 m) of space between the door and any bathroom items, such as a sink or toilet. The door should be able to swing open and close easily without hitting any items or fixtures. If your bathroom is small, consider installing a pocket door to maximize space.
How to remodel your bathroom on a budget?

Do you want to give your bathroom a fresh, new look? Are you wavering on buying a home because the bathroom is unattractive and outdated? Are you hoping to sell your home, but you know you’ll get a better price if you update the bathroom? While the bathroom can be one of, if not the most, expensive rooms in the home to renovate, it’s really about making choices that don’t cost you an arm and a leg. There are many ways to get around the expense of the bathroom, provided you plan cleverly and put in the effort yourself. Look over these ideas for remodeling your bathroom on a tight budget.

Check the tiles. Old tiles, cracked or broken tiles and missing grout let down the look of the bathroom. Fix everything that needs fixing first and you will be amazed at the improvement. It doesn’t take long to learn how to tile and fix grout either––a little trial and error practicing and you’ll soon feel comfortable doing it yourself. The main thing with tiling is to have patience and to observe accuracy without compromise––it’s not a job you can rush.

Sometimes changing the color of the tiles can completely change the feel of the bathroom. The effort to do this can be well worth it, and tiles are generally quite affordable for the budget renovator. If you need to fix the grout, see grouting a tiles floor, regrouting tiles, whitening grout and cleaning grout.

Repaint the walls. A new coat of paint transforms a room. If your bathroom walls are covered in wallpaper, remove the old paper with a steamer (you can rent one for the weekend.) If you’re painting over paint, remove all flaked, sticky, dirty areas by cleaning and lightly sanding over them. Ensure that the walls are free of mildew and damp before painting––if you do have recurring mildew, check the source and add mildew inhibitor to your paint.

Place painter’s masking tape over all edges you don’t want painted (moldings, tiles, wood, etc.) and cover furnishings, the tub and shower, etc. with drop cloths to catch paint splashes. Paint stains cheapen the finished look, so avoid them in the first place. Neutral colors are best for longevity of bathroom style, particularly when selling the house. Stick to creams, beiges, whites and other low-key colors and use accessories to add splashes of color to the bathroom.

Consider contrasting paint colors to highlight areas, such as window sills and bathroom cabinets, where relevant and appropriate. Wait for the sales on paint if you’re really wanting to save a lot. If you know a painter, you might be able to get trade prices if he or she is willing to help buy it for you.

Refurbish bathroom wood cabinets. Sand the wood on your existing cabinets and stain it, or sand the wood and repaint it with a color that complements the bathroom walls. Be sure to use waterproof latex paint and consider using white paint. Fix any dents or broken parts of bathroom wood cabinets before painting, staining or varnishing them. Dents can be done using wood putty of the same color and then painted over. Loose parts should be nailed or glued back into place firmly. Anything loose should be screwed back on the wall or other backing to avoid any further loosening.

How to clean a toilet tank?

Toilet tanks need periodic cleaning to prevent unwanted odor and the build up of bacteria. Tanks can usually be cleaned with commercial cleaners and a light scrubbing. For very dirty toilet tanks, bleach may be necessary. Clean your toilet tank regularly to keep your toilet clean and your bathroom smelling fresh.

Put on gloves. Toilets and bathrooms in general contain a lot of bacteria. Before cleaning your toilet tank, put on a pair of gloves. Rubber gloves will help protect you from bacteria and germs. If you’re cleaning with bleach, gloves are vital to protect your skin.

Let your cleaner sit in the toilet tank. Leave your cleaner in the toilet tank for a set amount of time. Most cleaners should be left on for 10 to 15 minutes. However, it’s always a good idea to check the specific directions on your cleaner. Remember, vinegar should stay on for 12 hours before you proceed to clean the toilet tank.

Scrub your cleaner into the toilet tank. Use a scrub brush, old toothbrush, or scrubby sponge to scrub the cleaner into your toilet tank. Scrub down the sides and bottom of the toilet tank until the toilet bowl smells fresh and you remove any obvious signs of dirt and built up grime. Clean the working parts of the toilet tank as well, like the ball float and flapper.

Flush out the toilet tank. Once you’ve scrubbed the toilet tank down, you can turn the water back on and flush the toilet tank to rinse. If you’ve used bleach, add 1 gallon (3.8 L) of plain, cold water to the toilet tank and then flush it. You may want to wear goggles to protect your eyes when adding water to a toilet tank that had bleach in it.

Remove mineral deposits periodically. Mineral deposits will eventually build up in any toilet tank. Check your toilet tank once a week and if you notice any deposits, treat the toilet tank with white vinegar. Fill the toilet tank with vinegar, let it sit for 12 hours, then flush and clean the toilet tank.

Be careful with toilet tank tablets. Stores often sell toilet tank tablets, meant to be placed in your toilet tank to help it smelling fresh. However, if you do use tablets, stay away from tablets that contain bleach. These can erode and damage the inside of your toilet tank. If you clean your toilet tank regularly, tablets are probably not necessary.

Establish a cleaning routine. Many people remember to clean their toilet regularly, but neglect the toilet tank. Make sure not to fall into this trap. At least once a month, give your toilet tank a good cleaning. This will keep your bathroom smelling clean and fresh.

How to fix a toilet?

Is there anything more terrifying than a toilet about to overflow? A creaking, burbling, malfunctioning monster of a commode is the fear of any homeowner. Fortunately, most common toilet problems can be easily and quickly fixed by diagnosing the correct problem and making a few simple adjustments.

Shut the water off. If your toilet has become clogged, don’t try to flush it or you’ll risk overflowing the toilet. Find the water valve on the wall that connects the waterline to the toilet and turn it clockwise until it stops. Water should stop coming into the toilet tank. With any toilet tank or flushing issue, you’ll want to shut the water off first as a safety precaution. Cleaning up a toilet that’s overflown is obviously the biggest of bummers.

Get a plunger. It’s called the plumber’s helper for a reason. Some plungers have complicated bulb shapes and some are simple suction cups, but you just need to make sure your plunger is big enough to cover the opening at the bottom of the toilet bowl.

Make sure there’s enough water in the toilet bowl to cover the cup of the plunger. It’s easier to have some water to force the clog out with, but now that you’ve shut off the water you can’t flush anymore in from the tank. Get a few cups of water from the sink to add to the bowl if you need to.

Fix the suction cup onto the opening at the bottom of the bowl. Pump it forcefully and evenly. You should start to hear a gurgling in the pipe and feel some pressure building if you’ve created a suction with the plunger. After 5-10 pumps with the plunger, break the seal and see if the clog comes loose. If not, try again. If you can see the clog come up, you can try to flush the water down without turning the water back on. There should be enough water in the bowl to flush it.

If the water all flushes down by itself after plunging, turn the water back on and let it run for a few minutes. When the water settles, try flushing it, but watch carefully and make sure it doesn’t start to overflow. Shut off the water quickly if it does.

Use a plumber’s auger or a “snake.” If the clog is close to the top, the plunger should get it. If it has worked its way down the pipe, however, you might need the heavy artillery. A plumber’s auger, also called a “snake,” is essentially a long wire that you can reel out and guide through the pipe to forcefully dislodge the clog and then reel back up. Aim the tip of the auger into the bowl drain and reel it out. Be very careful not to force it and crank slowly and evenly.

You don’t want to bust a pipe fitting or get the auger stuck. When you’ve run the auger out, or feel that you’ve broken up the clog, reel it back in and try to plunge the toilet again or flush it and see if the clog has worked it’s way through. If you don’t want to buy an auger, you can fashion a simple device with a wire hanger to try to get at the clog.