How Designing Your Tray?


Decide what your tray will hold. First, think about what you intend to keep on your tray during baths and how much space each object will need. Make sure that you use a piece of lumber that is wide enough to hold everything. Allow extra space so nothing is sitting on the edge of the tray. For example: A 1” x 10” (2.5 x 25 cm) board should be wide enough to hold a book, candle, and glass with room to spare.


However, be aware that lumber sizes (such as 1” x 10”) refer to when the wood is freshly cut before it dries out and shrinks. So, if you have something wider than 10 inches that you want to place on your tray, you will need a wider board than a 1” x 10”. Choose how many layers of wood you will need. Decide between making a simple tray with no raised surfaces or one with holders for certain objects.


For the simplest tray, plan on using a single piece of lumber. Or, to minimize the risk of spilling stuff into the tub, purchase a second piece of equal size to create holders before attaching it to the base board. Alternately, you could rim the entire tray by screwing smaller pieces of lumber, like a 1” x 2” (2.5 x 5 cm), around all four edges of the base board instead of creating individual holders.


Line the tray with wood trim on each side 1 to 1.5 in (2.5 to 3.8 cm) wider than the tray to have an attractive raised lip. Use a piece of plexiglass as the base layer and a piece of wood the same size on top with holders cut into it. The plexiglass is easy to clean, waterproof, and it will protect the wood.


Measure your tub. Use a measuring tape to determine the width of your tub. Be sure to include the rim on either side, since this is where your tray will rest. Also double-check that the rim on either side is level with each other. Surround units (where the tub and the shower stall are all one unbroken piece) may incorporate designs without a level rim on the inside of the stall.

How to Tile a Shower?


A tiled shower adds beauty and durability and value to your home, and you can tile your shower all by yourself. There are several things you need to do to properly prepare a leak-proof shower. If you are tiling a shower for the first time, consult with a general contractor before starting the job. Use a hole saw with a carbide bit to cut the holes where the shower head and handles would come through.


Make the cement board flush with the tile lip of your shower pan by using shims behind the board to bring it out to the desired thickness. Make sure to use composite shims. Use 100% silicone caulk to seal the seams between the panels and then apply the silicone behind the board on the stud. Add some seam tape between the panels as well.


Lay the drywall. If using crown molding near the ceiling, lay down 12 to 18 inches (30.5 to 45.7 cm) of drywall instead of cement board. Nails used to fix the crown molding in place will not travel through the cement backer; you’ll need to use moisture-resistant drywall such as greenboard in order to take the nails and affix the molding.


Feather any edges with seam tape and thin set mortar where the backer board meets the wallboard. If there’s a gap between the backer board and the wallboard, you’ll want to use seam tape and then feather the gap with thin set mortar so that it appears as one continuous back. Remember that the seams must remain tight with gaps 3/16″ or smaller. Paint a water resistant primer over any areas you intend to tile.


After you’ve feathered the edges to remove the gap, apply a high quality water resistant exterior primer over the feathered wallboard and backer. Trowel some thin-set onto the back of the tile and spread it with a notched trowel. This process is called “back buttering.” Apply mortar to the backer board along with back buttering and then set the tiles on top of that. It’s a lot cleaner, too!

How Finishing up Tile a Shower?

Grout the tile. Mix up a batch of grout and let it rest for 5 to 7 minutes. Lightly wet the area you’ll be grouting with a damp sponge and dump a bit of grout onto the area. Use a rubber float to smooth it into the joints, attacking each joint at a diagonal angle. After 30-40 minutes (check the directions on the bag of grout) you want to wipe the excess grout with a damp sponge and a circular motion.


Keep wiping with a clean sponge until the tile is clear. The tiles may look a bit hazy even after wiping, so you may have to buff them with a clean sponge to get rid of this haze. Let the grout cure for approximately 3 days before sealing. Then, seal the grout. Run a thin bead of liquid grout or aerosol grout sealer onto the grout line and wipe away.


Let dry and then test its water resistance by dropping water onto the sealed grout. Correctly sealed grout will cause the water to bead up on top of it. Caulk any needed areas. Make sure to use a grout caulk to match the colors. As you caulk, remember to pull the caulk gun relatively quickly across the joint.


Most amateurs caulk too slow and end up dropping too much caulk down on the joint. Other things to remember: Keep the tip angled as you run the bead along the joint. Match the speed with which you pull the caulk gun trigger with the rate at which you pull the gun along the joint. You don’t want to be pulling the gun fast but triggering slowly, or vice versa.


After applying the bead of caulk, “bed” it by running a damp finger across the bead with light pressure. Make sure that your grout chalk matches the grout. Let the caulk dry and redo it if you are not happy with the results. Let the tile set for 48 hours. This will make sure that the mortar has adhered properly to both the tile backing and the cement board backer.

How Laying the Tiles?


Mark your tile layout on the substrate and mark out your first course carefully. If your shower enclosure walls are not perfectly square, or if you plan to install accent tiles, the layout of these tiles becomes increasingly important. Measure up from the bottom of the backer board the height of a tile minus 1/2″. This will give you a 1/2″ overlap over the tile lip on your shower pan.


Make sure that you allow room for the grout joints as well. Mark this with a sharpie or chalk and using a level, transfer the mark across the shower stall. This will be a guide for the top of the first row so that all tiles will be level. Only use dry tiles make sure that the lay out works as well. Another way to plan out the first row of tiles is to measure the high part and low part of the shower pan.
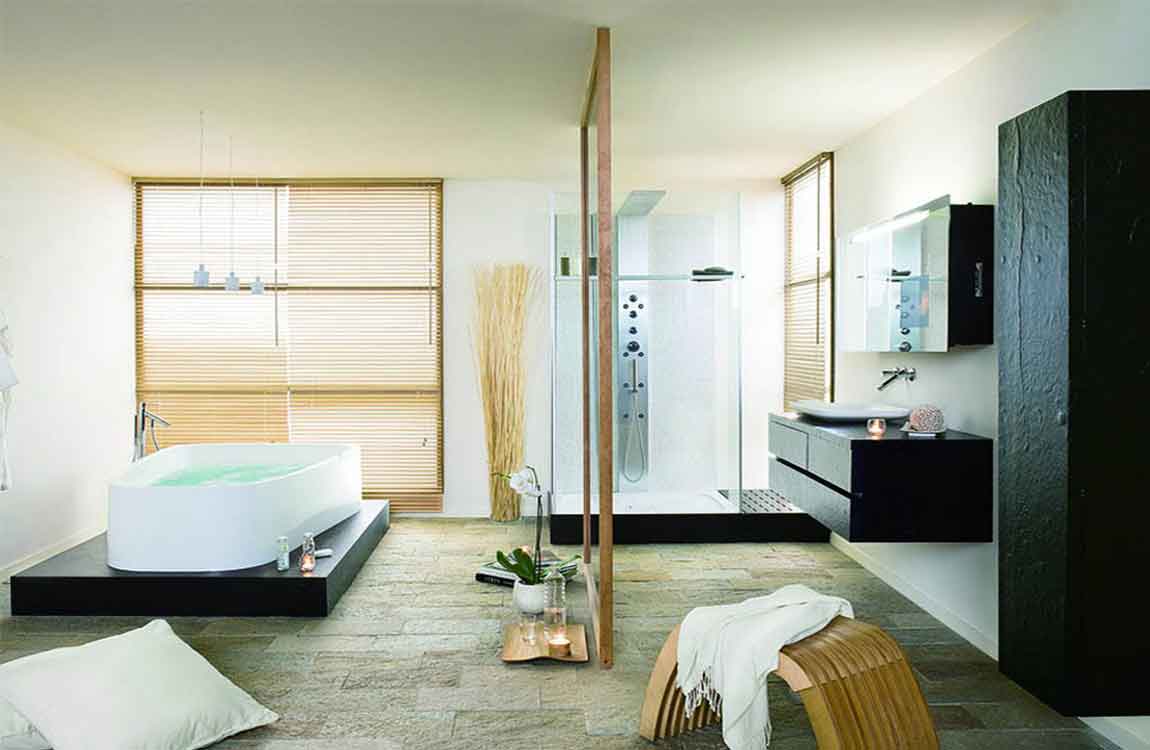

Make the cut spot on the low end a full tile, mark it, and then cut the tiles on the high side down to the level of the uncut tile on the low side. Keeping grout lines away from the inside corners of the enclosure can prevent the need for tiny tiles and poor grout joints. Plan accordingly and always make cuts tight on the inside corner.


Mix enough thin-set for the bottom row. You want your thin-set to be the consistency of peanut butter — not too thick or it will dry out and not too thin or you’ll have a hard time setting the mortar with strength and cleaning. Use an electric drill and a mortar mixing bit attached to your drill to mix your thin-set mortar. This will ensure even consistency and ultimately a better product.


Let the mortar set for seven minutes and then mix it again. Dampen the cement board with a sponge before applying the mortar. If you do not, the cement board will draw the moisture out of the thin-set too quickly, making for a brittle set that is susceptible to cracking.

How Preparing the Shower for Tiles?


Gut the shower stall down to the studs. You may need to remove the shower pan and ceiling, as well. Do not put down any plastic because this can trap moisture and lead to rotting. Instead, use a product that you can paint on to help prevent moisture.


Choose a vapor barrier to install and introduce according to manufacturer directions. If you fail to install a vapor barrier, you might grow mold and mildew as moisture from your shower escapes through the tiles and into walls. Improperly installed tile and grout can allow water vapor to pass into the space behind.


When installing a vapor barrier on an exterior wall, it may be helpful to seal a plastic vapor barrier to the concrete floor but not all the way up to the top of the ceiling. With insulation improperly installed, or in colder climates, there’s a chance that condensation that forms behind the vapor barrier will cause the framing members to rot.


In order to avoid that possibility, install the vapor barrier with space to spare so that the gap behind the vapor barrier can breathe. Use a roll on product, such as Red Guard. Wedi boards are another option some consider even better than cement board. If you choose a membranous barrier such as Trugard or Kerdi, you can install plain old drywall or you can just install a cement board instead.


Put up a sturdy cement board backer. Putting up cement board is just like putting up drywall. You cut it to fit using a grinder with a diamond bit, and then screw it to the studs. Leave a 1/8″ gap between panels and then a very small space between the shower pan and the bottom of the backer so that the two don’t squeak by rubbing together.
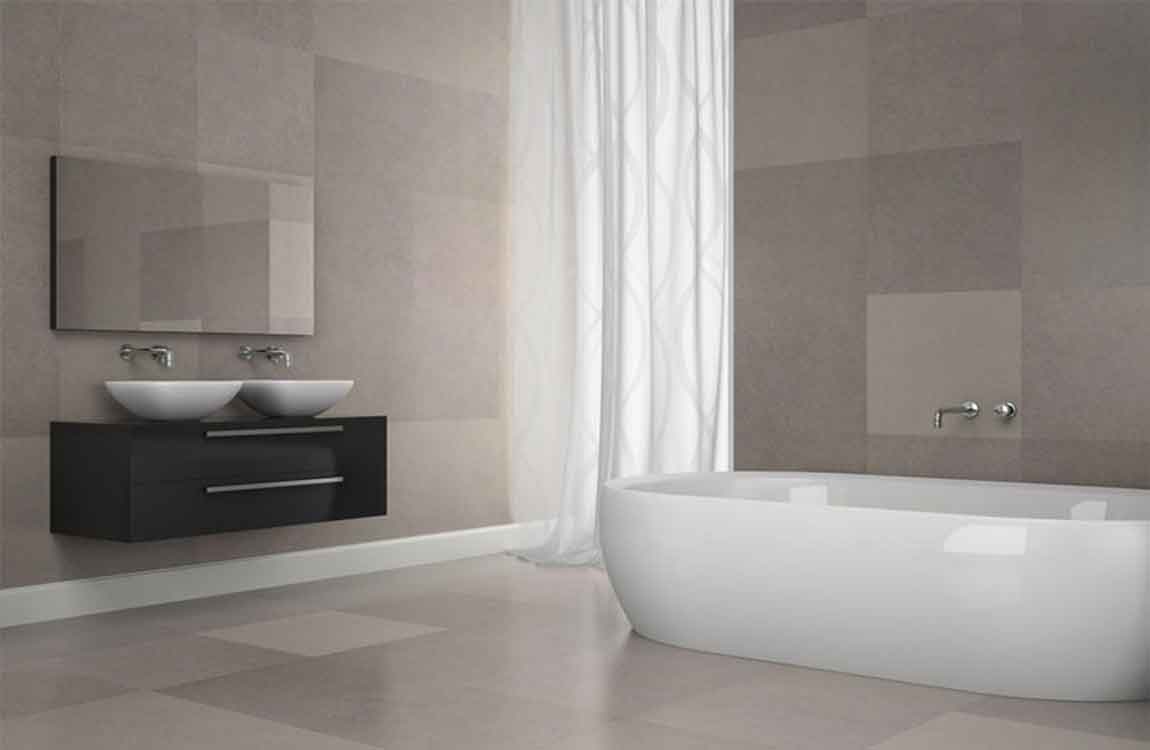
The Knowledge of Bathtub Installation


For a fiberglass surround, set the entire piece in place so it covers the tub flange. Drive screws with an electric screwdriver into the divots along the sides and top of the surround so it’s secured to the studs. Seal the gap between the tile and tub with silicone sealant. Once you’ve secured the tiles to the backerboard, place a thin bead of silicone around the bottom of the of the tiles to fill in the gap.


Put the tip of the sealant dispenser into the gap, and pull the line slowly so it applies smoothly. Wipe any excess sealant away with your finger. Use your finger to press the bead of caulk into the crack and create a smooth finish by running it over the caulk from one end to the other. Be sure to give the caulk enough time to completely dry before using the bathtub as well.


Drying time will vary based on the type you use, so read the instructions included carefully. Get a 2-component epoxy chip repair kit from the bathroom remodeling or adhesive section of a home improvement store if your kit did not come with it. Put painter’s tape on the walls and around any plumbing fixtures.


Tape along the edges of the tub where they touch the walls and around the faucet and other fixtures. Even if you have a steady hand, it’s easy for paint to go astray! Painter’s tape is the blue masking tape that you can find at hardware and paint stores. Apply 1 coat of primer with a brush and roller.


Use a roller to roll on the primer onto the large, flat sections of the tub like the floor and sides, then use a brush to get into the corners and curved parts. Let it dry for at least 2-3 hours before you start to paint on the new finish. Priming the surface is an important part of ensuring that the new finish adheres correctly so that you end up with the correct texture. Make sure that the primer is completely dry to the touch before you paint over it.

The Knowledge of Buthtub


Drain kits come with all of the plumbing and hardware you need in order to put it together. Tip: Dry-fit the L-shaped pipes to your drains first and measure the length between them to determine how much pipe you need in order to connect the drains together. Make your measurements twice to make sure they’re precise before cutting the pipe.


Use a sealant on the drains and pipes to secure the joints in place. ABS glue is a liquid plastic that seals your pipes together. Paint a layer of this glue on the inside and outside of the pipes where they attach on your drain show. Hold the pipes together for 90 seconds until they have time to set. Continue gluing all of the joints together until they are completely set.


Use a clear sealant around the outer edge of the drain inside your tub and hold it in place to seal it. Sealant and ABS glue can be purchased at your local hardware store. Cover the exposed studs and flange with drywall or cement backerboard. Cut the pieces of drywall to the sizes of your gaps with a reciprocating saw.


Hold the piece of drywall or backerboard against the studs so it covers the flange and there’s a 1⁄4 in (0.64 cm) gap between the board and the tub. Use nails to secure the boards in place. Drywall or backerboard can be purchased from your local hardware store. Don’t forget to install new drywall on the access panel you cut out from the other room.


Replace the surround. If you’re using tiles, mix tile mortar in a bucket based on the instructions on the packaging. Stir the mortar with a flat trowel and spread it on the drywall. Press the tiles onto the backerboard and hold it in place for 30 seconds. Use tiles that match the existing ones in your bathroom. Otherwise, you’ll have to retile the entire wall.
How to Fix a Chipped Bathtub


Fixing a chipped bathtub is a do-it-yourself project that will save you from hiring an expensive professional. Whether your tub just has a few small chips, or it is badly damaged and needs to be refinished, these are both projects that you will find kits for at your local home improvement store. With a little elbow greasy, your tub will look like new in just a matter of days!


It’s easiest to start with a small amount of epoxy and add more layers than it is to put too much on and remove it. Let the epoxy dry, then sand down the surface with 400-600 grit sandpaper. Follow the directions on your epoxy kit to let it fully dry. Gently sand the surface with 400- or 600-grit sandpaper until it feels smooth like the rest of the tub.


Some epoxy will set in 2-3 hours, at which point you can sand. Other kits may advise you to wait up to 24 hours before sanding. You can add another layer of epoxy after sanding if you can still feel the chip. Then repeat the process. Your refinishing kit should come with sandpaper to use. If your kit didn’t come with sandpaper, then start with 400-grit sandpaper and work your way up to 2000-grit.


Increase the grit of the sandpaper in increments of 200 until you reach 1000-grit sandpaper, then go up in increments of 500 until you end using 2000-grit sandpaper. Repair any chips or cracks in the tub with a 2-component epoxy chip repair kit. Follow the instructions to mix the two parts of the epoxy in a small tray.


Use a small brush, spatula, or the bottom end of a matchstick to apply thin layers of epoxy to any chips. Wait 2-3 hours until the epoxy dries and sand the patches down with 2000-grit sandpaper to match the finish of the rest of the tub. This will ensure that the tub has no chips or cracks and seal the surface before you apply the new finish.

How Repairing Small Chips with Epoxy?

Buy a 2-component epoxy kit for chip repair. Look in the adhesive or bathroom repair section of a home hardware store. Buy a kit that comes with both the catalyst and hardener that you will mix together to create the epoxy. Most epoxy chip repair kits come in shades of white to match the most common color of bathtubs.


Try to choose a kit that will closely match the shade of your bathtub, or 2 kits that you can mix together to create the right color. Epoxy repair kits work to fix chips in all kinds of bathtubs including ceramic, porcelain, acrylic, fiberglass, and enamel tubs. Scrub the damaged area with a sponge and soap or tub cleaner, then dry it.


Use warm water and dish detergent or a household tile and tub cleaner to clean the chipped area. Thoroughly dry the area with a clean rage after you finish cleaning it. You can also use acetone or rubbing alcohol to clean the area. Any product that removes grease and soap scum will work to clean the chip.


Follow the directions on your epoxy kit to mix the 2 components together. Some epoxy kits come with a mixing tray and stirring stick for you to use. Mix the epoxy in a disposable tray with a toothpick or matchstick if your kit didn’t come with the mixing supplies. It’s a good idea to set the tray on a piece of cardboard or some scraps of paper to catch any spills.


Apply the epoxy to the chip with a small spatula, paint brush, or bottom of a matchstick. Scoop up a small amount of the epoxy with your chosen utensil. Spread it carefully in a thin layer over the chip by working in 1 direction and smooth out any spots where it pools. Make sure that anything you use to apply the epoxy is disposable. It will be hard to get the epoxy off of anything it touches.

How to Clean Black Mold in a Shower


While black mold sounds scary, it’s really isn’t much worse than other types of molds. Any mold can cause respiratory issues, and if you have asthma or you’re susceptible to pneumonia, it could cause issues for you. However, the Center for Disease Control suggests that you can clean up all types of mold in your home the same way using a bleach solution without having to call out for extra help, as long as you take precautions like wearing gloves and a dust mask.


However, if you have mold that has seeped into the wall or other porous areas, you may need help removing the damaged materials and replacing them, as well as finding the source of the water causing the mold. Make a new bleach solution to spray and scrub down what’s left.


Once you’ve scrubbed away all you can, pour a new mixture of bleach and water into a spray bottle, keeping the same ratio as you did before. Spritz the stains left behind, and let it sit for 15 minutes or so. Once you’ve left it alone, run over it with a clean scrubbing brush. Wash off the bleach solution with clean water and let it dry.


Spritz plain white vinegar over the area to take care of what’s left of the mold. Don’t mix the vinegar with water. Just put it in a spray bottle and go over the area to get it damp. Let the vinegar dry on the area, and it will help kill off the mold that’s left behind. Ledger boards help support your tub, but they cannot hold its full weight. Make sure your tub has full contact with the floor after you install the boards.


Dry-fit the drains and drain shoe on the new tub. Set your new tub on its side so you can easily access where the drains are placed. Feed the bottom drain through the hole on the tub and screw it into the L-shaped pipe fitting. Repeat the process with the overflow drain on the side of your tub. Cut the pipes to the length you need using a hacksaw. Tighten the nuts with a pipe wrench.