Posts

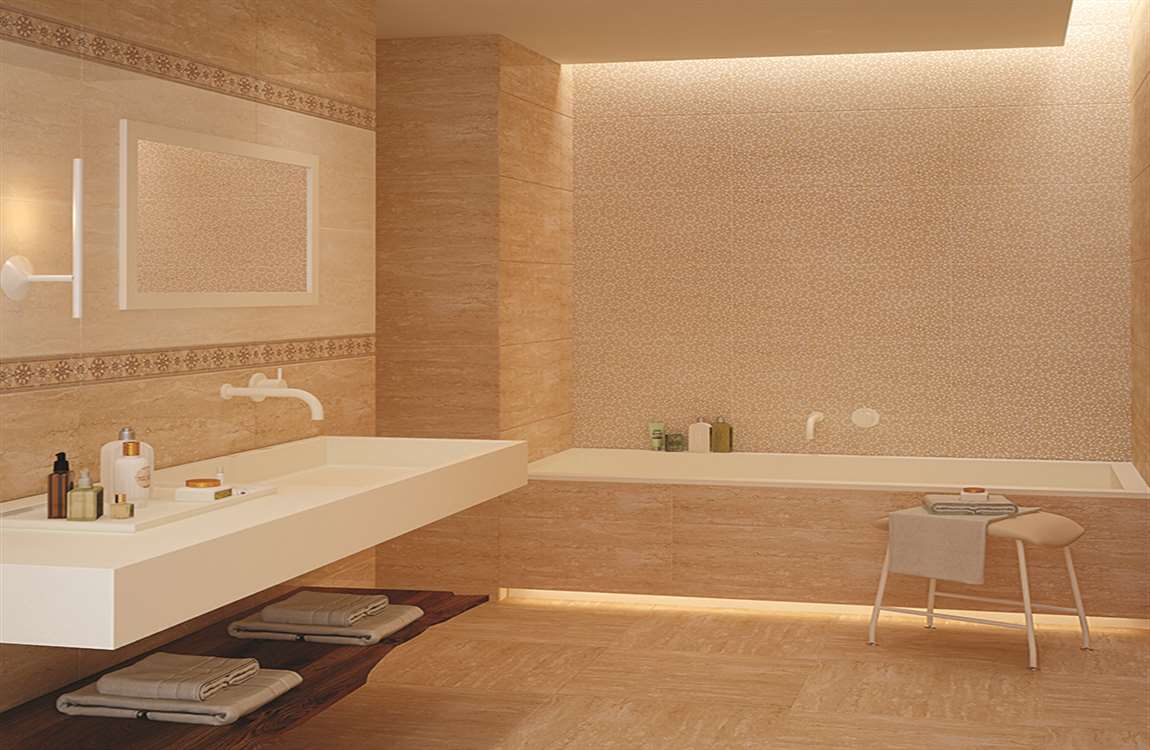
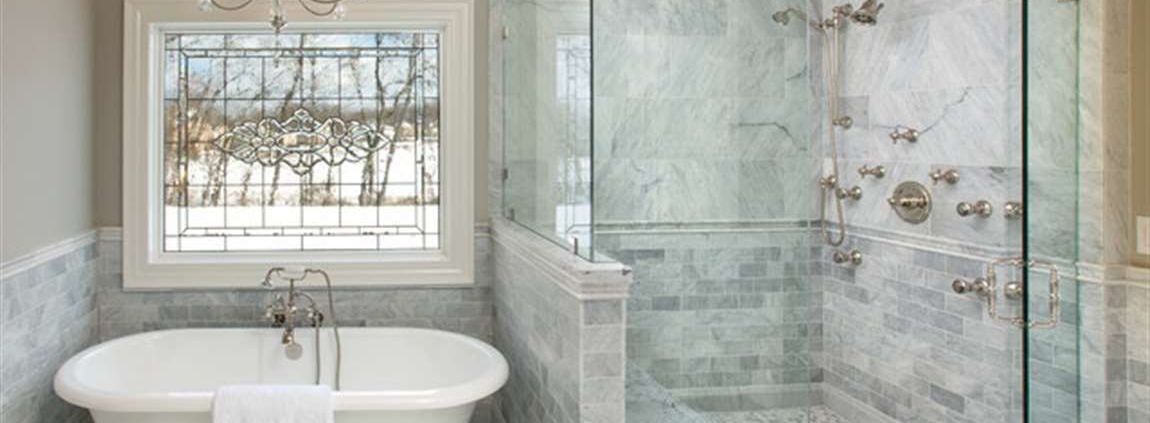
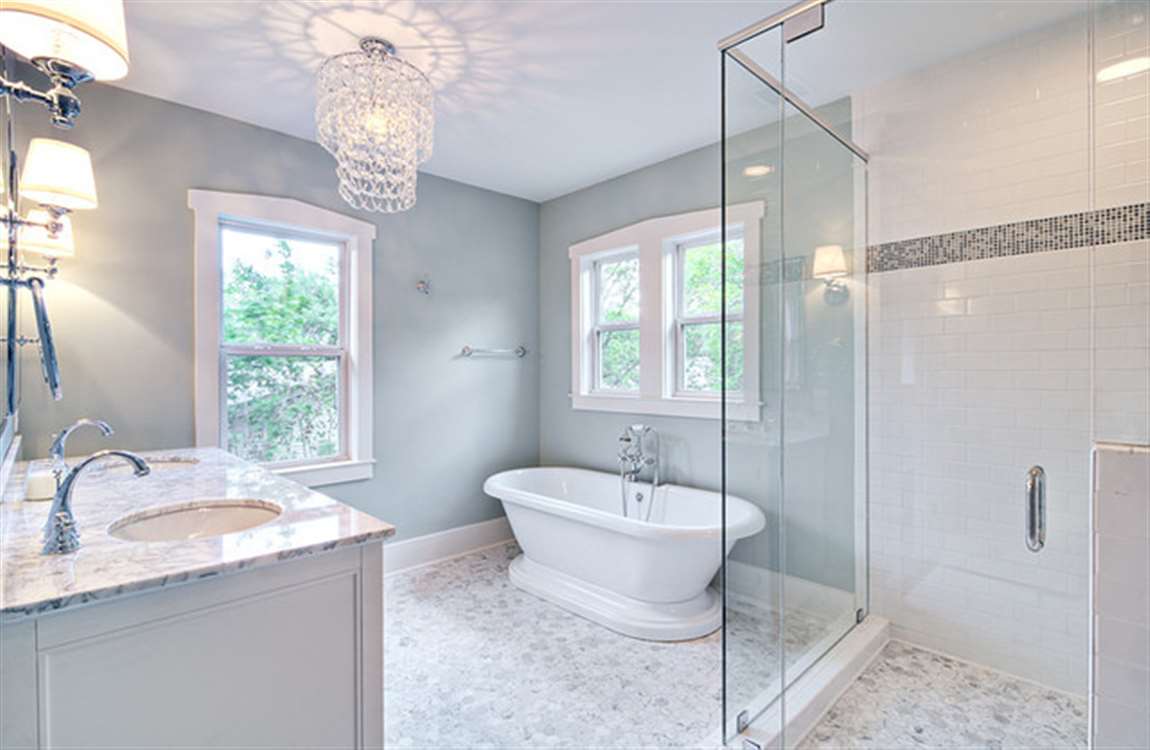
How Taping off the Tub?


Tape off the edges of the tub with masking tape. Some bathtubs are not freestanding fixtures and are housed within a painted housing. If your bathtub is set within a wood or plaster housing, use painters tape to tape off the edges of the tub to prevent the new bathtub reglazing from getting on anything other than the tub itself. If your bathtub is free standing, you can skip this step.


Wrap the spout, handles and anything else that’s not the tub in plastic. Everything that’s staying in your bathtub that isn’t the bathtub itself needs to be covered before you start the refinishing process. Make sure the shower head, any exposed plumbing, bath nozzle and anything else you don’t want refinished is covered in plastic. Once you cover things in plastic, use painters tape to secure the plastic in place.


Use paper or plastic to cover the walls of the shower. The walls of the shower should be covered if they’re not a part of the tub itself. You can hang masking paper or loose plastic from the wall using painters tape to secure it in place. If the shower walls are a part of the bathtub, you may want to refinish them along with the tub, rather than taping them off.


Apply a bonding agent to the surface of the tub if it’s made of iron. Iron tubs need a bonding agent to help the new finish seal in place. Some bonding agents can be painted on while others need to be sprayed on. Follow the directions on the agent you purchase closely for good results. You can buy bonding agents for iron tubs at your local hardware store.


Mix some reglazer per its instructions. Reglazer, or finish, is like a thick paint that you’ll apply to the tub to serve as its new surface. Some tub glazes come in self contained cans for you to spray on, while others are meant to be mixed and applied using rollers or paint brushes. Be sure the bonding agent is completely dry before applying the new finish.

How to Buy a Bathroom Mirror?

Bathroom mirrors combine both style and function, and can have a big impact on the small but important space of the bathroom. Deciding on an approximate size, style and placement of the mirror, and taking into account your budget and existing bathroom decor, will make your trip to the mirror store easy and efficient.

Consider both the height of the wall and the height of the people who will be using the bathroom most often. For example, a bathroom used only by adults will probably have a taller mirror than one used frequently by children. Make sure your mirror is tall enough to accommodate people at least of average height (5’5” or 165 cm for women, 5’10” or 178 cm for men) and slightly taller and shorter.

Install sconces alongside the mirror or lights above it for a bathroom with no window. Make sure the lighting source will provide enough light to see your reflection clearly but won’t create a glare on the mirror. Sconces vary widely in size, but in the bathroom you should go with a smaller model, about 8-10 in. (20-25cm), or thin and elongated. Your sconces should be about 1/3-2/3rds the length of the mirror.

Buy 2 of the same model and place them at least 4 in (10 cm) away from the mirror on either side. Factor their size and distance from the mirror into your measurements. Take care not to place the sconces too high or too low. Line them up with the center of the mirror.

Place the mirror a few inches (several cm) above the sink to lessen backsplash. If your sink is prone to splashing water out, place your mirror high enough above the vanity so that it won’t get hit. Remember to factor this into your measurements for the height of your mirror.

Accommodate accessories and/or electrical outlets. If you plan to install sconces or have electrical outlets around your mirror, factor them into your mirror’s size and placement. Make sure to leave a few inches or several centimeters of space between the mirror and electrical outlets to avoid cluttering the space. If you plan to put décor or practical objects on your countertop, make sure to place them so they won’t collide with your mirror.

How to Clean a Shower?

Remove your shower curtain and liner. Be careful not to drag them on the floor. You may not need to clean the shower curtain itself. The shower liner is both easier to clean and the part that is likely to be dirty. If your shower liner is very soiled, then you may need to replace it.

Place them in the washing machine. Separate the curtain and liner, then spread them out. Drape each around the agitator in your washer, or loosely place them in the tub if you don’t have an agitator.

Add two to three old towels. Towels will help remove some of the stains from your curtain and liner because they will scrub against them in the wash. Use medium to large bath towels. Add your regular detergent. Unless the label specifies otherwise, you can wash your shower curtain and liner with your normal laundry detergent. Avoid using fabric softener.

Check the label for the recommended wash setting. If none is recommended, wash on a normal setting. If you are washing your (non-color) liner without your shower curtain, then treat it like you would your whites, washing it on hot with optional bleach.

Hang dry or tumble dry low. Shower curtains and liners can easily shrink, so follow the care directions on your items. If you choose to tumble dry your liner and curtain, do it in 15 minute increments because they will dry quickly.