Posts

How to Optimizing Your Bathroom’s Storage Space?

Utilize all available surfaces. The back of your bathroom door is a frequently underused space. But this is a great place where you can install extra towel racks. You could also purchase organizers with adhesive backing and stick these to the inside of the doors of your cabinets to boost your bathroom storage capacity. Though these kinds of organizers are frequently small, they still work great for things like lipstick, cotton swabs, lotions, eyebrow pencils, toothbrushes, and more. You can also attach some hooks to the back of your bathroom door for hanging towels or robes.

Put stackable shelves or drawers in your cabinets for more storage room. Stacking shelves or drawers will help you utilize more of the space in your cabinets (if they don’t already have shelves to begin with). Too often, items clutter the bottom of cabinets while the upper space is unused. Stackable shelves or drawers will help you make better use of this space.

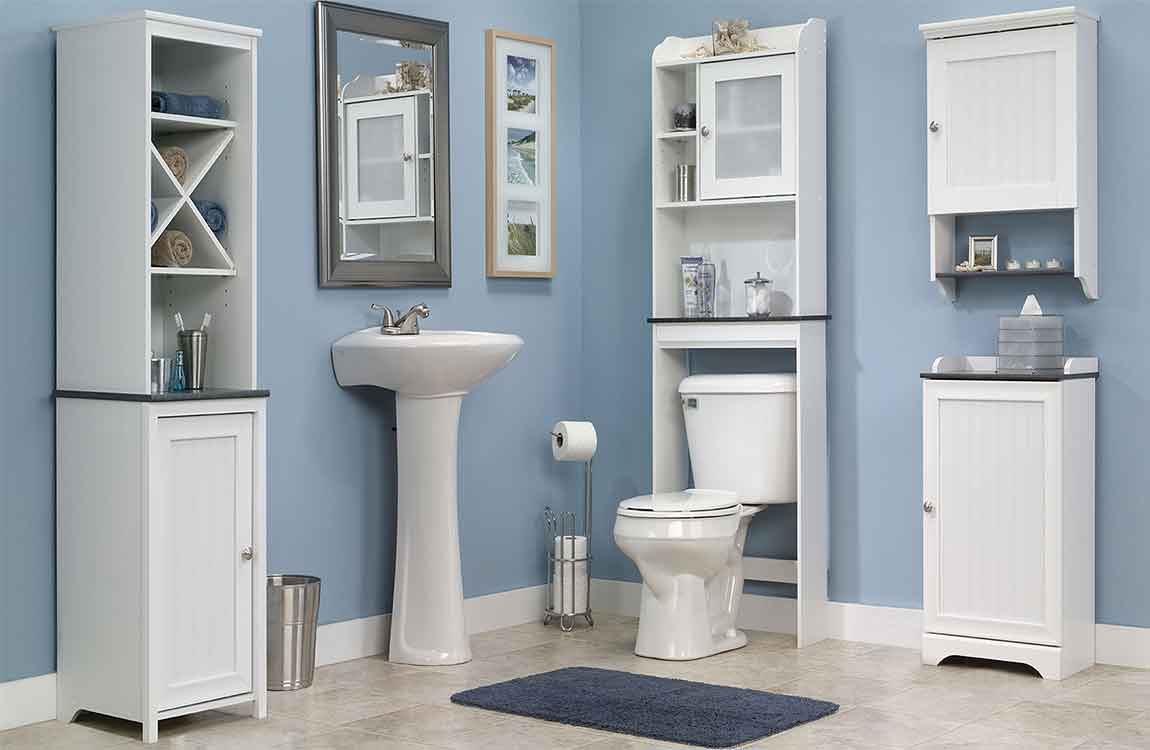
Put a lazy susan in your cabinets. Items can be easily pushed to the back of a cabinet and lost or forgotten. For this reason, you may be under-utilizing the space in the back of your bathroom cabinets. A lazy susan is essentially a tray that rotates on a base, so you can spin the tray to reach items in the back of your cabinets more easily. You can also put a small lazy susan on your counter to save space.

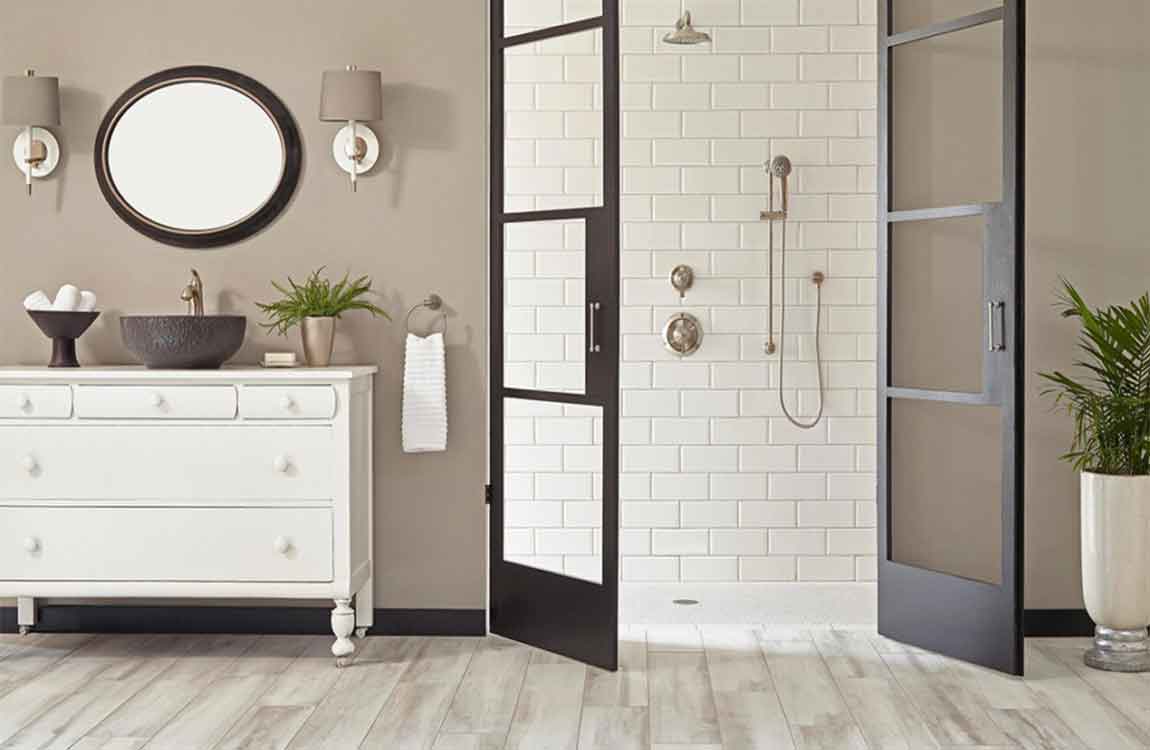
Install tower shelving in your shower. These kinds of shelves often fit right into the corner of your shower, where they are out of the way but still convenient. They are perfect for holding soap bottles and loofahs, and will prevent bathing supplies from crowding the floor of your shower or edge of your tub. Some variations of tower shelving hang from the shower head itself instead of fitting into the shower‘s corner. This variety may be even better for especially small showers.

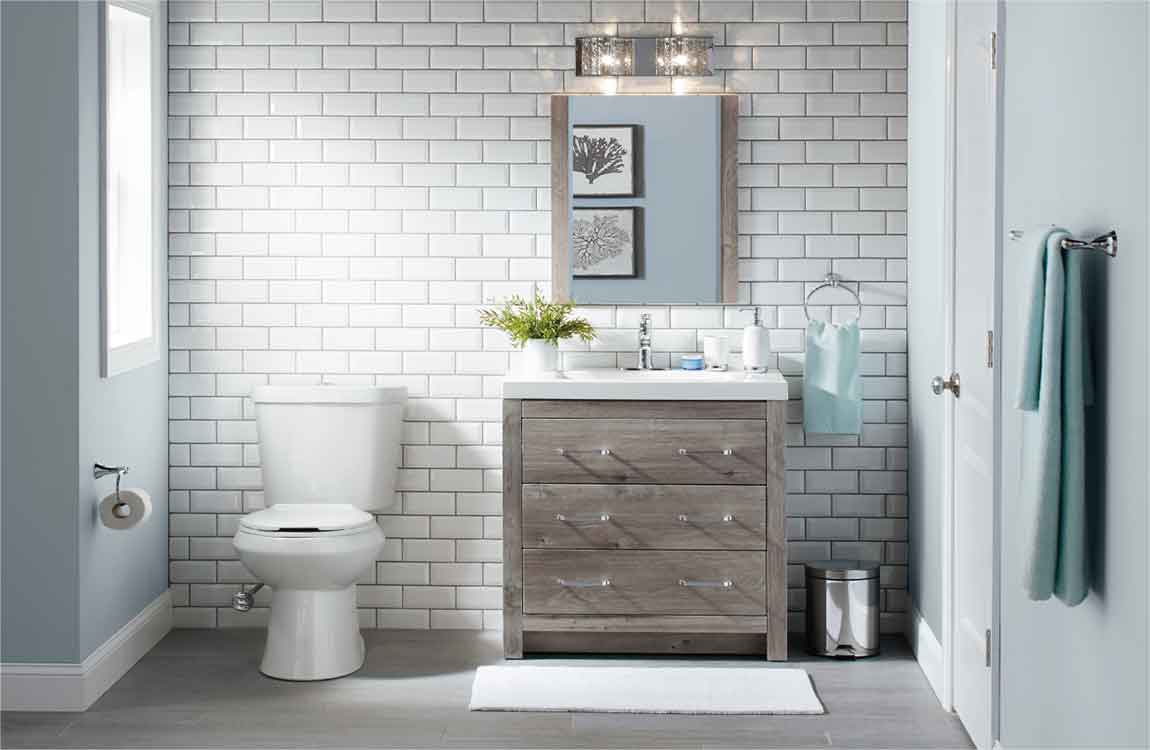
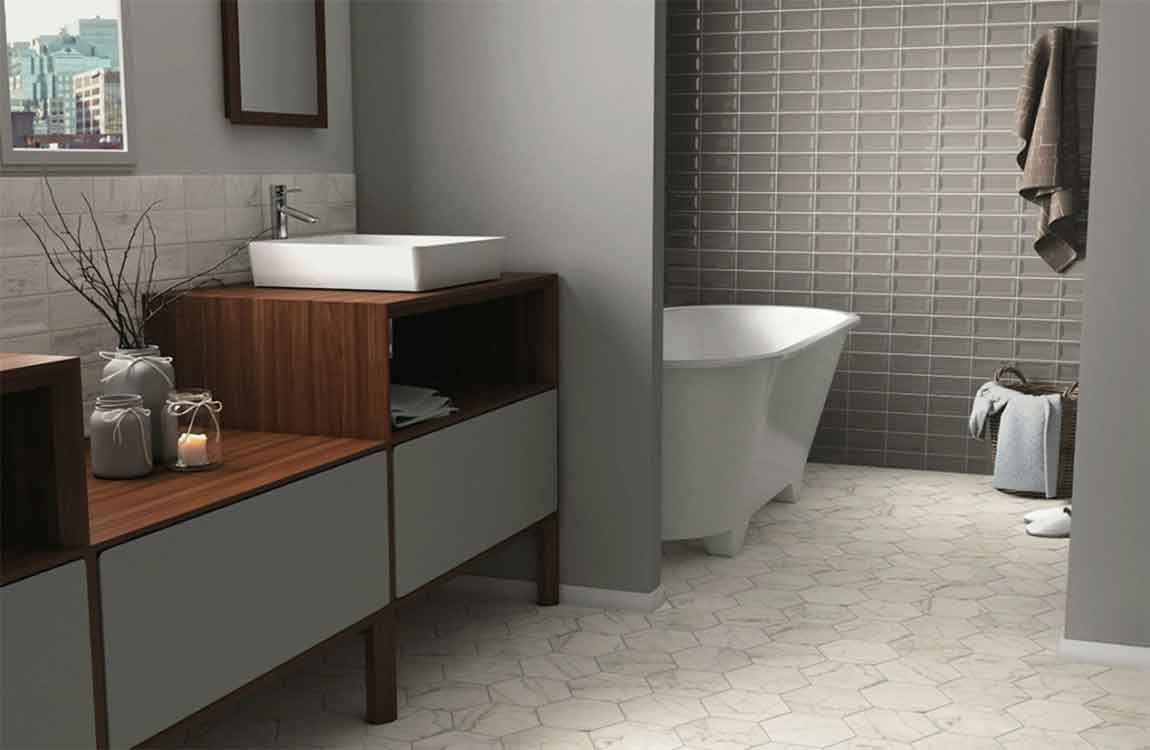
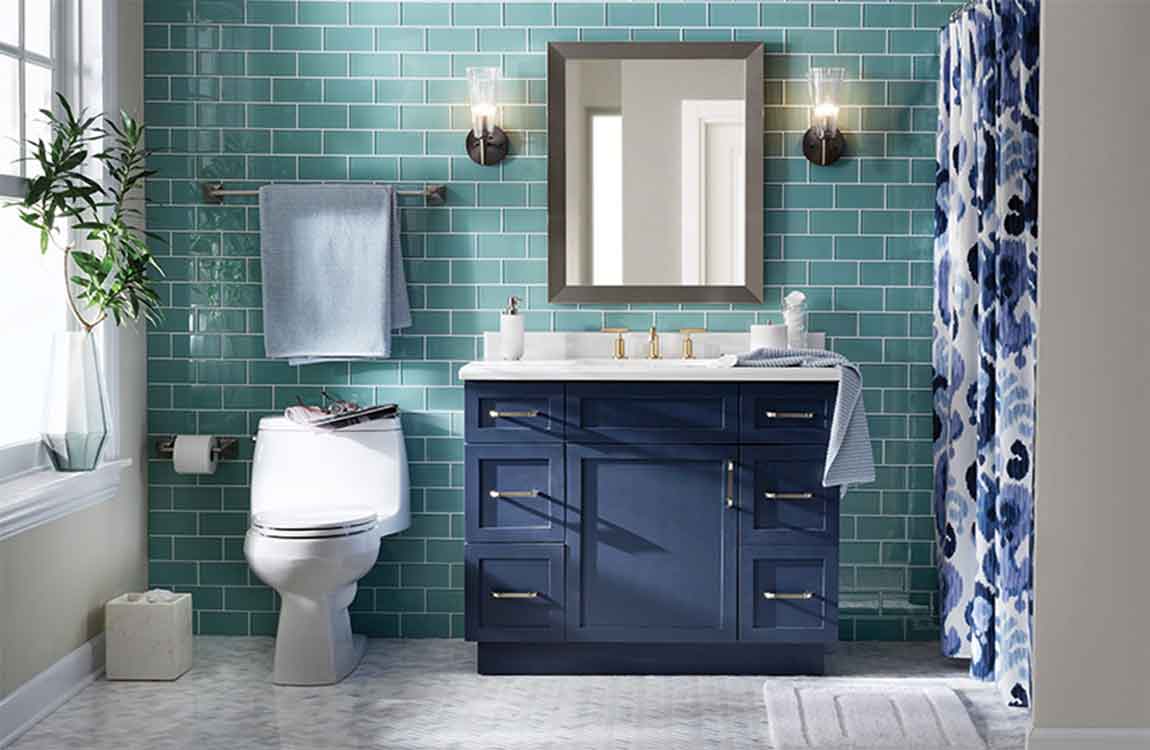
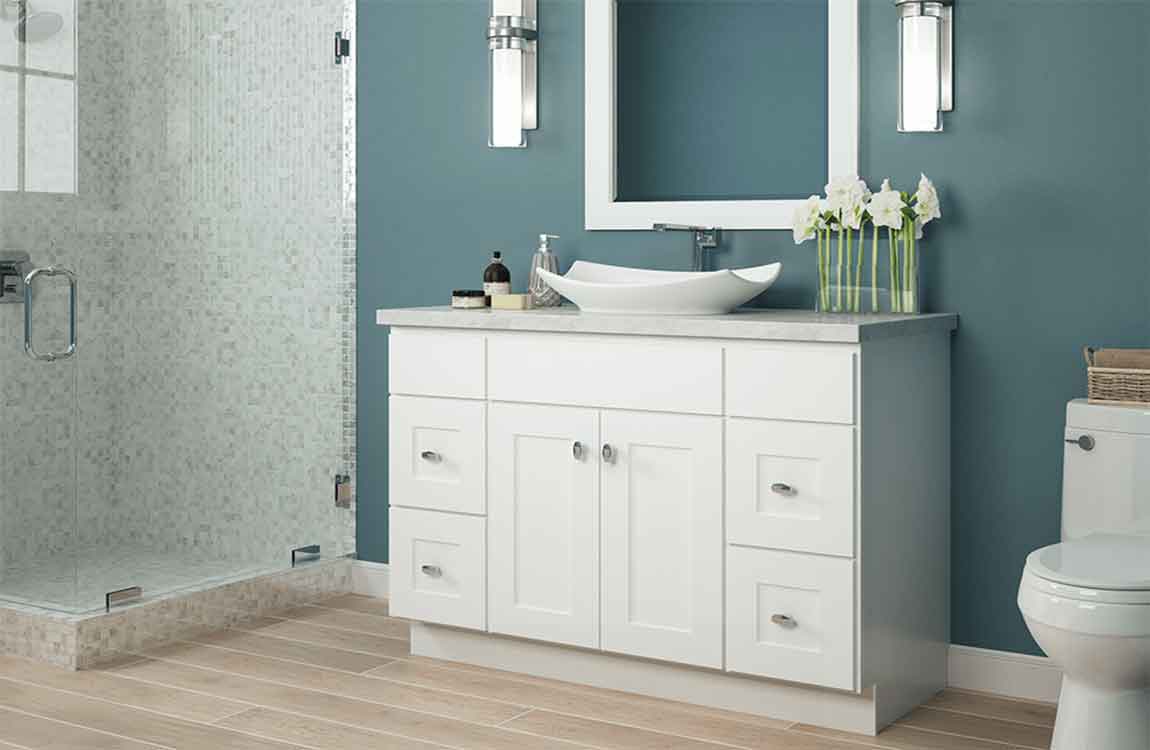
Upgrade your sink storage. There are many pre-made cabinets, available at hardware and furniture stores, that wrap around your sink to increase your storage space. If this option is a little outside your price range, you could buy a decorative curtain and install it around suitable sinks with storage space underneath (like pedestal sinks), and then store bathroom items there.

How to Install a bathroom sink?

Whether you’re installing a new sink in a recently constructed home or replacing an old one, you can learn to plan properly and install your new sink securely. While different sinks will need to be installed depending on the variations of the kit you’re using, the basic steps in the process are usually the same. Learn how to assemble and fit your new sink into place quickly and efficiently.

Get the necessary tools for the job. You can install a new sink with basic tools and new components that match the valves already installed in your plumbing. Make sure you have: Silicone caulking. Plumbers’ wrenches, either pipe wrench or slip-joint pliers. Basin wrench. Set of plumbing sockets.

Turn off the water supply valves. Typically located beneath the sink, it’s critical that you shut off the water supply to the sink before you remove it. If the valves are not beneath the sink, then you’ll have to turn off the main water supply. This is typically located on a lower level or the basement near the water meter. To test, turn on the hot and cold water on your sink and make sure no water comes out before proceeding.

Remove the old sink, if necessary. If you’re replacing a sink, you’ll obviously need to remove the sink that’s in place before installing the new one. Disconnect the supply and drain lines from the faucet, using locking pliers or a crescent wrench. A small amount of water may leak out when you do this, which is normal. Just use a bucket or a towel to handle the water that leaks out.

Locate the large nut that connects the sink to the drain and disconnect it. This metal or plastic nut will be located either in the wall or the floor. Use your hands or locking pliers to unscrew the nut. Remove the current sink by sliding the edge of a putty knife around the perimeter of the bathroom sink, loosening any caulk that connects it. Pull it loose.

Measure the new sink to make sure it fits the space. All new sinks should come with a template of the mounting opening, marking the location of the faucet holes, including a cutout for the sink. You can use the template to make sure the sink fits in the desired location. If it doesn’t, you may need to do some trimming or, or cut the entire opening if you’re installing a sink in a house under construction. Most new sinks come with clips and screws that are used to hold the sink in place. If you buy a faucet, sometimes it’ll come with the drain and tailpiece for the sink. If it isn’t included, get one before you start. The supply lines for the faucet need to correspond to the faucet and valves under the sink, so make sure they match before you get started.