Posts

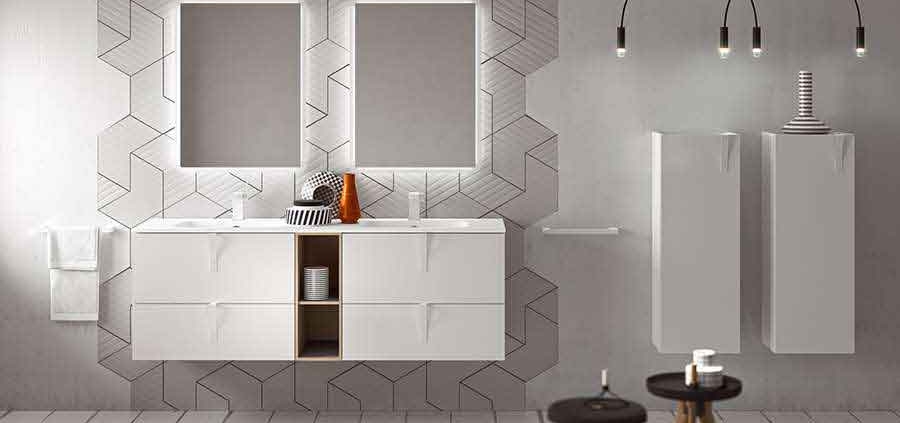
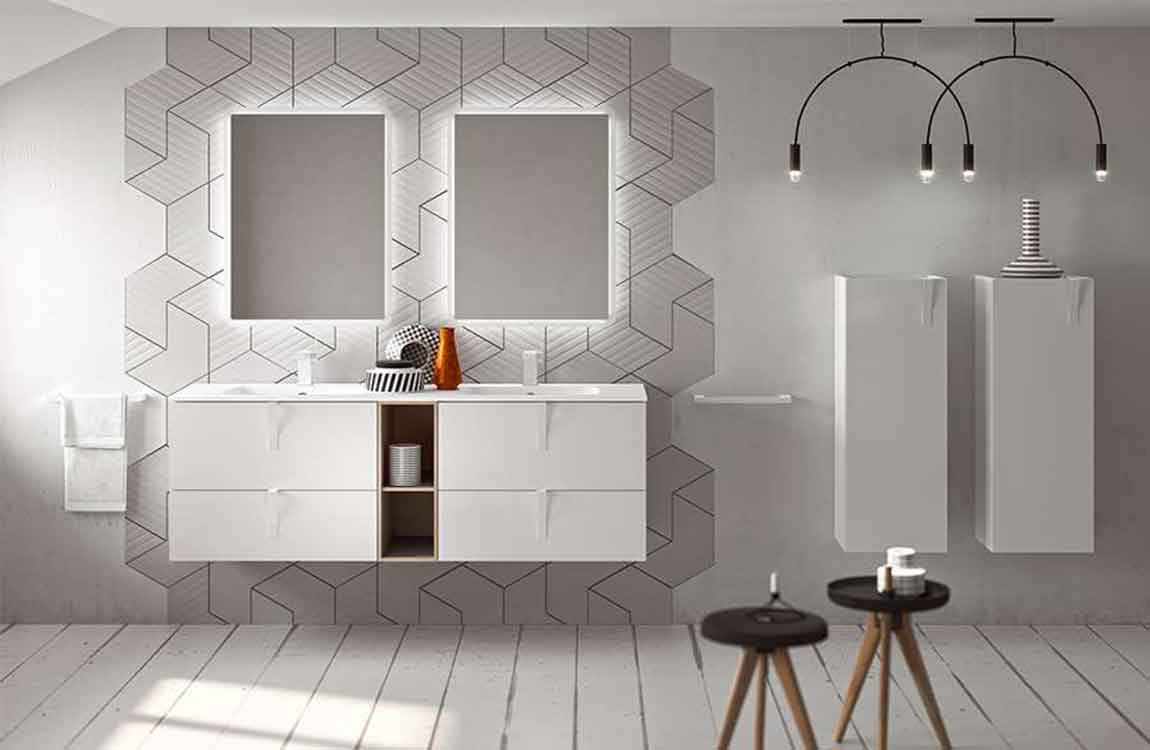
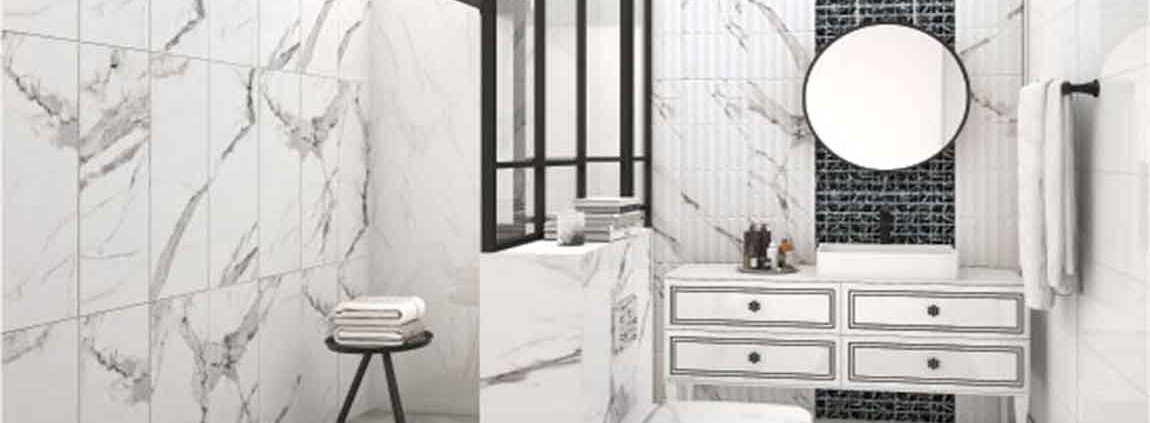
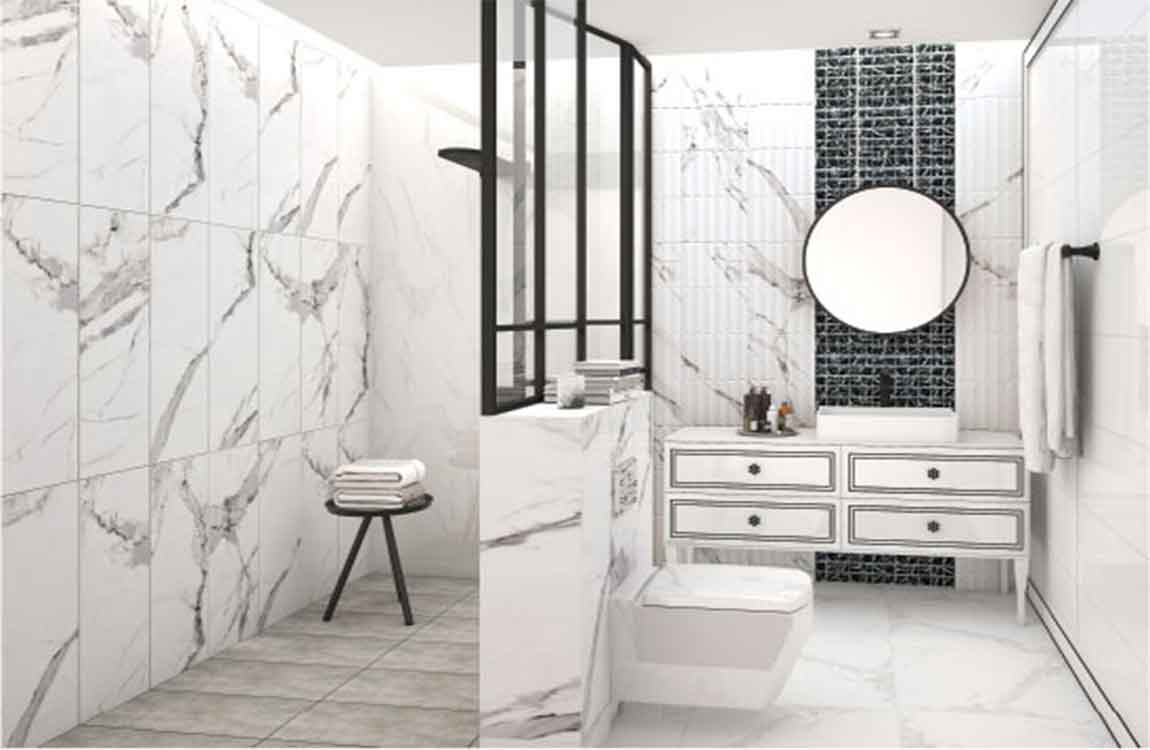
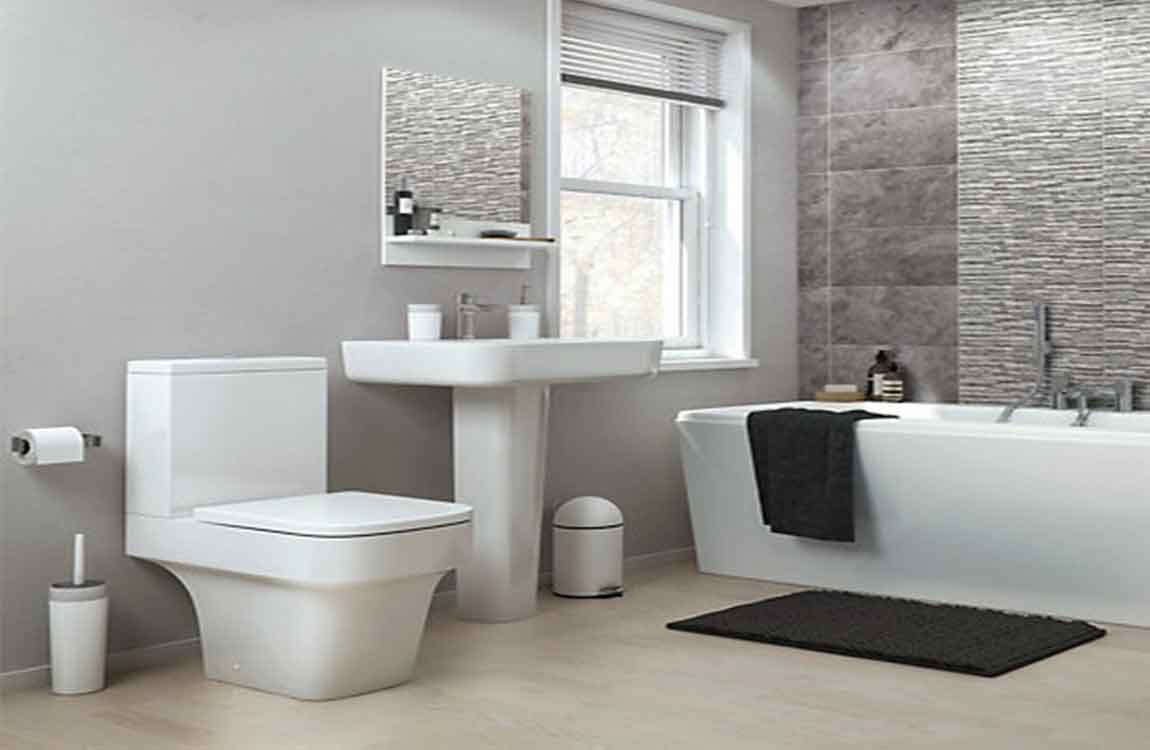
How to Removing the Old Seat Before  Install a New Toilet Seat?

Pop off the bolt caps, if necessary. Look at the edge of the old toilet seat, near the tank. You may see plastic caps where the seat’s hinges attach to the toilet bowl, one on each side. If so, gently slide the flathead screwdriver under their edge and pry them off. If there are no bolt caps, you will just see the bolts themselves attaching the hinges of the seat to the toilet bowl.

Loosen the nuts. Hold your adjustable wrench and look underneath the edge of sides of the toilet bowl. You should see bolts going down through the porcelain, held in place by nuts. There will be one on each side of the bowl. Attach the adjustable wrench to each nut. Turn the wrench counterclockwise to loosen the nuts.

Remove the old seat’s bolts. The bolts at the base of the hinges on top of the toilet bowl may be slotted for a screwdriver. If so, use yours and turn each bolt counterclockwise until it comes out. Otherwise, you can continue turning the nuts counterclockwise until they come off. If your old seat has washers between the nut and bowl, remove those as well.

Wrestle with the old bolts, if they’re stuck. On some older toilets, the bolts might be rusted or stuck in place by grime. If so, they may not come out easily. Don’t panic — you have some options! First, spray WD-40 on the threads of the rusted bolts. Let it sit for 10 minutes, then try again to remove the bolts.

If that doesn’t work, place your adjustable wrench on the nut. Hold it in place as you use the screwdriver in your other hand and attempt to turn the bolt out. If the bolts are still stuck, use your small hacksaw to saw them off. Place the blade just under the toilet bowl, at the top of the nut, and gently saw back and forth until you cut the bolt all the way off.

Dispose of the old seat and hardware. Lift the bolts out of the bowl, if you haven’t already. You should then be able to remove the toilet seat and its hinges easily. Toss out the old seat, bolts, and nuts.


What Should We do before Paint Bathroom Cabinets?

Like any room in the house, the bathroom can benefit from a makeover every once in awhile. If you want to update the look of your bathroom but aren’t enthused about the idea of dropping an untold sum of money on new installations, consider simply repainting your cabinets or vanity. A fresh coat of paint can drastically change the appearance of your bathroom without the difficulty or expense that comes with extensive renovation. Simply pick a color, then line, prime and paint, and you’re guaranteed to develop a new appreciation for your cozy washroom overnight.

Sanding and Priming the Cabinets. Clean the cabinets first. Before you sand, prime, or paint, you need to thoroughly clean the cabinets. Put on gloves and mix trisodium phosphate (TSP) and water according to the instructions on the box. Dip a sponge in the solution, wring it out, and wipe down each cabinet. Then, wipe down each cabinet with a clean cloth to remove any residue. Be sure to clean the inside and outside of each cabinet.

Remove all doors and hardware. Before you get started, take off the cabinet doors, pull out drawers and pop off false drawer plates. You’ll also want to unscrew any handles, pulls, stops or hinges that might get in the way while you’re painting. This way, you’ll be able to work without obstructions. Keep everything together in one place to avoid losing important pieces. Labeling the individual bits of hardware or placing them in separate plastic bags can make it easier to keep track of everything. If you’d also like to use this project as a chance to install new hardware, this would be an opportune time.

Sand the bathroom cabinets to remove existing paint. Go over the outside of the doors, panels and baseboards with a high-grit sandpaper. There’s no need to remove every trace of paint or lacquer—you just want to make the cabinet’s outer surfaces coarse enough for the primer to cling to. Work out any rough edges or irregularities and aim for a smooth finish. Put on gloves and eye protection before sanding. Sand using smooth, circular motions, moving outward as you progress. Run the sandpaper straight along edges and narrow panels. Don’t forget to get inside corners and along the inner edges of the bathroom cabinet doors. Use a Shop-Vac to deal with the dust and debris when you’re done.

Brush on a coat of primer. Apply a basic primer to the areas you plan on painting. One thin, even coat should do the job. Primer will be useful for protecting the cabinet’s underlying materials and getting the paint to hold better. Primers should be specially formulated for use with the type of paint you’re working with. Water-based primers, for example, should be used only with water-based paints. Lightly sand dry primer to make the painting surface more uniform.

Put down painter’s tape. Use a few strips of painter’s tape to mask the underside and inner edges of the bathroom cabinets, including the area where the bathroom cabinet meets the wall. Mask the countertops as well. Make sure the tape is straight and even to avoid glaring mistakes. Painter’s tape will allow you to establish exact boundaries for your paint job and cover areas that you want to keep clear.

Wider tape will give you a greater margin of error and can be useful for painting near walls and trim. If you’d prefer not to remove your bathroom cabinet doors prior to painting, fold a piece of painter’s tape over the hinges to keep paint from getting on them. If your bathroom is small, consider painting the drawers and bathroom cabinet doors in another space that has better ventilation.