Posts

How Filling Gaps and Sanding the Tub?


Prepare the epoxy putty before applying it to any cracks. Wear rubber gloves to protect your skin, and read the manufacturer’s instructions before you begin. Open up the putty and tear or cut off a small section of the putty. Work the putty between your fingers until it is pliable, kind of like how you would massage a piece of play dough to work it into a new shape. If you can’t find epoxy putty, buy a similar kind of tub-repair paste from your local hardware store.


Fill any cracks or chips in your tub with the epoxy putty. Use your fingers to push putty into any chipped areas. Depending on how large the crack is, tear your putty pieces so the size is about right to just overfill the area. Make sure to push down on the putty firmly so that it makes its way into all the crevices. At this stage, it’s okay if the putty isn’t flat with the rest of the tub’s surface.


Use a putty knife to smooth over each of the patched areas. Take your putty knife and position the blade so it’s flat against the surface of the tub. Gently scrape it over the filled sections to remove any excess putty. Wipe off the blade from time to time with a damp paper towel. If your working on a curved area, you may need to adjust your knife’s position a few times to get the entire area smooth.


Sand the entire bathtub to work down the gloss and prepare it for paint. Use wet/dry sandpaper, and sand it with 400 grit sandpaper first, and then do it again with 600 grit sandpaper. Attach your sandpaper to a sanding block, and use a spray bottle to wet down the tub as you work. The wet-sanding will eliminate a lot of dust, but it’s a good idea to keep wearing your respirator, especially if you’re working in a small space.


Rinse out the tub and dry it completely before painting it. After the tub has been sanded, rinse out the interior and wipe down the exterior sides to remove any sandpaper and grit remnants. Use clean towels to dry it off thoroughly. The tub needs to be 100% dry before you start painting it, so use as many towels as you need to.

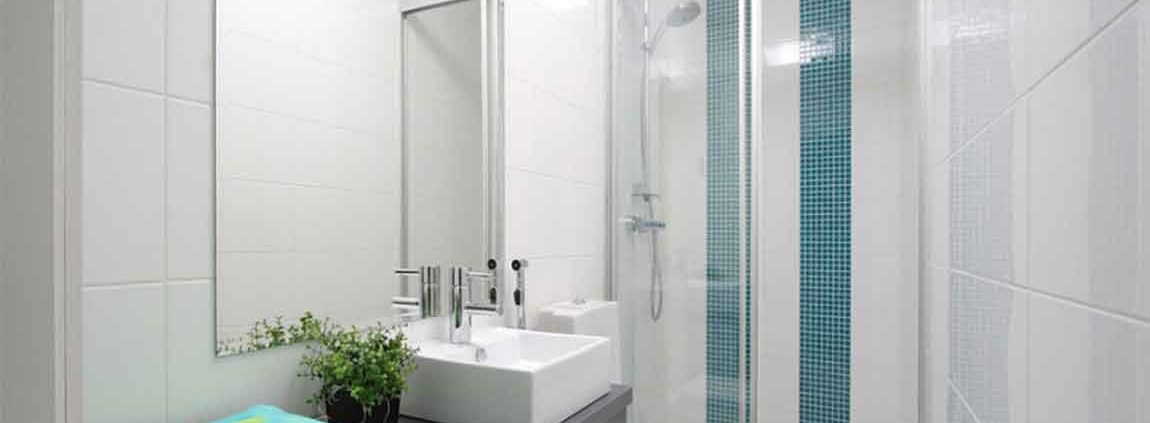
How to Clean a Fiberglass Shower?

Stepping into a dirty shower can make it hard to feel clean. While it may seem like your fiberglass is ruined forever, cleaning your shower is actually a simple process. All you need to restore the shine to your fiberglass shower are a few common household products and time for them to work.

Apply the cleaning solution to your shower. Spray your vinegar-detergent mixture onto the shower and tub surfaces. Allow it to set for 10-15 minutes so that the ingredients have time to penetrate the dried on soap scum, mildew, and mineral deposits. If your shower doesn’t have soap scum, mildew, and mineral deposits, then you don’t need to let the product set.

Use a sponge, cloth, or soft-bristle brush to work in the product. Scrub your shower surfaces with your non-abrasive applicator, paying special attention to areas with thicker grime. As you clean, apply additional cleaning solution as needed. For example, if your cleaner dries before you get to that section, you can apply additional cleaner. Do not scrub with hard-bristle brushes, scouring pads, or metal pads because they will scratch your fiberglass.

Rinse with cold water. Use a cup to splash cold water onto all of the surfaces to remove the cleaning solution and the grime. You will likely need to rinse areas more than once to remove all of the product. If you have a handheld shower head, you can use it instead of a cup.

Spray the solution onto your shower and rub it in with a damp cloth. Coat the walls and basin of your shower with the solution and rub the solution in a small circular motion. Continue to work around your shower in small circles, concentrating on any built up mildew or dirt.

How to Clean a Bathroom Sink Drain?

Bathroom sinks can begin to smell unpleasant when toothpaste, hair, and other items collect in the drain. Aside from this debris, mold and mildew can also grow in your drain and slow or block the sink from draining. Regular cleaning can help prevent these buildups from clogging your drain. When the sink does become clogged, you can break down buildup in the drain with baking soda and vinegar.

Cleaning the Drain Regularly

Remove debris from the drain weekly. To prevent buildups, remove any pop-up stoppers or drain guards on your sink and discard the debris that they’ve collected. Rinse them before replacing them.

Most bathroom sinks feature an adjustable metal stopper than can be used to plug the sink. These can be removed by pulling them out of the drain. If your sink stopper is used by pushing and pulling a rod behind the faucet or is otherwise attached, remove the nut on the back of the drain pipe, pull out the retaining rod, then remove the stopper.

Use a non-corrosive drain cleaner when necessary. Your bathroom sink collects bacteria that can contribute to unwanted scents and deposits within the drain. To kill this bacteria, use a biodegradable, non-corrosive pipe-cleaner once a month. Hydrogen peroxide is a great option that can be poured directly down the drain.

Note that many well-advertised drain cleaners are full of chemicals that pose a risk to both your health and your pipes. Follow the directions on any natural, store-bought cleaning products. Bleach and antibacterial products are not recommended. They are unnecessary and can potentially damage plumbing systems. This is especially important if you have a septic tank.

Clean your drain monthly with household products. Instead of a packaged drain cleaner, use salt, baking soda, vinegar, and/or lemon juice to deodorize and clean your sink. Mix whichever of these you have on hand into about a cup of solution and pour it into the drain. Let it sit for an hour before flushing hot water down the drain.

How Removing Fiberglass Bathroom Surfaces Tough Stains?

Remove soap scum with baking soda and water. Once soap scum accumulates, it can be difficult to get off with regular bathroom cleaners. Mix water and baking soda until it has a paste-like consistency and apply the paste to the soap scum areas. Leave the applied mixture alone for a couple of hours and then rinse it off with warm water.

Use an acid to dissolve stubborn soap scum. More challenging soap scum might need an acid, such as vinegar, to help dissolve it. For best results, soak a cloth with vinegar and cover the stained area with it for about an hour.

After removing the cloth, clean the area with warm soapy water and a soft sponge. Stronger acids, such as diluted muriatic acid, should only be applied while wearing rubber gloves and as a last resort.

Bleach dark stains with hydrogen peroxide. Deeper, darker stains may be challenging to get rid of with regular cleaning products. Place several layers of clean white cloths over the stained area and pour hydrogen peroxide on top. Let the hydrogen peroxide soak in overnight and in the morning, rinse and dry the area.

Use acetone or paint thinners on extreme stains. Difficult stains can be removed with acetone, which is the main ingredient in nail polish remover, or paint thinners such as turpentine.

Soak a clean white cloth with the solution that you’re using and gently rub the stained area until it returns to its natural color. These solutions are fine to use occasionally on stained fiberglass, but should be used sparingly.

How Cleaning Bathroom Grout With Kitchen Remedies?

Steam clean the grout. One effective and environmentally friendly way of cleaning grout is to attack it with a steam cleaner. Outfit your steam cleaner with a thin and pointed nozzle, and a brush attachment if it’s available. Aim the nozzle at the grout lines, apply continuous steam, and follow the grout lines with the steamer.

Even if the steam cleaner doesn’t get the grout perfectly clean, it will clean it somewhat, and help loosen the rest of the dirt and debris to make it easier to clean with other products. Attack it with baking soda and vinegar. Take two tablespoons (30 g) of baking soda and add enough water to make a thick paste. Dip a clean toothbrush or grout brush into the paste, and then use the toothbrush to scrub the grout with the paste.

For the best results, use a new toothbrush with hard bristles, and scrub the grout in a circular motion, rather than back and forth. When you have finished scrubbing the grout, use a spray bottle to spray the area with a half-and-half mixture of vinegar and water. Let it bubble for about half an hour. Use the toothbrush to scrub the baking soda paste and vinegar into the grout again. Rinse the area with clean water.

Move on to baking soda and hydrogen peroxide. In case the baking soda and vinegar mixture didn’t to the trick, try hydrogen peroxide instead of vinegar. Make a thin paste with baking soda and hydrogen peroxide, and use the toothbrush to scrub the paste into the grout. Pour on some additional peroxide if necessary. Rinse with warm water when you’re finished.

You should never mix vinegar and hydrogen peroxide, so clean the area well and wait a couple days before trying this method. If the hydrogen peroxide doesn’t remove all the dirt and grime, it will at least improve the appearance of the grout by removing stains, and will kill any mold that’s present.

Give borax and lemon juice a try. In a small bowl, mix together ¼ cup (63 g) borax, ½ teaspoon (3 ml) lemon oil, and enough liquid soap (such as Castile soap) to make a paste. Use your toothbrush to scrub the paste into the grout, and then rinse with warm water.

how to choose shower

How To Choose Shower

how to choose shower

First, see whether the surface coating is smooth and smooth.
Generally speaking, from the surface of the shower, the naked eye can see the more bright and delicate, the better the plating process.

Two, look at the merits of the material.
Most of the plastic used for ordinary showers, high-quality showers generally use copper tube, copper pipe percussion sound crisp, cast iron pipe sound muffled. Or you can hold the tube 2, 3 seconds after the release, such as pipe body mist lingering, it is very likely that the cast iron pipe, if left hand tube almost no change, basically you can determine copper.

Three, look at the shower switch spool material and service life.
Quality shower switch valve core is made by special process, high hardness ceramic made, the service life to meet the national standard of 200 thousand times.

Four, look at the sprinkler function.
Many showers in addition to a variety of water functions, there are energy-saving, self-cleaning, constant water temperature and other diversified functions, and some showers there are multiple sprinklers. According to the actual situation of their own, select the right function, the less function, of course, the lower the price.

Five, look at the intensity of irrigation.
This should be based on their own water pressure, and if the house adopts water tower and other equipment, the water pressure is low, low pressure sprinkler should be used to ensure that in low pressure circumstances, the sprinkler water has a certain degree of irrigation. Of course, under normal circumstances, the water pressure less than 1.5 kilograms in the most suitable shower use will cause pressure, water pressure is too small a shower, the shower can not be used normally.