Posts

How to Install a Bathroom Fan?


Bathroom fans are essential for removing moisture and bad odors from the bathrooms in your home, thus preventing the growth of mold and mildew. By removing excess moisture from the air, you can also prevent wallpaper and paint from peeling and prevent doors and windows from becoming warped. Installing or replacing a bathroom fan is a moderately easy DIY project for homeowners with basic electrical and carpentry skills.


Gather the required tools. Installing a bathroom fan is a manageable DIY project for homeowners with basic carpentry and electrical skills. Before you begin, it’s a good idea to have all of the required tools and materials easily at hand. In terms of tools, you will need some basic hand tools such as a screwdriver and a combination pliers, in addition to a power drill and a jigsaw.


In terms of materials, you will need a length of flexible duct pipe, a vent cap, screws, caulk and wire nuts. If you’re running the duct pip out through the roof you will also need roofing cement, shingles and roofing nails. You will also need a stepladder in order to reach the fan from below, safety goggles and a respirator to wear while drilling, and roof brackets, roof cleats or a safety harness for potential roof work.


Now that the fan is secure, take the length of flexible duct pipe and attach one end to the 90 degree duct elbow protruding from fan housing using foil duct tape. Now is also a good time to run an existing or new electrical cable through the connector on the fan housing. You can secure the cable by tightening the screw on the connector. Be aware that you’ll need to use a three-wire cable if your new fan includes a light.


Find a suitable exit point for the duct pipe. The next step is to find the shortest, straightest route from the housing fan to the outside. The longer the duct pipe is, the less efficient the fan will be. It is essential to vent the fan exhaust outdoors. Venting it directly into the attic would promote mold growth and potentially cause the rafters to mold.

How Preventing the Buildup of Soap Scum?


Switch to body wash instead of bar soap in the shower. Soap scum is caused by the organic animal fat contained in bar soap. If you don’t like using synthetic body wash, you can also opt to use fat-free soap and shampoo instead of ordinary bar soap. You can buy body wash at any store that also sells bar soap. To buy fat-free bar soap, you may need to go to a health and beauty shop or a cosmetics store.


Dry the door with a squeegee after every shower you take. Keeping your shower door dry whenever you’re not actually in the shower is a great way to prevent the buildup of soap scum as well as mold. If you don’t have a squeegee, you can also use a clean towel to keep your door dry. Squeegees tend to be pretty cost-effective and you can usually buy them in the cleaning section of most grocery stores and mass retailers.


This may seem like a chore to do in the short term, but it’s much easier to squeegee your shower door after you shower than it is to clean off soap scum that’s been building up for a long time. You should also open your bathroom windows or leave the fan running for at least 30 minutes after every shower. This will help dry out the bathroom and prevent the growth of mold and mildew.


Apply baby oil or white vinegar to the shower door. Put some baby oil or vinegar on a scouring brush, then scrub the oil or vinegar onto the entire surface of the door. Finally, rinse off the door with warm water. Repeat this process once a week to keep your shower door scum-free.


The chemical compositions of baby oil and white vinegar both work to repel soap scum, making it much less likely to accumulate on your shower door. Be sure to rinse the door really well if you use baby oil, since it may cling a bit to the door. You can also use commercial glass-cleaning products, such as Rain-X, to prevent buildup.

How to Plan a Bathroom Renovation?

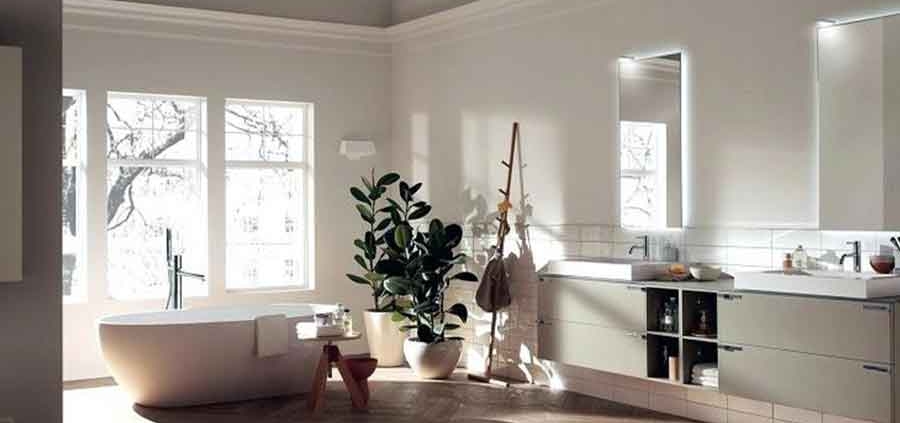
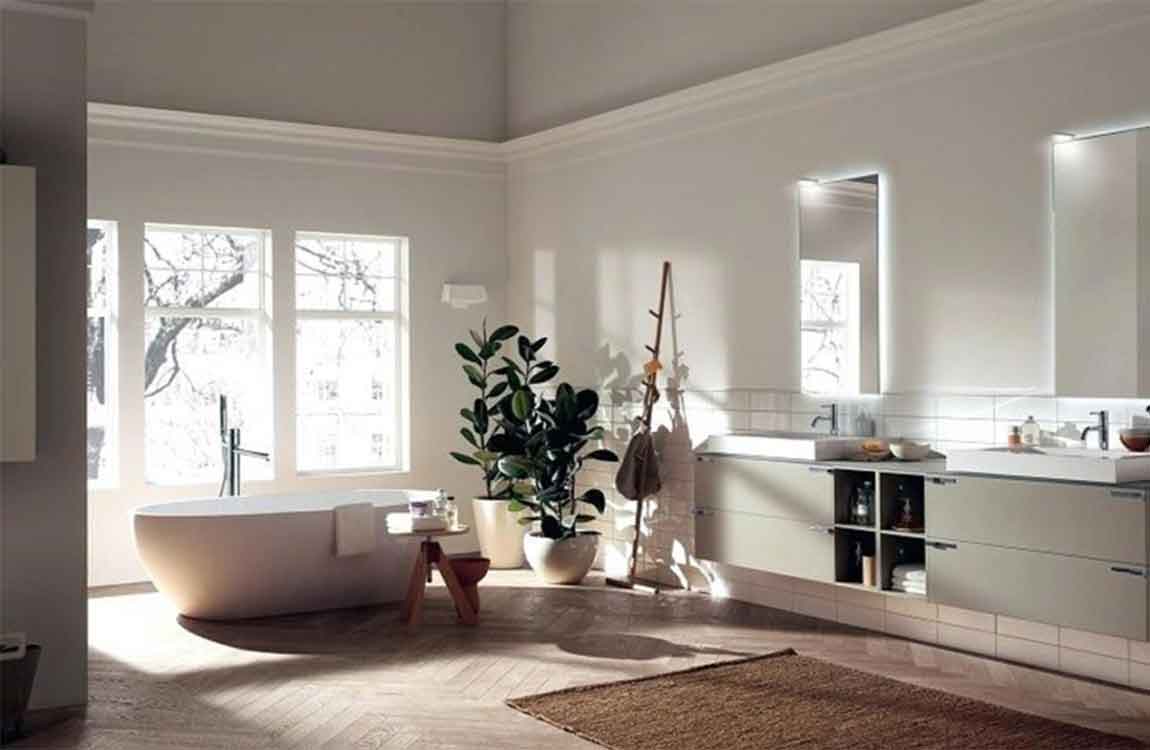
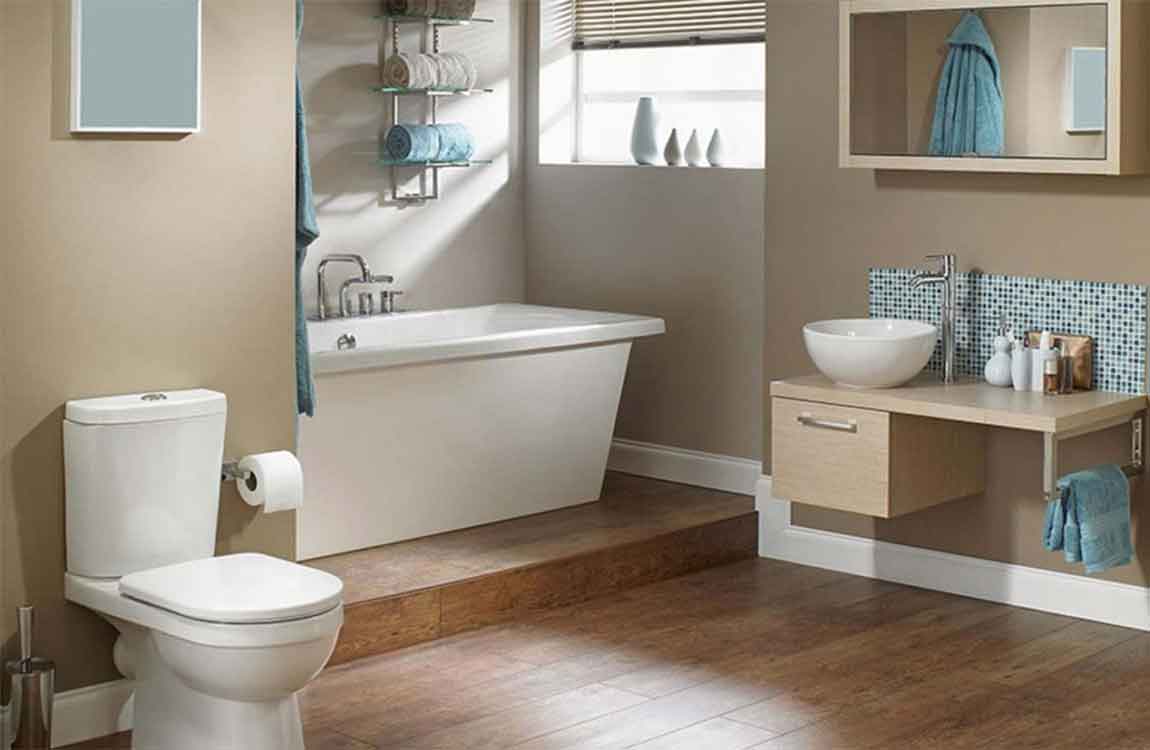
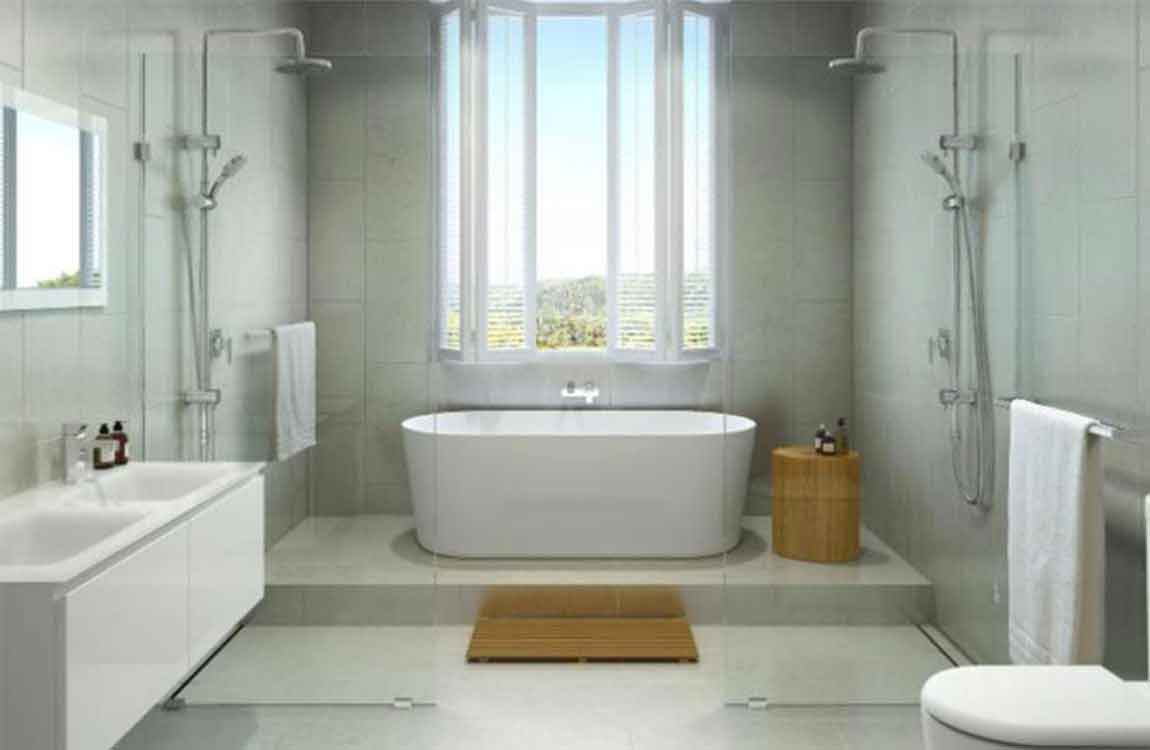
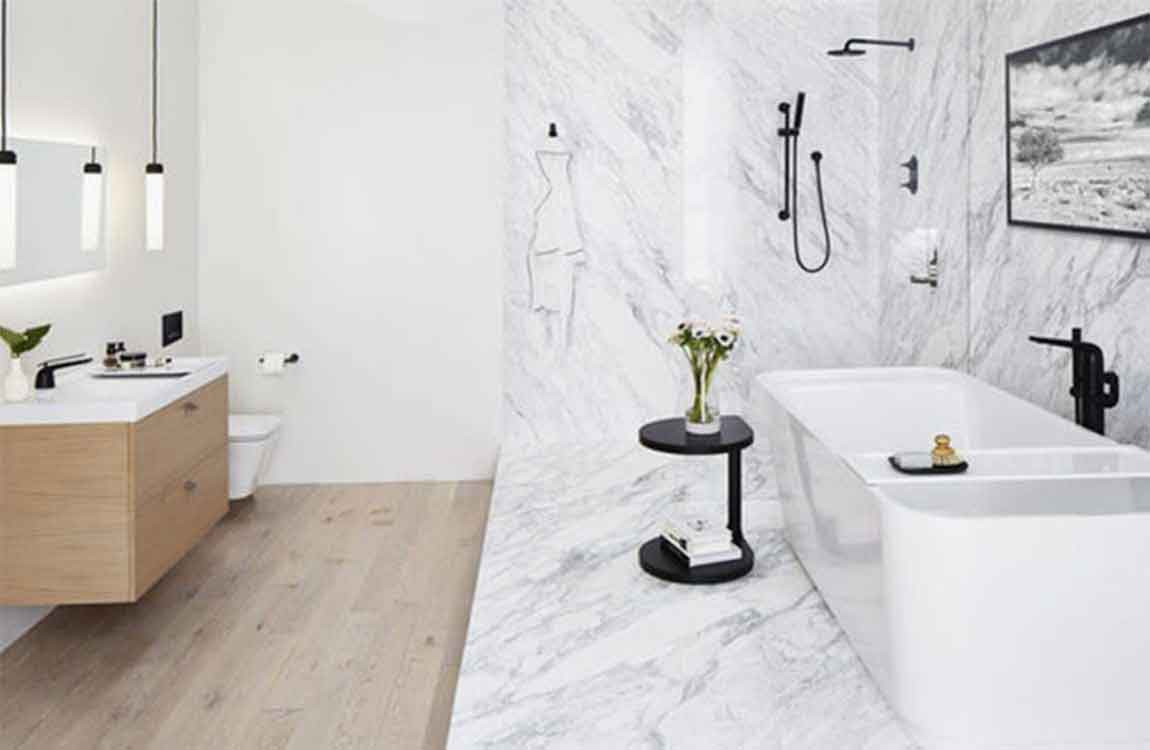
If your bathroom is out of date, taking the time to renovate it can help increase the value of your home. Before you start ripping out fixtures from the bathroom, it’s best to set up a plan and budget for the renovation. Take time to go over designs and buy the supplies you need so you’re completely prepared. By the time you start, you can either do the renovation yourself or hire contractors to do it for you. With a good plan, you’ll have a great new space in your home!
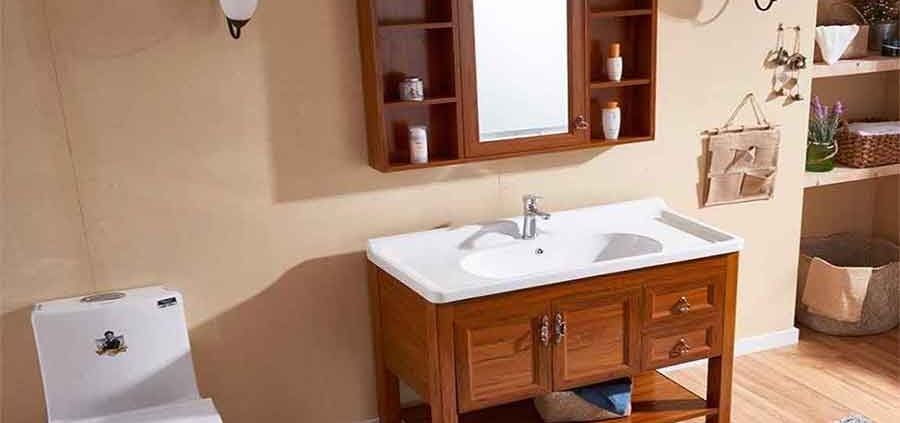
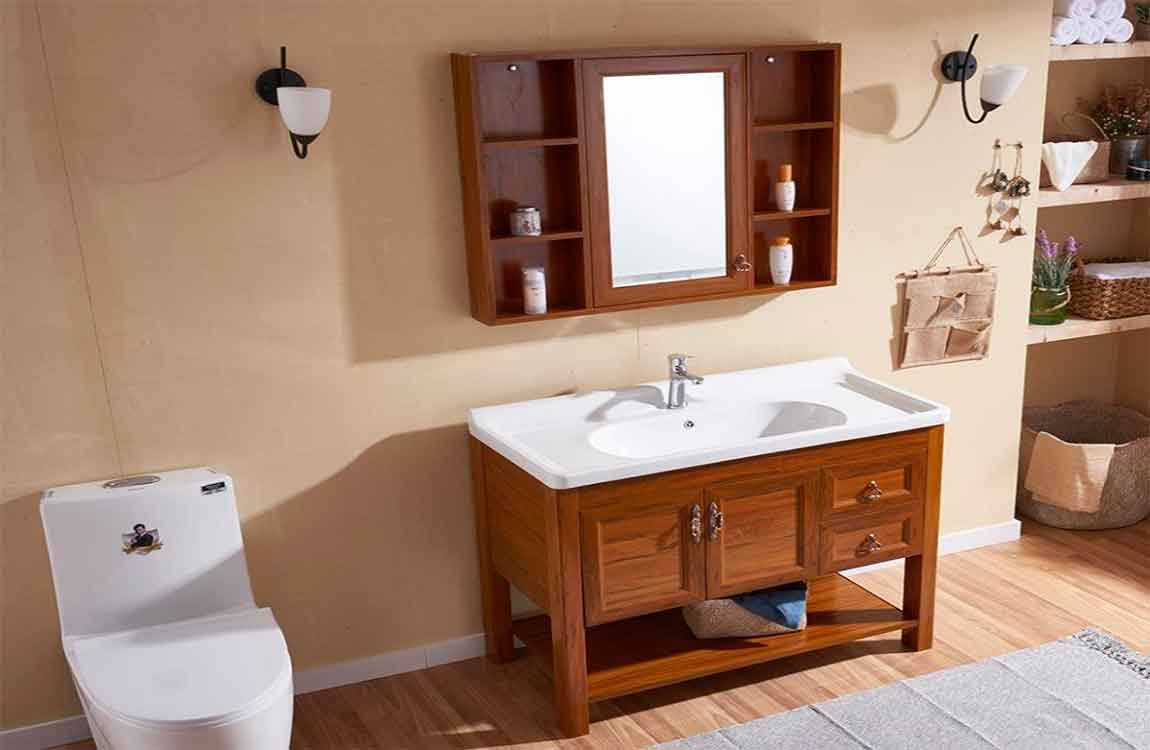
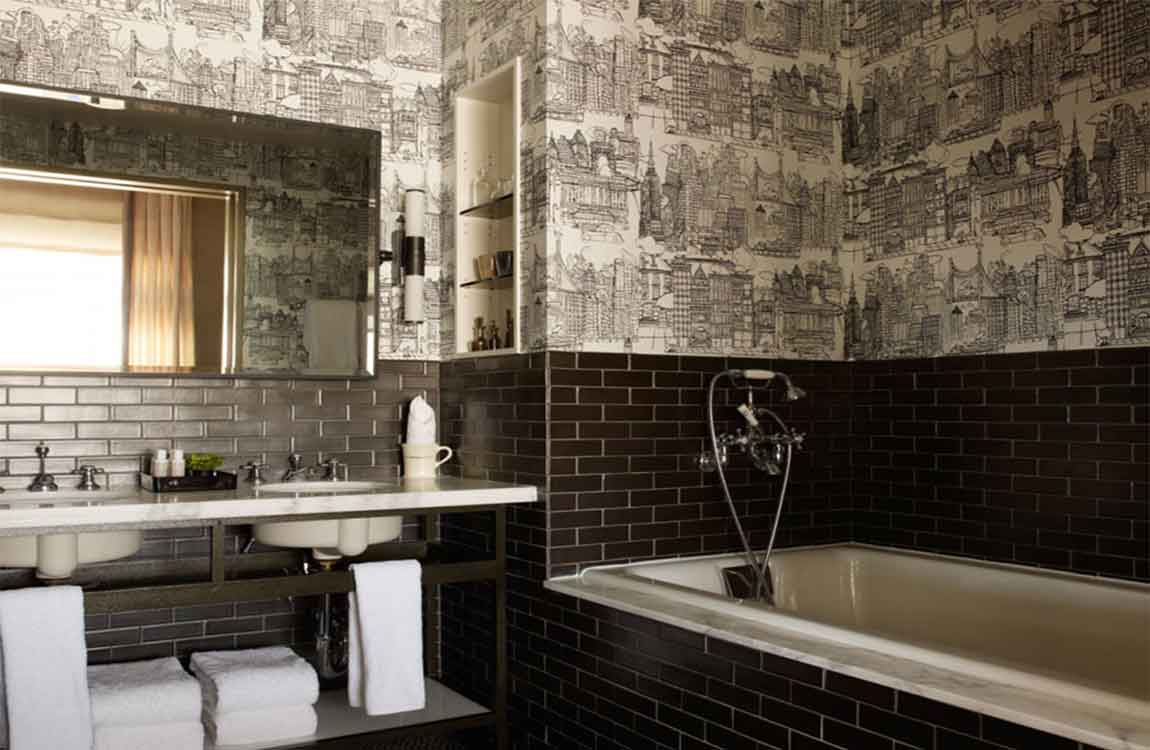
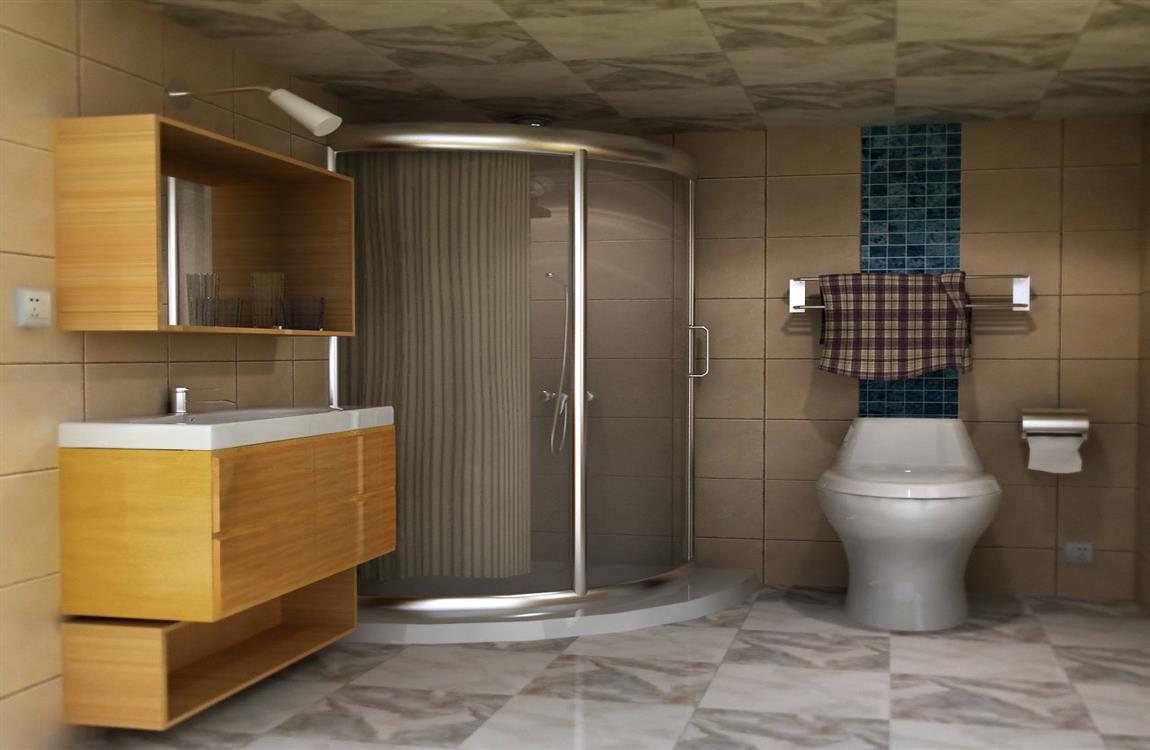
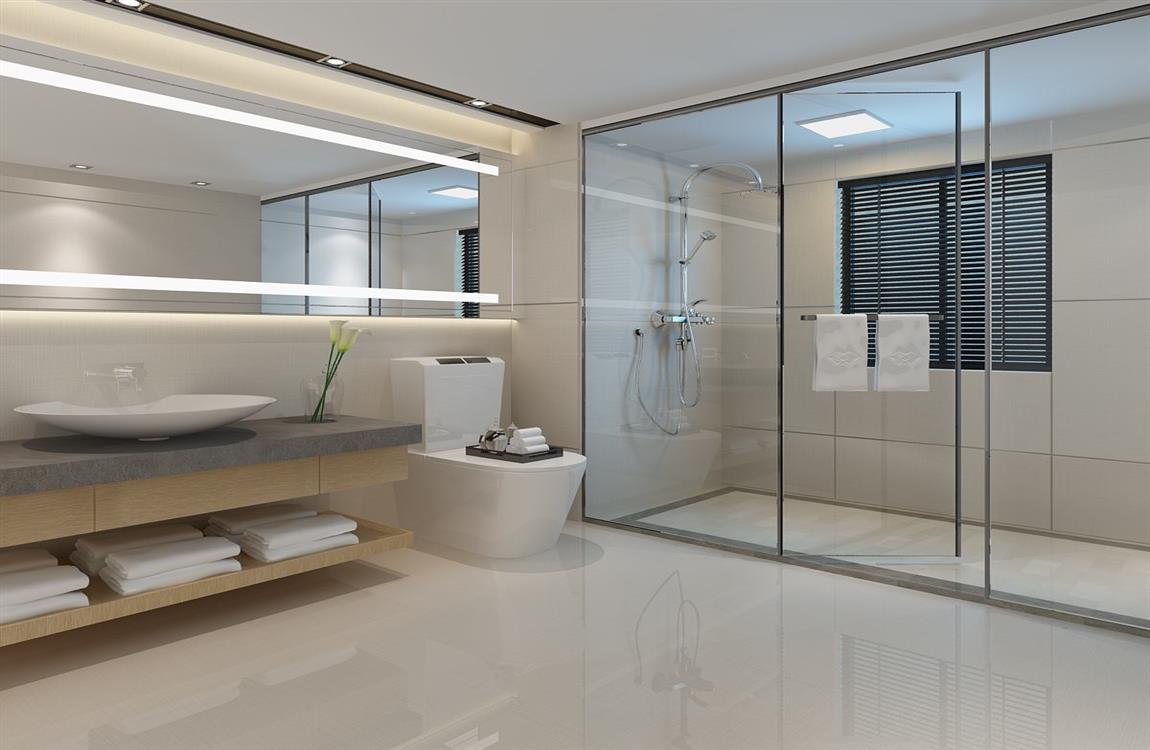
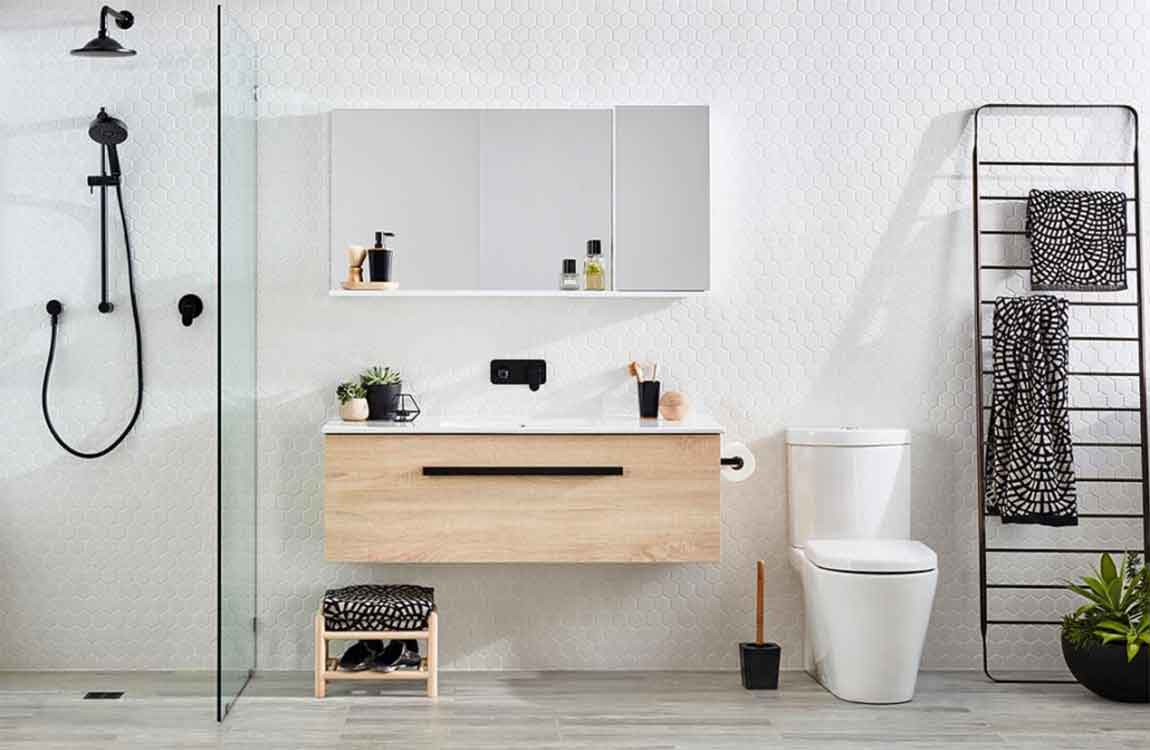
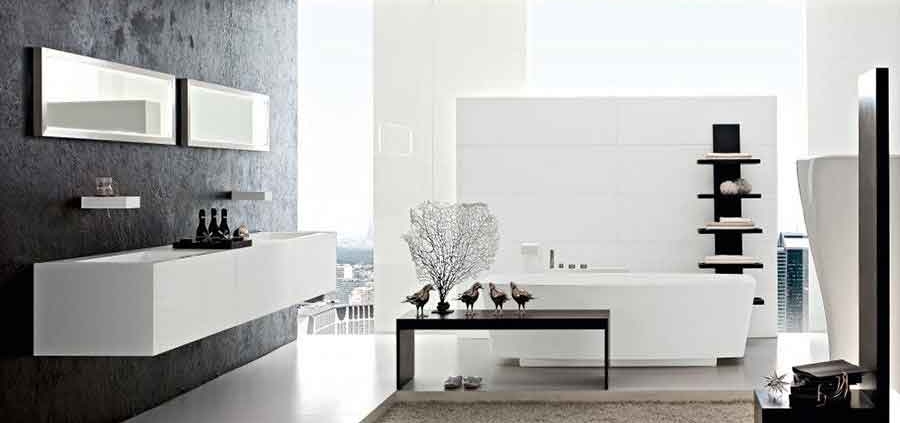
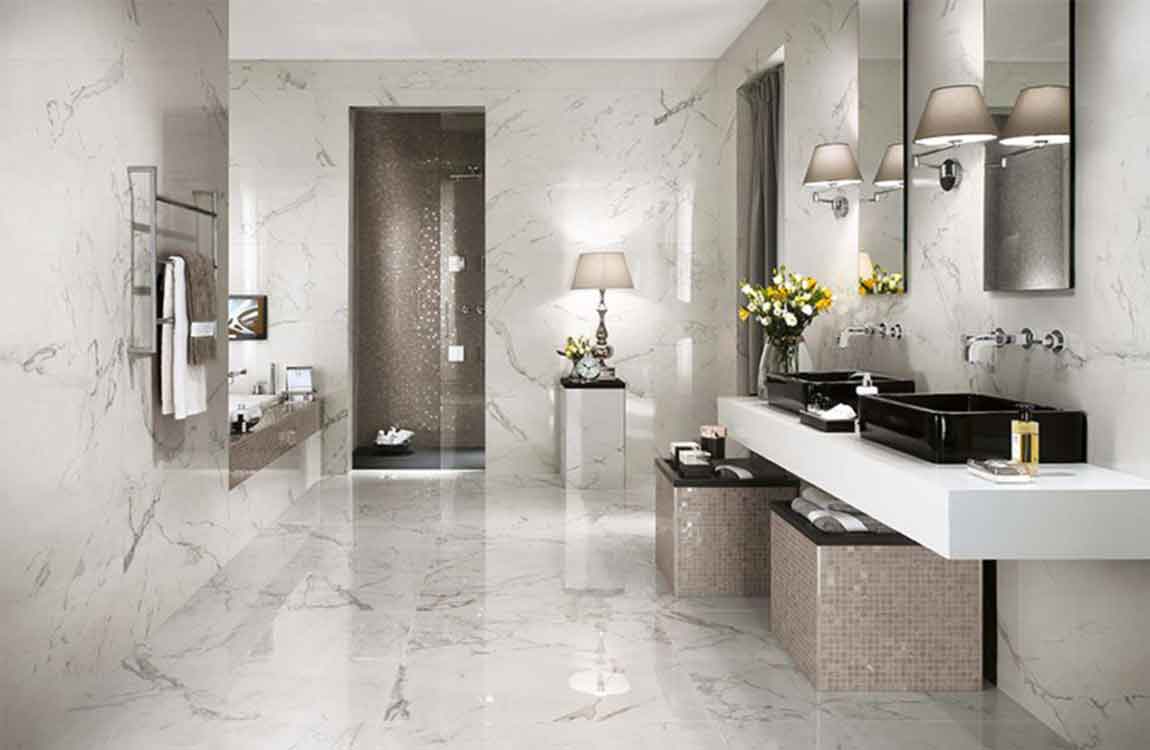
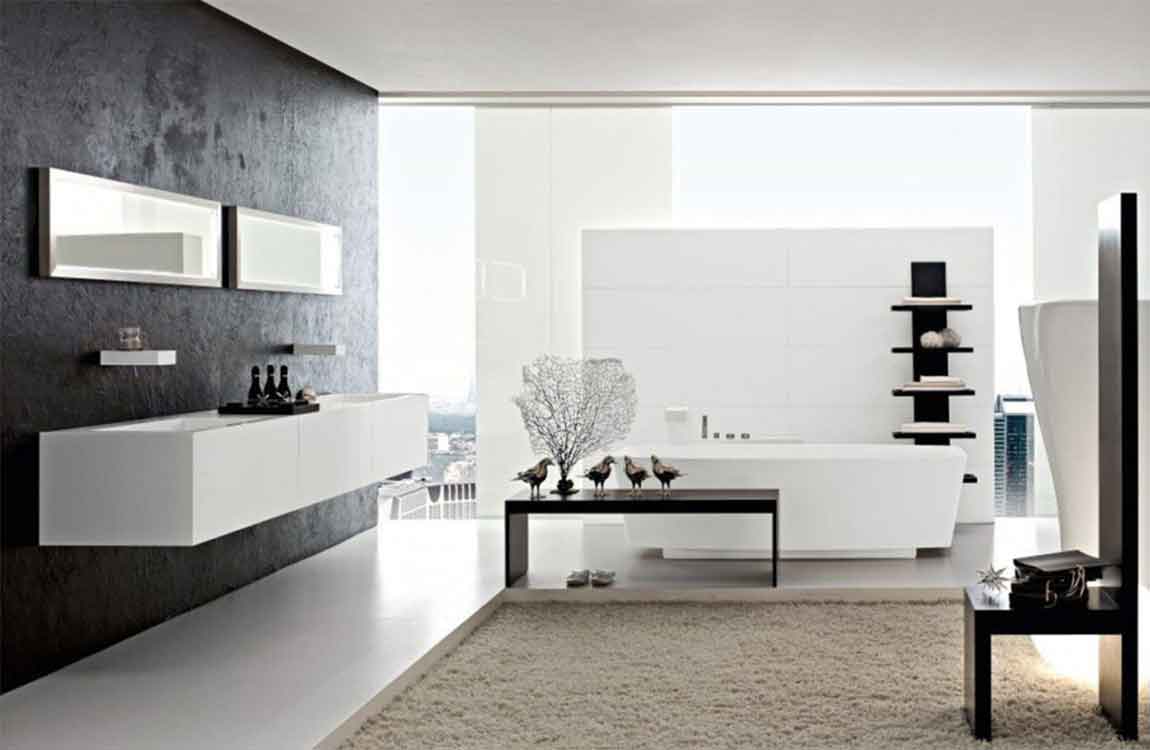
Traditional bathrooms usually feature a full bath and shower combination. Modern bathrooms look sleek and contemporary, but most tend to only have a shower stall instead of a bath. Craftsman-style bathrooms usually have handcrafted wood cabinets or vanities, but these will be more costly. Rustic bathrooms use raw finishes, such as wood walls, for a simple and homey look.

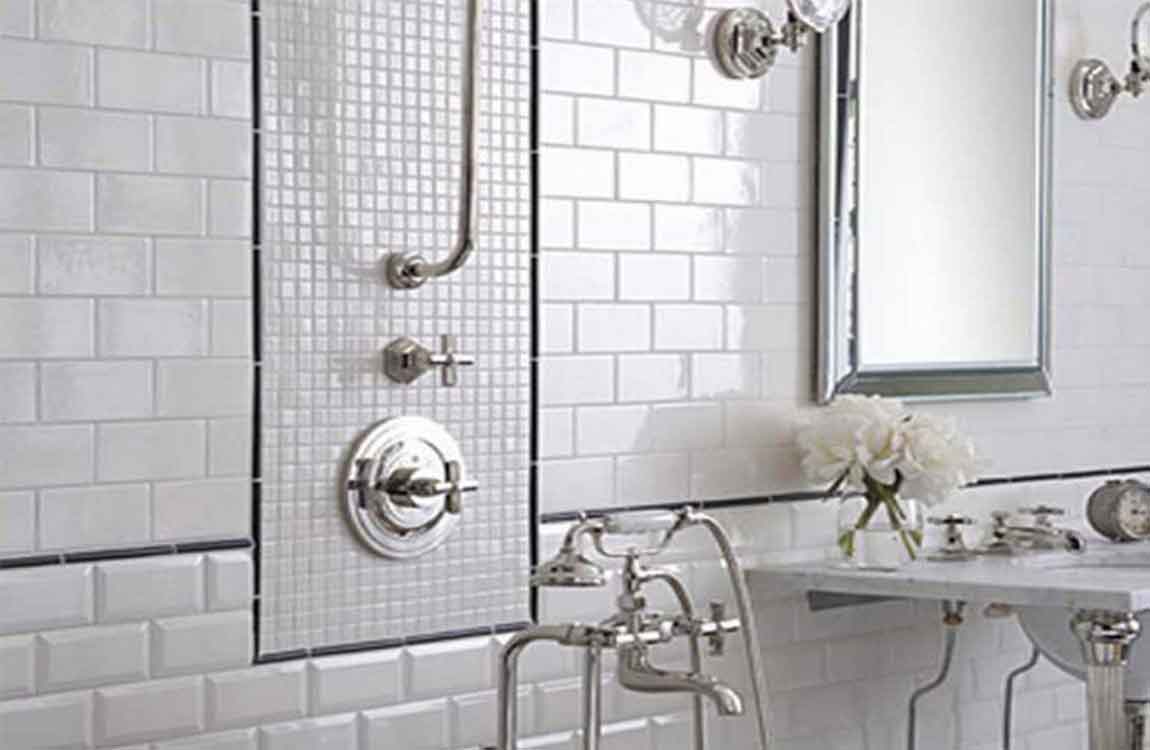
Choose a color scheme for your bathroom. Pick the paint or tile colors you want for your bathroom so you can base the rest of your design around it. Settle on at least 3 colors so you have a primary, secondary, and accent shade. Try using light colors, such as white, cream, or yellow, to make your space feel larger and more inviting.

Make sure your decor and accessories match the color scheme for your bathroom, or else you’ll need to buy new decorations. Tip: Follow the 60-30-10 rule when choosing colors for your bathroom. Your primary color for the room should take up 60%, a secondary color should be 30%, and accent colors should cover 10%. For example, you may have white walls and cabinets as your main color, black floors and countertops for your secondary, and blue accessories as your accent.

Avoid laying metal in your sink. One of the toughest stains to get out of a sink, especially porcelain bathroom sinks, are rust stains. As a result, don’t lay any metal in your sink. Because of the presence of moisture, metal will quickly rust and leave a stain. If you have a rust stain, take an old eraser and wipe it against the stain. If the rust stain won’t come out with baking soda or an eraser, you may need to use an abrasive cleaner like Comet cleaning powder. However, make sure whatever product you use is safe on the material your sink is made of.

What Should We Do Before Replace a Bathroom Faucet?

A new faucet is a great way to update your bathroom and give it a whole new look. Whether you are renovating the bathroom or need to replace an old or leaky faucet, this is a relatively simple DIY project that you can accomplish in a few hours. The important thing is to get a faucet that fits your sink, so you should remove the original faucet before purchasing a replacement.

Gather your tools and supplies. Replacing a bathroom faucet is a straightforward job, but it does require a few tools that you’ll need to remove the old faucet and install the new one. The tools you’ll need include: Adjustable wrench, Basin wrench, Bucket, Towel, Flashlight, Measuring tape, Plumber’s tape, Sponge or scrubber, Bathroom cleaner or soap, Rag or cloth, New faucet (purchased after you remove the original)

Prepare your work area. Remove everything from underneath the sink. Place a towel below the pipes to protect the vanity from water damage. Place a bucket over the towel and under the faucet to catch any water that drips down. You can also lay a garbage bag down under the towel for even more protection, or in place of the bucket.

Turn off the water. Locate the water shutoff valve for the bathroom sink. It should be under the sink, inside the vanity. Turn the valve to the right (clockwise) to close the valve and shut off the water to the faucet.

Depending on your plumbing, you may have a single water valve for the entire faucet, or you may have two separate valves for the hot and cold water. If you have trouble locating the shutoff valve, you can turn off the water supply to the entire line running to the bathroom sink.

Drain the water. To remove excess water from the faucet and to relieve pressure before you start working, drain the pipes after you shut off the water. Turn on all the faucets at the sink and keep them running until all the water has drained out. This will protect your sink, vanity, and floors from leaks and water damage, and prevent water from spraying everywhere when you remove the faucet.


How to Decorate a Small Bathroom?

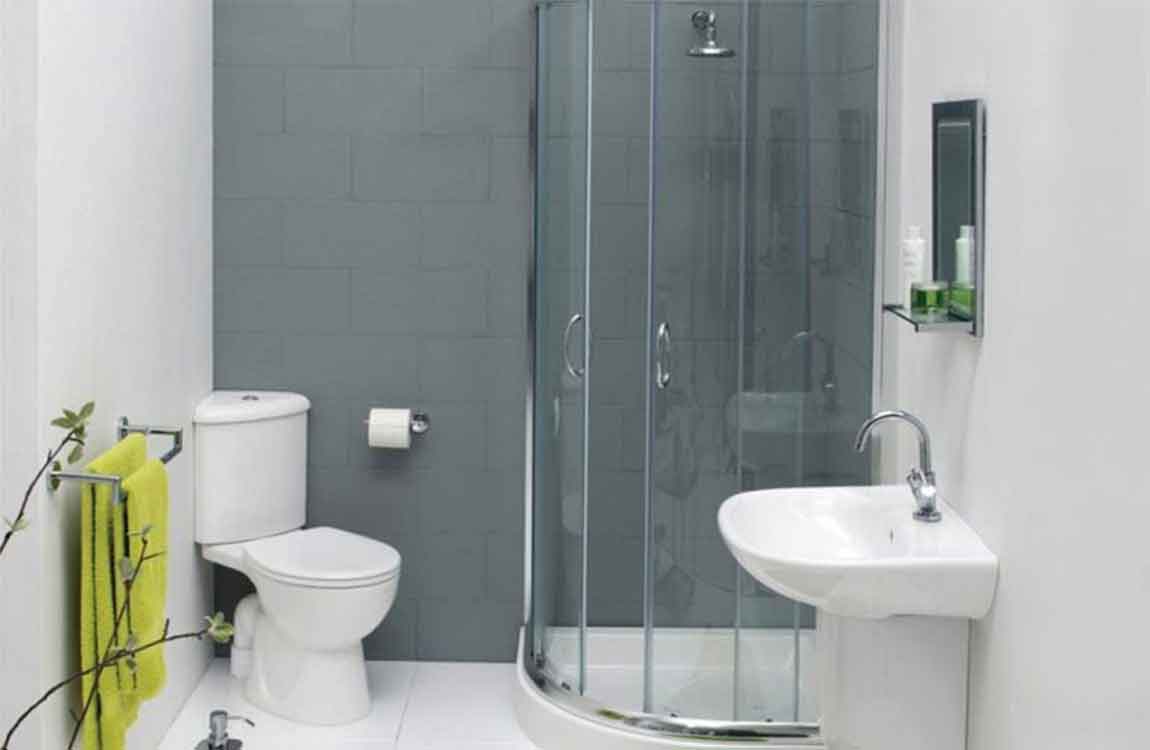
Sprucing up a small, dull-looking bathroom can make an apartment or home feel more comfortable and polished. Whether you want to tear out the tile and get new bathroom fixtures or you’re just looking for ways to bring some life to the room, here are tricks you can employ to make your bathroom seem more spacious and pleasant.

Make use of your bathroom‘s natural light. Even a small bathroom can be a peaceful, relaxing getaway in your home if it gets good natural light. If possible, don’t cover up your windows with dark curtains or blinds. Install curtains or blinds in a light color like oatmeal or cream; make sure they’re thick enough to provide a secure screen, but thin enough to let some light in. You could also install curtains that cover only the bottom half of your windows, letting light in through the top half. If your bathroom is situated away from other people’s view, go ahead and open the curtains or blinds to let the light shine in.

Replace yellowish ceiling lights. If you have an old-fashioned, dull yellow ceiling light – which many bathrooms do – a simple way to transform your bathroom is to update the light fixture with something more modern. Choose a light covering that helps bath the bathroom in white light, rather than yellow, which causes rooms to look gloomy and small. A small chandelier is a good choice for a tiny bathroom; it adds elegance without taking up too much space. Track lighting can also help give the appearance of a bigger space.

Choose paint colors wisely. Painting a room with highly contrasting color can make it look smaller, so choose paint that isn’t too wildly different from your bathroom tiles. For example, if you have cream tile, painting the walls dark blue might make the space feel claustrophobic; go for a lighter shade of cream, peach, pale blue, or another color that isn’t too loud.

If you prefer bolder colors, consider painting the walls a neutral color and adding a more colorful trim or border. You could also paint just one wall a bold color and leave three walls neutral, or use wallpaper in one area and neutral paint everywhere else.

How to Caulk a Bathroom Sink?

Drop-in sinks are made to hang from the top of a counter by their rims. While these rims appear to sit flush to the counter, there is actually a small gap between the rim and counter where water and debris can collect. Caulk fills this gap to make your counter and sink watertight, while helping to eliminate any movement of the rim of the sink. To help prevent leaks or damage to your counter, seal and fill this gap with waterproof caulk whenever the old caulk begins to crack, discolor or peel.

Wipe a clean cloth around the edge of the bathroom sink and the counter it rests on. Make sure the area is clean and dry and has no dust or debris to get in the way of the caulk. Remove any old caulk from the edge of the sink with a utility knife. Caulk is a soft material that cuts easily and stretches when pulled.

Cut away the old caulk where it meets the counter and the sink‘s rim. Pull the caulk free from the sink and counter. Use denatured alcohol to clean up any leftover caulk. Let the sink‘s rim dry completely and ensure no water has seeped into the crack. Use a utility knife to cut the tip off the tube of caulk at a 45-degree angle. Cut just enough of the tip off to allow the caulk to fill the gap next to the rim; cutting away too much of the tip will mean too much caulk on your counter.

Insert the end of the caulk tube into a caulk gun and push the plunger of the gun into the back of the tube. Squeeze the trigger lightly to prime the tube. Hold the caulk tube at a 45-degree angle to the sink‘s rim where it meets the counter top. Squeeze the caulk tube gently until a continuous line of caulk fills the gap around the rim completely.

Wet your index finger with water and gently smooth the caulk against the side of the sink‘s rim and the counter top to completely seal the gap. When you are happy with the results, insert a small screw into the tip to seal the tube of caulk, so you can use it again in your next project. Let the caulk cure for at least 24 hours before using the sink.

How to Organize Bathroom Cabinets

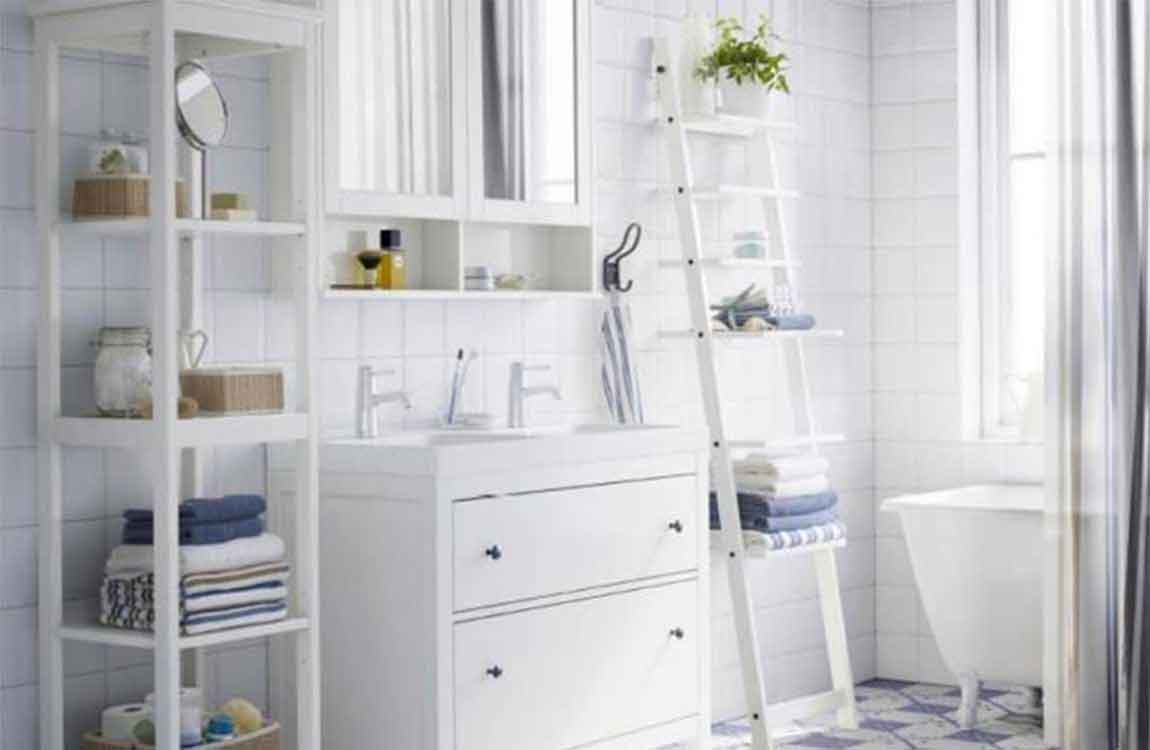
Keeping your bathroom cabinets neat and orderly can be a challenge. And given the importance of the morning preparation that commonly starts the average day, knowing where to find things is a huge help. Luckily, by following a few simple organization tips, you can take charge of the messy state of your bathroom cabinets and keep your belongings as accessible as possible.

Place a spinning turntable into your deep cabinets for easy access. Also known as a Lazy Susan, these can make hard-to-reach items more accessible. Place some glass jars onto the turntable and label them with their contents. Cotton swabs, bath salts, cleaning wipes, and other products that come in bulk amounts are ideal for jars.

Cut out labels from a decal sheet and spell out the categories using adhesive letters. Conceal utilitarian items using wicker baskets for better aesthetic. Although these containers work for any kind of product, they’re ideal for items that you don’t want to display, like extra tissue paper stock. You can label each one by fixing paper tag labels to each basket with string.

Install an extra curtain rod for towels. Position it under your current curtain rod and give yourself 2 to 3 inches (5.1 to 7.6 cm) of space in-between. This is a prefect way avoid wet towels cluttering up your bathroom. Mount the towel bar behind the curtain so that your towels can drip-dry into the tub.

The Important Things Before Renovate Bathroom

If you are removing any knobs, faucets, light switches, or towel rods, be sure to put them into a box so that they stay together. This is especially important if you plan on using these items again.

Get rid of anything that you will be replacing. This includes faucets, towel rods, and toilets. The less clutter you have in your bathroom, the easier your renovation will be. You can either donate the items you won’t be using anymore, sell them online, or dispose of them according to your city’s requirements. Some places will ask you to leave the item outside your home so that it can be picked up and disposed of, while others will require you to take it to a facility.

Start by painting your bathroom. Use a paint roller, and be sure to let each layer dry completely before adding another. Most paints will dry between two to four hours, but you might want to refer to the label on your can of paint for more specific drying times. If you don’t do this, the paint may not cure properly and become sticky or bumpy. Leave the last coat of paint until after you have installed all cabinets, shelves, sinks, and tubs.

Add tile or new flooring once the paint has dried. This also includes the backsplash tile behind the sink. If you are not changing the floors, then you can remove any protective coverings off the floor at this time.

Install any toilets, sinks, tubs, and showers. You will most likely need to hire a plumber to do this step for you, especially if you are going to move a toilet, sink, tub, or shower from one side of the bathroom to the other. After you have installed the toilet, sink, tub, or shower, be sure to caulk around the edges so that moisture doesn’t seep through. If you don’t caulk, water will get into the floor and cause mildew.

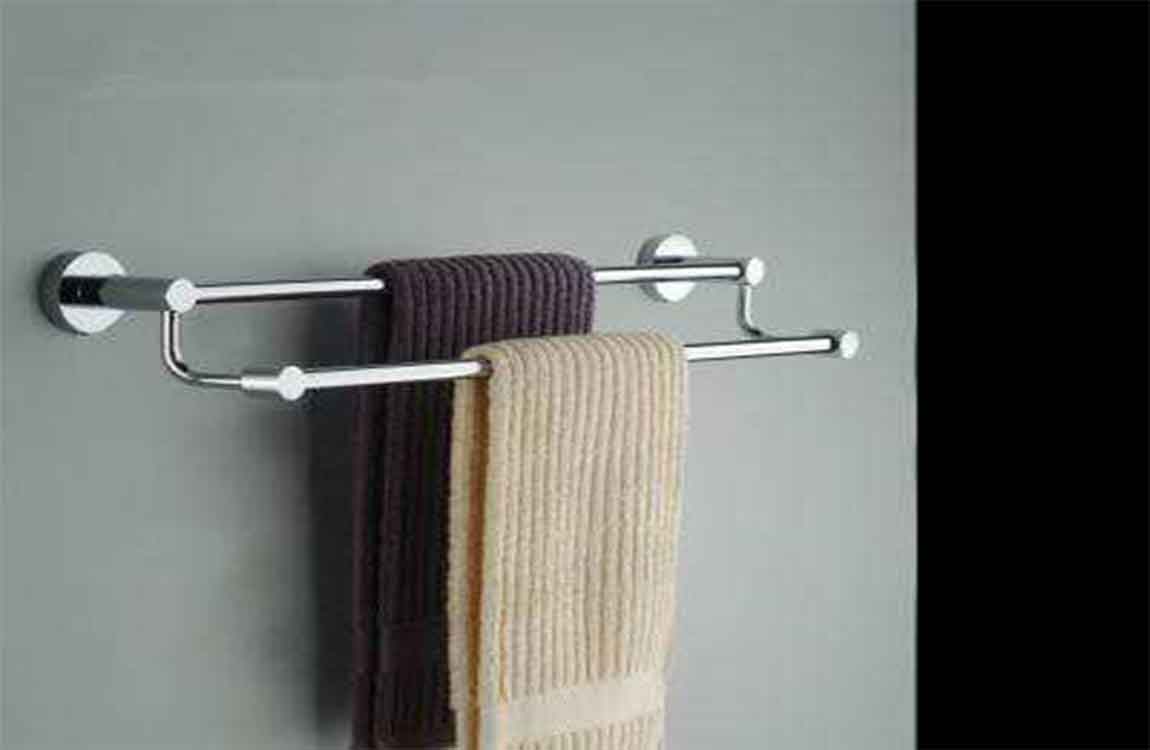
Install any new cabinets, shelves, cabinets, and towel rods. You can place these wherever you want in your bathroom, but keep in mind that you will need to reach these items easily. Towel rods should be placed about 4 feet (1.22 meters) above the floor. The top of a cabinet should be about 6 feet (1.83 meters) above the floor. Place the toilet paper roll holder 6 inches (15.24 centimeters) in front of the toilet.

Install new lights and faucets. Be sure to properly caulk around the faucets after you install them. When buying caulk, try to get an acrylic or hybrid formula. They don’t need chemicals to remove. This will make any future re-caulking easier.

Clean any dust, paint, or debris. When you are done renovating your bathroom, peel off any leftover painter’s tape and discard any sheets of plastic or paper. Be sure to wipe down the counters and sinks, and to vacuum or mop the floors. This will make your bathroom look better and give it that nice, finishing touch.

Before Renovate Bathroom We Can Do…

Molded bathtubs sit right on the floor, and are the most common. They come in all sorts of shapes and sizes. Some even include fancy features, such as benches for shaving on and jet streams. When you go to buy a bathtub, you might also want to sit in it to make sure that it is comfortable. After all, you will likely sit in your bathtub while using it at home.

Choose storage that is both efficient and stylish. This includes things like storage units, caddies, cabinets, and shelving. You want your storage to look good and be functional. You should be able to reach your cabinets and shelves easily, and have accessto them when you need to. You also want your storage to fit everything it needs to fit. Cabinets don’t always have to stick straight out of the wall. Consider having some cabinets recessed into the wall. This will save some space.

Make sure you have adequate lighting in your bathroom. Lighting is very important. If there is not enough lighting, then your bathroom could become dangerous. Take advantage of natural light first by letting as much of it in as possible. Plan on having at least 4 watts of artificial light per square foot. You can let lots of natural light into your bathroom with skylights.

Make sure that you have adequate ventilation. Poor ventilation will lead to mould, decay, rot, and smells. Having vents, windows, and fans is always a good idea. When choosing a fan, consider getting a quiet one for master bathrooms, so that you don’t wake your significant other if you have to use the restroom at night. Get a noisier one for powder rooms; the noise will give the guest more privacy, especially if the bathroom is close to a living room.

Pick out some new accessories to match your new bathroom. This will include things such as towels, wash cloths, and bathmats. It will also include things like soap dispensers, mirrors, and towel racks. Try buying these items when they go on sale. They can be inexpensive, but the price will add up.

Switch off all water valves if you are going to do anything to the sink, bathtub, shower, or toilet. You can find them behind toilets and under sinks. If you don’t do this, you might end up with a flood.

Cover anything that isn’t getting renovated with plastic or paper to protect it. If you are painting your bathroom, you will want to cover the floors, sinks, counters, toilets, and light switches so that they don’t get dirty. You can use paper, cardboard, or plastic sheeting. Be sure to tape the edges down so that the paint or dust doesn’t get underneath is.

How to Replace a Bathroom Sink?

Bathroom sinks may become chipped, stained or scratched. You may want to install a new sink to enhance the ambience of your bathroom and create a fresh, clean look. Replacing a bathroom washbasin may be time consuming, but should not be difficult to accomplish, and could revitalize the entire room.

Measure the dimensions of the old bathroom sink with a measuring tape. When you install a new sink, you want one that will fit in the old countertop. Write down the length, depth and width of the sink, as well as the length and width of the countertop. Buy a new washbasin. Bring the measurements of the old sink and countertop with you to ensure you purchase the correct size before putting in a bathroom sink.

Turn the water off to the sink. The cut off handle is usually located under the sink. When replacing a bathroom washbasin, you want to test the faucets to make sure the water is completely off. Place a bucket underneath the P-trap. When you install a new sink, you have to remove the drainage pipe first. Loosen the bolts that attach the P-trap to the bottom of the sink with channel lock pliers. Hang the P-trap over the bucket, carefully pulling it from the sink.

Unfasten the hot and cold-water hoses from the faucet with a crescent wrench. Replacing a bathroom washbasin entails spending a little time underneath the sink removing hardware. Remove the clips under the sink that attach it to the countertop with a screwdriver. Cut any sealant or putty between the sink and the countertop out with a utility knife. Lift out the old sink from the counter. When putting in a bathroom sink, you want a smooth surface, so clean the countertop off, removing any residual silicon.

Remove the faucet and drain from the old sink if you plan to use it in your new sink. Install the old faucet and drain on the new sink. To install a new sink, you should seal the hardware. Be sure to apply a bead of silicone caulk to the faucet and drain base. If you bought a new faucet, follow the manufacturer’s directions. Apply silicone caulk to the underside of the washbasin’s rim when putting in a bathroom sink. Lower the sink into the hole in the countertop. Push the washbasin into place and wipe off any excess silicone with paper towels.

Attach the sink to the countertop with fastener clips from beneath the counter. You need to make sure it is secure. Reconnect the water lines with a crescent wrench and the P-trap underneath the sink with channel lock pliers. Be careful not to tighten the valves too tight. Turn the water valves back on. Leave the bucket under the P-trap while you test the sink for leaks. Sometimes, putting in a bathroom sink creates water leakage. Twist on the hot water and then the cold water. If there is a leak, shut off the water and re-install the connections wrapping plumber’s tape around the stem of the hose. Let the bathroom  set overnight.