Posts

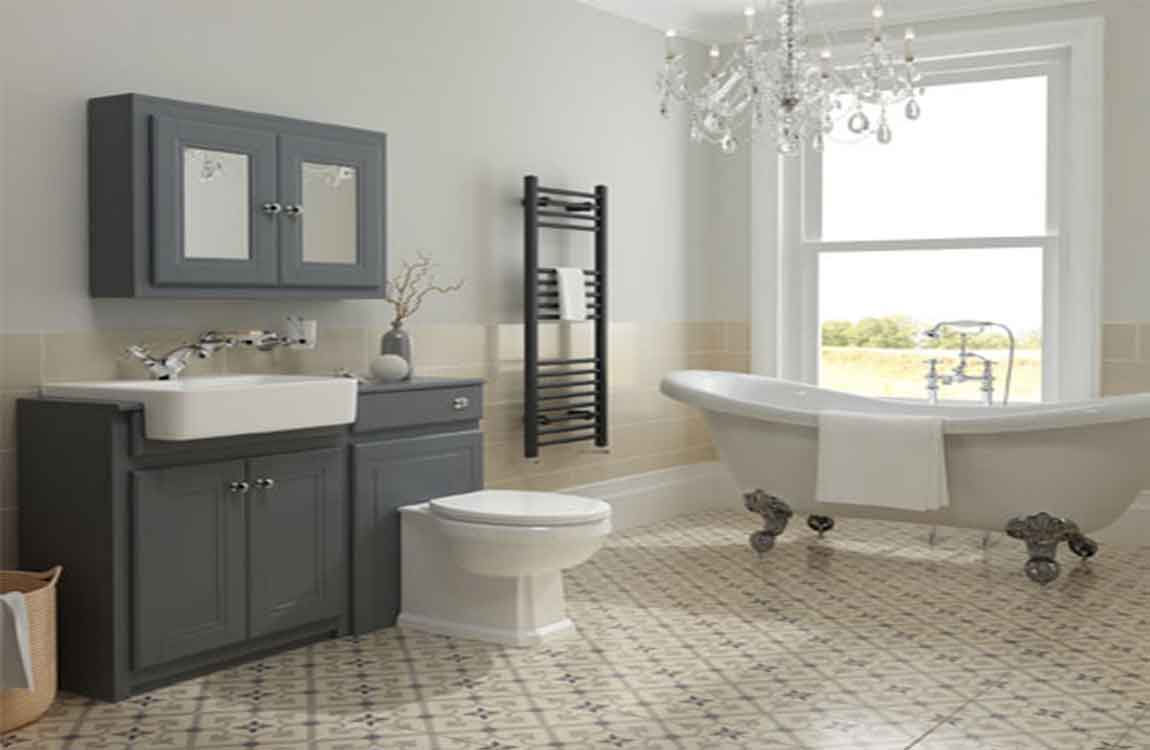
How to Fix a Leaky Bathtub Faucet?


Dripping bathtub faucets can increase your water bill every month. Many people attempt to turn the faucet handles tighter and inadvertently shred the seals even further. Although a plumber is needed to fix major problems, you can repair most broken washers, gaskets and seals yourself with a few special tools.


If you are unable to find a bath socket wrench, you can use a vice grip to hold onto the stem bonnet and loosen it. Insert the seat wrench into the opening where the faucet was. It has an elongated end so that you can stick it deep into the seat and turn it counterclockwise to remove the seat. The seat is the back portion of the faucet that extends into the pipe.


Turn the water back on and test your repair job. If you spring a new leak, you may want to call a plumber. The finish should not be affected by you removing the tape, but with some finishes, it still may not be ready for use. Read the instructions on the bathtub finish you purchased to know how long it needs to cure completely before you use the bathtub again.


Press the razor into the tub surface at a 45 degree angle, then slide it into the caulk repeatedly to scrape it up. If any proves harder to remove, scrape it off with 120 grit sandpaper. This may be the longest, hardest portion of the job, as all the caulk needs to be removed. Rinse or brush away the caulk as you remove it so you can easily see what you’re doing.


Check the drain shoe from the access panel you cut earlier so see if any water is leaking underneath your tub. Check with your city’s waste department to find out how to properly dispose of the old bathtub. Don’t attempt to lift a cast-iron or steel tub out by yourself since they can be extremely heavy.

How to Removing the Old Seat Before  Install a New Toilet Seat?

Pop off the bolt caps, if necessary. Look at the edge of the old toilet seat, near the tank. You may see plastic caps where the seat’s hinges attach to the toilet bowl, one on each side. If so, gently slide the flathead screwdriver under their edge and pry them off. If there are no bolt caps, you will just see the bolts themselves attaching the hinges of the seat to the toilet bowl.

Loosen the nuts. Hold your adjustable wrench and look underneath the edge of sides of the toilet bowl. You should see bolts going down through the porcelain, held in place by nuts. There will be one on each side of the bowl. Attach the adjustable wrench to each nut. Turn the wrench counterclockwise to loosen the nuts.

Remove the old seat’s bolts. The bolts at the base of the hinges on top of the toilet bowl may be slotted for a screwdriver. If so, use yours and turn each bolt counterclockwise until it comes out. Otherwise, you can continue turning the nuts counterclockwise until they come off. If your old seat has washers between the nut and bowl, remove those as well.

Wrestle with the old bolts, if they’re stuck. On some older toilets, the bolts might be rusted or stuck in place by grime. If so, they may not come out easily. Don’t panic — you have some options! First, spray WD-40 on the threads of the rusted bolts. Let it sit for 10 minutes, then try again to remove the bolts.

If that doesn’t work, place your adjustable wrench on the nut. Hold it in place as you use the screwdriver in your other hand and attempt to turn the bolt out. If the bolts are still stuck, use your small hacksaw to saw them off. Place the blade just under the toilet bowl, at the top of the nut, and gently saw back and forth until you cut the bolt all the way off.

Dispose of the old seat and hardware. Lift the bolts out of the bowl, if you haven’t already. You should then be able to remove the toilet seat and its hinges easily. Toss out the old seat, bolts, and nuts.