Posts

How Dismantling the Faucet?

Gather the proper tools. You will need a monkey wrench, bath socket wrench or vice grip pliers, a Philips screwdriver, a flat-head screwdriver, a jar gripper, plumber’s grease, a rag, Teflon tape and possibly tub caulk. You may also need a hair dryer.


Turn off the water intake to your house. You will need access to the pipes for the next hour or so. Tell family members or tenants that they will not have water during this time. Open the hot and cold valves on the bathtub faucet. This will drain any remaining water in the pipes.

Insert a Philips head screwdriver into the hole and unscrew the handle from the wall. Over time, handles can corrode and weld the faucet on. Use a hand dryer to heat the handle and loosen it. Don’t use too much force or it can break. Call a plumber if your handle breaks or will not come off.


Unscrew the trim and the collar from the wall by hand. The trim is the decorative piece that fits around the outside of the faucet, generally just behind the handle, while the collar is generally a tubular piece that fits around the internal faucet parts. They should unscrew fairly easily. You can use a hair dryer to loosen them as well. Repeat for the other handle if your tub has two.

Set the faucet handle inserts, faucet handles, screws, trim and collar parts aside in a small container. You will need to reconnect them in a similar fashion when you are done fixing the faucet. Remove the stem bonnet, which is the packing nut that holds the stem in place. These are sometimes also called “cartridges.” Insert a bath socket wrench and turn it counterclockwise.

How Taping off the Tub?


Tape off the edges of the tub with masking tape. Some bathtubs are not freestanding fixtures and are housed within a painted housing. If your bathtub is set within a wood or plaster housing, use painters tape to tape off the edges of the tub to prevent the new bathtub reglazing from getting on anything other than the tub itself. If your bathtub is free standing, you can skip this step.

Wrap the spout, handles and anything else that’s not the tub in plastic. Everything that’s staying in your bathtub that isn’t the bathtub itself needs to be covered before you start the refinishing process. Make sure the shower head, any exposed plumbing, bath nozzle and anything else you don’t want refinished is covered in plastic. Once you cover things in plastic, use painters tape to secure the plastic in place.


Use paper or plastic to cover the walls of the shower. The walls of the shower should be covered if they’re not a part of the tub itself. You can hang masking paper or loose plastic from the wall using painters tape to secure it in place. If the shower walls are a part of the bathtub, you may want to refinish them along with the tub, rather than taping them off.


Apply a bonding agent to the surface of the tub if it’s made of iron. Iron tubs need a bonding agent to help the new finish seal in place. Some bonding agents can be painted on while others need to be sprayed on. Follow the directions on the agent you purchase closely for good results. You can buy bonding agents for iron tubs at your local hardware store.


Mix some reglazer per its instructions. Reglazer, or finish, is like a thick paint that you’ll apply to the tub to serve as its new surface. Some tub glazes come in self contained cans for you to spray on, while others are meant to be mixed and applied using rollers or paint brushes. Be sure the bonding agent is completely dry before applying the new finish.

How Securing the Tub and Surround?

Set the tub in place and level it. Carefully position the tub in the alcove so that the drain rests over the drain opening in the floor. Place a level on each side of the tub. If any spots are uneven, position hardwood shims underneath the tub and glue them in place. Some manufacturers may advise you to spread mortar on the floor and set your tub on the mortar to secure it in place.

Secure the tub to the studs. There will be a small flange, or vertical lip, around the outside of the tub. Follow the manufacturer’s directions to secure the flange to the studs in the wall. In most cases, you can use a hammer to drive roofing nails through the flange to secure it to each stud in the wall.

Fit a new tub surround. The surround is made up of the panels that protect the wall around your tub from moisture and mildew. First, dry-fit the surround and mark the location of the accessories, including the faucet and water handles. Ensure that the faucet will line up with the water lines in the wall. Then, cut out the accessory openings with a jigsaw.

Make sure you measure the location for accessories multiple times before cutting into the surround!A one-piece surround is the easiest type to install. Caulk the tub to the surround and secure the surround to the studs. Place a bead of silicone caulk around the entire perimeter of the tub on the ledge next to the flange. Then, carefully set the surround on top of the silicone caulk.

Next, use a drill to screw the surround into each wall stud. Aim to use a screw every 6 inches (15 cm) up the length of the surround. Be sure to choose silicone caulk meant for use in bathrooms.

How to Paint the Bathtub?


If your cast-iron tub is looking a little rundown, save some money and give it a new coat of paint rather than replacing it. After filling in any gaps or cracks, sanding down the interior and exterior, and giving it a few coats of acrylic urethane enamel paint, you’ll have a bathtub that looks brand new. It’ll cost you about $450 to refinish your tub yourself, versus over $3000 to replace it.


Leave the tub alone until it has cured completely. Don’t step in it, run any water, or use it it any way. Follow the paint manufacturer’s instructions for the curing time, which is generally around 24 hours. You can also use a heat lamp to speed up the curing time, but that could also cause discoloration in the paint.


Remove the masking tape and reattach the tub fixtures. Once the tub is dry, you can remove all the plastic sheeting and tape and replace the drain and faucet. Throw the sheeting and tape away. You may also want to mop the floor and give the rest of the bathroom a thorough wipe-down to catch any dust or dirt left behind from the painting process.


Re-caulk the tub before you use it again to protect it from mold. Use a caulking gun to reapply the caulk to the areas where the tub meets the shower, if that’s applicable. Follow the instructions for the brand you purchased and let it dry before you use the tub. Caulk can take 24 hours to cure, but it’s generally safe to expose it to water after a few hours.


Spray painting is generally an easier process because you won’t have to lean over the tub and risk smearing the paint. Similarly, if you’re painting the tub by hand, use long, even strokes to coat the tub’s entirety.

How Removing Tough Stains?


Dissolve limescale buildup with equal parts vinegar and water. Avoid using commercial products that have anti-limescale ingredients since they could leave the enamel looking dull. Instead, remove the chalky buildup by mixing together equal parts of white vinegar and water. Dip a soft cloth into the diluted vinegar and rub it on the limescale until it dissolves. Rinse the area and dry it immediately.


Avoid rubbing the diluted vinegar over other parts of the tub that don’t have limescale since this could damage it. Apply diluted chlorine bleach to stains. For most stains, mix together 1/2 cup (120 ml) of chlorine bleach and 1 gallon (3.8 liters) of water. Dip a cloth in the solution and rub it over the stain. You can also spray the solution directly on the stain. Let the bleach solution sit for 1 to 2 minutes and then rinse it off. Dry the tub once the stain is removed.


Do not apply bleach right after you apply vinegar, as they will form a noxious gas if they mix. When you need to use both vinegar and bleach, make sure you thoroughly rinse away the vinegar before you apply the bleach, and vice versa.


Soak stains with a paste of hydrogen peroxide and cream of tartar. If you have tougher stains that don’t disappear after using the bleach solution, make a gentle cleaning paste. Mix together 1 part hydrogen peroxide with 2 parts cream of tartar. Spread this paste over the stains and let it sit for 30 minutes to 1 hour. Use a soft cloth to wipe away the paste and then rinse the area. Dry it if the stains are gone.


As an alternative, you can use baking soda and vinegar to remove tough stains. Sprinkle the baking soda over the stain, then spray vinegar onto the baking soda. The vinegar and baking soda will react to each other, creating a foam. Let the foam sit for 5-10 minutes, then scrub it away with a clean cloth. If the stains aren’t gone, you can repeat the treatment until they disappear.

Bathroom Decorate

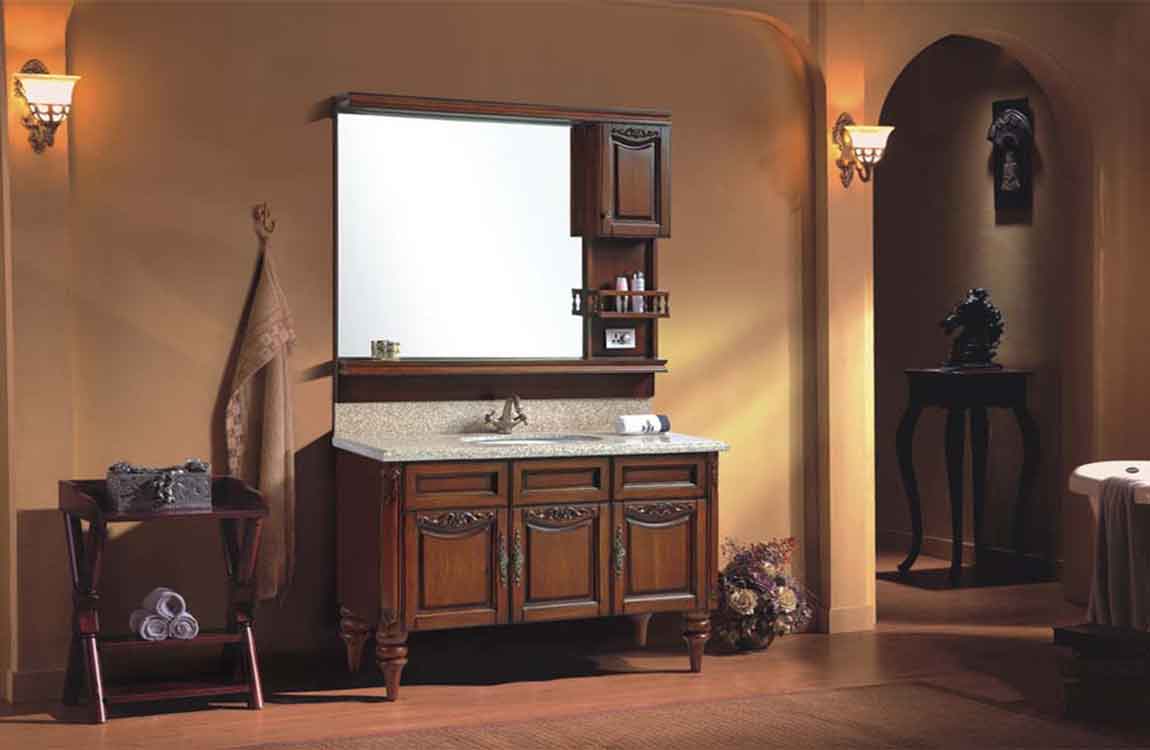
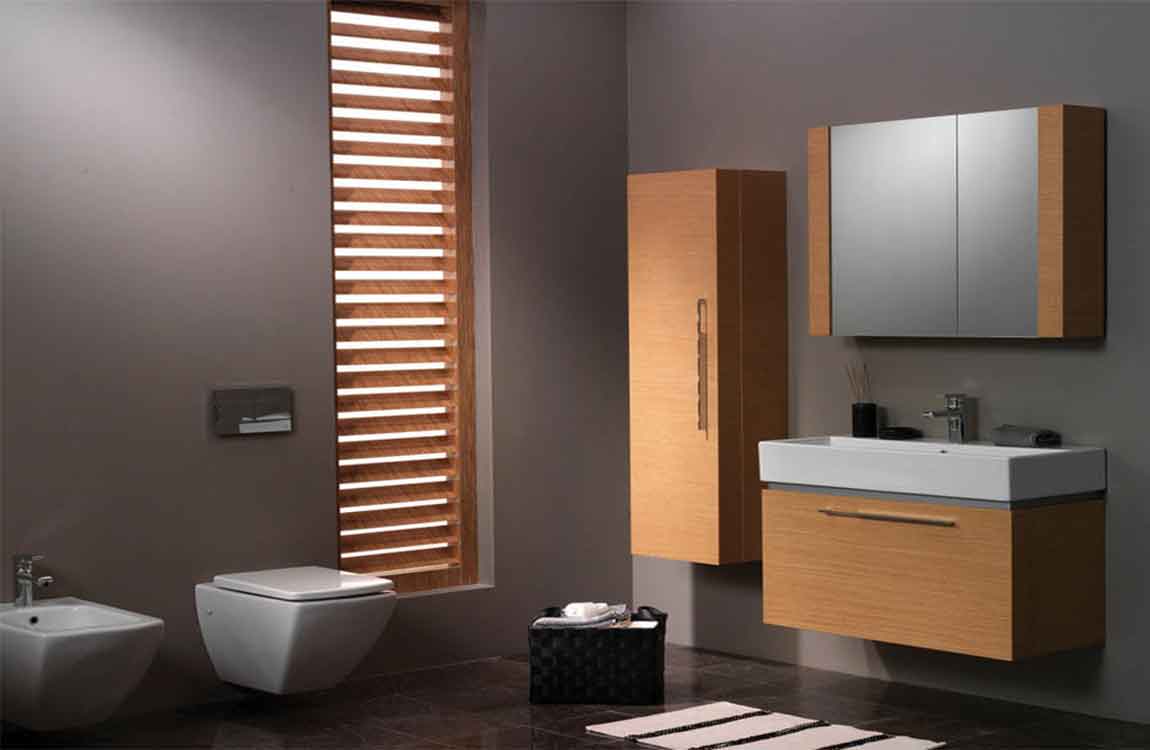
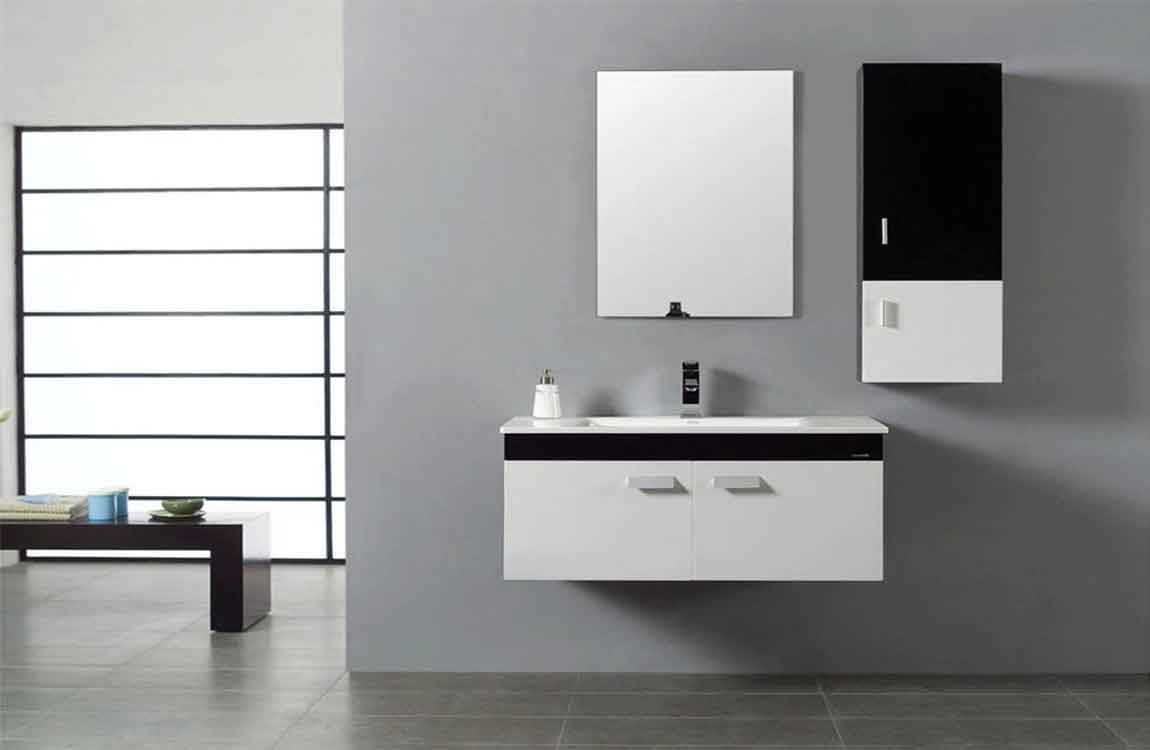
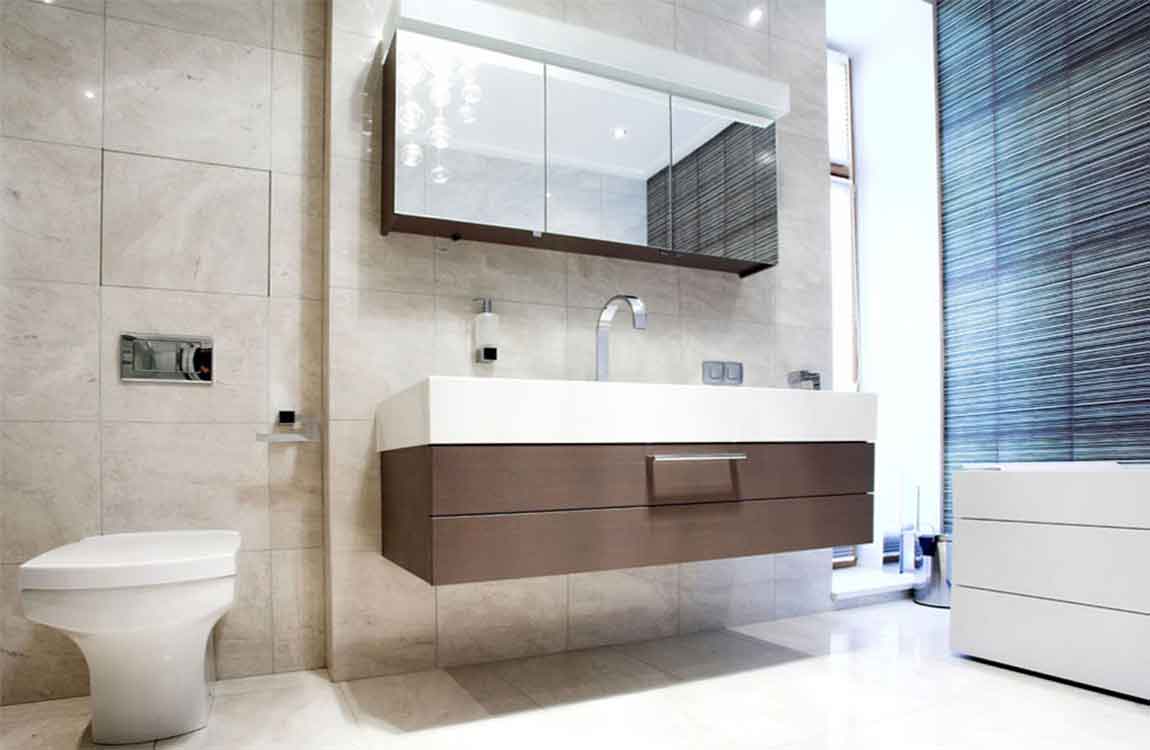
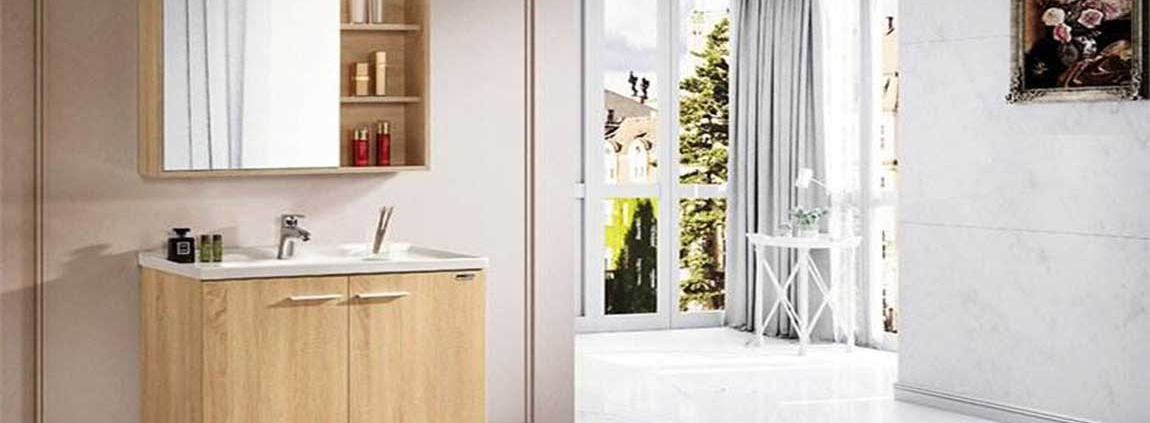
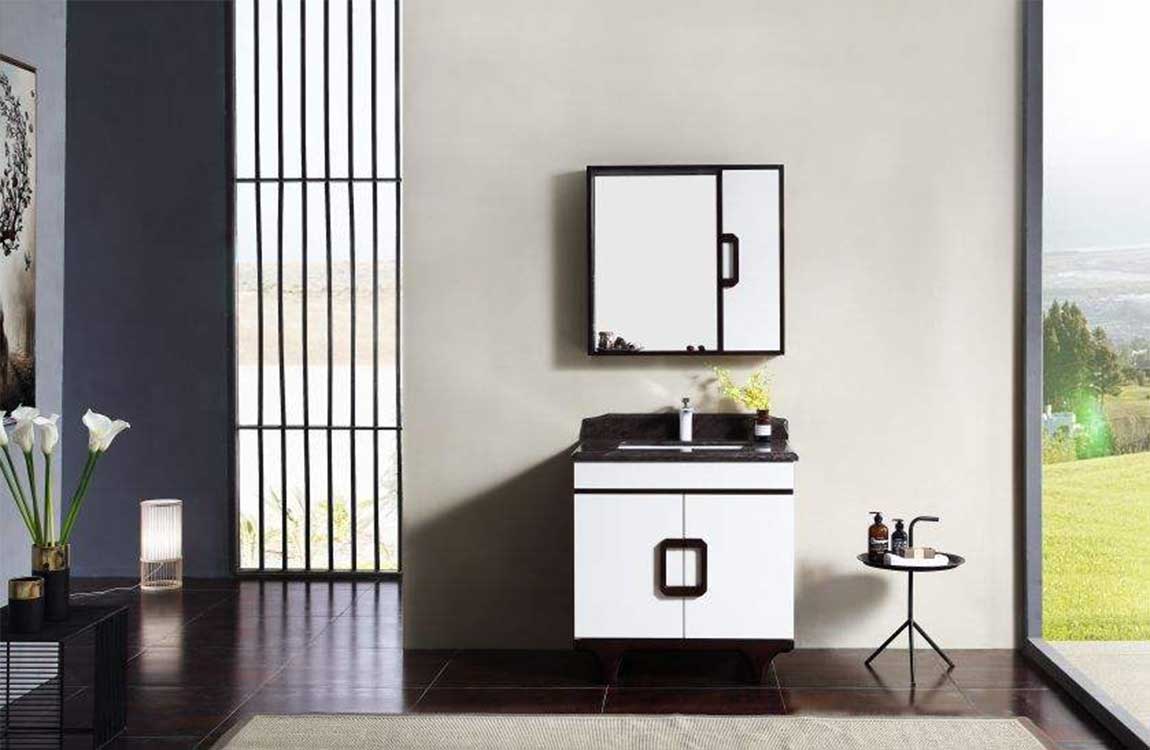
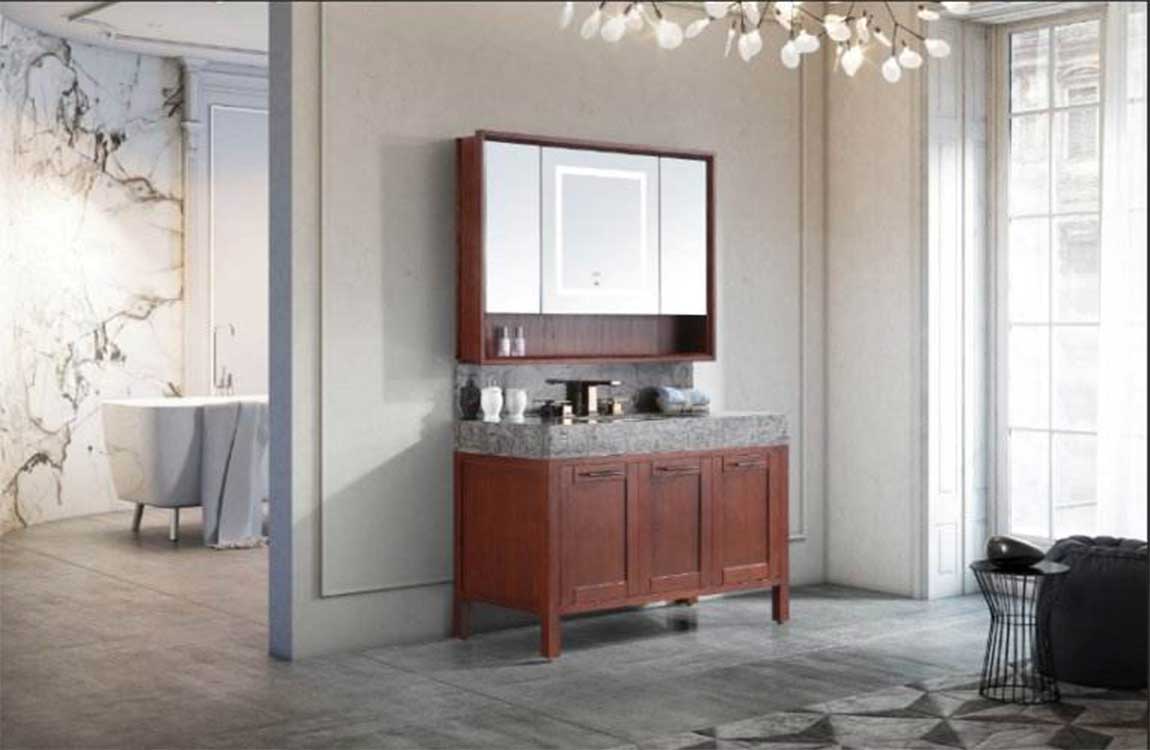
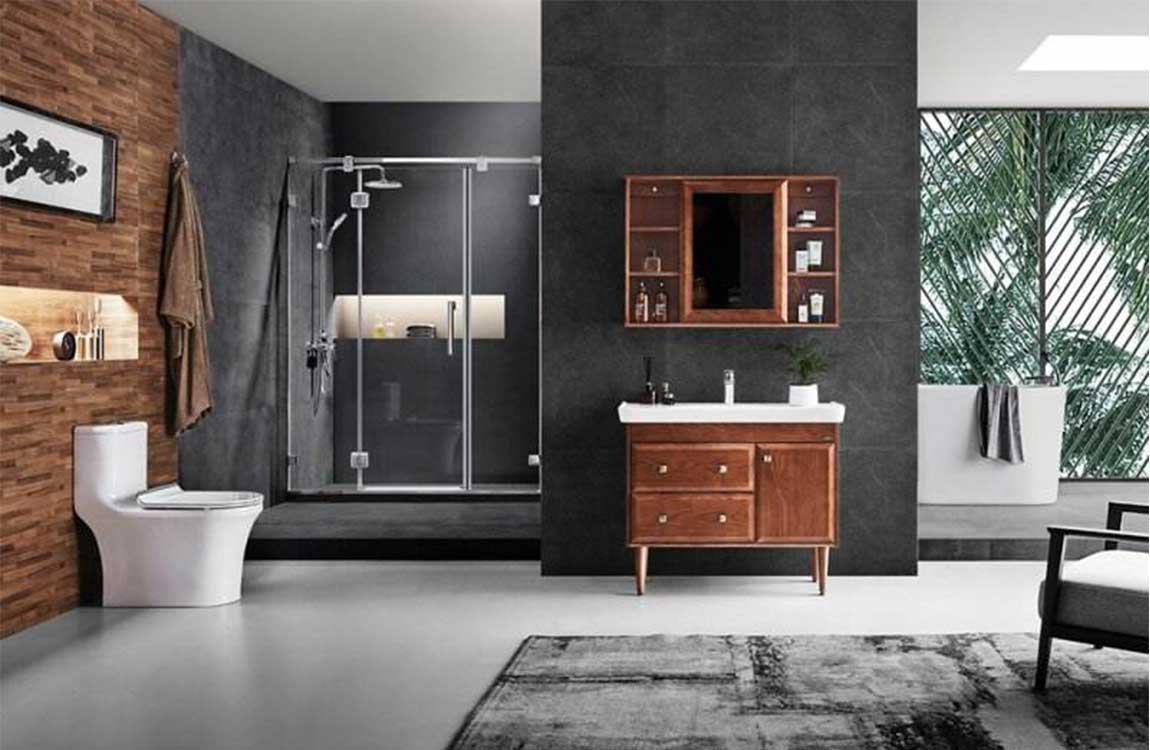
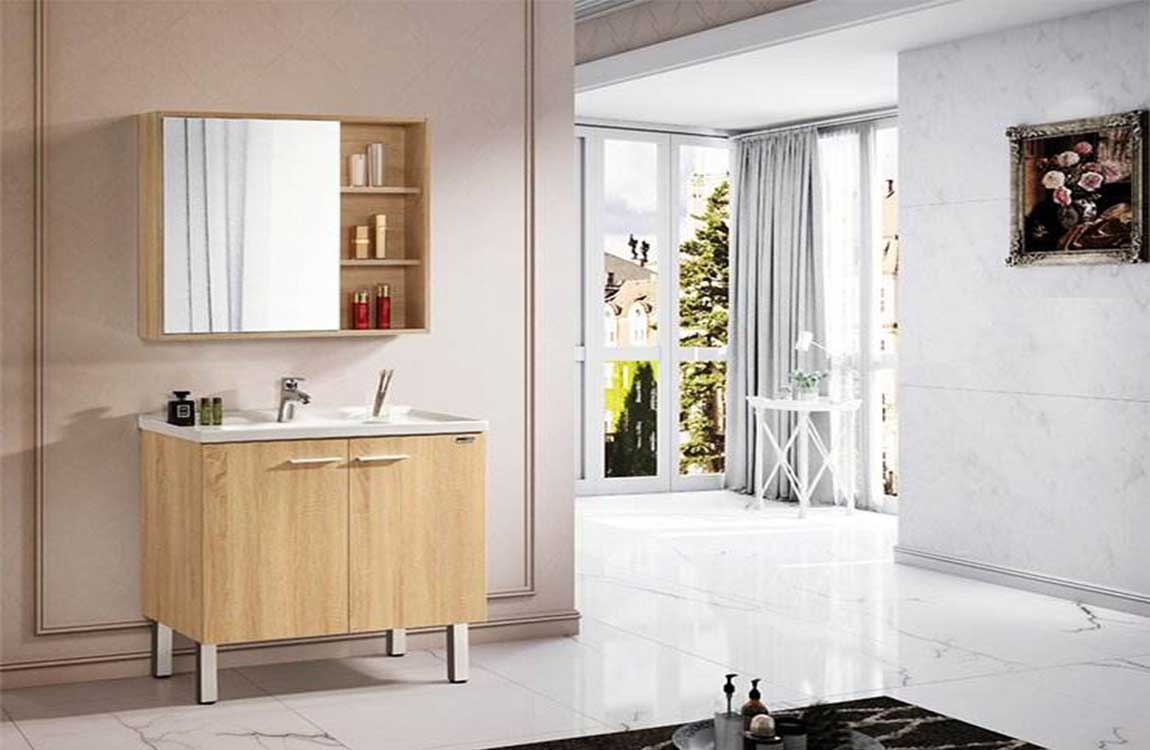
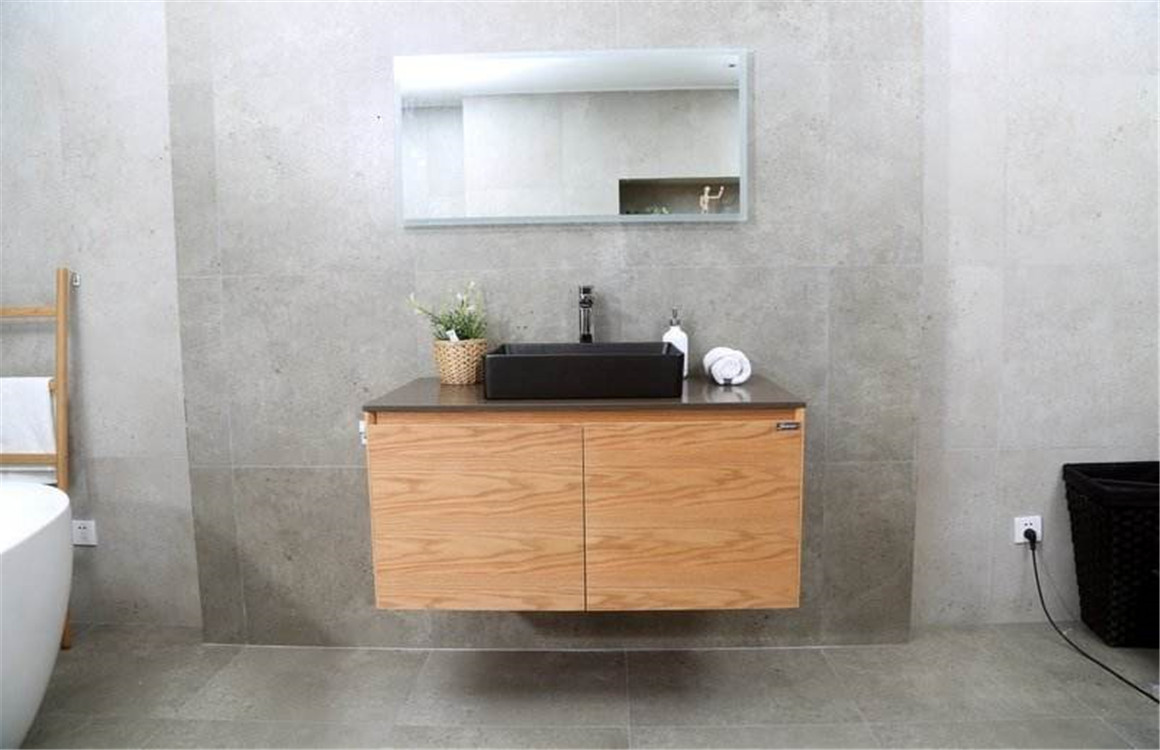
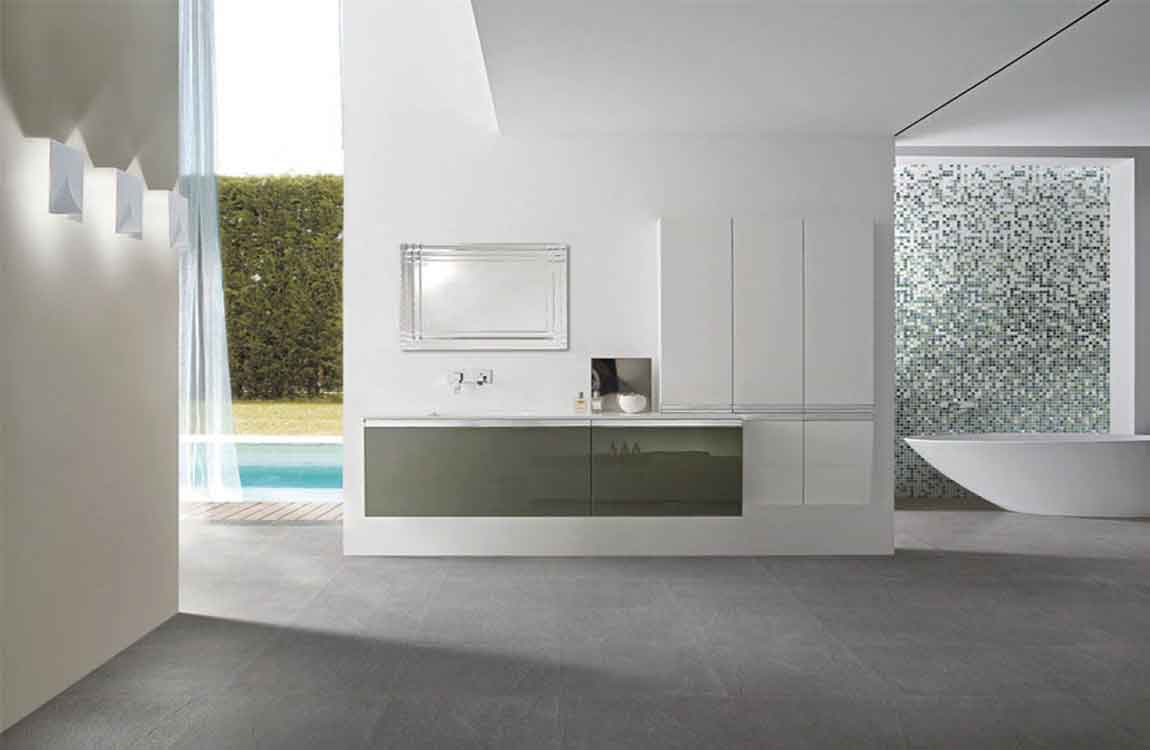
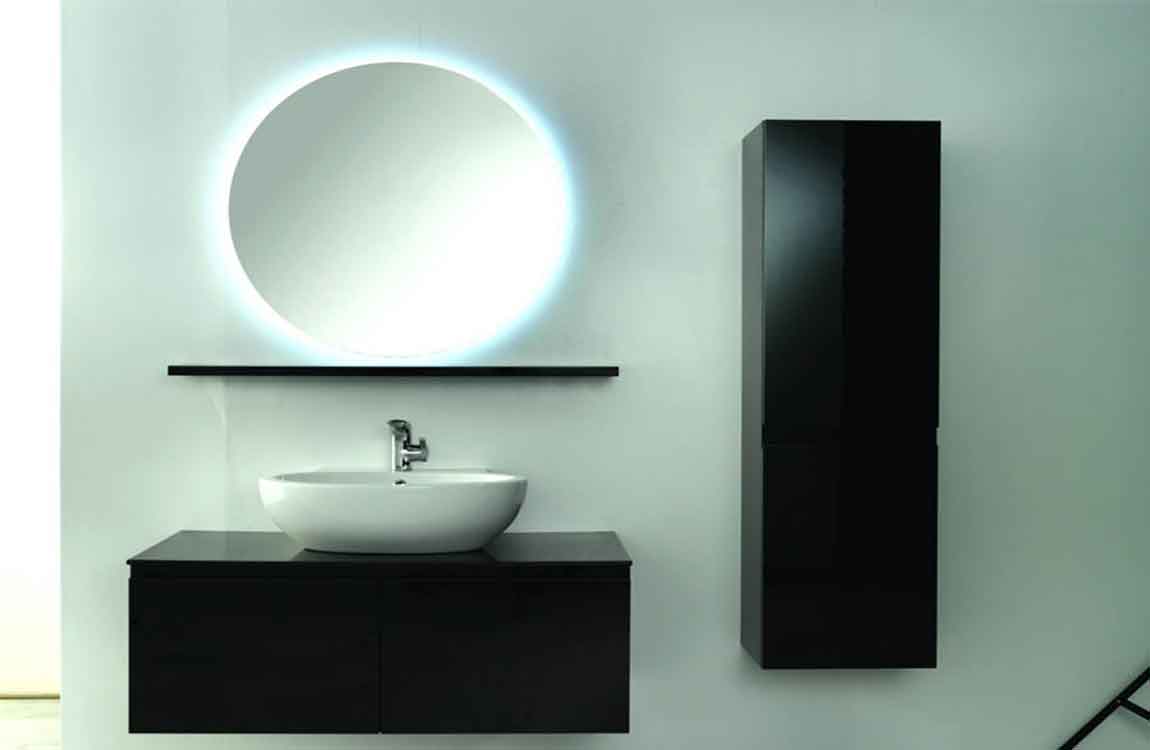
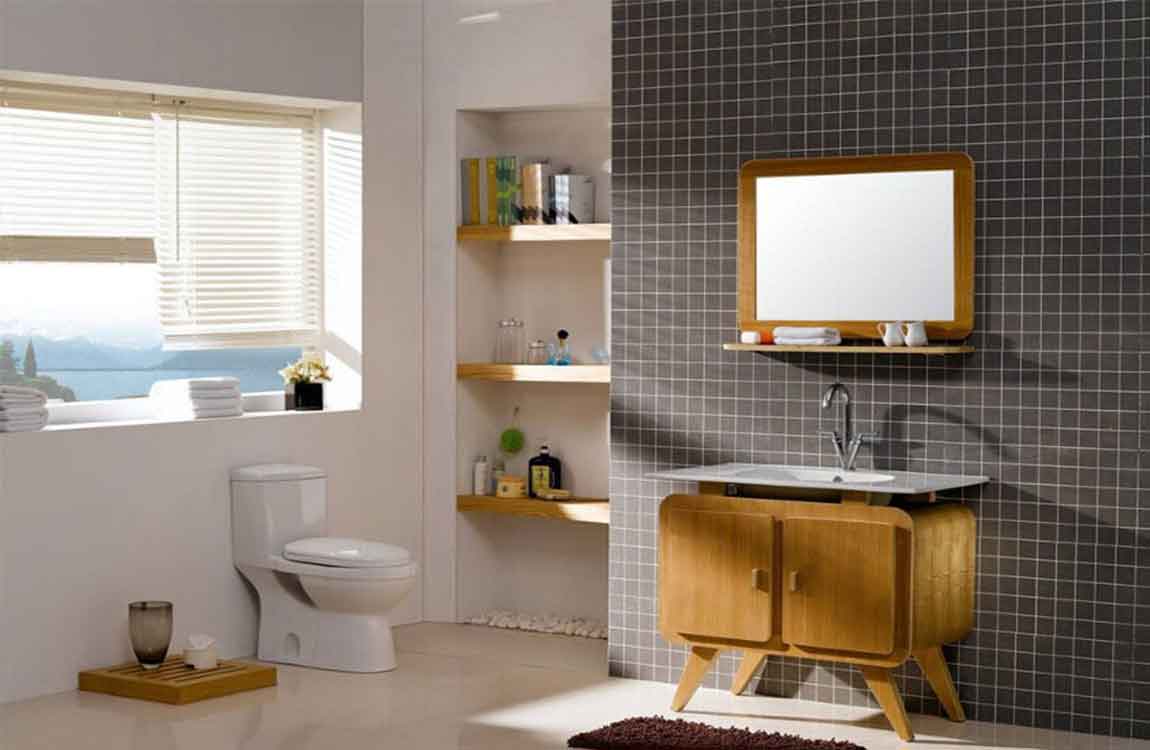
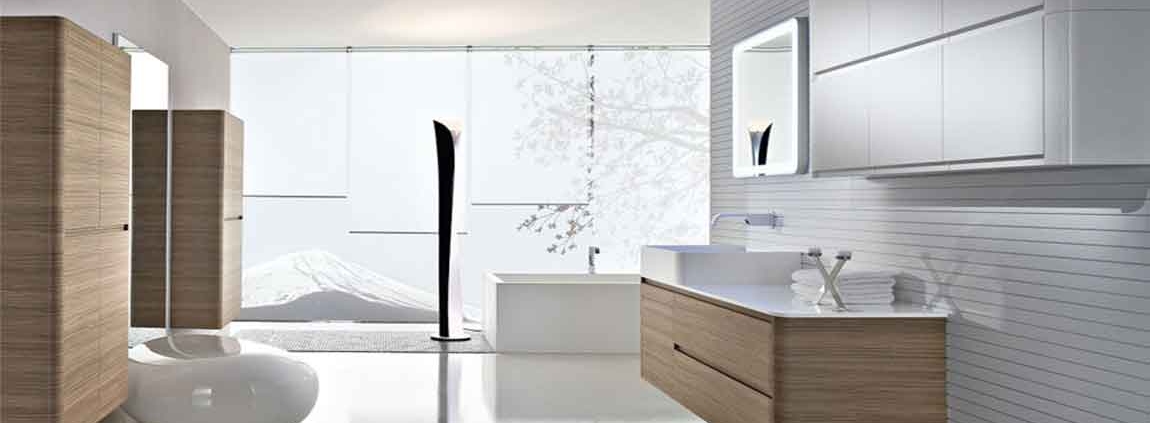
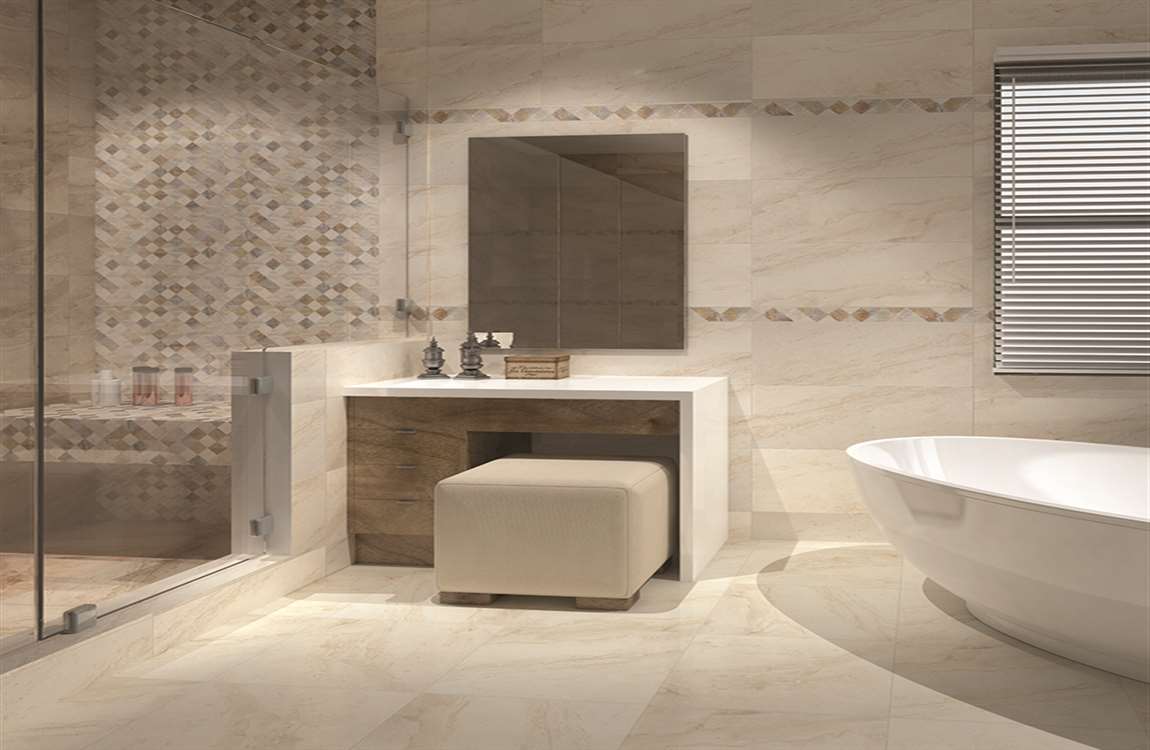
Decide on a style. A bathroom cabinet should fit into its environment, so you will want to choose cabinetry that complements your home’s existing furniture and architectural details. Consider the following design elements: Doors. You may opt for open-shelved cabinets, which have no doors, or for decorative glass or solid doors.

Material. Bathroom cabinets come in a wide array of materials, including wood, plastic, wicker, glass, bamboo, porcelain and laminate. Accessories. Pay attention to things like drawer pulls, door handles, cabinet tops and mirrors, as these details contribute to the cabinet‘s aesthetic and style.

Add another coat if the paint looks patchy and let it dry overnight. After letting the first layer dry overnight, you may notice that the paint has some patchy areas. Apply a second coat, brushing on paint over edges and corners and using a foam roller on flat surfaces. Let the vanity and all of the painted pieces sit undisturbed for a full night and check them in the morning.

Patchiness often occurs with darker paint colors. When applying extra coats of paint, you may need to let the vanity dry for up to 48 hours. Rinse the product away. Use warm water to clear away the chemical you used. Use a once-a-month cleaner. Products such as Scrubbing Bubbles Mega Shower Cleaner are meant to deep clean your shower once a month. To use, apply the product to the tub and walls. Leave it on for 3 minutes. Wash away the product.

Ensure the room is ventilated. Open a window. Keep the bathroom door open. Run a fan. Do what you need to do to create good airflow. Apply the sealer with an applicator brush or sponge. Put some sealer on the applicator, and work it into the grout. Only do a small area, so you can keep track of what you’ve done. In about 10 minutes, wipe off any excess. You need to remove the excess sealer from the tile and grout. The sealer should have soaked in during this time.

How Cleaning the Tile Above the Bathtub?

Run the shower on hot. With the bathroom closed, run the shower on hot for a few minutes. The steam from the shower will help release dirt and grime. Test your cleaner first. Whatever cleaner you choose to use, test it in an inconspicuous place first. You want to make sure it doesn’t damage or discolor your tile.

Apply the cleaner. Scrub the tiles thoroughly or apply the cleaner as directed. Rinse the tiles off thoroughly. You don’t want to mix chemicals, and rinsing the tiles will help with that. Scrub the grout with bleach or a cleaning product. Dip an old toothbrush in bleach or cleaning product. Scrub along the grout to create whiter grout.

If you don’t want to use bleach, a product like Scrubbing Bubbles, Kaboom, or Lysol Bathroom Cleaner will work great. Alternatively, you can combine white vinegar and water to make your own cleaning solution.

Small and mid-sized grout brushes are a great option for cleaning your grout. You can find different sizes of these brushes where you buy cleaning supplies. Make sure the cleaner you used previously is compatible with bleach before applying this solution. For instance, neither vinegar nor ammonia should be mixed with bleach.

Rinse off the bleach or cleaning product. Let the tiles dry. Seal the grout. You should seal the grout twice a year. Sealing it helps protect it from the moisture in the bathroom.

Use a penetrating sealer. These coat the grout but still allow moisture to escape. The grout won’t crack as much with this type of sealer. Clear out everything that could block the grout. You want to have access to it to apply the sealer. Clean off the grout. If it’s discolored, apply the bleach as described above. Let it dry.

How Adding Accessories and Storage?

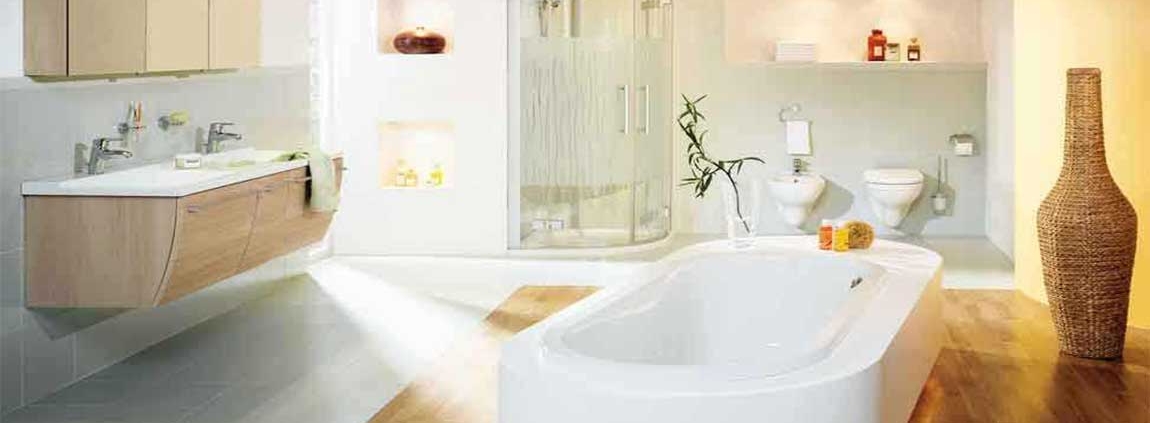
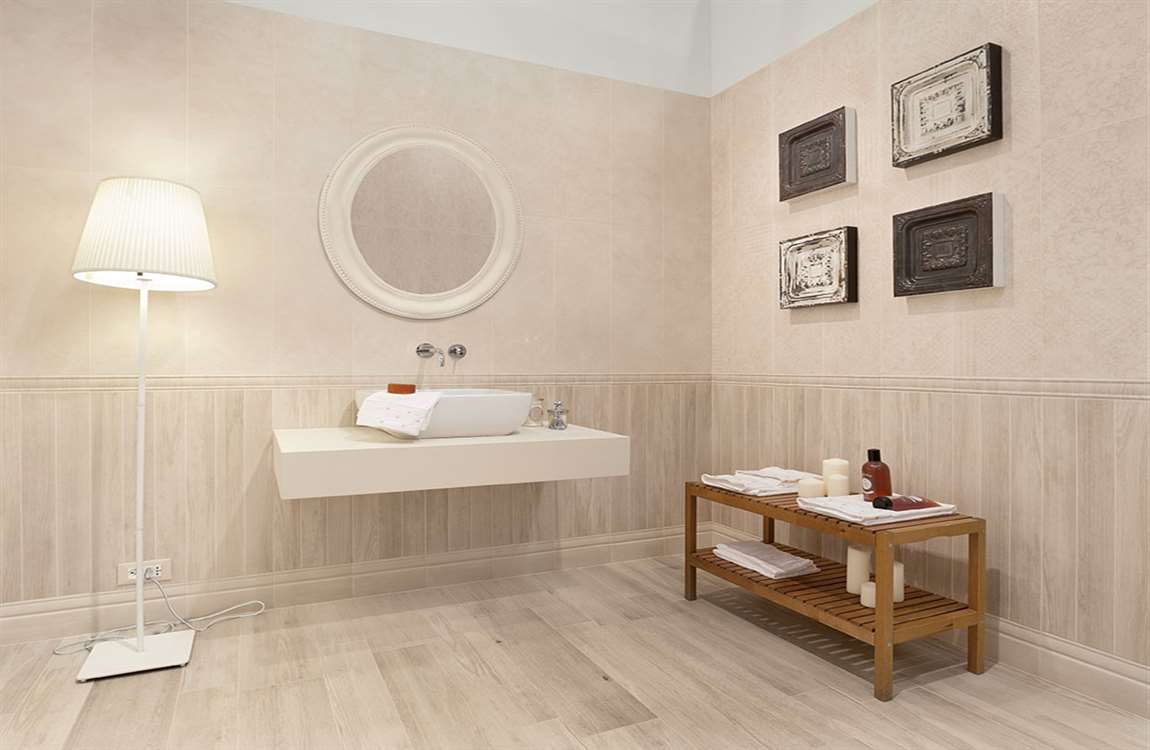
Bring some character with candles or decorative items. Things like pillar candles, figurines, and vases all make great bathroom accents. Find some items that match the color and theme of your bathroom, then display them in an out-of-the-way area, such as a side table, a shelf, or the corner of the counter. If you are getting pillar candles, consider getting 3 candles that are the same color, but different heights and thicknesses. This will create some interesting variation. Make sure that the items you choose can withstand humid conditions. Avoid using breakable items, such as glass, if you have curious children or pets.

Bring in some greenery with a plant or 2. Choose a plant that requires low levels of sunlight. Even if your bathroom has a window in it, it likely won’t provide enough sunlight for your plant. Match the pots to your bathrooms tiles, towels, mat, or shower curtain.

Every so often, move your plant into a bright window for a day or 2 so that it can absorb sunlight. Air plants are a great option for your bathroom! They’ll thrive in the humid bathroom environment and require little care. Hang some fake, green floral garlands along the ceiling. Ivy is a classic choice, but you can also try ferns or wisteria.

Store extra towels and toilet paper in baskets. Instead of keeping towels and toilet paper stacks on a shelf, put them into decorative storage baskets instead. Measure the depth of your shelf or cabinet first, then purchase some square or rectangular baskets that match those dimensions.

You can also use wire or canvas baskets. Container stores, fabric stores, and craft stores generally have a vast selection. If you have space next to your sink or toilet, you can keep the baskets there as well. You are not just limited to towels and toilet paper; you can store other items that you want to keep out of sight too, such as hair styling tools.