Posts

How to Install a Bathroom Fan?
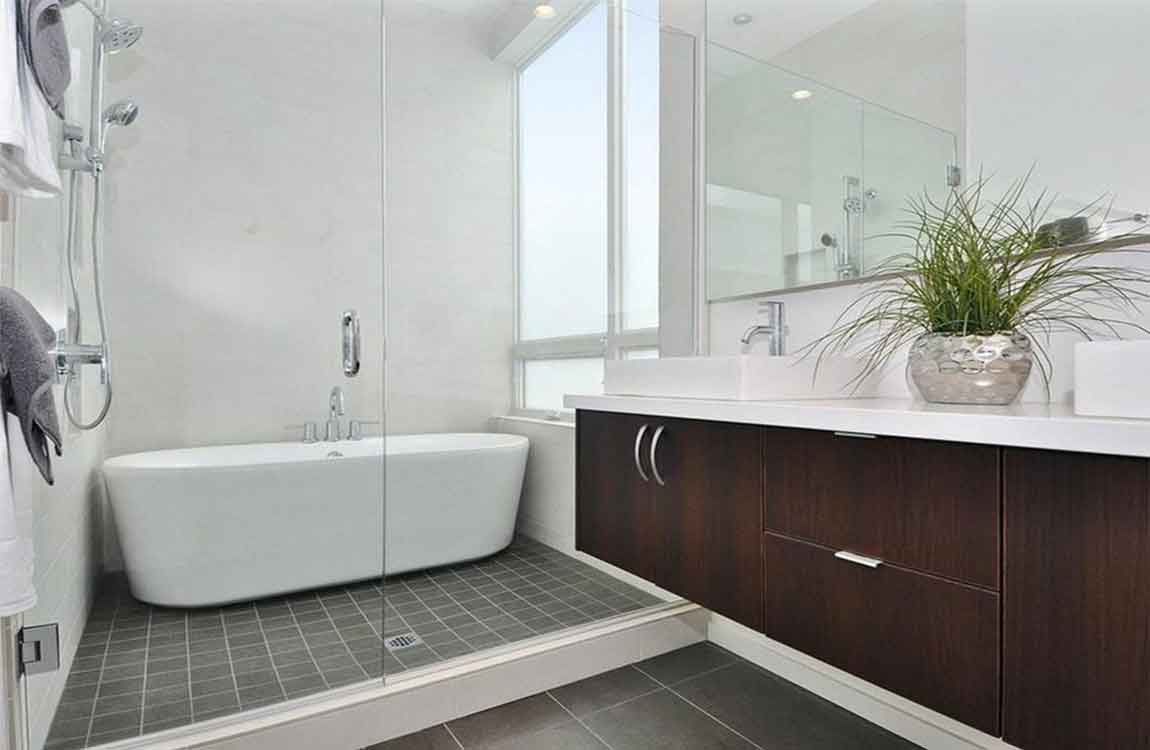

Bathroom fans are essential for removing moisture and bad odors from the bathrooms in your home, thus preventing the growth of mold and mildew. By removing excess moisture from the air, you can also prevent wallpaper and paint from peeling and prevent doors and windows from becoming warped. Installing or replacing a bathroom fan is a moderately easy DIY project for homeowners with basic electrical and carpentry skills.

Gather the required tools. Installing a bathroom fan is a manageable DIY project for homeowners with basic carpentry and electrical skills. Before you begin, it’s a good idea to have all of the required tools and materials easily at hand. In terms of tools, you will need some basic hand tools such as a screwdriver and a combination pliers, in addition to a power drill and a jigsaw.


In terms of materials, you will need a length of flexible duct pipe, a vent cap, screws, caulk and wire nuts. If you’re running the duct pip out through the roof you will also need roofing cement, shingles and roofing nails. You will also need a stepladder in order to reach the fan from below, safety goggles and a respirator to wear while drilling, and roof brackets, roof cleats or a safety harness for potential roof work.


Now that the fan is secure, take the length of flexible duct pipe and attach one end to the 90 degree duct elbow protruding from fan housing using foil duct tape. Now is also a good time to run an existing or new electrical cable through the connector on the fan housing. You can secure the cable by tightening the screw on the connector. Be aware that you’ll need to use a three-wire cable if your new fan includes a light.


Find a suitable exit point for the duct pipe. The next step is to find the shortest, straightest route from the housing fan to the outside. The longer the duct pipe is, the less efficient the fan will be. It is essential to vent the fan exhaust outdoors. Venting it directly into the attic would promote mold growth and potentially cause the rafters to mold.


The Knowledge of Rinse Shower Clean


Rinse the shower clean. Flush every surface of the shower with warm water, taking care to get rid of any lingering juice or pulp from the lemon. If necessary, go back over the acrylic one more time with a soft towel or sponge. When you’re done, your shower should be pristine and have a fresh, clean scent!


Let the first coat of paint dry and then apply a second one. It should take about 15-20 minutes for the first coat of paint to be dry to the touch. Once it is, go ahead and apply a second coat, working systemically as you go so you don’t miss any areas. “Drying” and “curing” are two different things. Paint can be dry but not yet cured—the curing is when the paint dries and also hardens, and it generally takes a much longer time than just drying. Proceed with the second coat of paint once the first coat has simply dried.


Use acetone on a clean washcloth to remove any residual cleaner. Dampen a clean washcloth with the acetone and wipe down the interior and exterior of the tub. Continue to wear your gloves—acetone can really dry out or hurt your skin if it comes into contact with it. If there was any remaining cleaner, grease, or grime, the acetone will get rid of it.


Connect the drain to the P-trap. Thread the drain chute into the P-trap under the tub. You may need to use PVC pipe to connect the drain chute to the P-trap if they don’t align perfectly. If that’s the case, dry-fit the pieces first and secure the PVC pipe to the chute and P-trap with ABS cement to prevent it from coming loose.


Caulk the tub to the floor. Run a bead of silicone caulk along the outside edge of the tub where it meets the floor. Make sure it meets both outside corners to prevent water from getting in between the tub and floor. Smooth out the bead with your finger or a damp rag.

How Removing the Caulk?


Use a caulk-removing tool and isopropyl alcohol to clear away the caulk. Apply the isopropyl alcohol to the caulk via a spray bottle or blot it on with an old washcloth—this softens the caulk and makes it easier to remove. Use your caulk-removing tool to scrape away as much of the caulk as you can. Wear rubber gloves while you work to protect your hands. You shouldn’t have to pay more than $10 for the caulk-removal tool.


Discard of the old caulk so it doesn’t get in your way. Keep a garbage bag nearby as you scrape off the caulk so you can easily put it to the side. You won’t be able to reuse it for anything, so throw it away with your regular trash. If you can’t get all of the caulk off, that’s okay—you’ll be sanding down the tub later and can work off any bits that are stuck then.


Remove the drain and the spout so they don’t get painted. Use a screwdriver to take out the drain and water spout fixtures, then set them to the side. If you’re having trouble getting a part out, try lubing it with some oil to loosen the screws. This is also a great time to give those fixtures a thorough cleaning. Submerge the fixtures in warm water and dish soap to loosen any hardened grime. Use an old toothbrush to scrub away any remaining dirt.


Allow the lemon juice to sit for 10-20 minutes. Once you’ve given the shower a thorough scrubbing, give the lemon juice a little time to work its magic. Though mild, the acids that the juice contains will usually be enough to deal with the majority of commonplace stains. The longer you let the juice soak, the better the end result will be.


Lemon juice is especially useful for dissolving stains that result from exposure to hard water or chemicals. Citric acid will not only clean and disinfect, it will also help brighten up the acrylic and restore it to its original luster.

How Removing Tough Stains and Keeping a Sink Clean?

Sprinkle baking soda. If your bathroom sink is still dirty after you’ve done a light clean, you should sprinkle baking all over the sink. Cover as much of the surface as you can. The abrasive force of the baking soda will help remove tough stains. Make sure the sink is dry before you sprinkle the baking soda. Use as much baking soda as you need to cover the surface area of the sink. Take care to sprinkle some baking soda into the grout ring around the drain.

Scrub the sink. Take a clean cloth and scrub the sink down. You may have to apply a lot of pressure in areas that are particularly dirty. Without scrubbing your baking soda into the sink, you won’t be able to remove all stains. Swirl your cloth around in circles while you rub the baking soda into the surface of the sink. Consider using a regular cotton cloth. Microfiber may not have the abrasive power you need to remove some stains. In some instances, you may need to use a mildly abrasive dish sponge.

Rinse the sink. After you’ve scrubbed the sink, you need to thoroughly rinse it to remove all leftover baking soda. If you don’t rinse it immediately, some of the stains may re-set and all your work will be wasted. Make sure to run the water until all the baking soda has washed down the drain. If your sink doesn’t drain properly, you may need to wipe the baking soda out with cloth rags or paper towels.

Rinse the sink after every use. By rinsing the sink after every use, you’ll make sure that dirt and soap residue are washed out of the basin into the drain. This is important, as the dirt in your sink accumulates on a day-to-day basis. Run the water after you brush your teeth, otherwise toothpaste and toothpaste residue will build up in your sink. Make sure you use enough water to wash soap and soap residue down the drain after you wash your hands. If you notice any grime in your sink after you use it, run the water.

Don’t wash hair shavings down the sink. One of the easiest ways to keep a bathroom sink clean is to avoid washing hair shavings down it. Hair shavings not only dirty your sink, but they can partially clog your pipes. As a result, normal dirt and grime will build up in the basin. If you shave in front of the sink, put a towel over the sink so your hair falls into the towel. If you do wash hair down the drain of the sink, your sink will eventually clog up. When this happens, you’ll have to remove the accumulated hair with a coat hanger, or use a chemical clog removing product.

How to Clean a Bathroom Sink?

Bathroom sinks get a lot of use. Not only do you use them in the morning to get ready for work or school, but you use them throughout the day. Because of this, your bathroom sink may accumulate a lot of dirt and grime. Thankfully, there are many ways to effectively clean your bathroom sink. By doing routine cleans, taking steps to remove tough stains, and taking steps to keep your sink clean every day, you’ll have a cleaner bathroom.

Wipe down the sink. Take a clean, wet cotton cloth or dish sponge and wipe down the interior of the sink. Try to get as much debris and grime as you can. Make sure to wipe around the drain. If your sink is especially dirty, you may need to switch out for a fresh cloth. In many cases, it is best to wipe the sink down when it is dry, so you’ll be able to remove hair, grime, and other debris easily. Wipe down the sink on a daily basis, if needed.

Rinse the sink. Make sure to rinse the sink before you use a bathroom cleaning product. If you don’t rinse the sink, you’ll have to contend with a lot of dirt when you spray the sink down. Turn on the faucet and run hot water into the sink. Hot water will loosen soap scum, grime, and dirt. Splash the water around the surface – including the sides – of the sink. You may need to use a clean cotton cloth to wipe down the sides of the sink with hot water.

Spray the sink with a cleaner. Choose a bathroom cleaner of your choice and liberally spray the sink. Make sure to get all parts of the sink, including the faucet and behind the faucet. Most bathroom cleaners are formulated to clean bathroom sinks. You may be able to use a tub and tile cleaner or a cleaner formulated for the type of material you sink is made of. In most cases, this is porcelain. Make sure the cleaner is a disinfectant. This is important as bathroom sinks can potentially accumulate a variety of germs.

Wipe the sink. After spraying your cleaner, take a clean cloth and wipe down the entire surface of your sink. Pay special attention to especially dirty areas and apply pressure when you need. You may need to use several clean cloths. If you need to spray more cleaner while you’re wiping the sink down, do so.


Replace Your Bathroom Sink

Because they get heavy everyday use, bathroom sinks can easily become chipped, stained, or scratched over time. When this happens, you may want to install a new sink to enhance the ambience of your bathroom and create a fresh, clean look. While replacing a bathroom sink takes a bit of time, and replacing the faucet is a separate but essential element of the process, the overall job is manageable for most DIYers.

Choose a silicone caulk intended for use with bathroom fixtures. Don’t use acrylic or other non-silicone caulks. Lower the sink into the hole in the countertop. Lift the sink carefully and slowly drop it straight down into the opening. Once it’s in place, push down on the sink and wipe off any excess silicone that squeezes out with paper towels.

This job may be a bit easier if you have a second person reach up from inside the cabinet to support the sink from below. Attach the sink to the underside of the counter with fastener clips. Follow the instructions that come with your new sink regarding the placement of the clips. Either tighten them by hand or with a screwdriver, as indicated by the instructions. Once secured, they’ll apply pressure to hold the sink tight to the underside of the counter.

Not all sinks require clips for installation. If your model does use clips, they should come in the package with your new sink. If you’re missing a clip or 2, it’s possible that the clips from your old sink may work.

Run a bead of caulk around the rim of the sink where it meets the countertop. Your goal here is to create a waterproof barrier between the rim of the sink and the countertop so that water can’t seep in under the sink rim. Once you’ve run the bead of caulk around the sink rim, wet your index finger and run it around the entire bead to smooth the caulk in place. Then use damp paper towels to wipe away any excess. Use the same silicone caulk you used to adhere the underside of the sink to the countertop.