Posts

How Installing the New Tub?


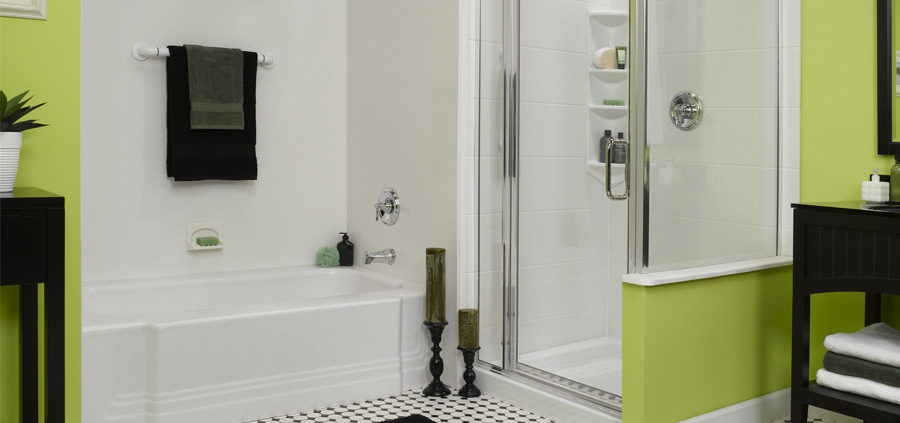
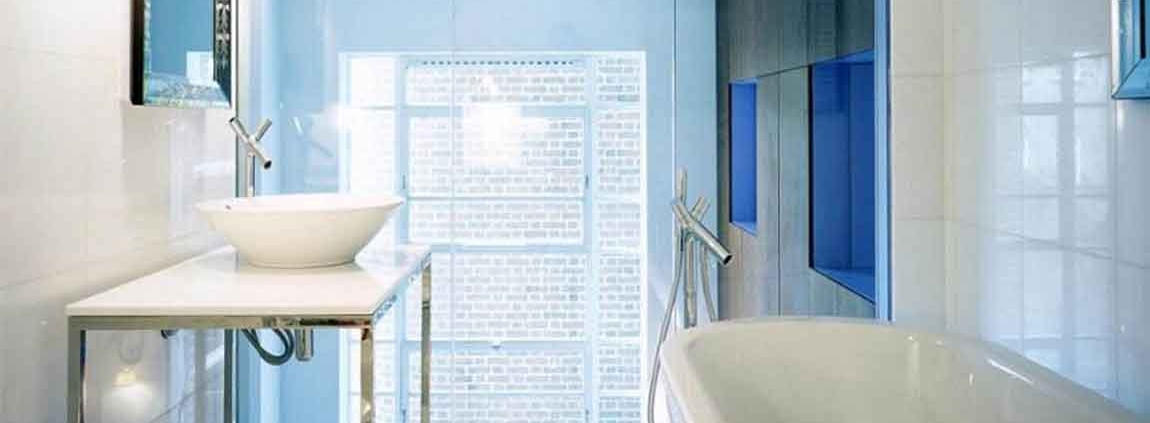
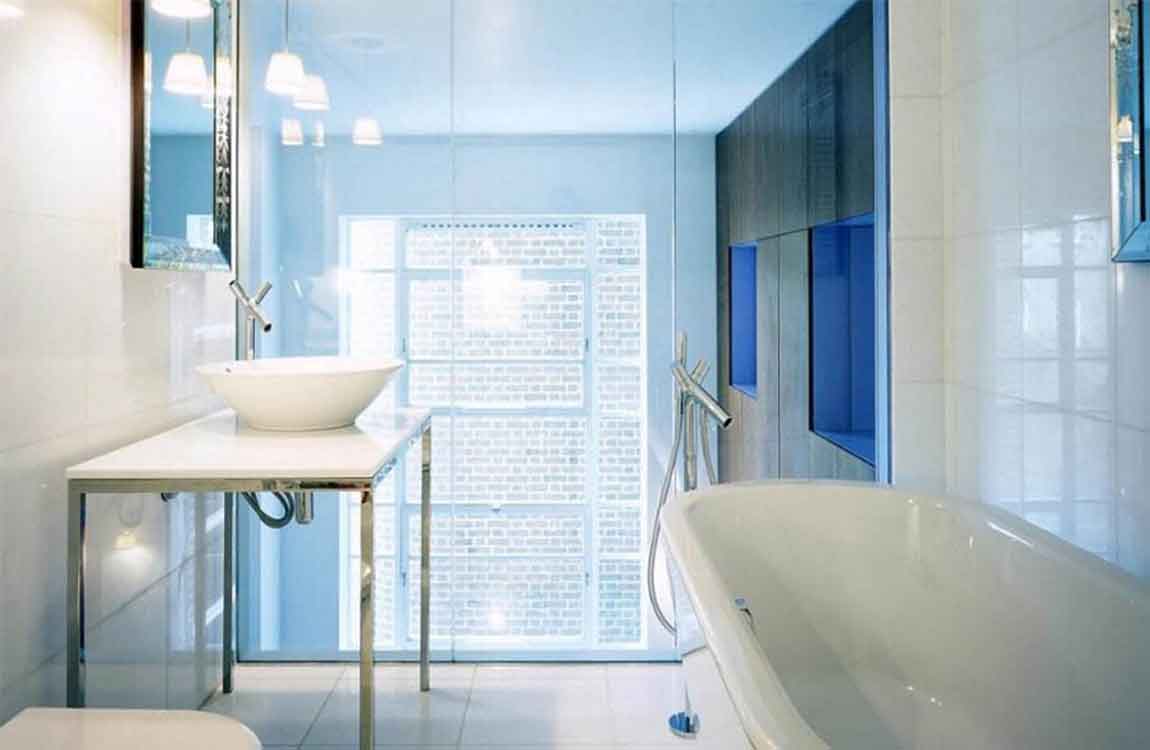
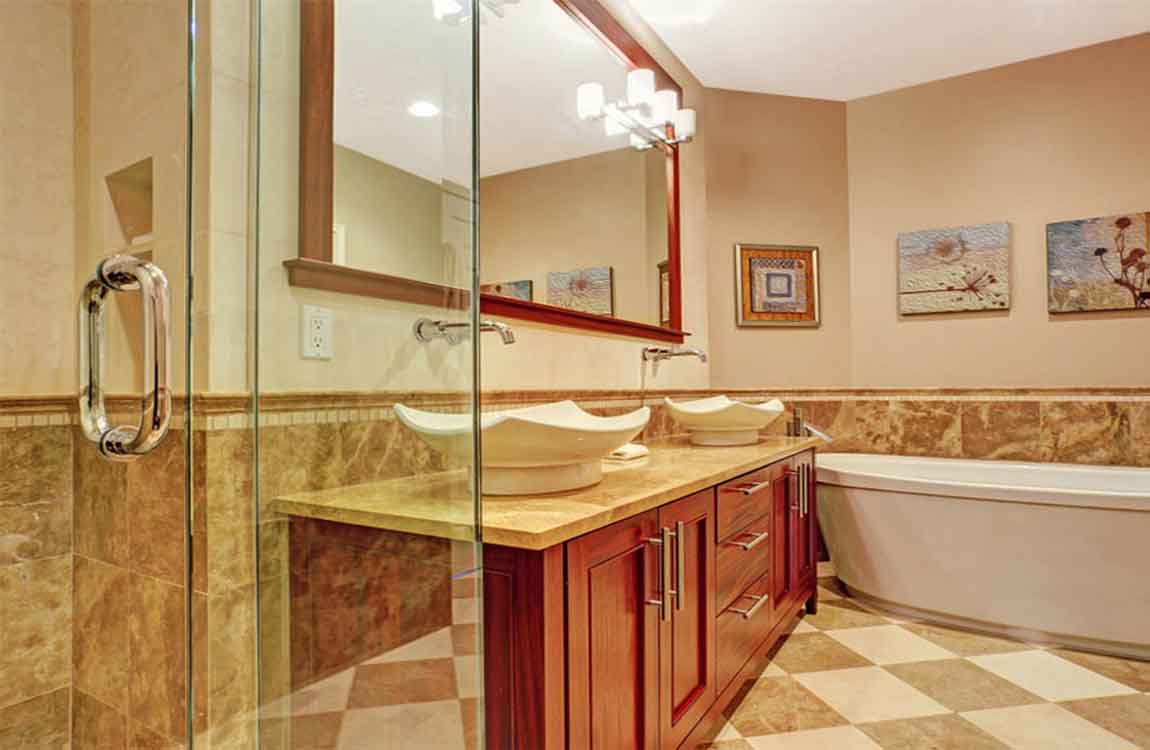
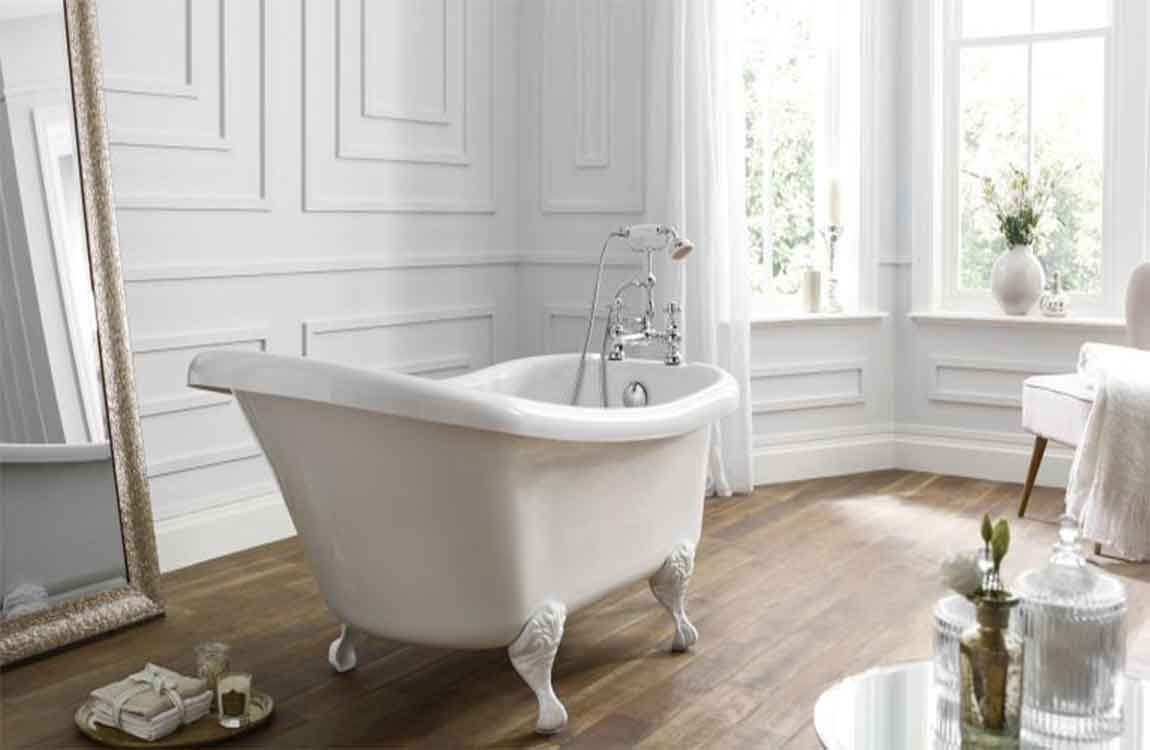
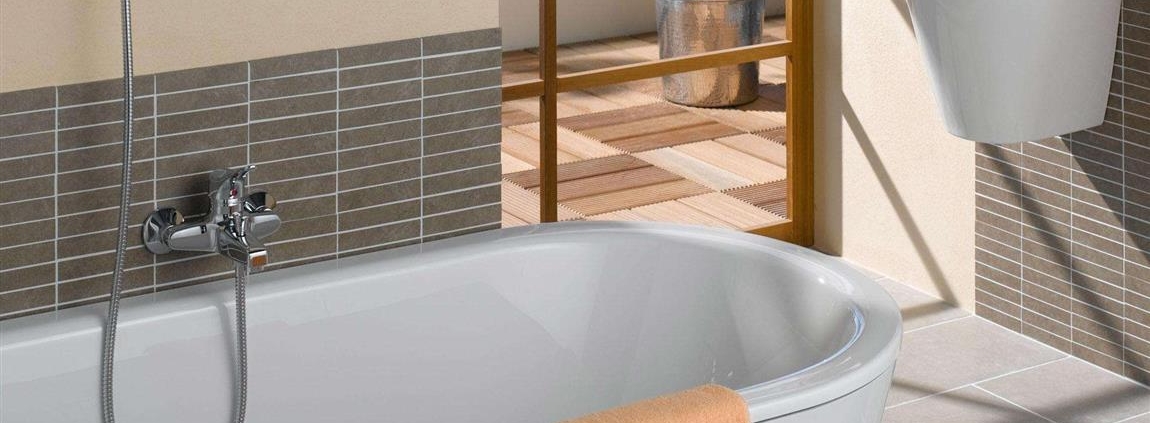
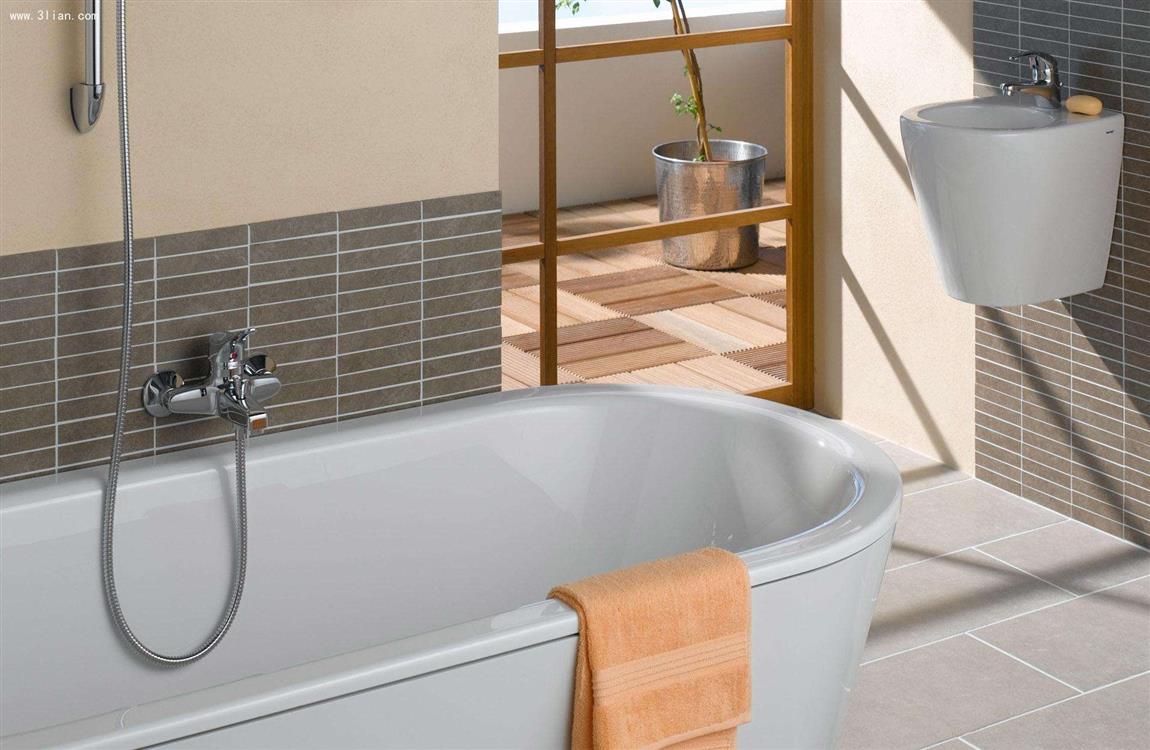
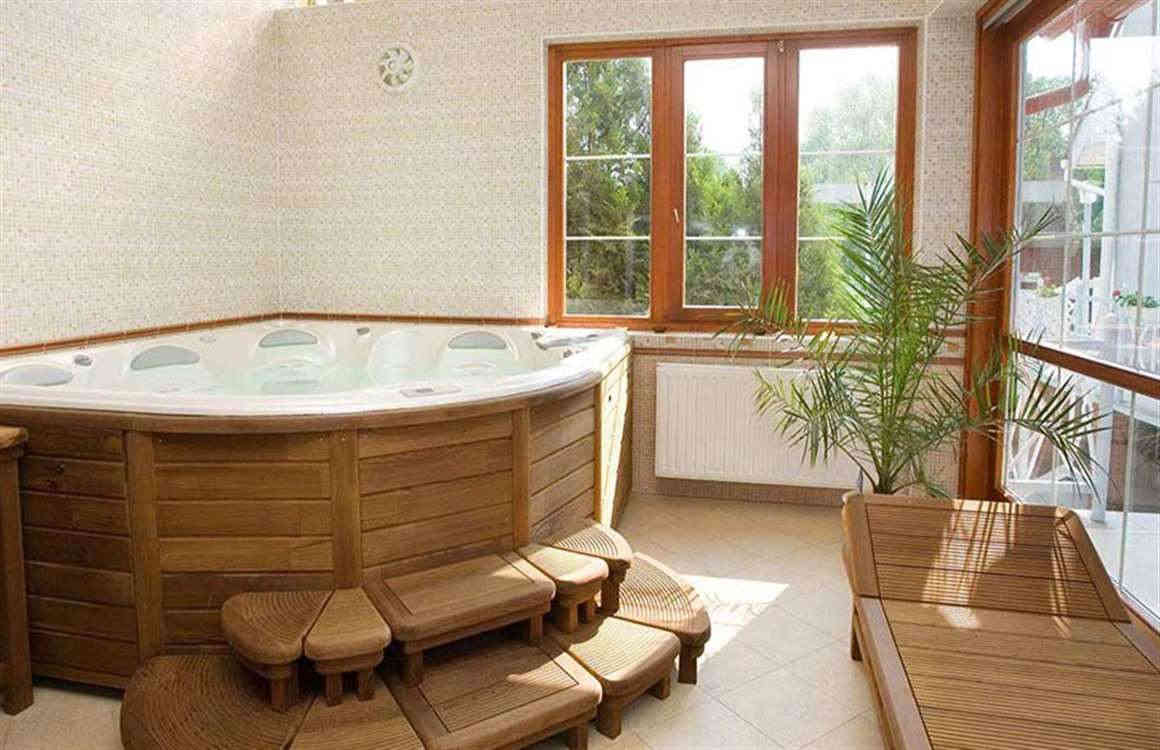
Slide the new tub in place so the flanges rest on the ledger boards. Have a partner help you slide your new tub into place. Feed the drain shoe into the hole in the floor, and set the rest of the tub down. Make sure the tub is level one more time before securing it to the wall. Make sure the tub is in full contact with the floor so the ledger boards aren’t supporting the full weight.


Screw or nail the tub into the studs. Use screws or nails that are 2–3 in (5.1–7.6 cm) long to secure the tub flange to the the studs. Work slowly so you don’t accidentally crack your tub. Put 1 nail or screw into each stud to keep it in place. Tip: If there are any gaps between the studs and the tub flange that are 1⁄8 in (0.32 cm) or larger, put wooden shims in before you put in nails or screws.


Use hardwood shims since soft wood can deform over time. Connect the drain shoe to the pipes. Access your pipes from the hole you cut in the room adjacent to your bathtub. Use a pipe wrench to tighten the drain shoe to the P-trap until it’s completely secure. Squeeze a ring of silicone sealant around the pipe and P-trap for another layer of protection from leaks.


Reattach the faucet. If the faucet had a screw, put the faucet back on with a screwdriver and turn it clockwise. If the faucet screwed off by itself, twist it back on by hand and use a pipe wrench to secure the faucet in place completely.


Fill the tub and test for leaks the day after it’s installed. Let the sealant on your tub dry for 1 day so it’s completely set. Turn the water valve back on and let it fill the tub. Listen for any dripping noises and watch for any noticeable leaks near your drain or on your pipes. If you find any leaks, use more sealant around the leaking area.

How Applying the Paint?


Tape protective sheets on the walls and floor. Before you paint, use masking or painters tape to secure plastic sheeting to the walls surrounding the tub, as well as to the floor underneath the tub. You may also want to lay plastic sheeting over any other fixtures, like the toilet or sink, and remove decorations, towels, and beauty products.


The paint you’re going to use is an acrylic spray paint, and the “dust” from it will settle on the walls and floors. Put on a respirator and wear old clothes once you’re ready to paint. Your clothes are going to get covered in paint dust, so wear things that you don’t mind getting dirty. And use a respirator for safety purposes—the fumes from the paint will be really strong. Remember to keep a window open or a fan running during the painting process.


Follow the paint manufacturer’s instructions to prepare it properly. For a cast-iron or fiberglass tub, you can use acrylic urethane enamel, which may already come mixed for you, or you may have to mix it it, just depending on what kind of kit you purchased.
For fiberglass tubs, you can also use a two-part epoxy paint instead of the acrylic. The epoxy paint can be used on porcelain and ceramic tubs, too.


The easiest option for DIYing the paint job is to purchase kits that are designed specifically for that purpose. Some companies even provide spray cans of acrylic urethane enamel that you don’t have to mix at all. Load your spray gun and put the lid on the paint can. Follow the spray gun’s instructions for how much paint should be loaded into the body. Keep the lid on the paint can so that the enamel doesn’t start to dry up.


If you don’t want to use a spray gun, you could also use paint brushes and rollers. In that case, you wouldn’t need to load anything and could just mix the paint in its can to prepare. Coat the entire tub with long, even motions. Work systematically by starting at a top interior corner and working your way across the length of the tub. Keep the spray gun about 8 inches (20 cm) away from the tub. Repeat this process until the entire interior is painted, and then move on to the outside of the tub.

How Bleaching the Bathtub?


Open windows or bring in a fan before you begin working with bleach. If your bathroom is small and doesn’t have a vent or windows, bring in a fan to blow air out as you work. The most important thing is that you’re getting fresh air so you aren’t just breathing in bleach fumes. You can also wear a respirator if you’re concerned about the fumes.


Wear rubber gloves and mix 90% water with 10% bleach. Use a large bucket to mix the water and bleach. Leave some room at the top of the bucket so that it doesn’t spill easily. Make sure to wear gloves and old clothes, too. Fill up the bucket in the bathroom near the tub so you don’t have to try and transport it from another room.


Scrub the tub with the bleach and water solution and then rinse it out. Use a sponge and start at one corner of the tub and systematically work your way around it. Squeeze out and re-soak your sponge as much as you need to. Rinse the tub out with fresh water after you’ve cleaned it. You can dump out the bleach/water mixture and fill that same bucket with clean water if you want to.


Don’t forget to scrub the exterior of the tub, too—you’re going to be painting the entire thing, so it all needs to be cleaned. Part of the painting process involves getting the tub as clean as possible beforehand so that the paint adheres to the surface better.


Wash the tub with an abrasive cleaner to ensure it’s clean. Use a product like Comet and sprinkle it over the entire surface of the tub. Use a new, wet sponge to scrub the tub. Rinse out your sponge periodically so it doesn’t get too gunky from the cleaner, and then rinse the tub again with fresh water. If you don’t have Comet, you could sprinkle and scrub away baking soda for the same result.

How Using a Cleaning Cream Clean Shower Screen?


Buy a commercial cleaning cream. It doesn’t need to be expensive—a generic brand should suffice. Find a shower cream anywhere that sells cleaning supplies: home-and-garden stores, bathroom-supply stores, and some drugstores. Squeeze a bit into your hand or a cloth and spread it over the whole surface of the screen.


Don’t worry about ruining the surface—the cream doesn’t harm glass. Rub the cream all over the glass, and don’t feel that you need to rub too hard. If you have a marble shower, you should keep the cleaning cream away from the marble. Grab a damp/wet cloth and wipe off the cream. The cream will froth, and it might take a few attempts to wipe it all off—but you don’t need to scrub!


Dry the screen. Use a clean, dry towel (cloth or paper) to gently dry the shower screen so that the end result is evenly clean. Repeat the process for the tiles the tiles. If you’re worried about the surface of your tiles, you can put the cream onto a cloth instead, but it will take longer and more persistence.


Spray your shower screen with window cleaner and wipe with a squeegee. You can use any commercial window cleaner—for example, Windex. If you do not have a squeegee, consider using a sponge. First, rinse the surface. Get rid of any dirt that has collected on the surface of the shower screen. You can run water from shower over the screen to wash away dirt, or you can use an external water source.


Spray window cleaner on the surface, then lightly wipe it down with a paper towel. Squeegee the surface. Spray on another layer of your preferred window-cleaning solution, then go over the surface with the squeegee until it is perfectly clean. If there are any marks left after the squeegee, go over the surface with a dry paper towel. Don’t be afraid to scrub stubborn spots.

How Submerging the Shower Head in Vinegar?

Disconnect the shower head from the shower. Check the instruction manual of your shower if you do not know how to do this. Many shower heads will simply twist off, but yours may be different. If you have recently installed a new shower head, and it has a warranty, make sure you handle it according to package instructions.

Pour white vinegar in a tub. Find a container or tub large enough to fully submerge your disconnected shower head. Pour enough white vinegar into the tub to completely immerse your shower head. Pour some baking soda into the tub. You should pour in about ⅓ of a cup of baking soda for every cup of vinegar that you pour into the tub. The solution should bubble.

Put the shower head in the tub of vinegar. Completely immerse your shower head in the tub of vinegar. Make sure that it will stay submerged for at least an hour. Wait one hour. Leave your shower head soaking in the vinegar. You can also leave your shower head there overnight, if you want more of a deep clean.

Rinse the shower head. Pour water from the sink onto your shower head. Rinse off the excess vinegar and wipe clean with a cloth. Turn on your sink faucet. Allow a strong stream of water to go through the pipe attachment into the nozzle. Let it run for 30 seconds. Reconnect the shower head. Turn on your shower. Let your shower run for a few minutes to get rid of any vinegar that might still be inside the shower head.

Wipe off excess sealer on the surface of your shower. Use a dry absorbent cloth to remove any excess sealer that pools on the top of your shower. Any excess sealer that’s pooled on the surface of your marble or that has not been absorbed must be removed for the health and appearance of your marble, as leftover sealer can stain it.

How to Plan a Bathroom Renovation?

If your bathroom is out of date, taking the time to renovate it can help increase the value of your home. Before you start ripping out fixtures from the bathroom, it’s best to set up a plan and budget for the renovation. Take time to go over designs and buy the supplies you need so you’re completely prepared. By the time you start, you can either do the renovation yourself or hire contractors to do it for you. With a good plan, you’ll have a great new space in your home!

Traditional bathrooms usually feature a full bath and shower combination. Modern bathrooms look sleek and contemporary, but most tend to only have a shower stall instead of a bath. Craftsman-style bathrooms usually have handcrafted wood cabinets or vanities, but these will be more costly. Rustic bathrooms use raw finishes, such as wood walls, for a simple and homey look.

Choose a color scheme for your bathroom. Pick the paint or tile colors you want for your bathroom so you can base the rest of your design around it. Settle on at least 3 colors so you have a primary, secondary, and accent shade. Try using light colors, such as white, cream, or yellow, to make your space feel larger and more inviting.

Make sure your decor and accessories match the color scheme for your bathroom, or else you’ll need to buy new decorations. Tip: Follow the 60-30-10 rule when choosing colors for your bathroom. Your primary color for the room should take up 60%, a secondary color should be 30%, and accent colors should cover 10%. For example, you may have white walls and cabinets as your main color, black floors and countertops for your secondary, and blue accessories as your accent.

Avoid laying metal in your sink. One of the toughest stains to get out of a sink, especially porcelain bathroom sinks, are rust stains. As a result, don’t lay any metal in your sink. Because of the presence of moisture, metal will quickly rust and leave a stain. If you have a rust stain, take an old eraser and wipe it against the stain. If the rust stain won’t come out with baking soda or an eraser, you may need to use an abrasive cleaner like Comet cleaning powder. However, make sure whatever product you use is safe on the material your sink is made of.

How Choosing a Style and Budget?

Set a budget of around $10,000 USD for a full bathroom renovation. The average cost of a full renovation for a medium-sized bathroom is about $10,000 USD. For a large master bathroom, aim to save about $15,000 USD to cover any additional tile or plumbing you need to complete. When you set your budget, make sure you stick to it closely so you don’t accidentally overspend.

The $10,000 estimate is if you plan on replacing your fixtures, tiling, cabinets, and countertops. You may spend more or less depending on the size of your bathroom and the amount of work you do. Try to save an extra 10% of your total budget in case you need to make any emergency repairs. If you’re working on a half-bathroom, plan on saving about $5,000-$7,000 USD.

Plan for a partial renovation if you want to save money. A different paint color or a new vanity might be enough to make your space feel like new. If you already like the layout of your bathroom, consider replacing only one aspect of it to save money and work time. However, if you need to make major adjustments, it will be easier to renovate everything at once so you don’t need to do it again in a few years.

Try changing the accessories in your bathroom first to see if that’s all you need. When making a budget for a partial renovation, look for the costs of the components you want to replace and save about 10% more than the cost.

Look up inspiration for your bathroom online or in magazines. Look through home improvement and renovation magazines to see common trends and styles you could use. Cut out and save pictures of styles that you’d want in your bathroom. If you want to search online, try looking on home improvement sites or on Pinterest for ideas and inspiration. Save pictures you like or bookmark them to look at later.

How Preparing the Old Sink and Buying the New One?

Turn off the water supply and empty the lines. The shutoff valves are usually located in the cabinet under the sink. Turn both the hot and cold valves clockwise until they resist further turning. Then, turn on the hot and cold faucet taps to empty the faucet lines. If the shutoff valves won’t stop the flow of water completely, you’ll have to replace them. Unless you have some plumbing experience, this may be a job best left to a professional.

Disconnect the P-trap portion of the drain pipe. If the P-trap is made of PVC, loosen the slip nut that connects it to the underside of the sink drain by hand. If the P-trap is made of metal, loosen the connecting nut with channel locks.

You don’t need to remove the P-trap to replace the sink, but you may want to remove it temporarily so you can clear it of debris. To take it out, unscrew the nut (by hand or with channel locks) that connects the bottom of the P-trap to the drain line below. Place a bucket or heavy towel at the bottom of the cabinet to catch any dripping water.

Unfasten the hot and cold water lines with a crescent wrench. These are flexible lines that run from the shutoff valves to the underside of the faucet. Disconnect them right above the shutoff valves. Some types may have nuts you can loosen by hand, but you’ll often have to use a crescent wrench. You can reuse these water lines if you want—just disconnect them from the underside of the sink later, then reattach them during installation. But this is also a good time to replace them.

Measure the dimensions of the old bathroom sink with a measuring tape. If you want to reuse your existing countertop, makes sure you get a new sink that will fit in the same spot as the old one. Write down the length, depth, and width of the sink, as well as the length and width of the countertop. You’ll likely have to replace the countertop as well if you want a new sink that’s a different size.

Buy your new sink at a home improvement store. Bring the measurements of the old sink and countertop with you. This helps to ensure you purchase the correct size before putting in a bathroom sink. Make sure the replacement sink is the same type (top-mount or undermount) as the old one. Ask an employee for assistance if you need help selecting a new sink. Most bathroom sinks are still made of ceramic, but there are other options, and many colors to choose from beyond the traditional white.

How Adding Textiles and Furniture In Your Bathroom?

Add a small, decorative stand or side table. Choose a small stand or a side table that is 12 to 18 inches (30 to 46 cm) across and tuck it into a niche or corner. Not only will this look cute, but it can double-up as extra storage.
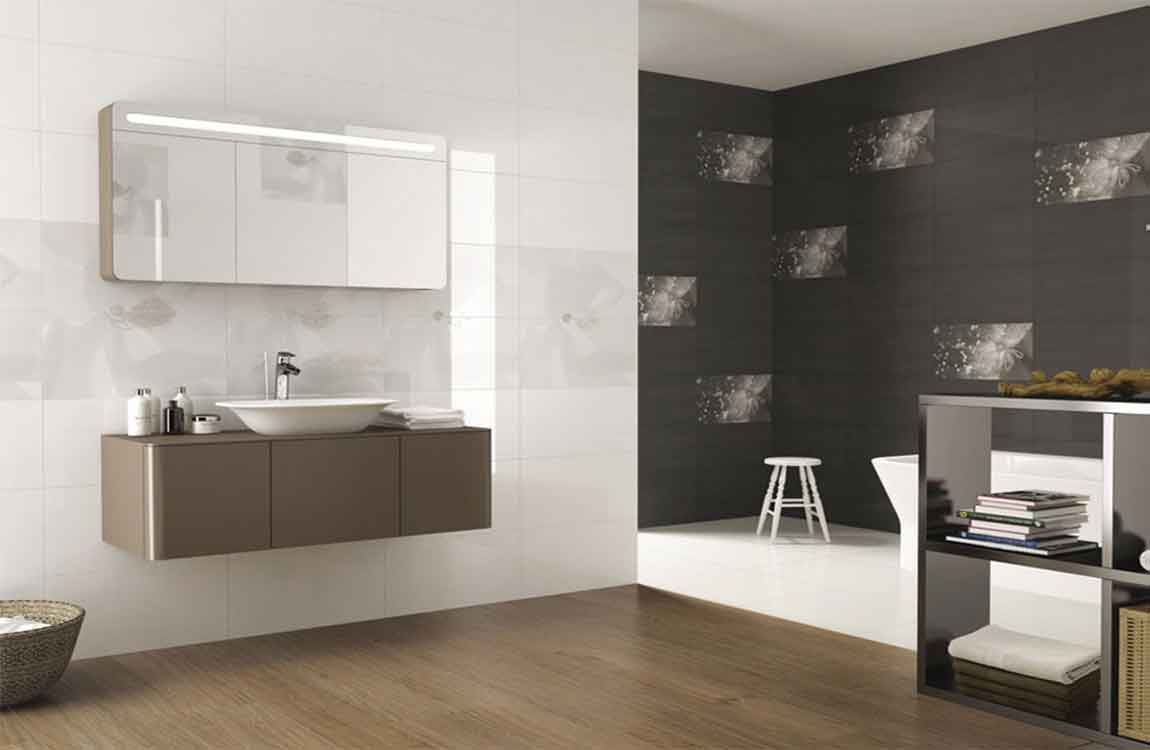
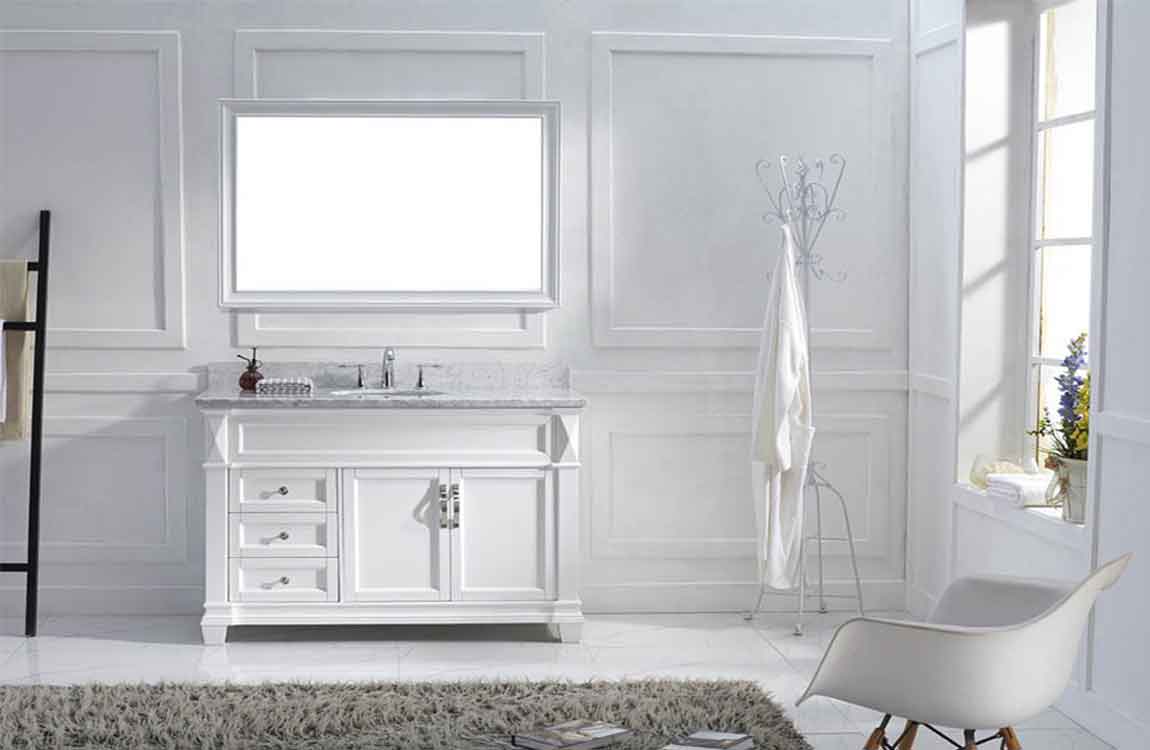
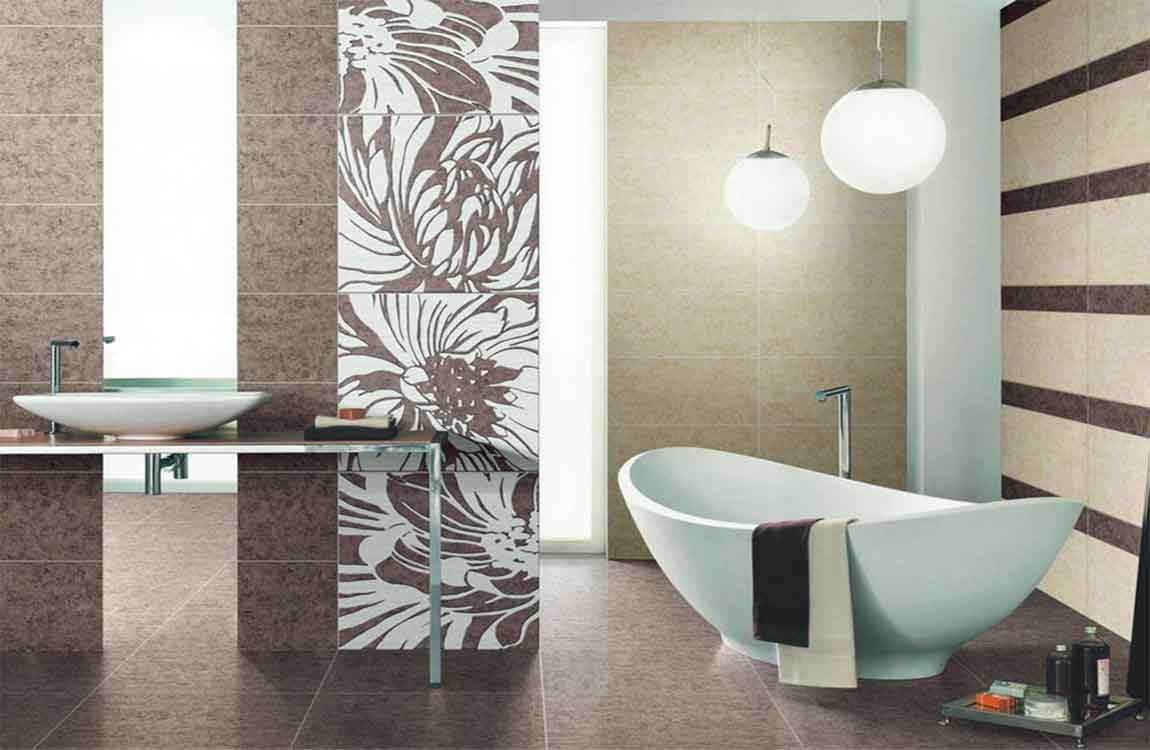
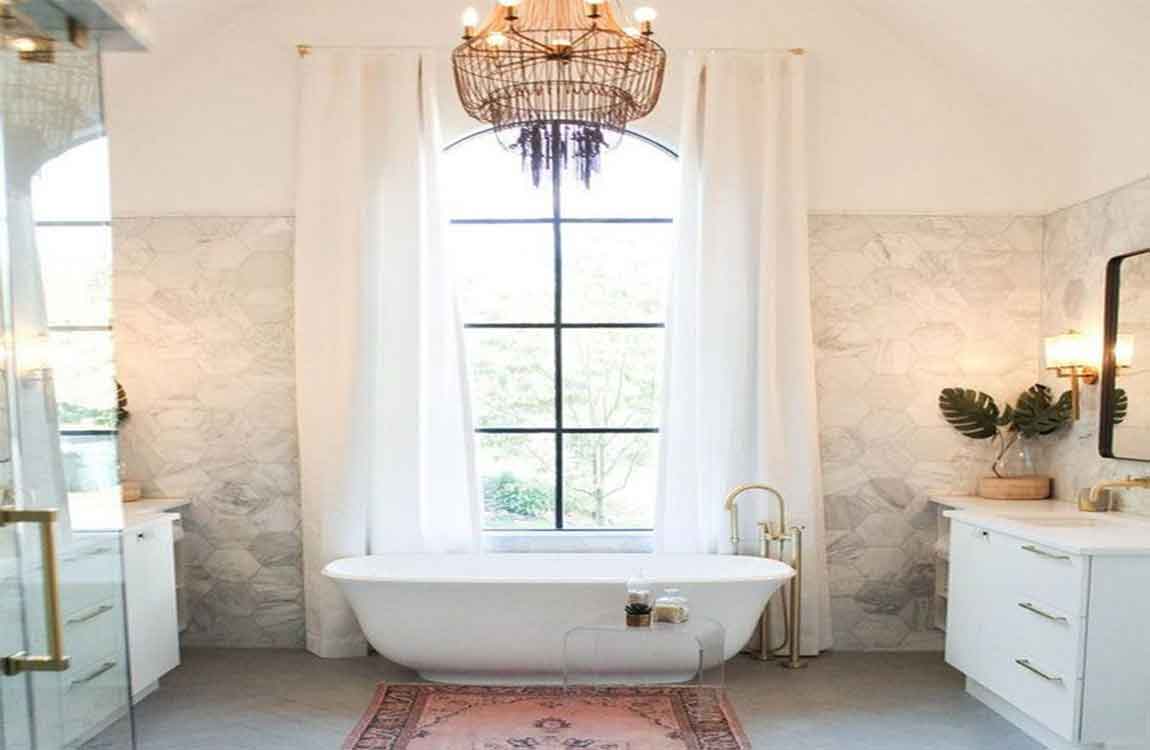
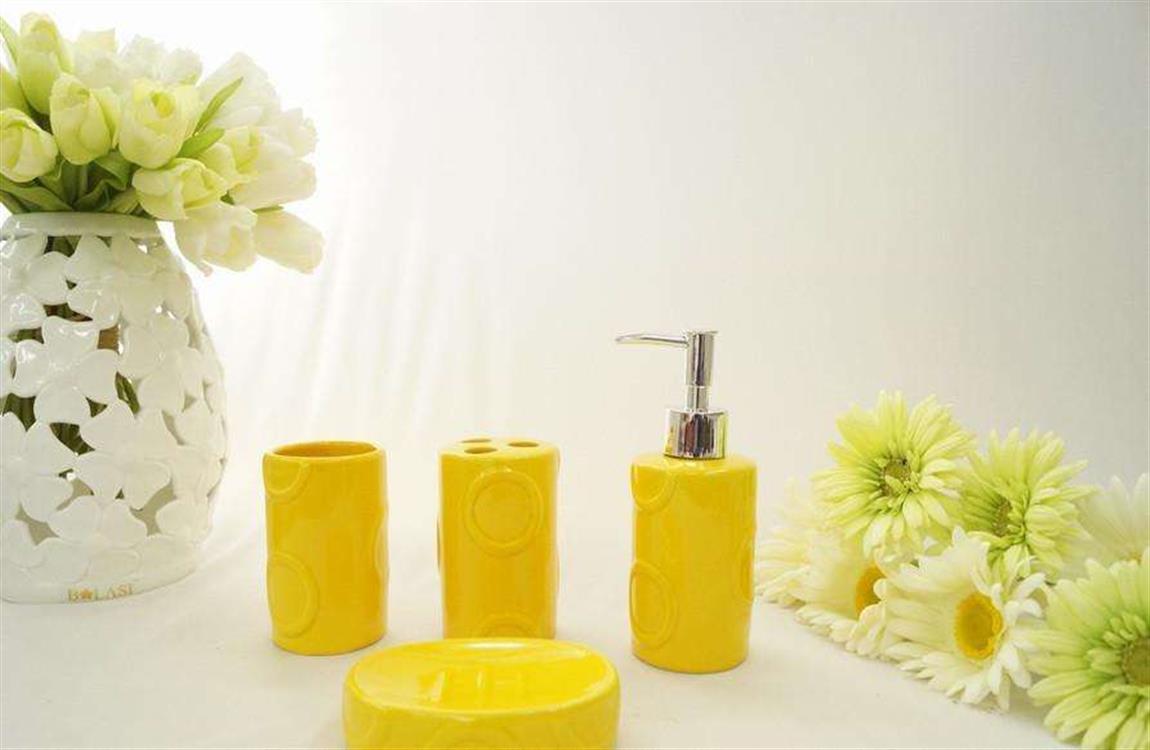
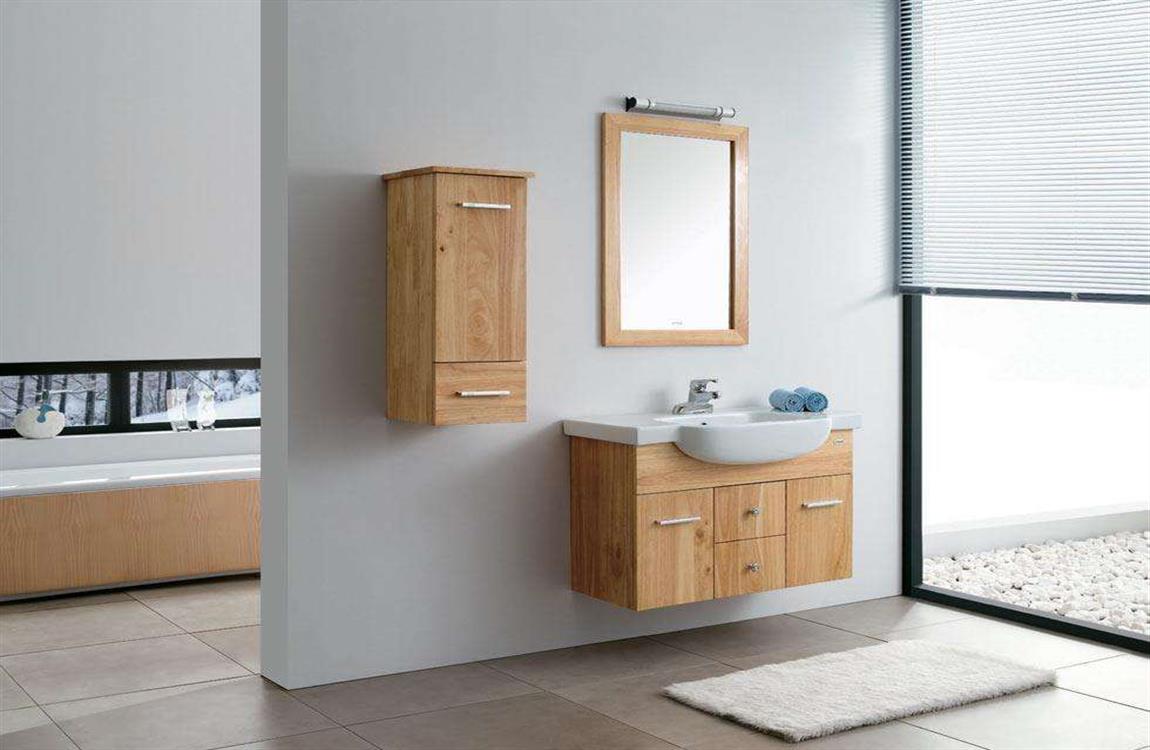
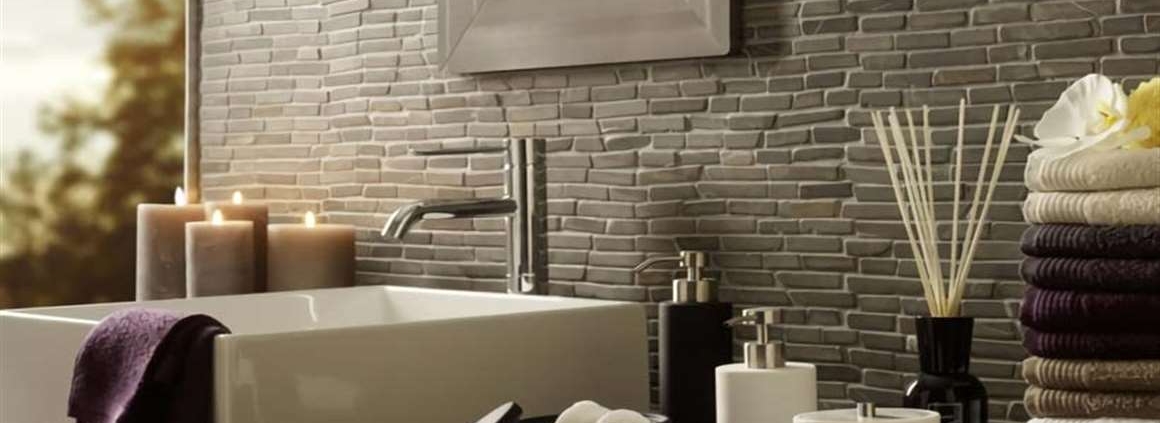
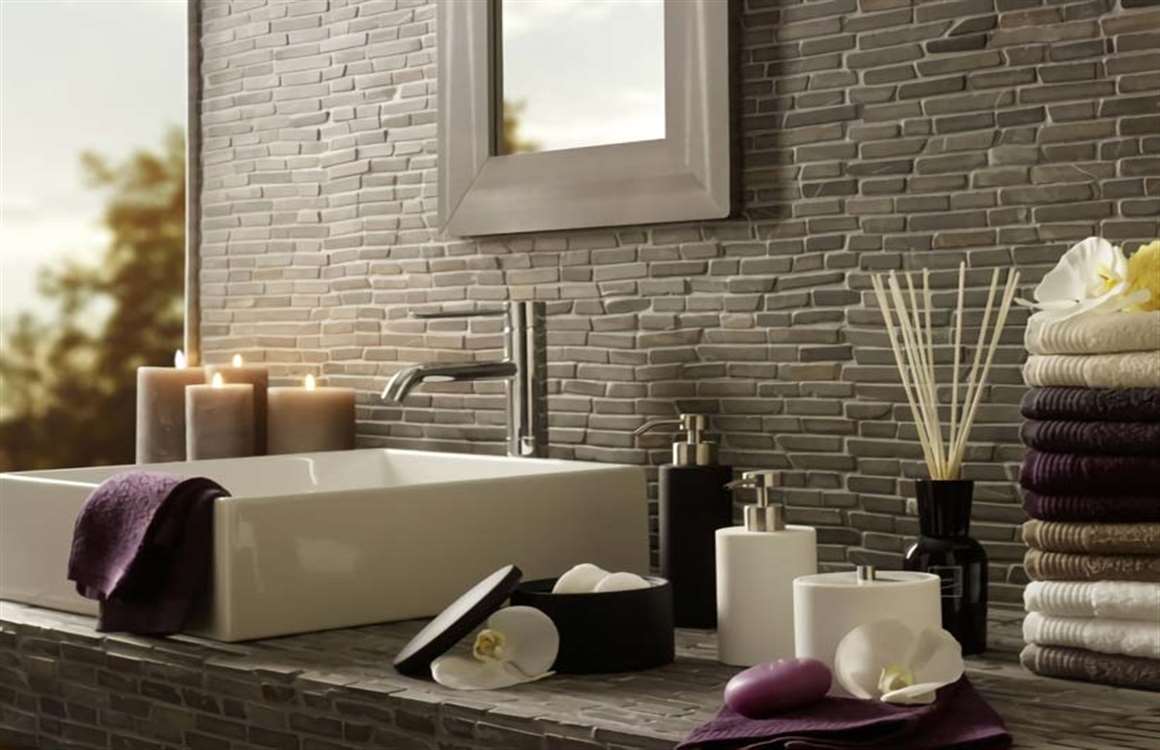
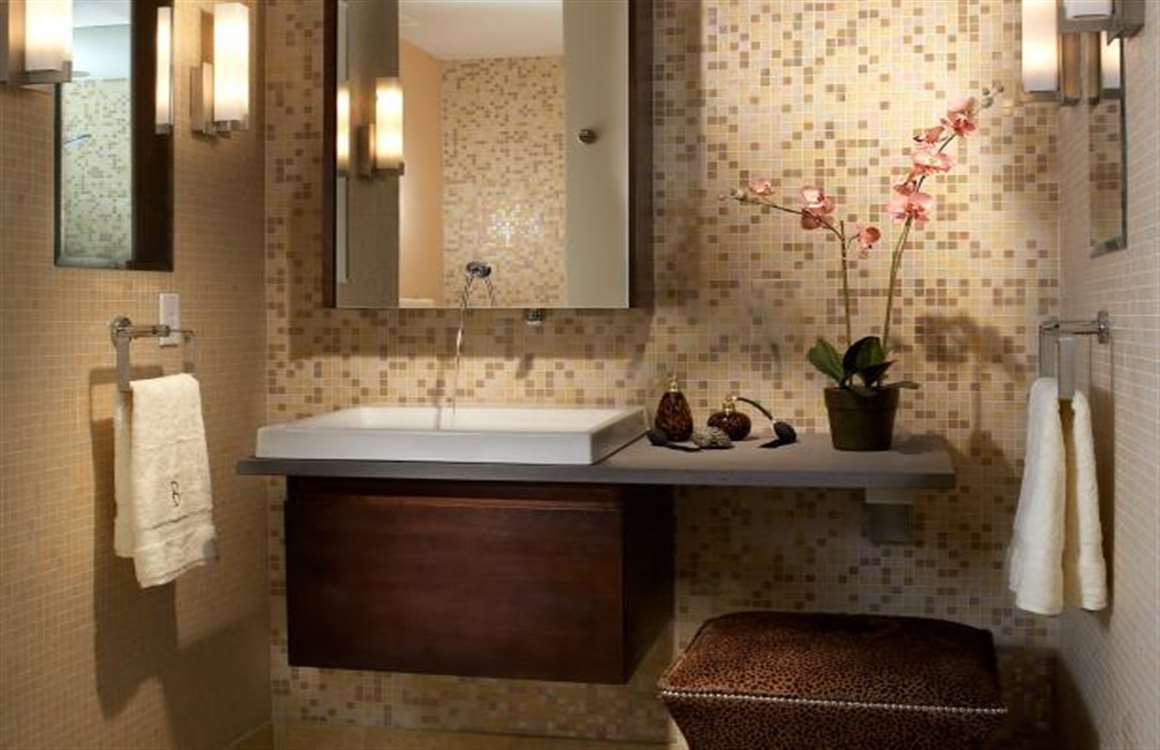
For example, you could keep candles or bowls filled with pretty soaps on top of the table. If your table has shelves, roll up your towels and place them inside the shelves. Not only is this a great decorative touch, it’s also practical. Consider placing a nice tray atop the table for your toiletries or perfumes.
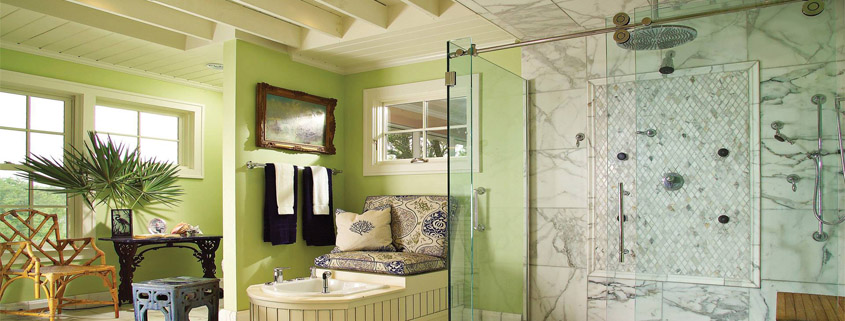
Consider an upholstered bench for comfort and luxury. Choose a bench that matches the style and colors of your bathroom, then set it against the wall. If you have a small bathroom but still want a hint of luxury, consider an upholstered stool instead.
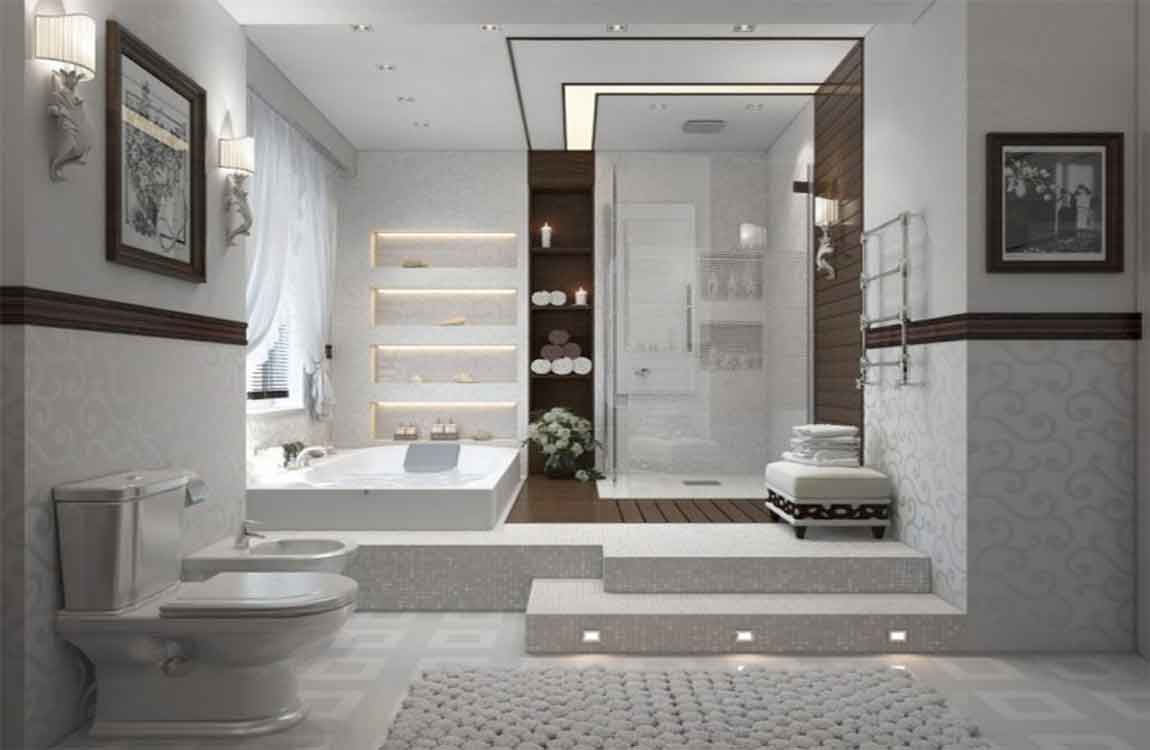
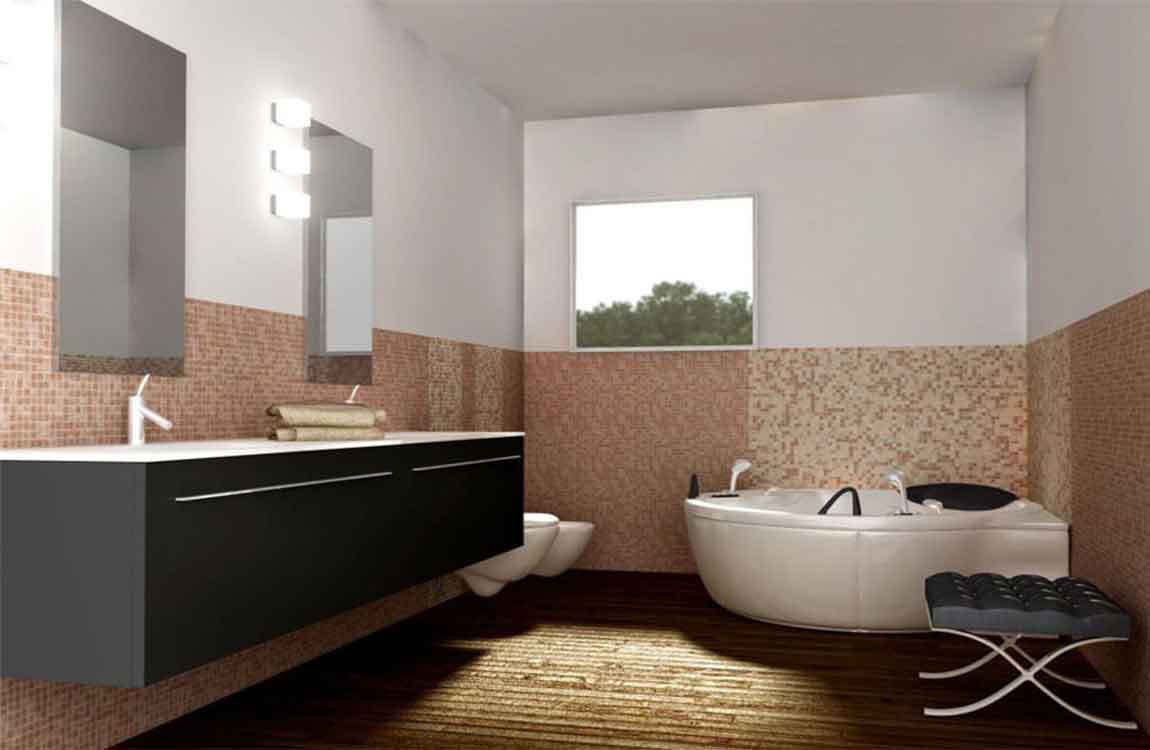
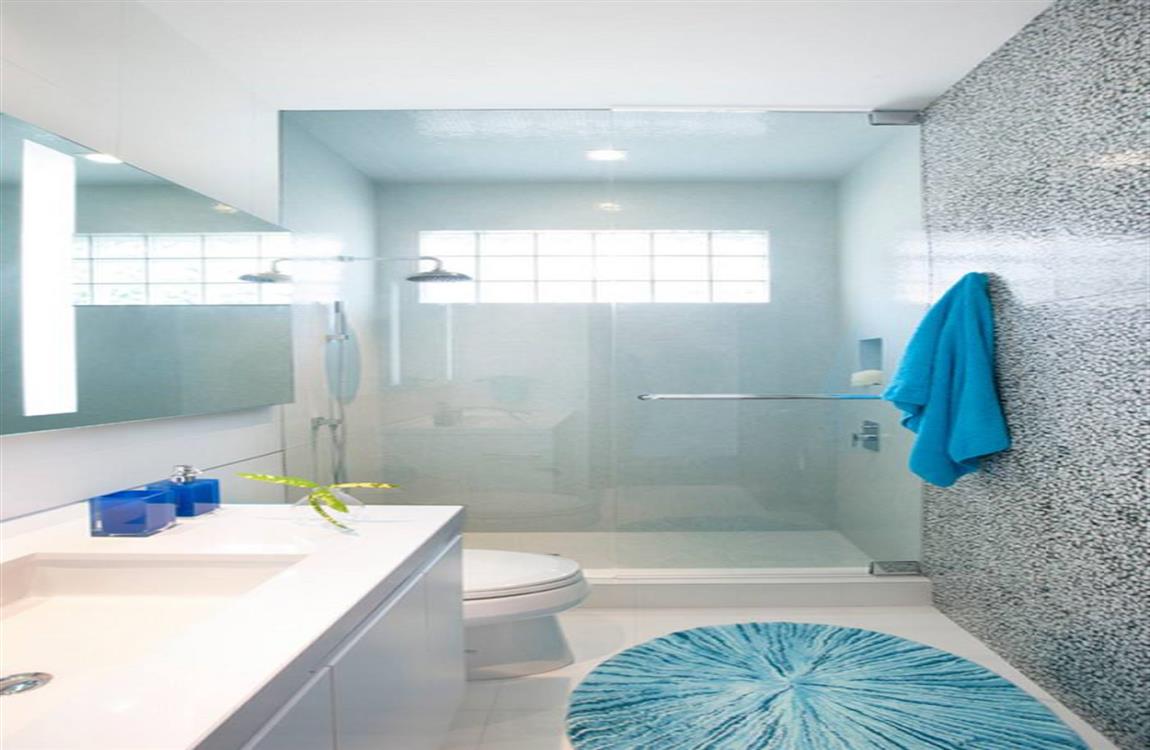
Don’t be afraid to take a bench apart and re-paint or re-upholster it. If you decide to re-upholster the bench, make sure you choose a water-resistant fabric. This is especially important if you plan to sit on the bench while wet or place wet items on the bench. Otherwise, it may develop mold or mildew.
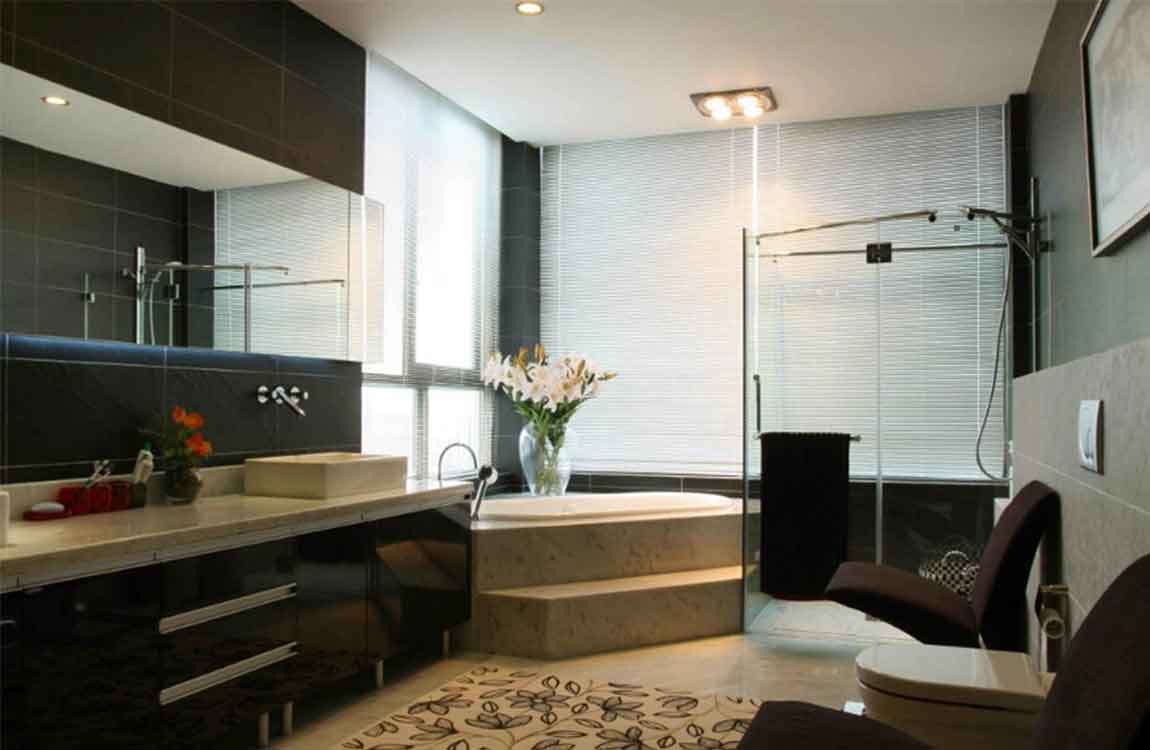
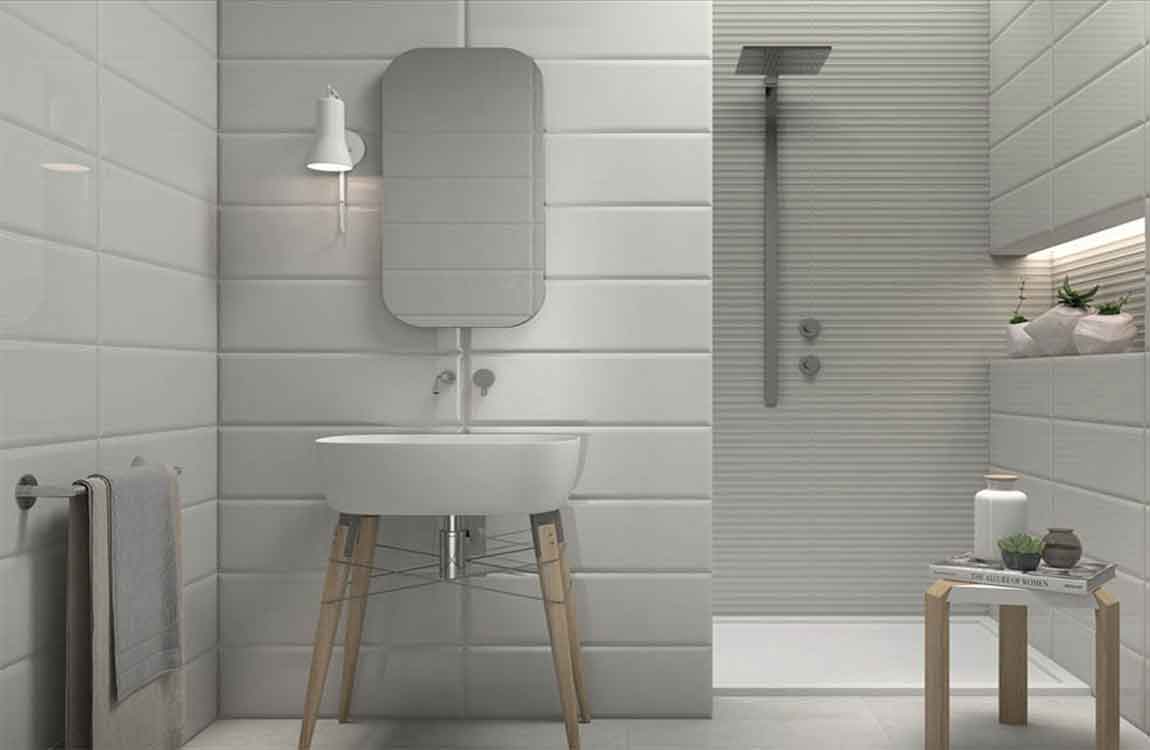
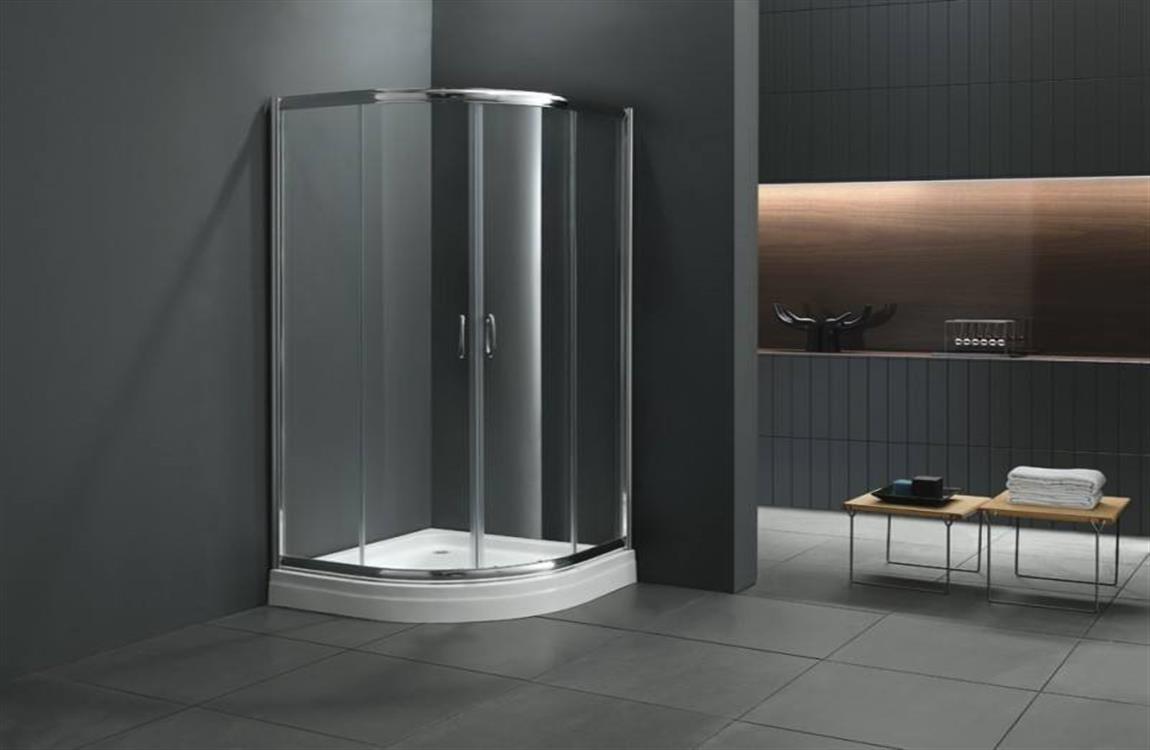
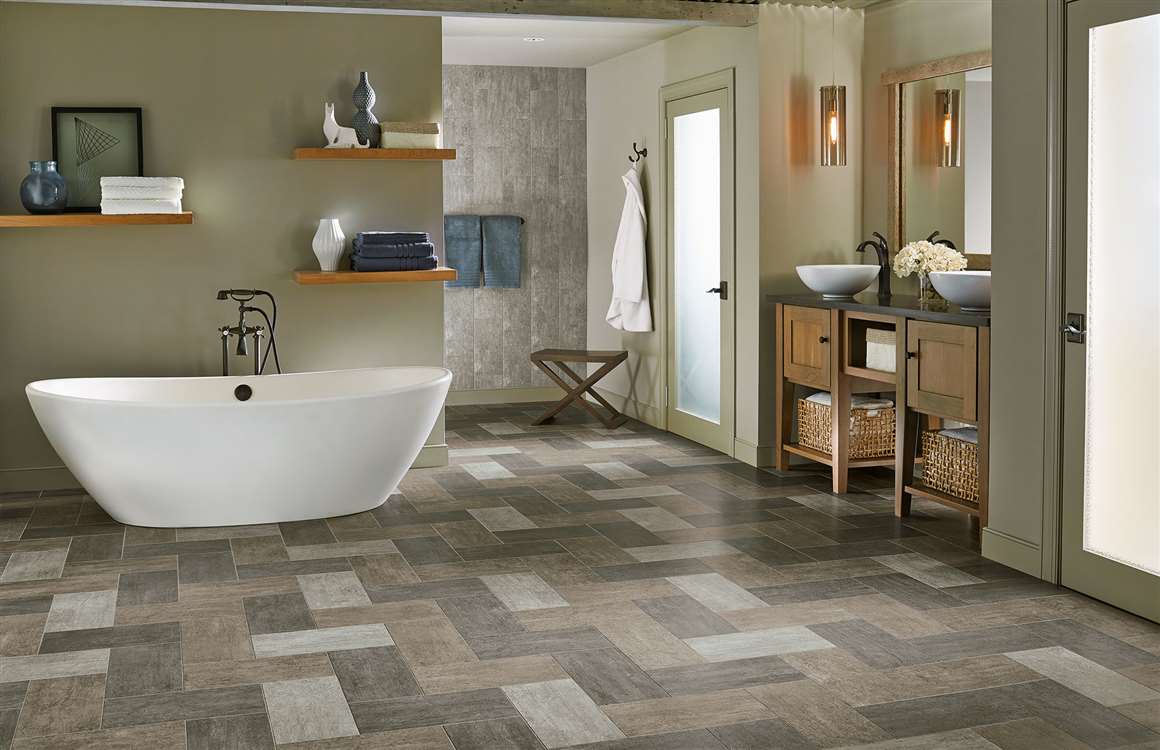
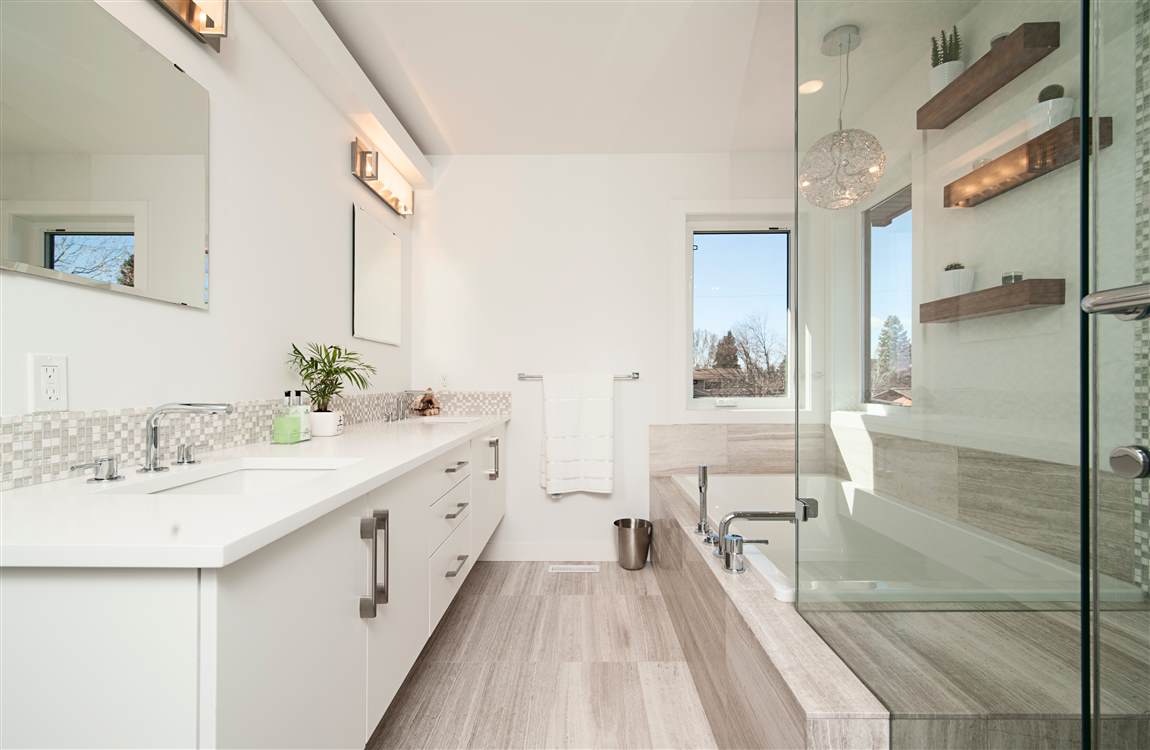
Get a shelving unit if you have space for it. Not only can this add a decorative element to your
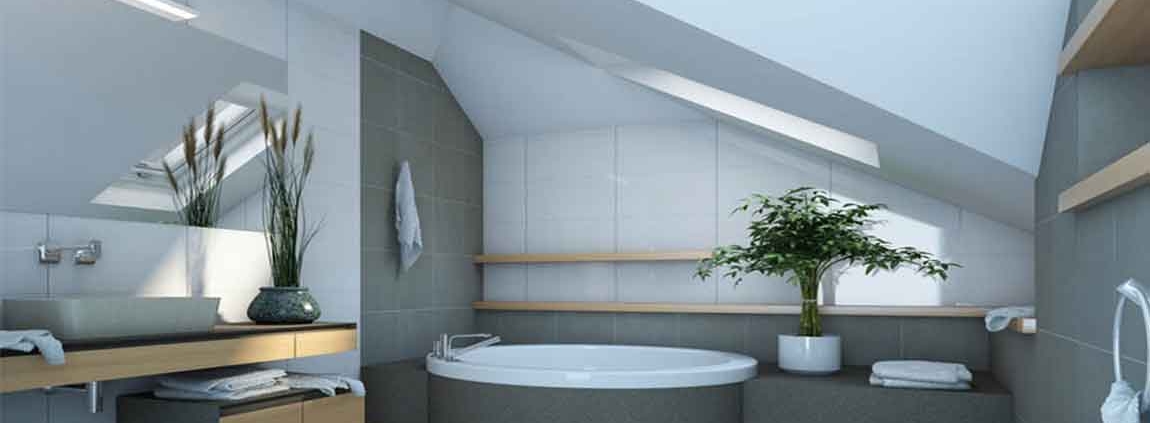
 bathroom, but it will also allow you to store other items, such as towels, toilet paper, and so forth. Make the shelf more decorative by adding a plant or a vessel filled with pretty soaps or bath bombs.

bathroom renovation 5 bathroom tips to share

Bathroom Renovation 5 Bathroom Tips To Share

bathroom renovation 5 bathroom tips to share

1, space decisions bathroom choice

Take the toilet, the hanging toilet is suitable for small space, easy to clean; high-tech computer toilet, the area is larger, suitable for large space.
In addition, in the purchase of toilets, be sure to confirm the toilet at home distance, that is, the wall to the drainage center distance, the domestic general 30-40cm based, but there are also 18-22cm.

2, toilets need to pay attention to dirt resistance, durability and practicality

Toilet in the purchase, in addition to shape and function, mainly considering pollution, durability and practicality. Good quality toilet, its glaze should be smooth, no foam, color saturation.

After testing the surface of the glazed surface, you should also touch the drain of the toilet. If it is rough, it will cause a blockage later.