Posts

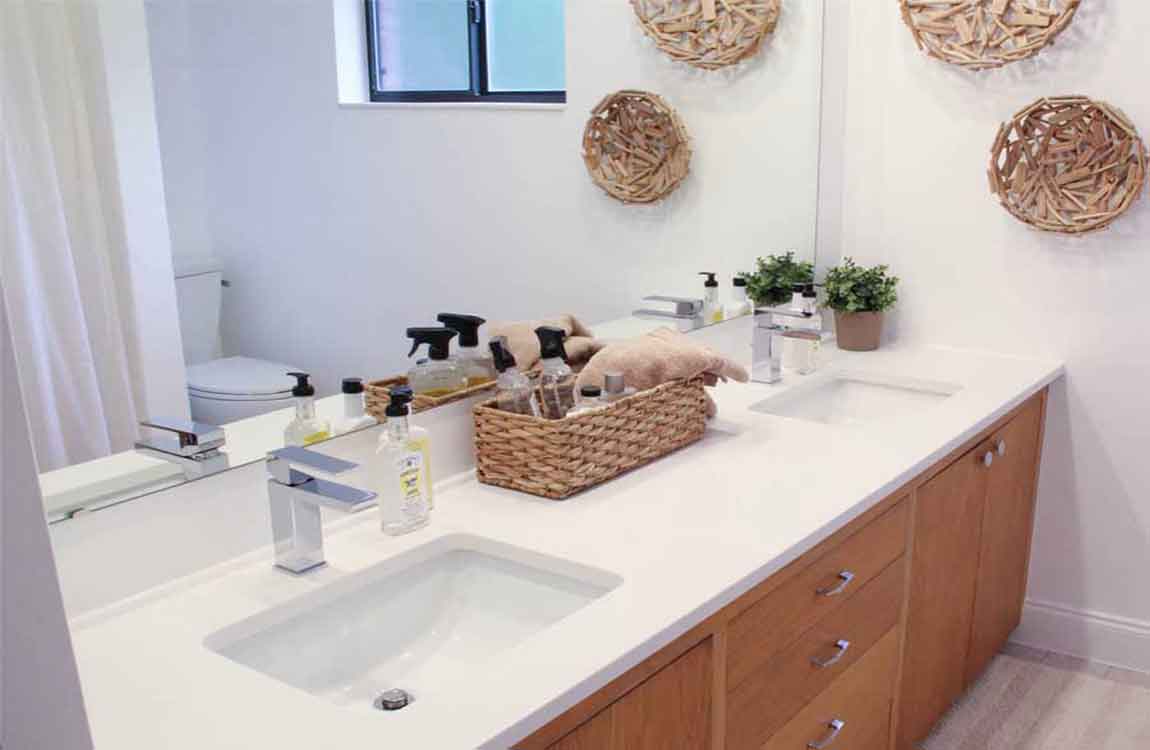
How Cleaning Sink with Baking Soda and Lemons?


Dampen your sink. Before you apply the baking soda, lightly dampen the basin of the ceramic sink. You can do this by allowing the sink to fill with water and then draining it, or using your hand to splash water around on the sides of the basin. Make sure that no standing water is left in the sink, as this will dissolve the baking soda and render it useless.


Also dampen the sponge that you plan to clean the sink with. You don’t want the sponge soggy, so wring it out well before you start cleaning. Sprinkle baking soda into the sink. You can start by adding about ½ cup (0.25 liter). Use your fingers or a spoon to sprinkle the baking soda in the basin of the sink, until the ceramic has been fully coated. Make sure to apply baking soda to any areas that are soiled or stained.


Scrub the baking soda with a damp sponge. Baking soda functions as a mild abrasive, and will be effective at cleaning mineral buildup, leftover toothpaste, and general dirt and grime off of the ceramic. Rinse the sponge as needed, and make sure to wring it out fully before you return to scrubbing the ceramic. Once you’ve cleaned the sink, rinse it well with water.


While you’re scrubbing, you should notice the baking soda clumping together into small lumps. This is a good sign: it means that the baking soda is not too wet, and that it’s effectively picking up dirt from your sink.


Whiten the sink with lemon slices. To naturally “bleach” your ceramic sink, start by cutting a lemon into several wedges. Take each wedge and rub it around the basin of the sink, making sure to squeeze out plenty of lemon juice on the ceramic. You can use the tough skin of the lemon to scrub at stains or other darkened areas.

How Securing the Tub and Surround?

Set the tub in place and level it. Carefully position the tub in the alcove so that the drain rests over the drain opening in the floor. Place a level on each side of the tub. If any spots are uneven, position hardwood shims underneath the tub and glue them in place. Some manufacturers may advise you to spread mortar on the floor and set your tub on the mortar to secure it in place.

Secure the tub to the studs. There will be a small flange, or vertical lip, around the outside of the tub. Follow the manufacturer’s directions to secure the flange to the studs in the wall. In most cases, you can use a hammer to drive roofing nails through the flange to secure it to each stud in the wall.

Fit a new tub surround. The surround is made up of the panels that protect the wall around your tub from moisture and mildew. First, dry-fit the surround and mark the location of the accessories, including the faucet and water handles. Ensure that the faucet will line up with the water lines in the wall. Then, cut out the accessory openings with a jigsaw.

Make sure you measure the location for accessories multiple times before cutting into the surround!A one-piece surround is the easiest type to install. Caulk the tub to the surround and secure the surround to the studs. Place a bead of silicone caulk around the entire perimeter of the tub on the ledge next to the flange. Then, carefully set the surround on top of the silicone caulk.

Next, use a drill to screw the surround into each wall stud. Aim to use a screw every 6 inches (15 cm) up the length of the surround. Be sure to choose silicone caulk meant for use in bathrooms.

The Knowledge of Bathroom Caulk


Let this solution dry fully before applying the new caulk. Leaving it overnight and keeping it well-ventilated is best. Get rid of any small ridges left by the tape by smoothing the caulk again. Use a damp paper towel or lint-free rag again to smooth over the caulk. This will ensure that the whole caulk edging is seamless.


Focus particularly on areas where 2 pieces of tape met, and these leave a small ridge. Let the caulk dry for at least 48 hours before using the tub. The specific amount of time that it will take for the caulk to dry will be listed on the instructions on the caulk tube. Keep the area well ventilated and dry as the caulk cures.


You will be able to tell when the caulk is dry because the consistency will change to look firm rather than wet, and it will be completely dry to touch. Let the cleaner sit for 5-10 minutes. After a few minutes, the dingy messes that have built up on the surface of your acrylic shower will begin to dissolve. This will allow you to wipe them away with ease.


If you’re dealing with particularly heavy soap scum or stains, it may help to reapply the cleaner once or twice. Use this time to take care of any other cleaning tasks you need to complete, like detailing the faucet or shower head.


Rinse and wipe out the shower. Turn on the shower head and direct the flow of water over the areas of the acrylic you just sprayed. Wash away as much liquefied grime and cleaning solution as you can. Once you’ve given the shower a preliminary rinse, go over the acrylic using a soft microfiber towel or sponge to remove any remaining residue. For stubborn residue, use an old toothbrush to scrub it away.

How to Clean an Acrylic Shower?


If the highlight of your morning is stepping into a hot, revitalizing shower, chances are you’ve put some thought into the best way to keep your bathroom sanctuary sanitized and sparkling. Luckily, newer showers and shower liners made from synthetics like acrylic are a breeze to clean. That being said, acrylic is a soft material that can easily be scratched or discolored, so it’s important to make sure you have the right tools for the job to avoid causing permanent damage.


The key to cleaning acrylic safely and effectively is to use a mild acid-based solution, followed by a wipedown with a non-abrasive cloth. All-Purpose清洁剂或Bar Keeper’s Friend. Choose a non-abrasive cleaning solution. Acrylic is a soft, malleable finish, which means it can easily be scratched or marked up if you’re not careful. To prevent doing lasting damage to your shower, pick out a product that doesn’t contain any harsh chemicals or astringents.


Your best bet is to use a mild acid-based solution like Lysol Power Bathroom Cleaner, Formula 409 All-Purpose cleaner or Bar Keeper’s Friend. Stay away from any type of astringent cleanser, including Comet, Ajax and Scrubbing Bubbles, as well as solvents like acetone. Whenever possible, using natural derivatives to clean your bathroom will be your safest choice.


Spray the product onto shower stains. Apply the cleaner liberally to areas where grime, soap scum and hard water stains have accumulated. Focus on spots that suffer from visible dirt or discoloration. You may need to use quite a bit of cleaner in order to penetrate multiple layers of dried-on residue.


Be sure to remove all soaps, shampoos and other hygiene products from the shower before you get started so that you can clean underneath them. Pull back the shower curtain all the way and turn on the overhead fan to keep the bathroom properly ventilated while you clean.

How to Clean a Marble Shower?

A marble shower is an elegant and chic addition to anyone’s bathroom. Unfortunately, there are also drawbacks with marble, especially when you have to clean it. Marble is a porous rock that tends to absorb chemicals and dyes that are found in traditional cleaners. For this reason, many different things can end up ruining your shower’s sleek finish.


Luckily, if you use the right techniques and limit the chemicals you use when you clean, you can have a shiny marble shower that’s free of stains and dirt. Wipe down your shower after each use. It’s important that you wipe it clean after every use because the chemicals found in your soap may hurt the marble. Use a dry cotton rag or dishcloth to wipe the moisture from the walls and basin of your shower after you use it.


Get your shower walls completely dry. If you just dry your shower walls every day after you use it with a squeegee or a couple of microfiber towels, you will almost completely eliminate the need to have to clean your shower. It’s that leftover water that creates soap scum. If you’re not doing that, you’ll need to clean your shower about once a week to keep mildew and mold away.


Fill a spray bottle with warm water a tbsp (14.7 ml) of mild dish soap. Use regular warm water to fill a spray bottle and add a tbsp (14.7 ml) of non-abrasive, pH-neutral, dish soap into the bottle. Select an undyed dish soap that does not contain any abrasives like sand or stone, and that doesn’t contain any acids like citrus, lemon, or vinegar.

Black Diamond,Simple Green和Zep Marble Cleaner. It will say pH-neutral on the label of your dish soap. Conventional cleaners may contain acids that can damage the surface of your shower. There are specially made marble cleaners that you can purchase at department stores or online. Popular commercial marble sprays include Black Diamond, Simple Green, and Zep Marble Cleaner.

How Protecting Your Travertine?

Squeegee and wipe down your travertine after showering. Use a squeegee to remove excess water from the tile after showering. Then, use a towel to wipe your travertine dry to keep soap scum from building up over time. Plus, it’s easier to remove soap residue before it dries.

Pay special attention to pools of water in corners and around edges. If you have a glass shower door, leave it open after showering to allow the water to dry. Establish a regular cleaning routine. Soap scum can cause hard water deposits to accumulate on your travertine. To keep your shower looking its best, clean your travertine shower with non-acidic cleaner a once a week.

If you have a detachable shower head, use it to rinse the tile with warm water after showering to remove soap scum. Creating a calendar reminder can help you remember to incorporate cleaning your shower into your household routine. Clean travertine as soon as something spills.

Whether it’s a colored shower gel or shampoo tinted to enhance hair color, when something spills on your travertine, clean it up right away. Certain bath products contain dyes, which can permanently stain your stone. Inspect grout and tiles for damage.

Bits of grout breaking off can scratch your travertine and trap dirt and grime. Cleaning is a great time to get up close and personal with your tile. Examine your grout and stone for cracks or chips. Be sure to replace chipped or broken tiles and have your grout touched up wherever necessary.

How to Clean Tough Stains from a Bathtub?


Nobody likes the thought of taking a soak in a dingy bathtub. With constant exposure to moisture, bacteria and mold can collect on the walls of your tub, creating a mess that’s both unsightly and unsanitary. Being diligent about keeping your bathtub clean is the best way to prevent dirt and gunk from getting out of hand, but sometimes you’ll have to bring out the big guns to chip away at heavy, set-in stains. Fortunately, this can usually be done with the aid of a few basic household products and a little elbow grease.


The longer you let the solution sit, the more effective it will be at lifting long-settled residue. Wear gloves and work in a well-ventilated area when handling chemical cleaning solutions. Scrub out the stains gently. Use a soft sponge or microfiber towel to avoid leaving marks or scratches. Go over the stains using a gentle circular motion. When you’re finished, rinse away any remaining dirt and cleaning solution and let the tub dry completely.


If necessary, apply another burst of cleaning solution. Wipe and repeat until the stains come out of the enamel finish. Using anything more abrasive than a sponge to scrub enamel may wear down the finish.


Add enough water to produce a paste. Spray purified or ordinary tap water onto the cleaning powder. With the addition of moisture, the powder will take on a thick, foamy consistency. Rub this paste into the stains and give it about half an hour to take effect. You can also wet a clean sponge or washcloth and use it to rub in the cleaner until it thickens.


Another option is to wet the tub before you apply the cleanser. Spray the tub with the shower head or fill a cup with water and pour it around the inside of the tub. Be careful not to add an excessive amount of water. The cleaner won’t be as effective if it’s too thin.

How Removing Stains from an Enamel Bathtub?


Try cleaning with vinegar first. Though it’s a mild natural cleanser, vinegar will typically be potent enough to deal with most stains when applied heavily and given time to set up. Spray the tub down thoroughly, let the vinegar sit for a few minutes, then scrub aray the stains using a sponge or stiff-bristled brush. If you discover that vinegar isn’t having the desired effect, you can move on to more intensive methods. There will come a point when simply adding more and more vinegar won’t suffice.


Use a bleach-free commercial cleaning spray. Products like Lysol All Purpose Cleaner, Kaboom, Shout! and Scrubbing Bubbles shower cleaner are good for eating away at tough stains without damaging delicate surfaces. Since most of these products contain a similar combination of ingredients, any of them will work as well as another. Just make sure whatever product you choose doesn’t contain bleach, as this can severely weaken the outer enamel layer of the tub.


Only buy cleaners that have been approved for use on enamel-coated bathroom surfaces. Be sure to check the label carefully before buying a particular cleaning product so you’ll know you’re getting what you need. If possible, open a nearby window, open the door, and turn on a fan to ventilate the bathroom while you clean with any of these products.


Make your own natural cleaner. If you’re reluctant to go shopping, you can formulate a simple all-purpose bathroom cleaner at home by mixing together warm water, baking soda, Castile soap and essential oils in a spray bottle. All of these ingredients are readily available and safe to use but are quite potent when brought together. Once they’re combined, spray the mixture onto the stained surface and give it a few minutes to take effect before wiping it away.


If you’re having trouble tracking down Castile soap, hydrogen peroxide will make an acceptable substitute. Essential oils like tea tree and peppermint can also act as natural disinfectants. Soak problem areas for several minutes. Mist on the solution and give it a chance to sit. Pay special attention to places with heavy staining and discoloration. The cleaning solution should get to work dissolving these stains right away.

How Cleaning the Tile Above the Bathtub?

Run the shower on hot. With the bathroom closed, run the shower on hot for a few minutes. The steam from the shower will help release dirt and grime. Test your cleaner first. Whatever cleaner you choose to use, test it in an inconspicuous place first. You want to make sure it doesn’t damage or discolor your tile.

Apply the cleaner. Scrub the tiles thoroughly or apply the cleaner as directed. Rinse the tiles off thoroughly. You don’t want to mix chemicals, and rinsing the tiles will help with that. Scrub the grout with bleach or a cleaning product. Dip an old toothbrush in bleach or cleaning product. Scrub along the grout to create whiter grout.

If you don’t want to use bleach, a product like Scrubbing Bubbles, Kaboom, or Lysol Bathroom Cleaner will work great. Alternatively, you can combine white vinegar and water to make your own cleaning solution.

Small and mid-sized grout brushes are a great option for cleaning your grout. You can find different sizes of these brushes where you buy cleaning supplies. Make sure the cleaner you used previously is compatible with bleach before applying this solution. For instance, neither vinegar nor ammonia should be mixed with bleach.

Rinse off the bleach or cleaning product. Let the tiles dry. Seal the grout. You should seal the grout twice a year. Sealing it helps protect it from the moisture in the bathroom.

Use a penetrating sealer. These coat the grout but still allow moisture to escape. The grout won’t crack as much with this type of sealer. Clear out everything that could block the grout. You want to have access to it to apply the sealer. Clean off the grout. If it’s discolored, apply the bleach as described above. Let it dry.

How to Decorate a Bathroom?

Change the fixtures in your bathroom for a more adventurous project. This can be difficult for someone who has not done it before, so if the task is too intimidating for you, hire a handyman. Make sure that the colors go well with the overall theme of your bathroom. For example, if your bathroom is ornate with lots of burgundy and gold, consider gold fixtures. If your bathroom has a modern or Zen theme, try matte silver fixtures instead.

Keep cotton balls, Q-tips, and other toiletries in glass jars or vessels. Instead of leaving these items in the cabinet, transfer them into glass or clear acrylic containers, then keep the containers on your bathroom counter. Use 1 container for each type of item.

For example, keep your cotton balls in a tall jar and your Q-tips in a squat container. Consider a vase or apothecary-style jar for extra bath bombs, mini lotion bottles, or hand soaps. Tiered cupcake stands and cake stands make cute displays for perfumes, nail polish, and other cosmetics.

Old Mason jars are a great, low cost option for storing your items! If you don’t like the look of them plain, add a ribbon or piece of fabric to make them match your decor. As another option, you could paint the jars, though you wouldn’t be able to see into them anymore.

Make use of soap dispensers and toothbrush holders. Instead of keeping your liquid hand soap in the plastic bottle it came in, pour it into a glass or ceramic soap dispenser. If you prefer to use solid soap, keep it in a little dish or tray instead. Keep your toothbrushes in a toothbrush holder. Make sure that it matches your soap dish or soap dispenser. If you like to use mouthwash, consider pouring it into a glass vessel or bottle instead. Have some paper cups nearby, so that you have something to pour the mouthwash into.