The Knowledge of Bathtub Installation
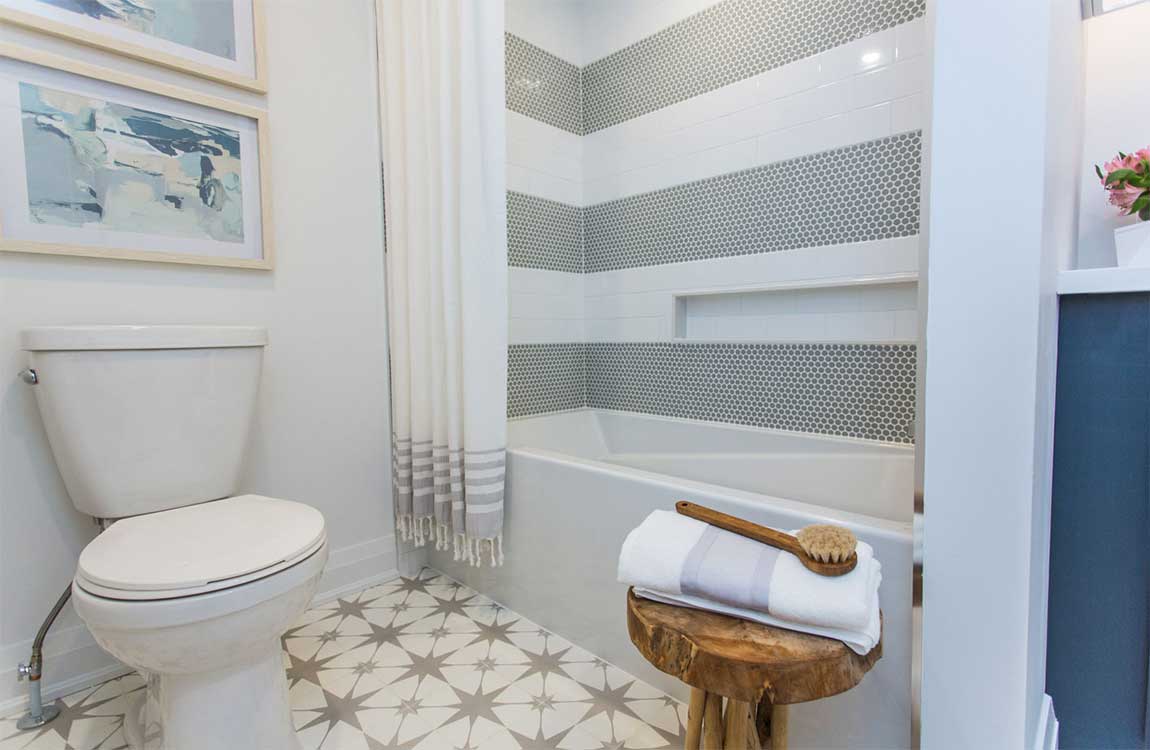
For a fiberglass surround, set the entire piece in place so it covers the tub flange. Drive screws with an electric screwdriver into the divots along the sides and top of the surround so it’s secured to the studs. Seal the gap between the tile and tub with silicone sealant. Once you’ve secured the tiles to the backerboard, place a thin bead of silicone around the bottom of the of the tiles to fill in the gap.

Put the tip of the sealant dispenser into the gap, and pull the line slowly so it applies smoothly. Wipe any excess sealant away with your finger. Use your finger to press the bead of caulk into the crack and create a smooth finish by running it over the caulk from one end to the other. Be sure to give the caulk enough time to completely dry before using the bathtub as well.
Drying time will vary based on the type you use, so read the instructions included carefully. Get a 2-component epoxy chip repair kit from the bathroom remodeling or adhesive section of a home improvement store if your kit did not come with it. Put painter’s tape on the walls and around any plumbing fixtures.

Tape along the edges of the tub where they touch the walls and around the faucet and other fixtures. Even if you have a steady hand, it’s easy for paint to go astray! Painter’s tape is the blue masking tape that you can find at hardware and paint stores. Apply 1 coat of primer with a brush and roller.
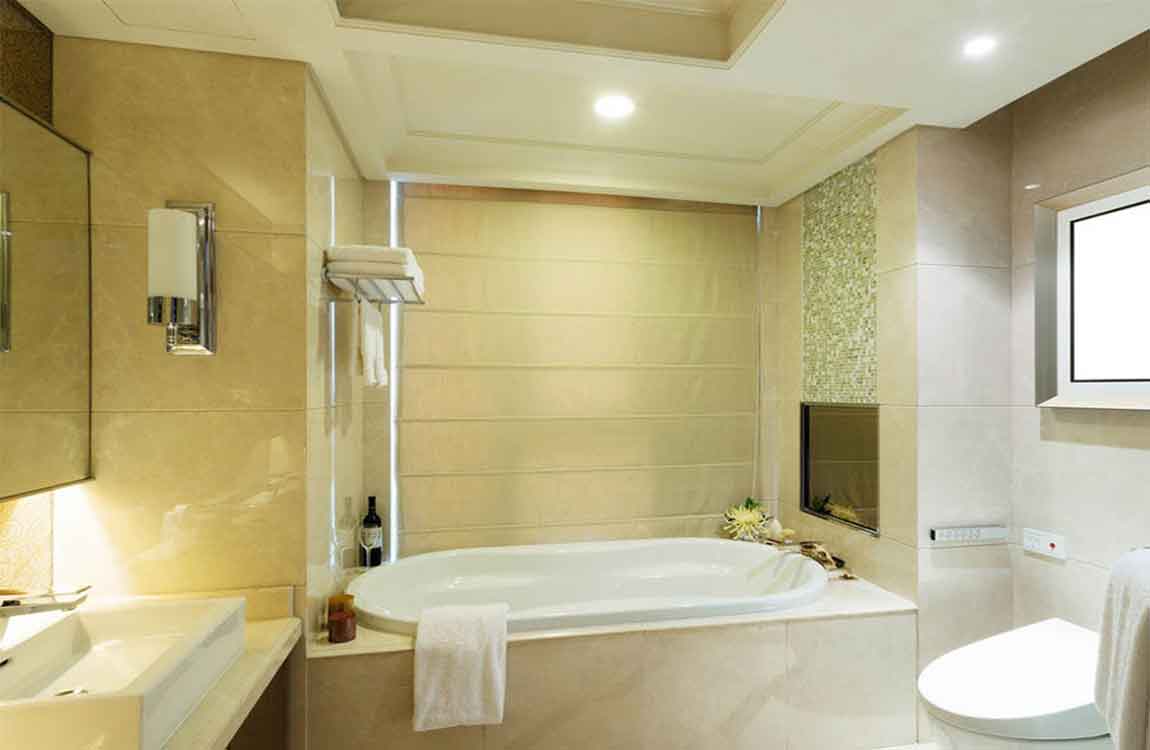
Use a roller to roll on the primer onto the large, flat sections of the tub like the floor and sides, then use a brush to get into the corners and curved parts. Let it dry for at least 2-3 hours before you start to paint on the new finish. Priming the surface is an important part of ensuring that the new finish adheres correctly so that you end up with the correct texture. Make sure that the primer is completely dry to the touch before you paint over it.

