Posts

How Removing Hair with a Hanger?


Bend a wire hanger into a straight line, leaving a small hook at one end. Use your hands to bend a wire hanger as flat and straight as you can. Grip one end of the hanger and make a small curl—small enough so it can fit into the drain and, if applicable, through the strainer below the drain stopper. You may need to wear work gloves to give you some traction.


Don’t worry if there are a few slight bends in the hanger, just try to get the center part it as straight as you can so it can fit down into the drain. Create a half-square-shaped handle on one end of the hanger. Bend one end of the hanger into a shape that looks like half of a square (or the big dipper). Make a total of 4 90-degree angle bends in the following order: the first to the right, the second upwards, the third to the left, and a final one back upwards.


This end will act as a twisting handle. Remove the drain stopper with your hands or a screwdriver. Insert the tip of a screwdriver into the head of each screw and twist to the left to loosen them. Set the free screws someplace away from the open drain (like the bathroom floor) so there’s no risk of them falling in. Cover the holes with tape if you’re worried about accidentally dropping the small screws down the drain.


If you have a shower and tub combination, you might be able to take out the stopper by pushing it down and twisting it to the left. Insert the long end of the tool down into the drain. Place your right hand on the handle that you made and use your left hand to guide the long end down into the drain. Insert it as far as it will go or until the bottom of the handle is 4 inches (10 cm) to 6 inches (15 cm) above the drain opening.


Turn the tool clockwise while moving it up and down for 1 minute. Hold the tool by the handle with your right hand and use your left hand to rotate the top end in a circular motion. Push and pull the tool up and down into the drain as you twist it around. Moving the tool up and down will help the curled end of the wire collect as much hair as possible. Do this for up to 60 seconds or until you feel that the tool isn’t meeting any resistance from grime and hair.

How to Remove Black Flaking in a Jetted Bathtub?


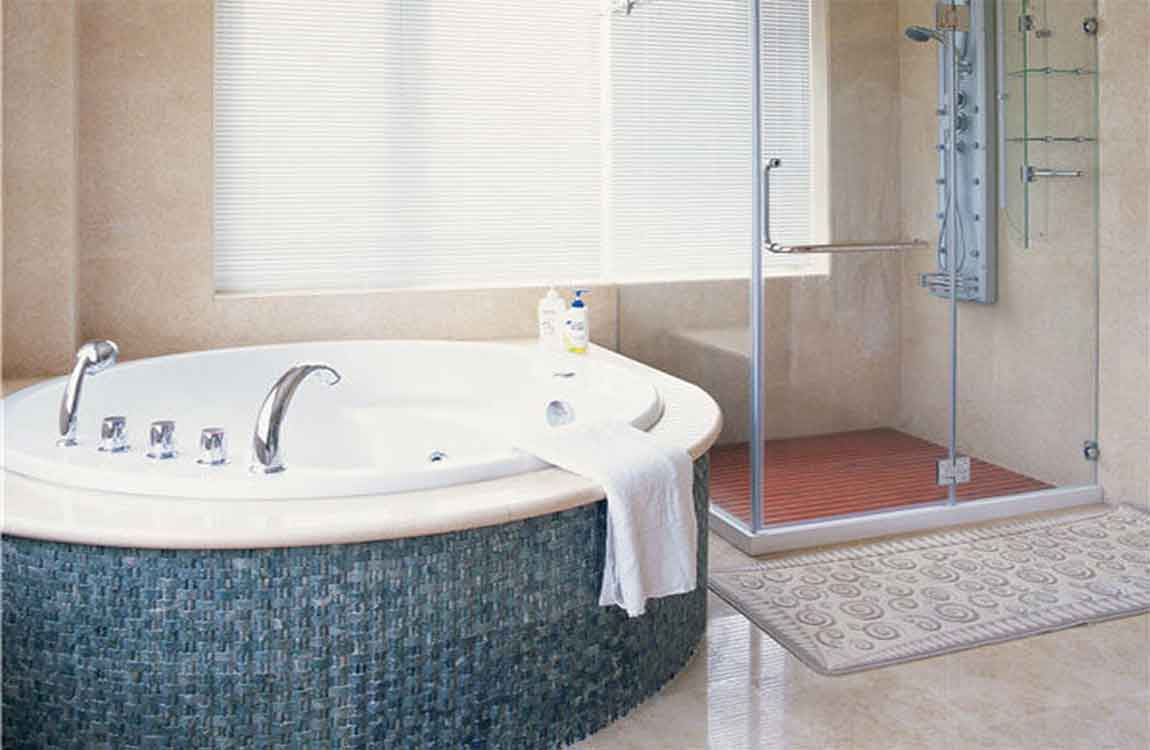
By the time you see any type of flaking coming out of the jets of a whirlpool bathtub. it’s already too late. The flaking are remnants of bacteria, mostly harmful, condos that have now decayed and are ruining your visual of a relaxing spa bath. Don’t use bleach. First things first, we don’t use bleach because over time it will breakdown gaskets, bushings, etc.


We also won’t use any dishwashing detergent since it will put a coating layer on the flaking we are trying to remove. Fill the jetted tub up with warm water 1″ about the highest jet. Add a non toxic bio cleaner to the water per the instructions on the cleaning product label, normally it is 1 teaspoon or 1 capful, depending upon the bio cleaner.

Run the jets, turn off the air valve if you have one, on high for 10-15 minutes. This allows the bio cleaner to scrape off the gunk (flakes) that are solidified on the pipe and jet walls. Bio Cleaners use special properties that are ecological, green and non toxic and have the capability to eradicate bacteria, algae, mold, mildew, dead skin, soaps, and other gunk in the piping and remove them to the sides of the tub.

When you have completed the 10-15 cleaning cycle, remove 2 inches (5.1 cm) of water, clean the “ring around the tub”, refill with 2 inches (5.1 cm) of water and repeat the process. You will have to add more bio cleaner in as well. To maintain a clean jetted tub, you really need to clean it once a week, preferably after a bath to save on water.


Paint on 2-3 coats of the new finish with a brush and roller. Always paint in 1 direction when you apply the new coat to your tub. Roll on the new finish to the floors and sides in even back-and-forth rolls until the flat area is completely covered. Fill in the corners and curves of the tub with even back-and-forth brush strokes. Let each coat dry for at least 30 minutes before you put the next coat on.

How to Clean a Ceramic Sink?


Ceramic sinks are common fixtures in bathrooms and kitchens, and are generally durable. However, they will become soiled and stained with regular use, and will need to be cleaned regular. You can do this using a mild abrasive like baking soda, or a more potent chemical like bleach. Plan to clean your ceramic sink monthly, to avoid stains and other dirty buildup.


You’ll need to use at least four or five lemon slices to fully coat the ceramic with lemon juice. Let the lemon juice sit for 30 minutes. Once the ceramic is covered with lemon juice, let it sit for 30 minutes. This will give the natural acidity of the lemon juice time to break down stains. Once the lemon juice has set for half an hour, come back and rinse the sink out.


Throw away the remnants of the lemon rinds, or grind them up in your kitchen sink’s garbage disposal. Connect the wiring. Insert the electrical cable through the new fans connector and secure it with a cable clamp. Open up the electrical splice box (from either the attic or the bathroom, depending on the model) and pull out the fan wires.


Attach the electrical wires to the fan wires by twisting same color wires together (white to white and black or red to black) and attaching a wire connector. Wrap the bare copper wire under the ground clip or screw and tighten to secure. Tuck all of the wires back into the electrical splice box and replace the cover.


Complete the outdoor work. If you replaced your old duct pipe with a newer, bigger pipe, you will also need to install a larger vent cap on your roof or sidewall. Take whatever safety precautions are necessary for working at a height. Remove the old vent cap and use a saw to enlarge the opening to the size of the new duct pipe.

The Knowledge of Rinse Shower Clean


Rinse the shower clean. Flush every surface of the shower with warm water, taking care to get rid of any lingering juice or pulp from the lemon. If necessary, go back over the acrylic one more time with a soft towel or sponge. When you’re done, your shower should be pristine and have a fresh, clean scent!


Let the first coat of paint dry and then apply a second one. It should take about 15-20 minutes for the first coat of paint to be dry to the touch. Once it is, go ahead and apply a second coat, working systemically as you go so you don’t miss any areas. “Drying” and “curing” are two different things. Paint can be dry but not yet cured—the curing is when the paint dries and also hardens, and it generally takes a much longer time than just drying. Proceed with the second coat of paint once the first coat has simply dried.


Use acetone on a clean washcloth to remove any residual cleaner. Dampen a clean washcloth with the acetone and wipe down the interior and exterior of the tub. Continue to wear your gloves—acetone can really dry out or hurt your skin if it comes into contact with it. If there was any remaining cleaner, grease, or grime, the acetone will get rid of it.


Connect the drain to the P-trap. Thread the drain chute into the P-trap under the tub. You may need to use PVC pipe to connect the drain chute to the P-trap if they don’t align perfectly. If that’s the case, dry-fit the pieces first and secure the PVC pipe to the chute and P-trap with ABS cement to prevent it from coming loose.


Caulk the tub to the floor. Run a bead of silicone caulk along the outside edge of the tub where it meets the floor. Make sure it meets both outside corners to prevent water from getting in between the tub and floor. Smooth out the bead with your finger or a damp rag.

How to Clean a Marble Shower?

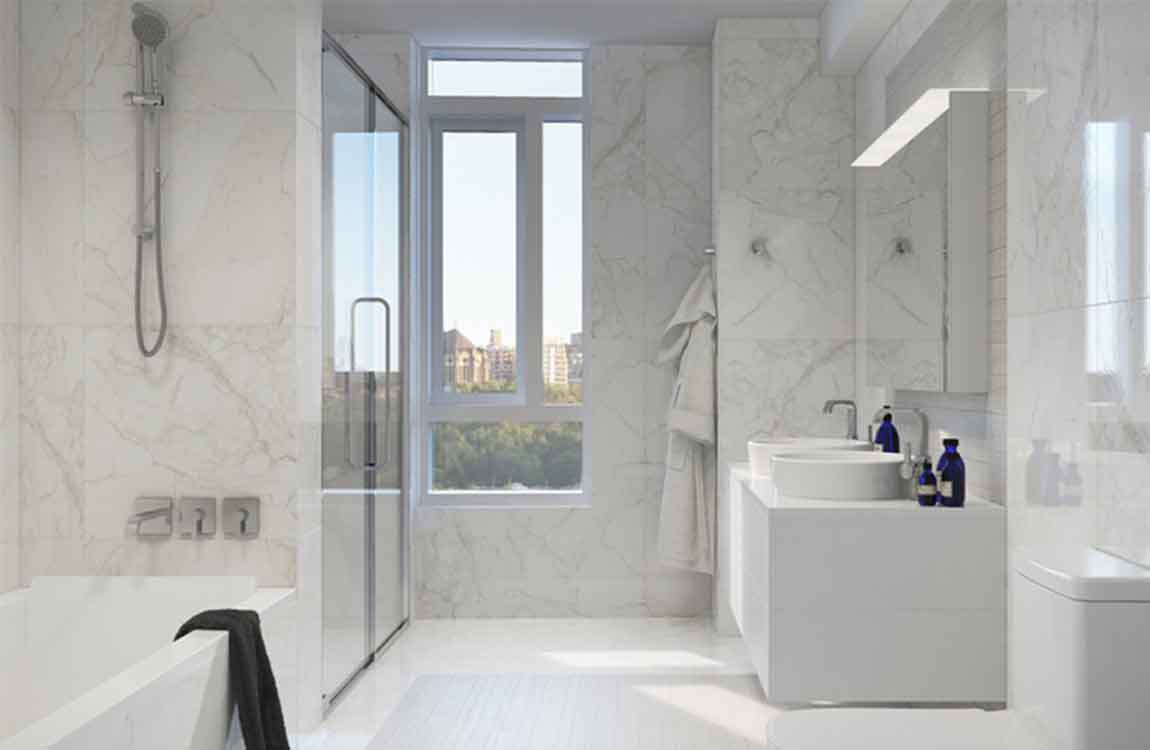
A marble shower is an elegant and chic addition to anyone’s bathroom. Unfortunately, there are also drawbacks with marble, especially when you have to clean it. Marble is a porous rock that tends to absorb chemicals and dyes that are found in traditional cleaners. For this reason, many different things can end up ruining your shower’s sleek finish.


Luckily, if you use the right techniques and limit the chemicals you use when you clean, you can have a shiny marble shower that’s free of stains and dirt. Wipe down your shower after each use. It’s important that you wipe it clean after every use because the chemicals found in your soap may hurt the marble. Use a dry cotton rag or dishcloth to wipe the moisture from the walls and basin of your shower after you use it.


Get your shower walls completely dry. If you just dry your shower walls every day after you use it with a squeegee or a couple of microfiber towels, you will almost completely eliminate the need to have to clean your shower. It’s that leftover water that creates soap scum. If you’re not doing that, you’ll need to clean your shower about once a week to keep mildew and mold away.


Fill a spray bottle with warm water a tbsp (14.7 ml) of mild dish soap. Use regular warm water to fill a spray bottle and add a tbsp (14.7 ml) of non-abrasive, pH-neutral, dish soap into the bottle. Select an undyed dish soap that does not contain any abrasives like sand or stone, and that doesn’t contain any acids like citrus, lemon, or vinegar.

Black Diamond,Simple Green和Zep Marble Cleaner. It will say pH-neutral on the label of your dish soap. Conventional cleaners may contain acids that can damage the surface of your shower. There are specially made marble cleaners that you can purchase at department stores or online. Popular commercial marble sprays include Black Diamond, Simple Green, and Zep Marble Cleaner.

How to clean a toilet tank?

Toilet tanks need periodic cleaning to prevent unwanted odor and the build up of bacteria. Tanks can usually be cleaned with commercial cleaners and a light scrubbing. For very dirty toilet tanks, bleach may be necessary. Clean your toilet tank regularly to keep your toilet clean and your bathroom smelling fresh.

Put on gloves. Toilets and bathrooms in general contain a lot of bacteria. Before cleaning your toilet tank, put on a pair of gloves. Rubber gloves will help protect you from bacteria and germs. If you’re cleaning with bleach, gloves are vital to protect your skin.

Let your cleaner sit in the toilet tank. Leave your cleaner in the toilet tank for a set amount of time. Most cleaners should be left on for 10 to 15 minutes. However, it’s always a good idea to check the specific directions on your cleaner. Remember, vinegar should stay on for 12 hours before you proceed to clean the toilet tank.

Scrub your cleaner into the toilet tank. Use a scrub brush, old toothbrush, or scrubby sponge to scrub the cleaner into your toilet tank. Scrub down the sides and bottom of the toilet tank until the toilet bowl smells fresh and you remove any obvious signs of dirt and built up grime. Clean the working parts of the toilet tank as well, like the ball float and flapper.

Flush out the toilet tank. Once you’ve scrubbed the toilet tank down, you can turn the water back on and flush the toilet tank to rinse. If you’ve used bleach, add 1 gallon (3.8 L) of plain, cold water to the toilet tank and then flush it. You may want to wear goggles to protect your eyes when adding water to a toilet tank that had bleach in it.

Remove mineral deposits periodically. Mineral deposits will eventually build up in any toilet tank. Check your toilet tank once a week and if you notice any deposits, treat the toilet tank with white vinegar. Fill the toilet tank with vinegar, let it sit for 12 hours, then flush and clean the toilet tank.

Be careful with toilet tank tablets. Stores often sell toilet tank tablets, meant to be placed in your toilet tank to help it smelling fresh. However, if you do use tablets, stay away from tablets that contain bleach. These can erode and damage the inside of your toilet tank. If you clean your toilet tank regularly, tablets are probably not necessary.

Establish a cleaning routine. Many people remember to clean their toilet regularly, but neglect the toilet tank. Make sure not to fall into this trap. At least once a month, give your toilet tank a good cleaning. This will keep your bathroom smelling clean and fresh.

How to fix a toilet?

Is there anything more terrifying than a toilet about to overflow? A creaking, burbling, malfunctioning monster of a commode is the fear of any homeowner. Fortunately, most common toilet problems can be easily and quickly fixed by diagnosing the correct problem and making a few simple adjustments.

Shut the water off. If your toilet has become clogged, don’t try to flush it or you’ll risk overflowing the toilet. Find the water valve on the wall that connects the waterline to the toilet and turn it clockwise until it stops. Water should stop coming into the toilet tank. With any toilet tank or flushing issue, you’ll want to shut the water off first as a safety precaution. Cleaning up a toilet that’s overflown is obviously the biggest of bummers.

Get a plunger. It’s called the plumber’s helper for a reason. Some plungers have complicated bulb shapes and some are simple suction cups, but you just need to make sure your plunger is big enough to cover the opening at the bottom of the toilet bowl.

Make sure there’s enough water in the toilet bowl to cover the cup of the plunger. It’s easier to have some water to force the clog out with, but now that you’ve shut off the water you can’t flush anymore in from the tank. Get a few cups of water from the sink to add to the bowl if you need to.

Fix the suction cup onto the opening at the bottom of the bowl. Pump it forcefully and evenly. You should start to hear a gurgling in the pipe and feel some pressure building if you’ve created a suction with the plunger. After 5-10 pumps with the plunger, break the seal and see if the clog comes loose. If not, try again. If you can see the clog come up, you can try to flush the water down without turning the water back on. There should be enough water in the bowl to flush it.

If the water all flushes down by itself after plunging, turn the water back on and let it run for a few minutes. When the water settles, try flushing it, but watch carefully and make sure it doesn’t start to overflow. Shut off the water quickly if it does.

Use a plumber’s auger or a “snake.” If the clog is close to the top, the plunger should get it. If it has worked its way down the pipe, however, you might need the heavy artillery. A plumber’s auger, also called a “snake,” is essentially a long wire that you can reel out and guide through the pipe to forcefully dislodge the clog and then reel back up. Aim the tip of the auger into the bowl drain and reel it out. Be very careful not to force it and crank slowly and evenly.

You don’t want to bust a pipe fitting or get the auger stuck. When you’ve run the auger out, or feel that you’ve broken up the clog, reel it back in and try to plunge the toilet again or flush it and see if the clog has worked it’s way through. If you don’t want to buy an auger, you can fashion a simple device with a wire hanger to try to get at the clog.

What is the distance between the holes of the toilet?

The toilet is one of the three sanitary wares in bathroom. It is one of the essential products people need everyday. To choose a suitable toilet, first of all, have a preliminary understanding of the toilet, including the best distance to squat the pit, squat the best posture, etc. If the toilet seats are not up to standard, the toilet will be very inconvenient. Improper posture in long squatting toilets can also cause various diseases.

A beautiful shape, properly installed toilet can not only beautify the bathroom space, but also save people unnecessary trouble. To choose a toilet, first choose the right pitch. Pit spacing refers to the distance between the toilet and the sewer center, that is, the positioning size of the toilet outlet, generally 30 cm, 35 cm, 40 cm, 45 cm and other specifications. Squatting distance is the key to choose the toilet and the basis, according to the toilet room type and personal preferences, most families choose more than 30 cm or 40 cm pit distance.

During the renovation process, the toilet pit will be reserved for 2 cm, which is the distance reserved wall brick, so when installing the toilet, the distance from the center line of the sewer to the wall is actually 32 cm or 42 cm. According to your favorite style of purchase, as long as the installation error is maintained within 1cm.

Squatting toilets are divided into two types, with and without bends. The installation height should be determined according to the type of toilet used, so as to determine the reserved position of the sewer pipe. The height of the toilet with bending is generally 32-40cm, and the height of the toilet without bending is 16-20cm. The height of installation usually deviate, and the cement table should be no less than the toilet 3cm.

Squatting pit posture is required to be fastidious, experts said that if the toilet posture is not appropriate, will cause a variety of diseases, including constipation, hemorrhoids, colitis and appendicitis and so on, can be seen squatting toilet posture is very important. When we sit in the toilet, the anal-intestinal angle is about 80-90 degrees, while the squat pit is 100-110 degrees. In addition to the angle, squatting abdominal pressure, can promote defecation function, if you sit down with a small bench at the foot, so that the body slightly forward, this position can increase abdominal pressure, so that defecation function more smoothly.

The best way to choose bathroom toilet

Look at the appearance of the toilet. Careful inspection is very important. Choose toilet, the first thing to look at is the appearance, in the end what kind of toilet appearance is the best? The glaze is smooth and glossy. The quality of the toilet should be smooth without foaming and color saturation. After inspecting the outer surface glaze, you should also touch the toilet sewer, if rough, then easy to cause blockage.

Knock on the toilet and listen to the sound. High temperature fired stool has low water absorption and is not easy to absorb sewage and produce peculiar smell. Medium and low-grade toilet water absorption is very high, easy to smell and difficult to clean, a long time, there will be cracks and leakage phenomenon. Test method: tap the toilet gently with the hand, if the voice is hoarse, not clear and loud, it is likely to crack, or the product is not cooked.

need to check the weight of the toilet. The average toilet weight is about 25kg, and a good toilet is about 50kg. High-grade toilet because of the high temperature when firing, reached the level of all-ceramic, so there will be a heavy feeling in the hands. Test method: pick up the lid of the water tank with both hands, and check the weight.

Selecting structure is the most important part quality. In addition to the appearance, the selection of toilet also need to see clearly the structure, outlet, caliber, tank water, and so on, these parts can not be ignored, otherwise it will affect the use of the entire bathroom.

Many brands now have 2-3 drain holes (depending on the caliber), but the more the drain holes, the more the impact. Bathroom outlet has drainage and horizontal drainage, to measure the distance between the center of the outlet and the wall behind the tank, buy the same type of toilet to “sit apart from each other.” The outlet of the horizontal drainage toilet should be equal to the height of the horizontal outlet, preferably slightly higher.

Bathroom internal caliber test. The sewage pipe with large caliber and glazed inner surface is not easy to hang dirt, and the sewage discharge is rapid and powerful, which can effectively prevent blockage. Test method: put the whole hand into the toilet, and generally have a palm capacity.

Brand toilet and common toilet water quality is very different, because almost every family has experienced the hardship of water tank, so when choosing toilet, do not ignore the water this link. Test method: put the water part to the end and hear the button giving out crisp sound for the best. The most important inspection of toilets is the actual test, the water tank, flushing effect, water use, etc. to do a personal inspection test, so that the selection of toilets have quality assurance.

The water leakage of the water storage tank of the toilet can be determined by the sound of dripping water, which is generally not easy to detect. Test method: Put blue ink into the toilet water tank, mix well and see if there is blue water flowing out of the toilet outlet, if there is, indicating the toilet leak. The toilet should have the basic functions of scouring thoroughly.

The flush type and siphon flushing type toilets have strong discharge capacity, but only sound when flushing. The swirling toilet has large water consumption at a time, but has a good mute effect. It is recommended that direct siphon toilet can not only wash dirt quickly, but also save water. Test method: Place a piece of white paper in the toilet, drip a few drops of blue ink into the toilet, and flush the toilet when the paper is dyed blue. See if the toilet flushes thoroughly and listen to the mute effect of flushing.

BARANA tell you how to choose a good toilet?

The choice and purchase of toilets is an indispensable part of home decoration, how to choose a suitable toilet? How do you choose all kinds of toilets on the market? Toilet type: one piece toilet and two-piece toilet. Whether the toilet is purchased or connected is mainly based on the size of toilet space.

Separate toilet is more traditional. In the later stage of production, screw and sealing ring are used to connect the base and the water tank two layers, which occupies a larger space and the joint seams are easy to hide dirt. The conjoined toilet is more modern and high-grade, with beautiful shape and rich selection. But the price is more expensive.

Sewage disposal mode: rear row type and downward row type. The back row is also called wall row or horizontal row. According to the literal meaning, we can know the direction of its sewage discharge. Back-row toilet should be considered when purchasing the height of the sewage outlet center from the ground, which is generally 180 mm; bottom-row toilet is also known as floor or vertical drain, refers to the sewage outlet in the ground toilet.

The bottom toilet should pay attention to the distance from the center of the sewage outlet to the wall. The distance from the sewage outlet to the wall is divided into 400 mm, 305 mm and 200 mm. Among them, the northern market has a larger demand for 400mm pits. South market has a larger demand for products from 305mm pits.

Launching mode: flush type and siphon type. The purchase of toilet seats depends on the direction of sewage discharge. If it is the back, to buy flushing toilet, with the help of the impulse of water will be directly discharged dirt. The flushing sewage outlet of toilet is larger and deeper, and the dirt is discharged directly by the impulse of the flushing water. The disadvantage is that the sound of the flushing water is loud. If you are in the lower row, you should choose siphon toilet.

There are two kinds of siphon toilet, including jet siphon and swirling siphon. The principle of the siphon toilet is to siphon the sewage pipe with the flushing water to discharge the dirt. The sewage outlet is small, the noise is small, and it is quiet. The disadvantage is that the water consumption is large, and the average storage capacity of 6 liters is used up at a time.