Posts

How to Fix a Chipped Bathtub


Fixing a chipped bathtub is a do-it-yourself project that will save you from hiring an expensive professional. Whether your tub just has a few small chips, or it is badly damaged and needs to be refinished, these are both projects that you will find kits for at your local home improvement store. With a little elbow greasy, your tub will look like new in just a matter of days!


It’s easiest to start with a small amount of epoxy and add more layers than it is to put too much on and remove it. Let the epoxy dry, then sand down the surface with 400-600 grit sandpaper. Follow the directions on your epoxy kit to let it fully dry. Gently sand the surface with 400- or 600-grit sandpaper until it feels smooth like the rest of the tub.


Some epoxy will set in 2-3 hours, at which point you can sand. Other kits may advise you to wait up to 24 hours before sanding. You can add another layer of epoxy after sanding if you can still feel the chip. Then repeat the process. Your refinishing kit should come with sandpaper to use. If your kit didn’t come with sandpaper, then start with 400-grit sandpaper and work your way up to 2000-grit.

Increase the grit of the sandpaper in increments of 200 until you reach 1000-grit sandpaper, then go up in increments of 500 until you end using 2000-grit sandpaper. Repair any chips or cracks in the tub with a 2-component epoxy chip repair kit. Follow the instructions to mix the two parts of the epoxy in a small tray.


Use a small brush, spatula, or the bottom end of a matchstick to apply thin layers of epoxy to any chips. Wait 2-3 hours until the epoxy dries and sand the patches down with 2000-grit sandpaper to match the finish of the rest of the tub. This will ensure that the tub has no chips or cracks and seal the surface before you apply the new finish.

How to Design Your Bathroom Look Larger?

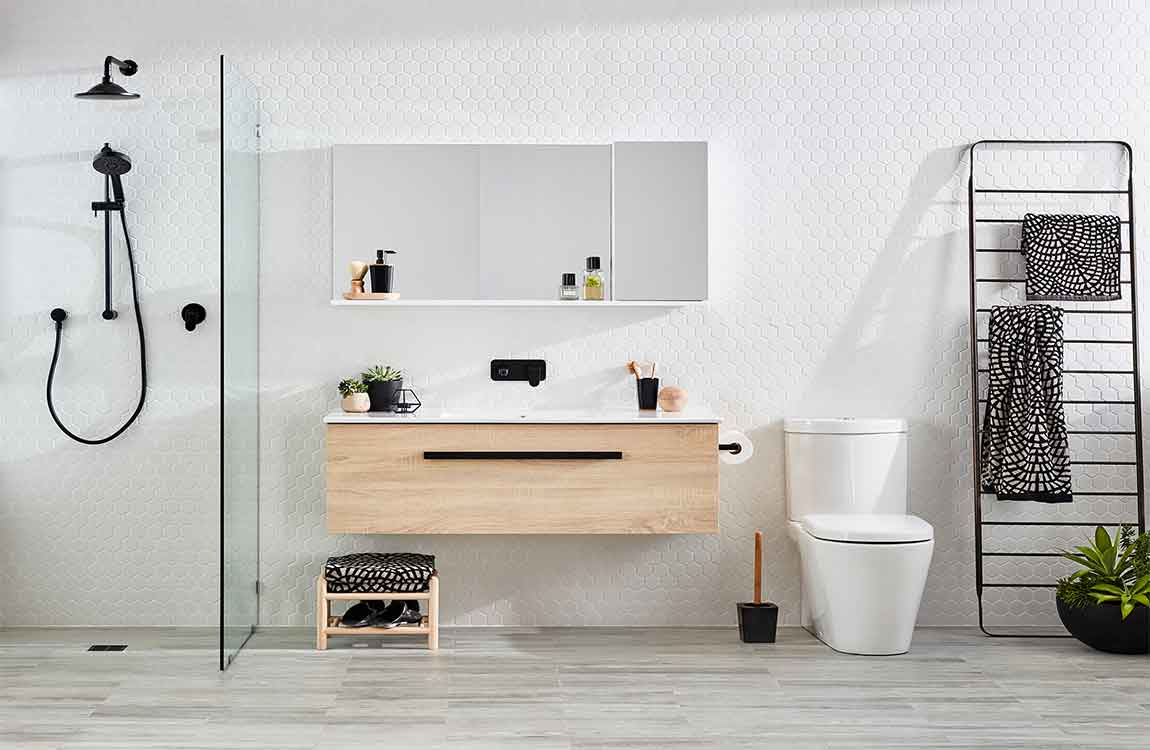
Items that are infrequently used should be stored out of sight. This doesn’t mean you have to hide everything out of sight, though. There are plenty of attractive smaller storage options that allow you to put your items in place and on display at the same time. Tall and thin cabinets always come in handy when space is at a premium.

Vertical displays also create an illusion of greater space in height. Narrow shelving over the toilet will not impinge upon floor space. Fold towels in thirds to stack neatly on the shelves. Store cosmetics in a basket on the shelf. Include a toothbrush case, toothpaste and a small glass in a separate basket. Place the more cluttered basket on a higher shelf so that the contents will not be within view. Provide space for a tissue box. Keep these shelves limited to a few items that require quick access on a daily basis.

Avoid multiple dispensers and holders around the sink. Replace a wide soap dish with a thin liquid soap dispenser. Place a towel hook near shower and sink. Place a garment hook on the back of the bathroom door. Try to avoid using a rack with multiple hooks in an already crowded space. One hook and one item on the hook provides for a neat appearance. Once dressed, remove all garments from the bathroom.

Decide what items can be kept elsewhere – other than in the bathroom. Store your bathrobe on a hook in your bedroom closet instead of on the back of the bathroom door. Store your laundry in a pillowcase hung on a hook in your bedroom closet. Store your scale beneath your bed or a bedroom chair.

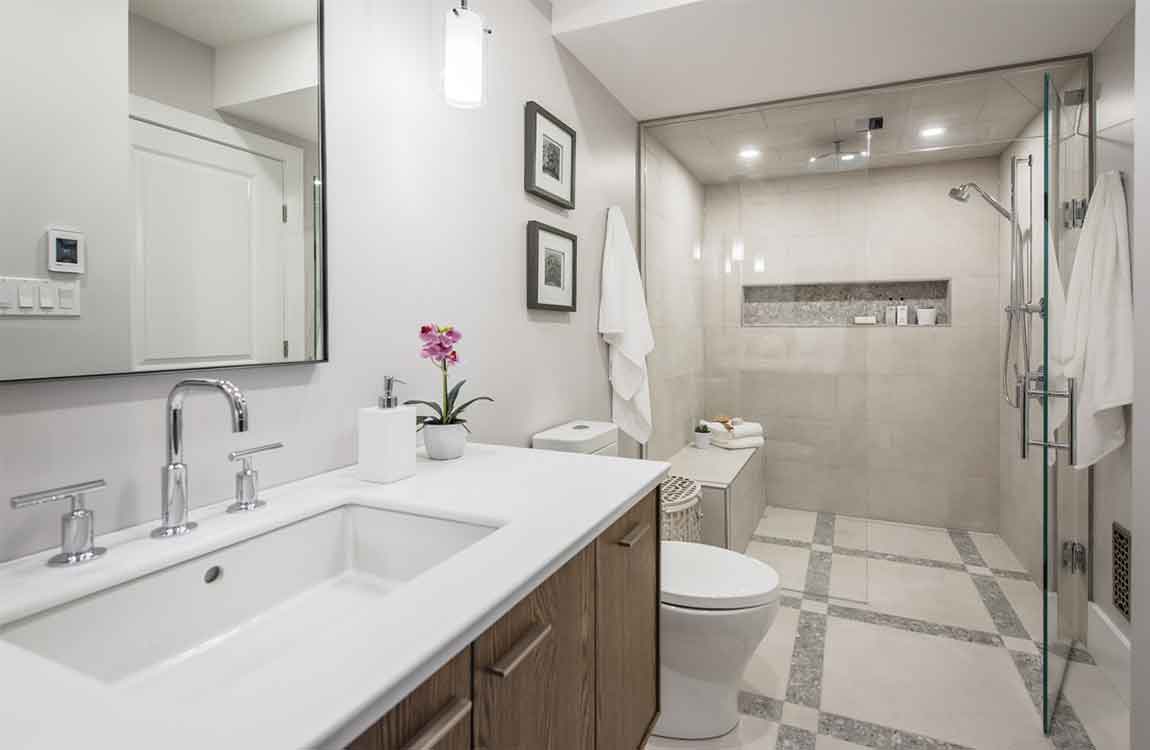
With a single swoop of the arm – push back the shower curtain to one side when it’s not in use. If you can see all the way to the back wall (instead of just to the curtain), your eye will think the room is larger. One sheer curtain covering the entire window will provide privacy and abundant light during the day. A shade behind the curtain can be pulled down at night. If fixtures are being replaced, consider a small corner sink.