Posts

The Knowledge of Bathroom Caulk


Let this solution dry fully before applying the new caulk. Leaving it overnight and keeping it well-ventilated is best. Get rid of any small ridges left by the tape by smoothing the caulk again. Use a damp paper towel or lint-free rag again to smooth over the caulk. This will ensure that the whole caulk edging is seamless.


Focus particularly on areas where 2 pieces of tape met, and these leave a small ridge. Let the caulk dry for at least 48 hours before using the tub. The specific amount of time that it will take for the caulk to dry will be listed on the instructions on the caulk tube. Keep the area well ventilated and dry as the caulk cures.


You will be able to tell when the caulk is dry because the consistency will change to look firm rather than wet, and it will be completely dry to touch. Let the cleaner sit for 5-10 minutes. After a few minutes, the dingy messes that have built up on the surface of your acrylic shower will begin to dissolve. This will allow you to wipe them away with ease.


If you’re dealing with particularly heavy soap scum or stains, it may help to reapply the cleaner once or twice. Use this time to take care of any other cleaning tasks you need to complete, like detailing the faucet or shower head.


Rinse and wipe out the shower. Turn on the shower head and direct the flow of water over the areas of the acrylic you just sprayed. Wash away as much liquefied grime and cleaning solution as you can. Once you’ve given the shower a preliminary rinse, go over the acrylic using a soft microfiber towel or sponge to remove any remaining residue. For stubborn residue, use an old toothbrush to scrub it away.

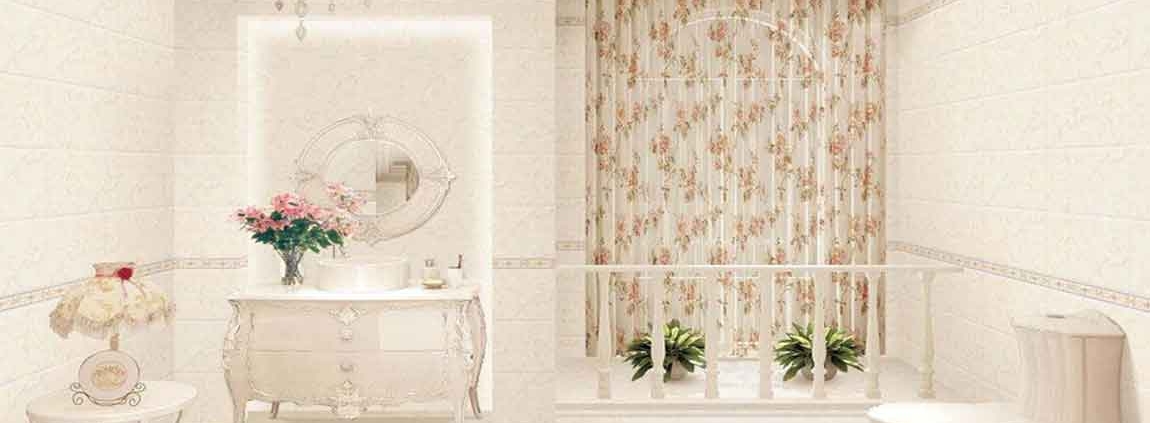
How to Paint a Bathroom Vanity?

Painting your vanity is the perfect way to give your bathroom a facelift. To prep the vanity for painting, remove all of the drawers, doors, and hardware. Fill in any imperfections with wood putty, then sand and wipe down the surface. Apply primer for a smooth finish and leave it to dry overnight. Apply 2 light layers of paint and let them dry overnight as well. Once you’ve removed the tape and reassembled your vanity, the transformation is complete!

Patch up any surface flaws with wood putty, then let it dry. Fill in any dings, gouges, or deep scratches with wood putty and a putty knife. Make sure to overfill the imperfections so that when the putty dries down, it’ll still fill the damaged area. Wait for the putty to dry and harden before continuing your project.

For shallow imperfections that are less than 0.25 inches (0.64 cm), you can usually sand after 15 minutes. However, with gouges that are deeper than 0.25 inches (0.64 cm), you’ll need to wait 2-8 hours before sanding.

Sand down any extra putty, clear finish, or loose paint. Use 220-grit sandpaper to even out the level of the putty and rub off any gloss finish on the wood. You can also use it to remove spots of loose or damaged paint. Make sure to sand the inside corners of the cabinet as well. This will help create a good base for the paint to stick to.

Clean up the dust with a vacuum and a damp rag. Remove the sanding dust by gently vacuuming the vanity surfaces and the surrounding area. Use a brush extension and a low setting when vacuuming. Lightly dampen a rag with water and use it wipe down the vanity surfaces. This will help pick up any leftover dust. Let the vanity surface dry before moving on to priming.