Posts

How to Replace a Kitchen or Bathroom Faucet?

Is it time for an update for your faucet? If it’s just dripping, you can usually just replace a washer or other seal. Don’t worry if you need to replace the whole thing though. The procedure is pretty straightforward, especially if you have the right tools.

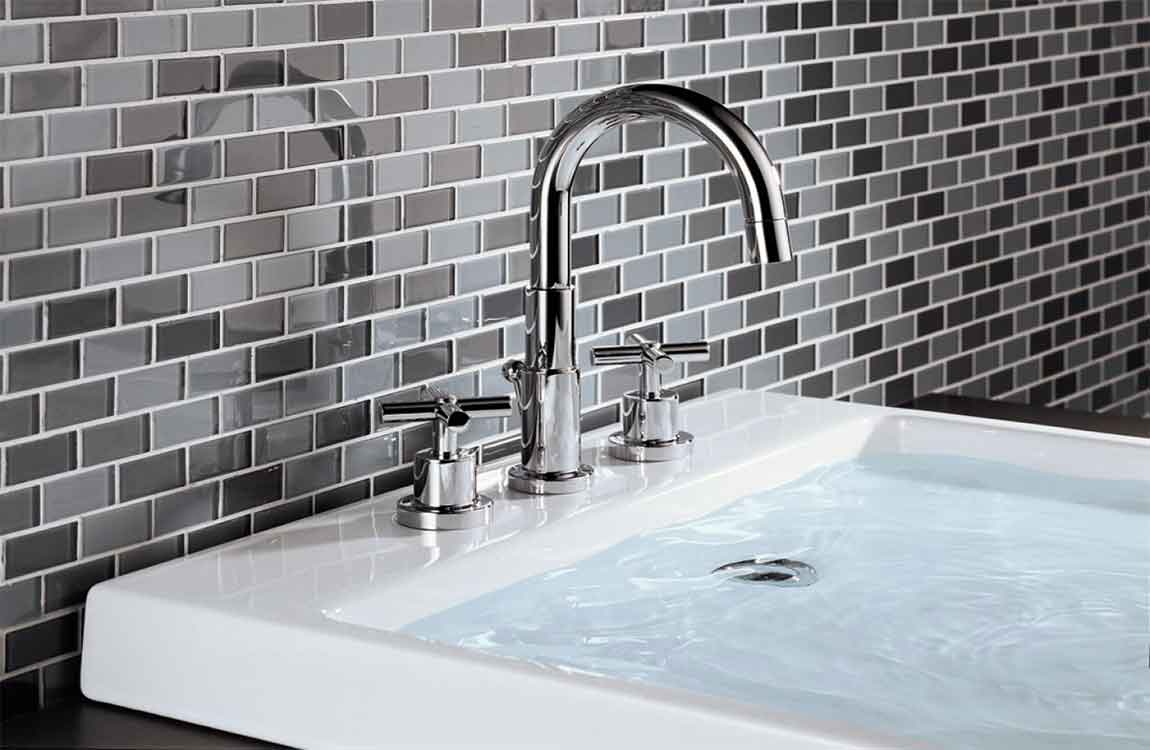
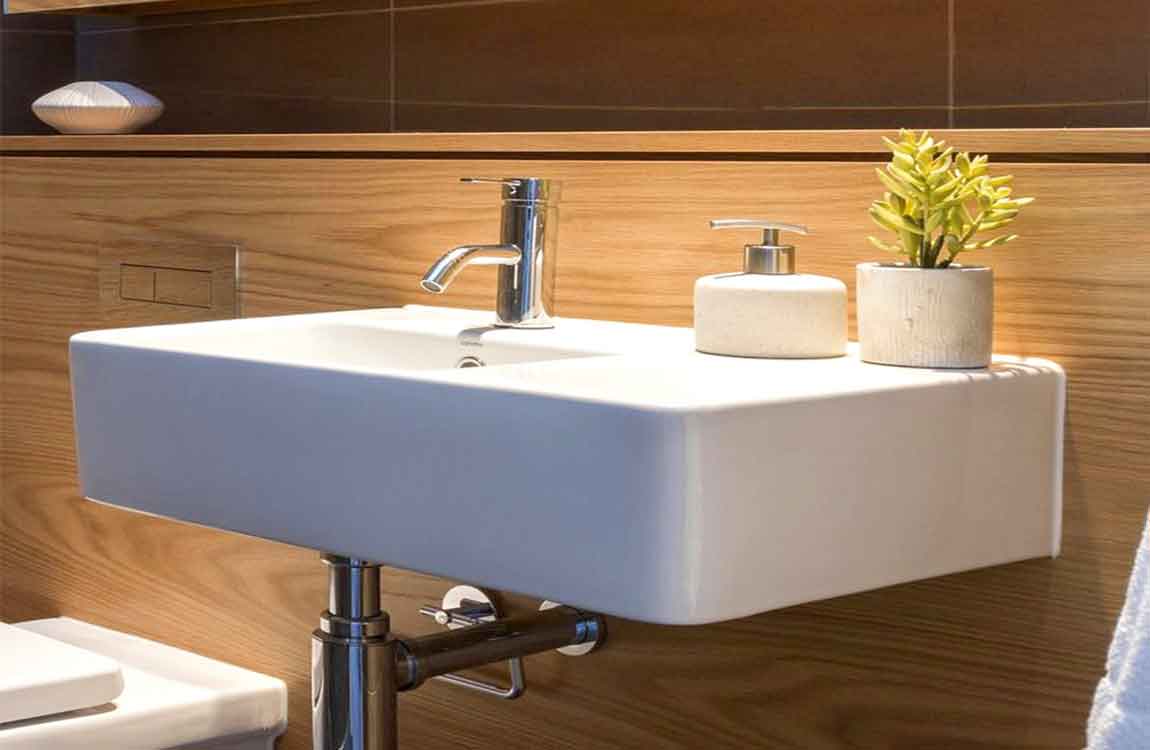
Inspect your sink. Check to see how many openings there are and how far apart they are. You may have to look underneath to be sure. For bathroom faucets, in particular, the two handles may be joined with the spout to become a single unit or they may be spread apart from it. You will need this information to choose the correct replacement.

Review the instructions that come with the faucet. They can range from detailed and helpful to minimal and frustrating. When in doubt, defer to the manufacturer’s instructions rather than those you find elsewhere. Consider buying a basin wrench for under $20. It’s a tool designed to reach way up behind your sink and remove the two big nuts on each side of the faucet that hold the faucet tight against the sink. If you can’t loosen the nuts by hand or with the tools you have on hand, a basin wrench will make the job easier.

Remove everything from under the sink and store it well out of your way. Get plenty of light under your sink so you can see what you are doing up there. Arrange any portable lamp or use a drop light if you have one.

Turn off the water to the faucet. Under the sink, you will see two supply lines coming out of the wall and going up to your faucet. There should be a valve on each one, one for hot and one for cold. Turn both of these valves off by twisting them clockwise as though they were faucets. Loosen the tube nut that’s just above the valve on each tube and lift the tubes out of the valves. Water will come out of each tube now as they drain back from the faucet so you’ll need a towel to soak up this water.

It’s a good idea to replace the supply lines when you replace the faucet, if they are old, especially if they were the flexible sort. If you have solid tubing, it isn’t generally necessary unless it doesn’t reach the new faucet. If you’re not replacing the supply lines, you may only have to disconnect them at the top. A braided, stainless steel reinforced supply line will virtually eliminate the possibility of flooding from the line bursting.


How to Replace a Bathroom Sink?

Bathroom sinks may become chipped, stained or scratched. You may want to install a new sink to enhance the ambience of your bathroom and create a fresh, clean look. Replacing a bathroom washbasin may be time consuming, but should not be difficult to accomplish, and could revitalize the entire room.

Measure the dimensions of the old bathroom sink with a measuring tape. When you install a new sink, you want one that will fit in the old countertop. Write down the length, depth and width of the sink, as well as the length and width of the countertop. Buy a new washbasin. Bring the measurements of the old sink and countertop with you to ensure you purchase the correct size before putting in a bathroom sink.

Turn the water off to the sink. The cut off handle is usually located under the sink. When replacing a bathroom washbasin, you want to test the faucets to make sure the water is completely off. Place a bucket underneath the P-trap. When you install a new sink, you have to remove the drainage pipe first. Loosen the bolts that attach the P-trap to the bottom of the sink with channel lock pliers. Hang the P-trap over the bucket, carefully pulling it from the sink.

Unfasten the hot and cold-water hoses from the faucet with a crescent wrench. Replacing a bathroom washbasin entails spending a little time underneath the sink removing hardware. Remove the clips under the sink that attach it to the countertop with a screwdriver. Cut any sealant or putty between the sink and the countertop out with a utility knife. Lift out the old sink from the counter. When putting in a bathroom sink, you want a smooth surface, so clean the countertop off, removing any residual silicon.

Remove the faucet and drain from the old sink if you plan to use it in your new sink. Install the old faucet and drain on the new sink. To install a new sink, you should seal the hardware. Be sure to apply a bead of silicone caulk to the faucet and drain base. If you bought a new faucet, follow the manufacturer’s directions. Apply silicone caulk to the underside of the washbasin’s rim when putting in a bathroom sink. Lower the sink into the hole in the countertop. Push the washbasin into place and wipe off any excess silicone with paper towels.

Attach the sink to the countertop with fastener clips from beneath the counter. You need to make sure it is secure. Reconnect the water lines with a crescent wrench and the P-trap underneath the sink with channel lock pliers. Be careful not to tighten the valves too tight. Turn the water valves back on. Leave the bucket under the P-trap while you test the sink for leaks. Sometimes, putting in a bathroom sink creates water leakage. Twist on the hot water and then the cold water. If there is a leak, shut off the water and re-install the connections wrapping plumber’s tape around the stem of the hose. Let the bathroom  set overnight.