Posts

How Submerging the Shower Head in Vinegar?

Disconnect the shower head from the shower. Check the instruction manual of your shower if you do not know how to do this. Many shower heads will simply twist off, but yours may be different. If you have recently installed a new shower head, and it has a warranty, make sure you handle it according to package instructions.

Pour white vinegar in a tub. Find a container or tub large enough to fully submerge your disconnected shower head. Pour enough white vinegar into the tub to completely immerse your shower head. Pour some baking soda into the tub. You should pour in about ⅓ of a cup of baking soda for every cup of vinegar that you pour into the tub. The solution should bubble.
Put the shower head in the tub of vinegar. Completely immerse your shower head in the tub of vinegar. Make sure that it will stay submerged for at least an hour. Wait one hour. Leave your shower head soaking in the vinegar. You can also leave your shower head there overnight, if you want more of a deep clean.
Rinse the shower head. Pour water from the sink onto your shower head. Rinse off the excess vinegar and wipe clean with a cloth. Turn on your sink faucet. Allow a strong stream of water to go through the pipe attachment into the nozzle. Let it run for 30 seconds. Reconnect the shower head. Turn on your shower. Let your shower run for a few minutes to get rid of any vinegar that might still be inside the shower head.
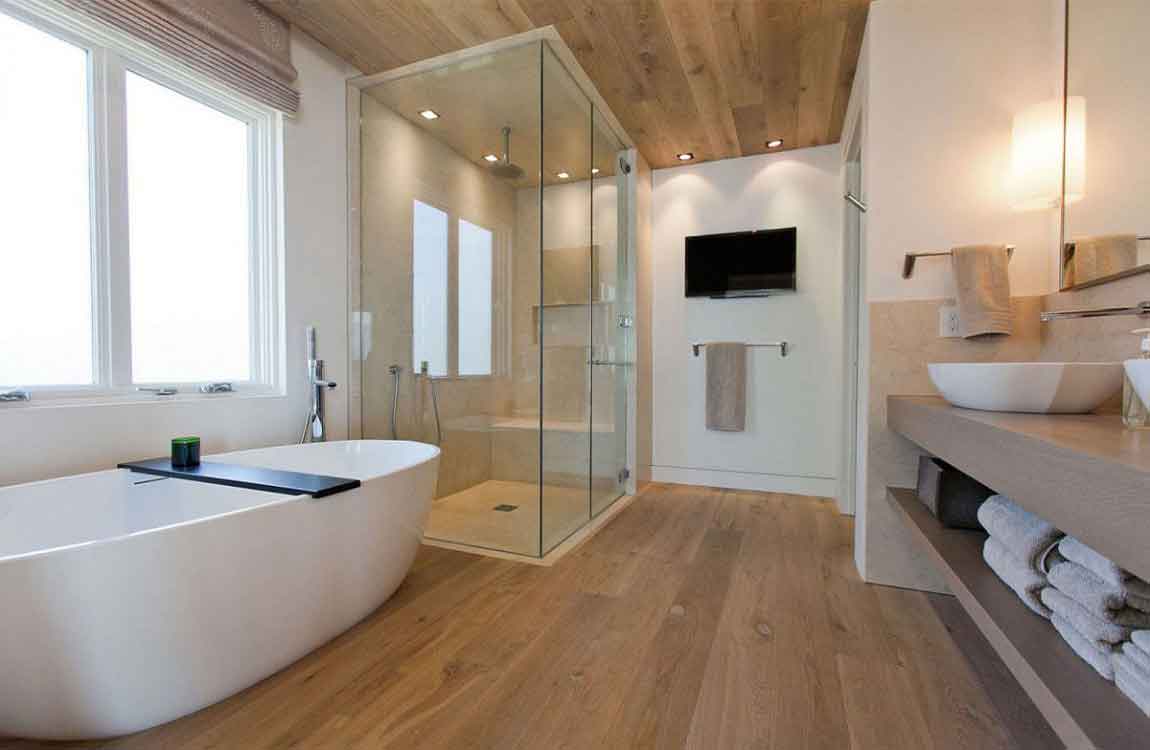
Wipe off excess sealer on the surface of your shower. Use a dry absorbent cloth to remove any excess sealer that pools on the top of your shower. Any excess sealer that’s pooled on the surface of your marble or that has not been absorbed must be removed for the health and appearance of your marble, as leftover sealer can stain it.

How to Remove Bathroom Mold?

Mold commonly thrives in bathrooms because of the humidity and excess water. Luckily, it’s easy to get rid of the mold with a few basic cleaning supplies! Use either a vinegar, Borax, or bleach solution in a spray bottle to tackle the mold. Simply spray the solution on showers, shower, basins, tiles, grout, or caulking. Then use either a cleaning cloth or a toothbrush to remove the mold. You can also remove mold from bathroom ceilings or walls using similar methods. Always wear protective gloves when cleaning mold and keep the area well-ventilated.

Replace the grout or caulking if you can’t remove the mold stains. If the mold builds up too much, you won’t be able to scrub it away. In this case, use a flathead screwdriver to dig into the grout or caulking, and then lift it up to remove it. Apply the new grout or caulking and clean it regularly to prevent the mold forming more stains. You can apply a sealer over the new grout or caulking to prevent it from being stained.

Wear old clothes and wash them in hot water after cleaning mold. It’s best to wear old clothes that you don’t mind getting stained or damaged by the cleaning solutions and hot water wash cycle. Always use hot water to wash your clothes with immediately after you have finished cleaning so that the spores trapped in the fabric are killed and don’t spread. It’s especially important that you wear old clothes if you are using bleach. This is because bleach can remove the color from fabrics.

Keep the bathroom ventilated while you are cleaning. Open as many windows are possible and turn on the bathroom fan if there is one. This helps to prevent you inhaling the mold spores and any toxic fumes that may be released by the cleaning solutions. You can also bring a portable fan into the bathroom if you have one.

The Knowledge of Bathroom Clean

Clean the mirror. Use cleaner, rinse it and wipe the excessive water off with a towel or squeegee. To add a shine to your mirror add a bit vinegar to the water. if just cleaning with water wipe with a towel after.

Clean the exterior of the toilet. Wipe the outside, starting with the flush handle so as not to re-contaminate it, with a cloth soaked in disinfectant cleaner. Thoroughly wash and rinse all exterior surfaces of the toilet bowl, including the underside and flared base, the top and underside of the seat and lid, and the hinges and their mounting area with a cloth and detergent or similar cleaner. Don’t forget to use a cloth specially assigned for cleaning the toilet, or a paper towel (throw it away, don’t flush it).

Scrub the bowl with a toilet brush and flush. You probably won’t have to scrub hard: let the soapy water and patience dissolve the problem. Coat the inside of the bowl with a viscous acidic cleaner generally sold in an angle-necked bottle. Take special care to cover the entire inside edge of the rim; it’ll run down toward other areas.

Allow the cleaner to soak for half an hour or more before scrubbing the entire bowl including under the rim with a toilet bowl brush, let it soak a little longer after it’s been well-distributed though thinned by the initial scrubbing, then scrub some more and flush it away.

Sweep and mop the floor. Start with the farthest point from the door. Sweep up all the dust and debris you’ve cleaned so far and let fall on the floor, then mop using hot soapy bleach water. Remember to rinse the floor with clean water to remove slippery soap residue. Be sure to get along the sides of your toilet bowl where it is anchored to the floor. This area is notoriously dirty. Don’t forget to clean the base boards or base molds these places usually accumulates a lot of dust.

Find an unwanted old toothbrush and wash it thoroughly. Get rid of all excess toothpaste gunk that may be on it. Apply a small amount of bleach or other counter-safe cleaning product to the toothbrush. Scrub away! The toothbrush helps to get in areas that are narrow or need very detailed scrubbing.

How to Organize Your Bathroom?

It can be difficult to find what you need when your bathroom is cluttered. Organizing by type of product and using storage bins to keep similar items together can help you find what you’re looking for easily. Spending a few minutes each day to tidy up the bathroom will also prevent you from having to a do a major overhaul after this initial cleaning.

Remove all items from your bathroom. This includes items from the shower, counters, cabinets, and closets. Lay everything out on a flat surface or floor so you can see what you have. Sort items by type. For example: makeup, shampoo/conditioner, hair products, shaving products, soaps, lotions, medicine, first aid, oral hygiene, cleaning supplies, and anything else you happen to have. Throw away anything you don’t use. If you haven’t used it in a year, trash it. Throw away empty bottles or duplicates of stuff. This includes all expired products, including prescription and over-the-counter medicines.

Designate a storage bin for each category. Label each bin: prescriptions, over-the-counter medicines, first aid, soaps, hair products, lotion, shaving products, etc. Clear bins are best, as you will easily be able to see exactly what is inside them. Fill the bins. Keep similar items together. Small items can be grouped in plastic bags before added to the bins. Make a few first aid kits by category – minor scrape, sprain, major cut, etc. This helps you avoid having to weed through a large box of stuff for a bandage. Separate the medications by type (allergy, cold and flu, headache, etc.) and store them in small containers. Place barrettes on a decorative strand of ribbon. Keep bobby pins together by attaching them to a magnetic strip. Use a metal file box to hold hair irons. Keep a basket just for the samples you receive so you can put it out for guests to use.

Clean your bathroom thoroughly. Before you put the items back, clean the shower and tub, sink and counters, mirrors, toilet, and floors. Any room is much easier to clean when empty, and you’ll have your bathroom sparkling in a flash. Decide what will go where. Don’t replace any of your items yet. Just look at the bins you filled and decide where the best spot for each one is. Things you use every day should go in the bathroom closet and things you rarely use like extra shampoo or soap should go under the sink. Put towels and extra toilet paper on a shelf in the bathroom closet. Use organizers on the backs of the cabinet or closet doors to maximize your space. Fill them up with bottles, tub toys, and so on. Use a cutlery tray or a desk organizer in the drawer to organize your makeup.

Label the shelves in the closet and the medicine cabinet. This will make it easier to find and put away items and to know when an item needs replaced. Store only what you use often in the bathroom. Keep the excess in an overflow space. This goes for items like barrettes, too. If you have too many, place some in a plastic bag and tuck them away for future use so you can shop at home when you need more.