How Refinishing Badly-Damaged Tubs?

Buy a bathtub refinishing kit at a home improvement center. Save yourself time by buying a whole kit that has everything you need to refinish your tub. Most kits come with tub cleaner, sandpaper, primer, refinishing paint, a paint tray, a brush, and a roller. Check that the kit comes with a durable resin coating for your tub. Some cheaper kits come with an epoxy coating, which chips and discolors faster.

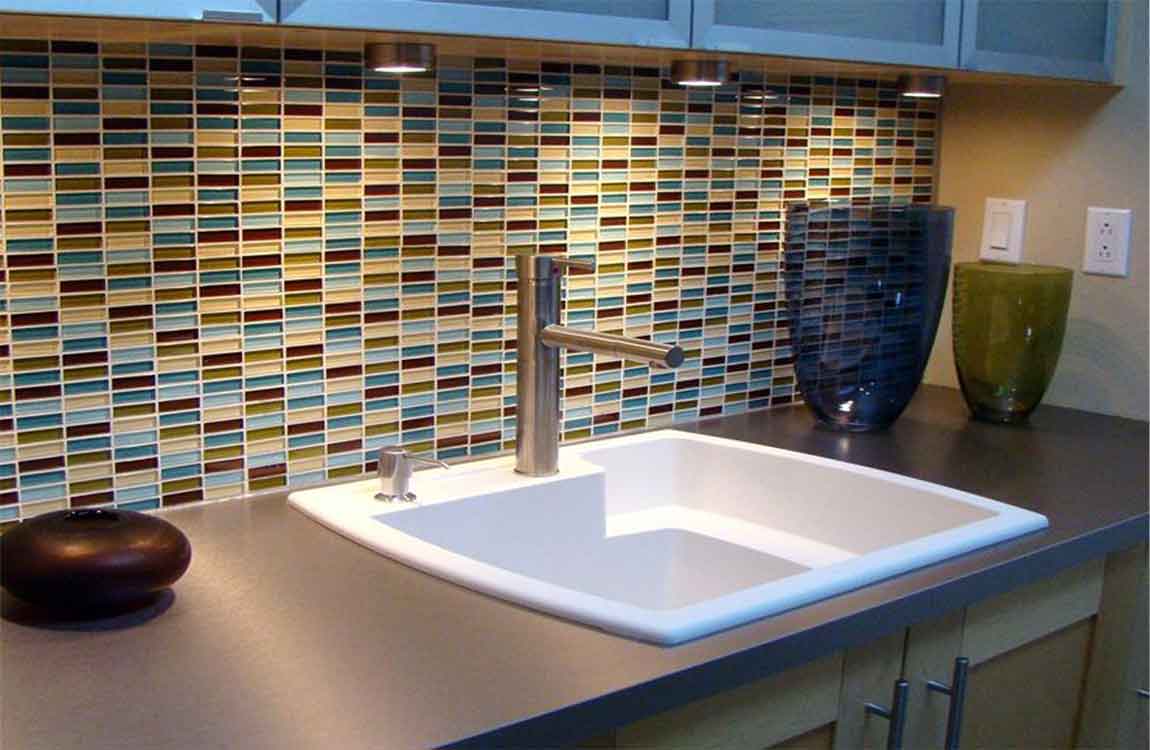
Tub refinishing kits work to refinish all kinds of bathtubs including ceramic, porcelain, acrylic, fiberglass, and enamel tubs. The kits will provide a new porcelain-like finish to these kinds of tubs. Ventilate the bathroom, cover the floors, and put on protective gear. Open up all the windows and put a fan in the bathroom to ventilate it.
Cover the floors with heavy-duty plastic sheets to keep them safe during the refinishing process. Put on a face mask and goggles. You can also drape plastic sheets over fixtures like the toilet and sink to protect them. Clean the bathtub with the cleaner from the kit. Read the directions on the cleaner to apply it to the tub and use a sponge to scrub the tub clean
Rinse the tub out, then go over it with the sponge and cleaner 2 more times to remove any soap scum and stains before you refinish it. If your kit did not come with cleaner, then purchase an industrial strength bathtub cleaner to use. Let the tub completely air dry, or speed up the process with towels and a hair dryer.
Sand the whole tub with the sandpaper in your kit to remove the old finish. Start with the lowest-grit sandpaper from your refinishing kit and sand the whole surface of the tub in circular motions by hand, or with an electric sander. Work your way up to the highest-grit sandpaper in your kit until the tub is completely smooth.