Use a caulk-removing tool and isopropyl alcohol to clear away the caulk. Apply the isopropyl alcohol to the caulk via a spray bottle or blot it on with an old washcloth—this softens the caulk and makes it easier to remove. Use your caulk-removing tool to scrape away as much of the caulk as you can. Wear rubber gloves while you work to protect your hands. You shouldn’t have to pay more than $10 for the caulk-removal tool.
Discard of the old caulk so it doesn’t get in your way. Keep a garbage bag nearby as you scrape off the caulk so you can easily put it to the side. You won’t be able to reuse it for anything, so throw it away with your regular trash. If you can’t get all of the caulk off, that’s okay—you’ll be sanding down the tub later and can work off any bits that are stuck then.
Remove the drain and the spout so they don’t get painted. Use a screwdriver to take out the drain and water spout fixtures, then set them to the side. If you’re having trouble getting a part out, try lubing it with some oil to loosen the screws. This is also a great time to give those fixtures a thorough cleaning. Submerge the fixtures in warm water and dish soap to loosen any hardened grime. Use an old toothbrush to scrub away any remaining dirt.
Allow the lemon juice to sit for 10-20 minutes. Once you’ve given the shower a thorough scrubbing, give the lemon juice a little time to work its magic. Though mild, the acids that the juice contains will usually be enough to deal with the majority of commonplace stains. The longer you let the juice soak, the better the end result will be.
Lemon juice is especially useful for dissolving stains that result from exposure to hard water or chemicals. Citric acid will not only clean and disinfect, it will also help brighten up the acrylic and restore it to its original luster.
https://baranasanitary.com/wp-content/uploads/2019/09/Removing-the-Caulk-4.jpg7501150adminhttps://baranasanitary.com/wp-content/uploads/2017/01/logo-3.pngadmin2019-09-24 08:00:382019-09-24 03:29:39How Removing the Caulk?
Spray the mold cleaning solution over the area you wish to clean. Get the spray bottle with your chosen cleaning solution inside. Generously spray the entire area with the solution so that there is a visible, even coating. Try not to completely saturate the area, as otherwise, there will be excessive liquid to clean up later. Aim to apply enough of the cleaning solution so that the area is visibly wet, but not so much that puddles form. Be very careful not to slip if you are working on floor tiles or grouting.
Wipe smooth surfaces with a cleaning cloth to remove the mold. Fold a cleaning cloth into quarters and wipe the entire area where you sprayed the cleaning solution. The mold should wipe away easily onto the cloth. Use a new side of the cloth whenever the first side gets saturated or too dirty. You may need to swap cleaning cloths throughout the process, especially if you are cleaning a large area. Alternatively, you can use a sponge instead of a cloth if you prefer. Smooth surfaces include showers, baths, basins, and tiles.
Use a scrubbing brush to remove stubborn mold from smooth surfaces. If the mold remains, it’s time to take more serious measures! Scrub the affected area vigorously until the mold comes away. Try to clean any mold away as soon as it grows so that you don’t need to resort to scrubbing. Have a dedicated scrubbing brush strictly for bathroom mold to prevent spreading the spores throughout your home.
Scrub grout or caulking with a toothbrush. Use a back and forward motion to remove mold from grout or caulking with an old toothbrush. Rinse the toothbrush under running water to remove any mold while you clean, as this prevents the mold spores from spreading throughout the bathroom. Use a dedicated toothbrush for cleaning mold in the bathroom so that the spores don’t spread throughout your home. You can use a larger scrubbing brush if you prefer, but a toothbrush is the easiest to use in tight spaces. You can purchase specialty grout scrubbers from home improvement stores.
Dry the cleaned area with a cleaning cloth. Remove the excess liquid from the area that you cleaned to keep the bathroom dry and to prevent slips. Run the cloth over all of the smooth surfaces and the grout or caulking to remove the excess moisture. This also removes any mold that has been scrubbed loose. You may need to swap cleaning cloths if the first one gets too saturated. Pay attention to any small crevices or corners to prevent the liquid from pooling up and more mold from forming.
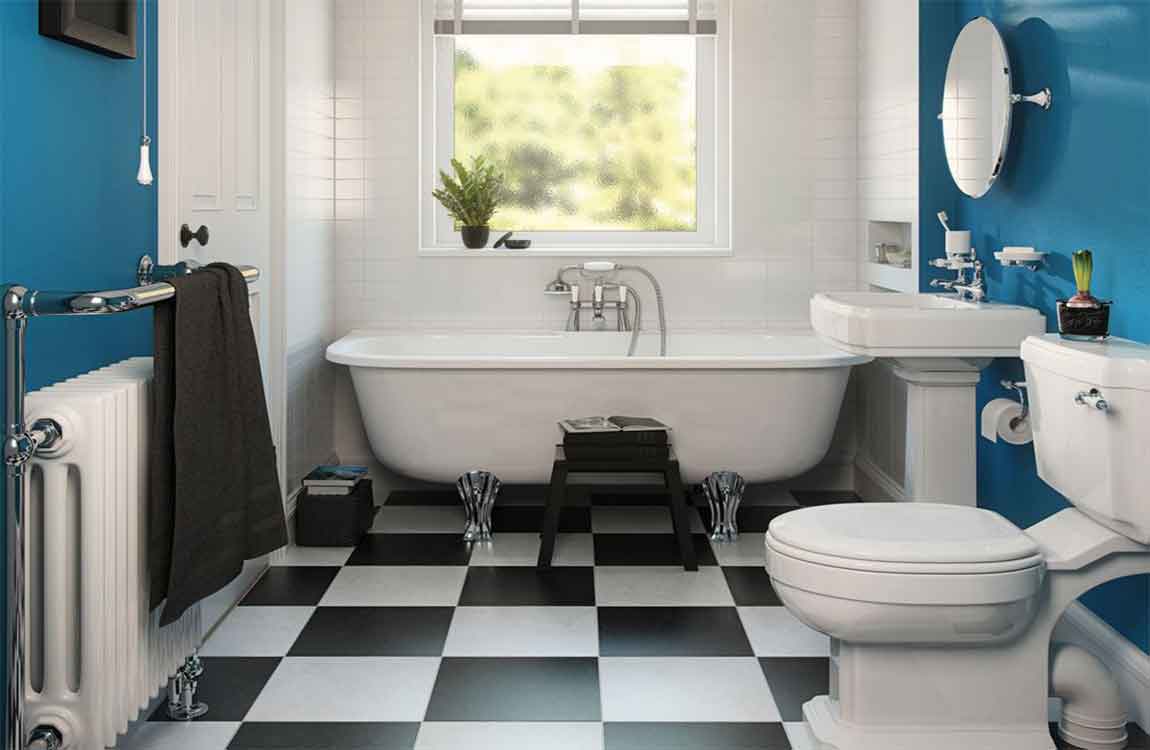
https://baranasanitary.com/wp-content/uploads/2019/04/How-Using-the-Cleaning-Solution-to-Remove-Bathroom-Mold-01.jpg7501150adminhttps://baranasanitary.com/wp-content/uploads/2017/01/logo-3.pngadmin2019-04-05 06:08:552019-07-31 07:24:52How Using the Cleaning Solution to Remove Bathroom Mold?
Spray the surface with vinegar 2-3 times per week. Fill a spray bottle with white vinegar and use it to spritz the fiberglass surfaces a few times a week. This can minimize odors in addition to cutting down the amount of time you’ll spend scrubbing the fiberglass clean later.
Avoid leaving items suctioned to the surface. If you have items in your tub or shower that adhere to the fiberglass with suction cups, remove them. They leave residue stains that are difficult to remove and clean properly.
Polish and wax fiberglass surface twice per year. Use a clean cotton cloth to first apply an automotive white polishing compound to any dull or scratched areas, and then buff with a white automotive cream wax. Repeat this routine twice a year to keep your fiberglass tub or shower looking shiny and new.
Keep your fiberglass surfaces dry. After each use, squeegee your shower or wipe it dry with a bath towel. Doing this regularly will get rid of the particles that allow soap scum to form, which will give you fewer stains to scrub off in the long run. Open the window or turn on a fan when your bathroom surfaces are drying to avoid mildew growth.
Soften your water. Install a water softener to filter minerals out of your water, which contribute heavily to soap scum buildup and rust. Additionally, put epsom salts in your bath water each time you take a bath to help soften it.
Clean the lids. Now that you’ve cleaned the bowl, it’s time to clean the main points of contact – the top and bottom lids. Use all-purpose cleaner and rags/paper towels (or disposable sanitary wipes) to give both the lids a quick but thorough cleaning on both sides. If you want to, use an old toothbrush to scrub the hard-to-reach spots between the lid and the body of the toilet as well as the hinges.
Give the body of the toilet a quick wipe-down. Finally, it’s time to give your toilet‘s porcelain a squeaky-clean shine. Using a spray bottle, mist the exterior of the toilet with an all-purpose cleaner. Use a rag or paper towel to wipe down the toilet‘s porcelain, paying special attention to the handle. Alternatively, you may simply dip a rag or paper towel in cleaning solution or warm water, re-dipping the rag or towel when it is soiled.
Start cleaning the highest point on the toilet first – this way, if dirty water or cleaning fluid drips down, it will only touch areas you haven’t cleaned yet. Don’t forget to clean hard-to-see areas like the base of the toiletand the back of the tank, which faces the wall. To successfully clean these areas, you may need to use pipe cleaners or a tooth-brush.
Flush! Your toilet should now be looking much better than it did before. Give your toilet a flush to dispose of any dirty water that’s accumulated in the bowl. If you used any toilet tissue while cleaning your toilet, this is also a good chance to get rid of it, provided you used an amount small enough that you’re sure your toilet won’t clog.
As a precaution, wash your hands after taking your gloves off. Small amounts of water may have splashed inside the gloves while cleaning. If your toilet only needed a quick, “light” clean, congratulations – you’re done! If, however, your toilet has serious stains or hasn’t been cleaned in a long time, you may have more success with the “deep cleaning” method below.
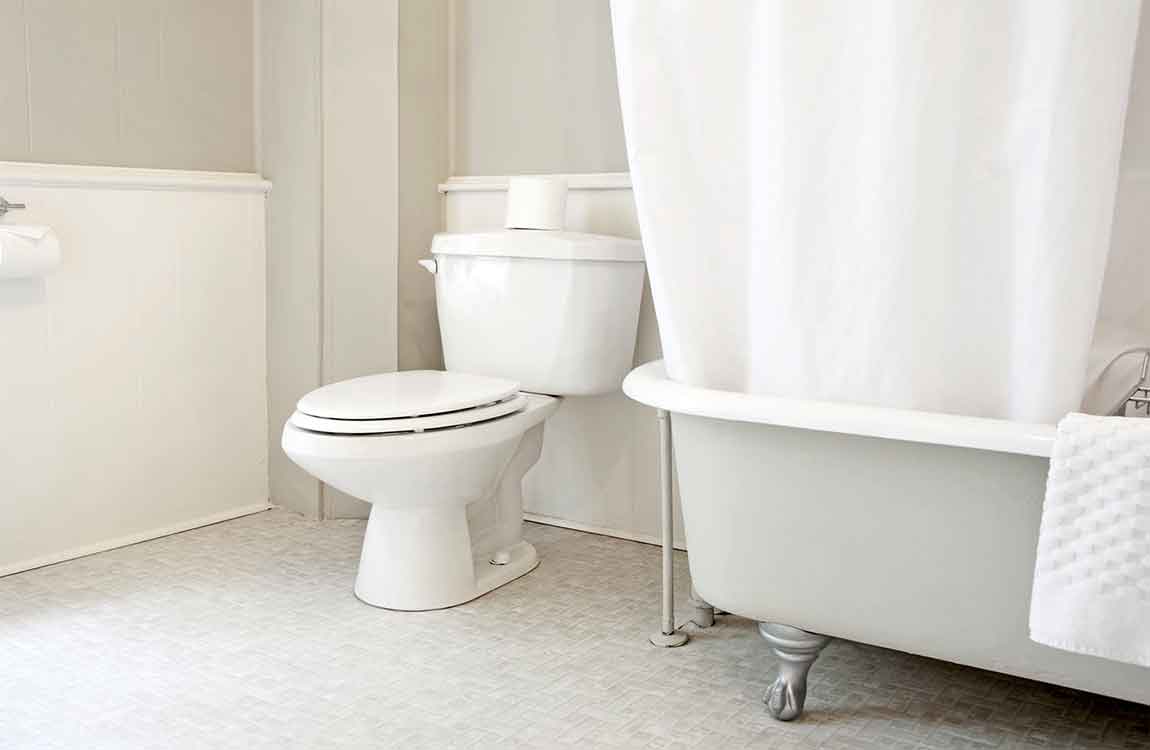
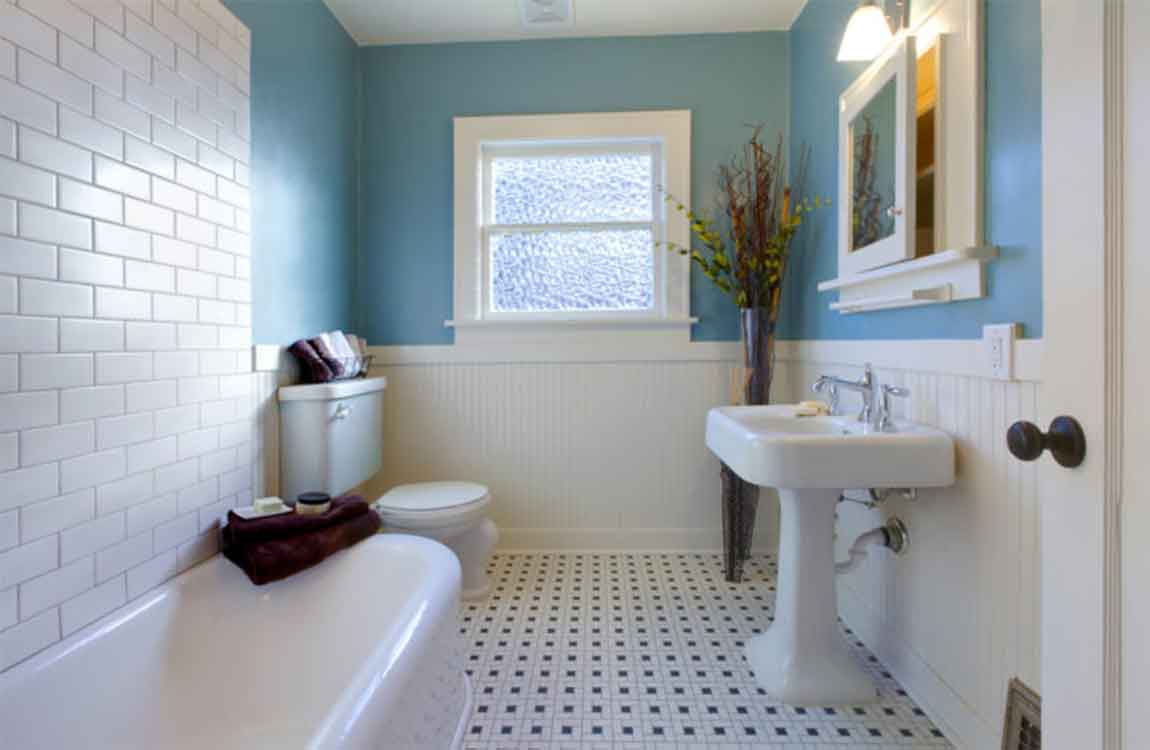
https://baranasanitary.com/wp-content/uploads/2019/01/How-to-Quick-Cleaning-Your-Toilet-01.jpg7501150adminhttps://baranasanitary.com/wp-content/uploads/2017/01/logo-3.pngadmin2019-01-21 06:27:342019-01-09 06:57:11How to Quick Cleaning Your Toilet?
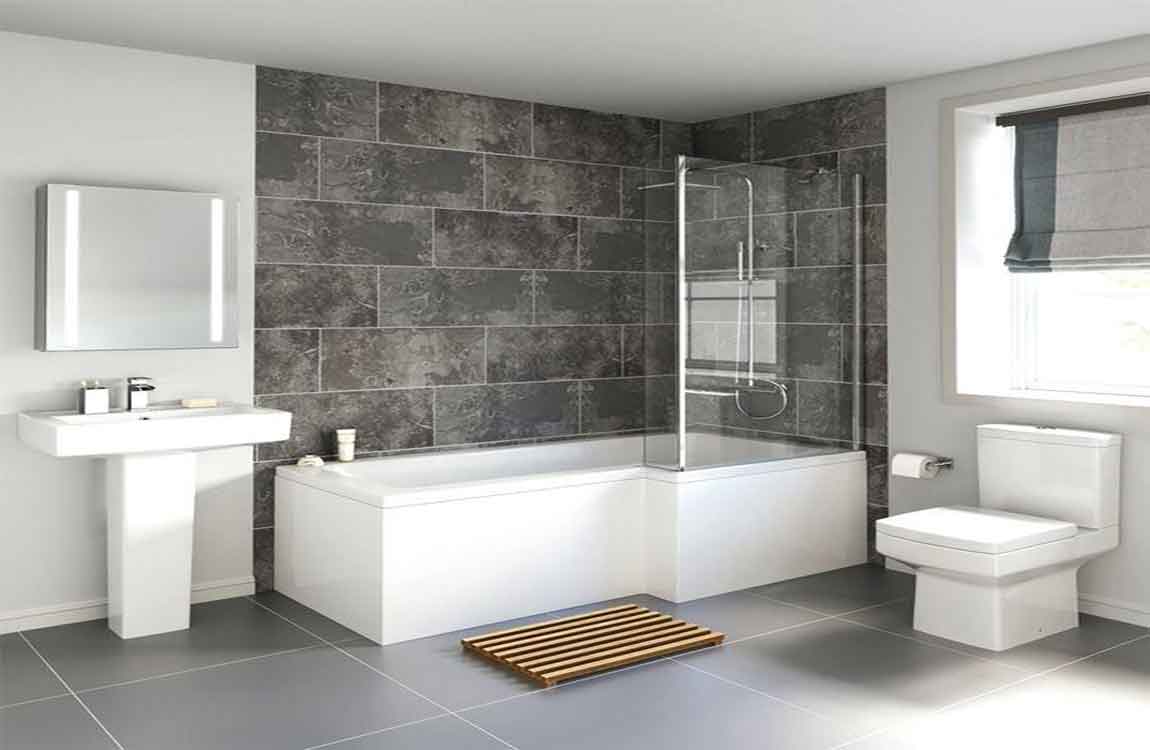
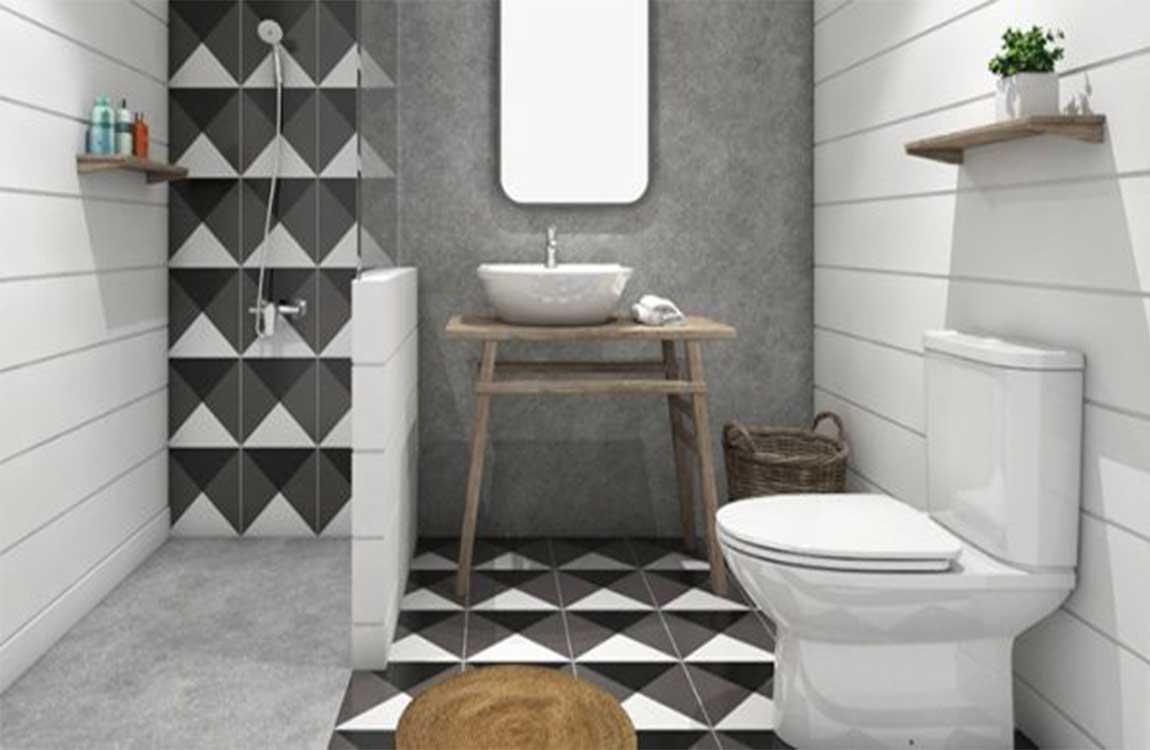
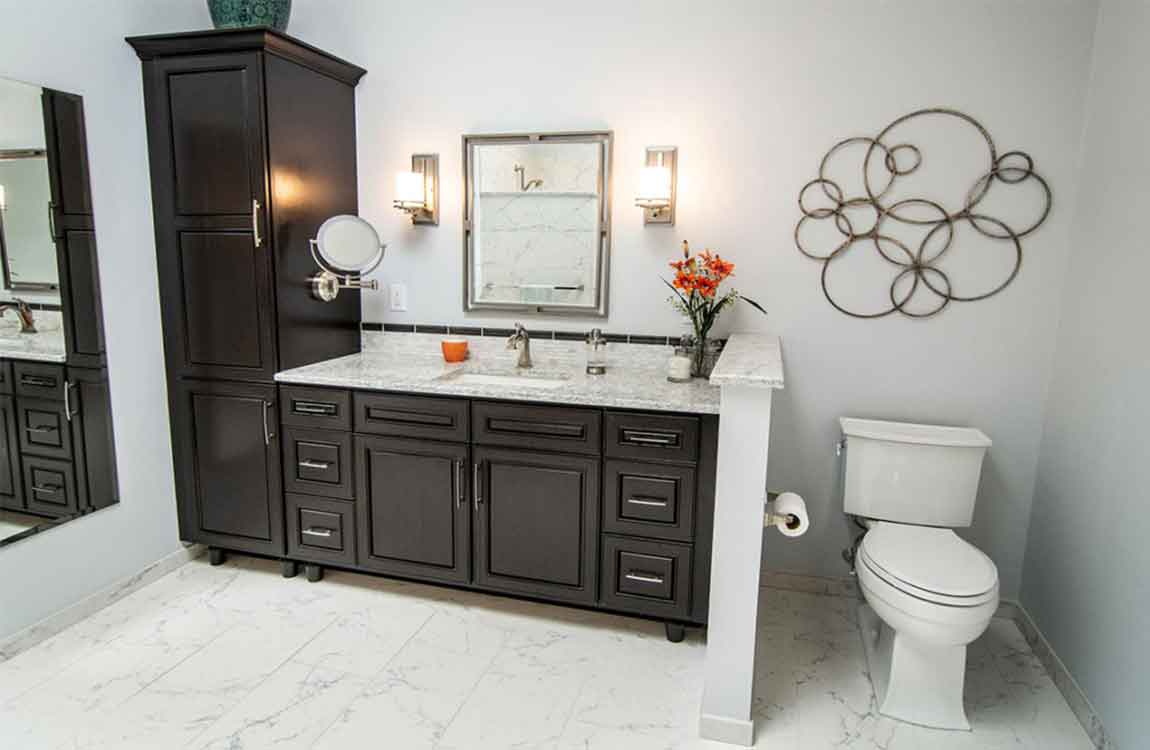
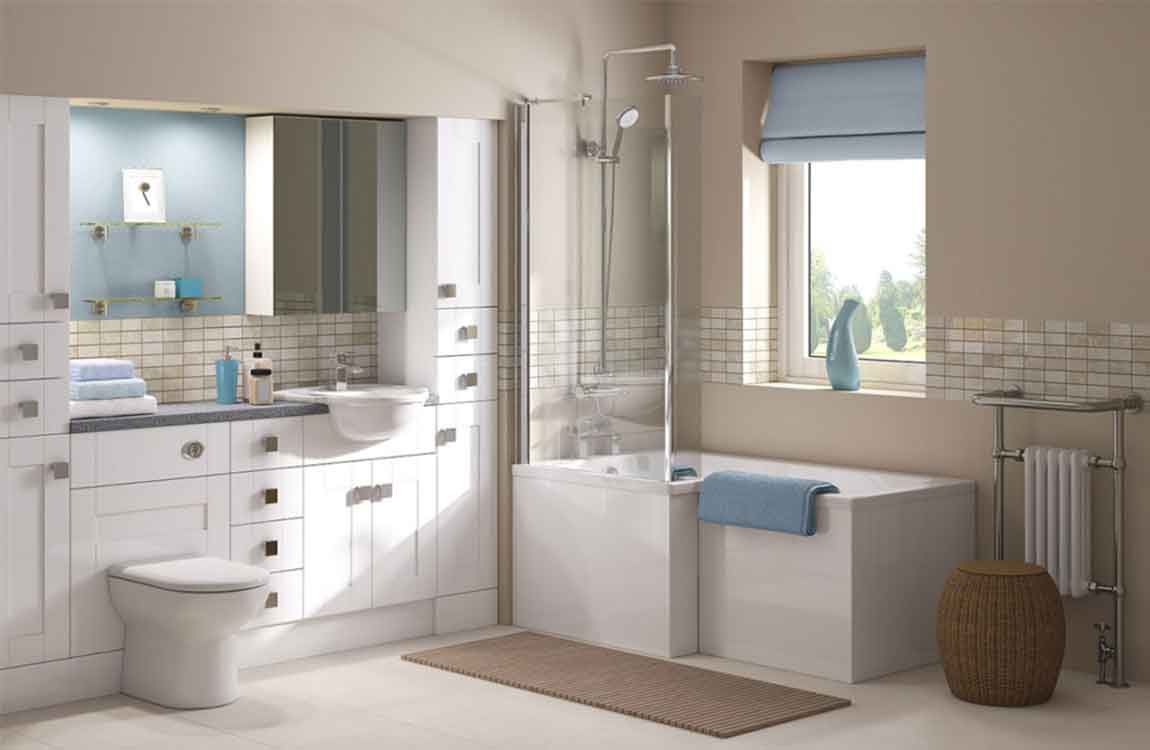
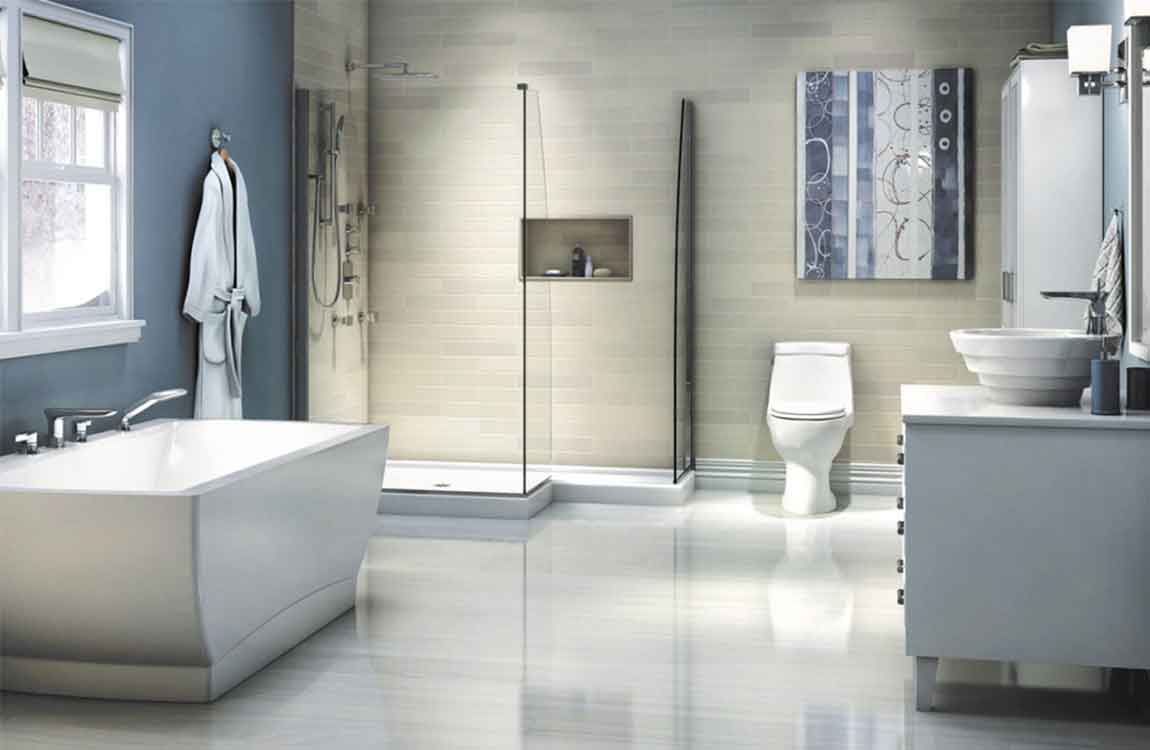
Get color coordinated. Even if you don’t lay down new tile or paint over your monochromatic walls, you can liven the place up a bit by simply introducing new color schemes. Keep things quaint and homey with bright pastels and elegant designs, or create an “executive suite” feel by doing your towels, mats, curtains and other accents in black and gold. Bath accessories come in a huge range of colors and patterns, so don’t be afraid to get creative when it comes to mixing and matching.
Buy multiple sets of towels and other items and swap them out periodically to keep things looking and feeling fresh. Different bath accessories can be used to alternately complement or provide a pleasant contrast to the color and lighting of the bathroom.
Include some artwork. It may be that your bathroom is just missing something. A few pieces of well-displayed artwork can really help tie together the furnishings of the room and make it feel more full. Keep an eye out for tasteful photographs, traditional paintings or zany modern works that you think might make your washroom more visually interesting. A single captivating piece can be the difference between empty and engaging.
When shopping around for bathroom art, consider your own personality and go with something that reflects your own style and interests. Remember that moisture builds up in bathrooms, so choose framed pieces and be sure to hang your expensive artwork elsewhere.
Add a little flora. Flowers aren’t just for your kitchen table. Try placing an arrangement of chrysanthemums on the counter alongside your sink, or work a fern or a few stalks of bamboo into a vacant corner or a nook opposite the shower. The natural appeal of plants can pleasantly offset a bathroom full of hard, flat materials like porcelain, tile and metal.
Orchids make great flowers to keep in your bathroom because they develop beautiful, vibrant coloring and tolerate heat and moisture well. Bamboo is another great option as it is easy to maintain and doesn’t require much light. The vibrant green adds a pop of color and a spa-like feel.
Give the room a theme. Devise a theme for you bathroom and hand pick your decorations accordingly. Why settle for a plain white-on-white when you could perform your daily hygiene in a hunter’s lodge or Victorian garden aesthetic? By choosing complimentary fixtures, accessories and ornamentations, you can distinguish your bathroom and give it even more personality than other rooms in the house.
For example, you could deck out a half bath with a beach or nautical theme, complete with seafoam and coral tones, jars of sand and seashells and a framed watercolor painting of a schooner. You might also do a bathroom in a “farmhouse” style, with unfinished wood racks and cabinets and a repurposed old-fashioned toolbox to hold your soaps and shampoos. If you have multiple bathrooms in your home, decorate them all in different visual themes.
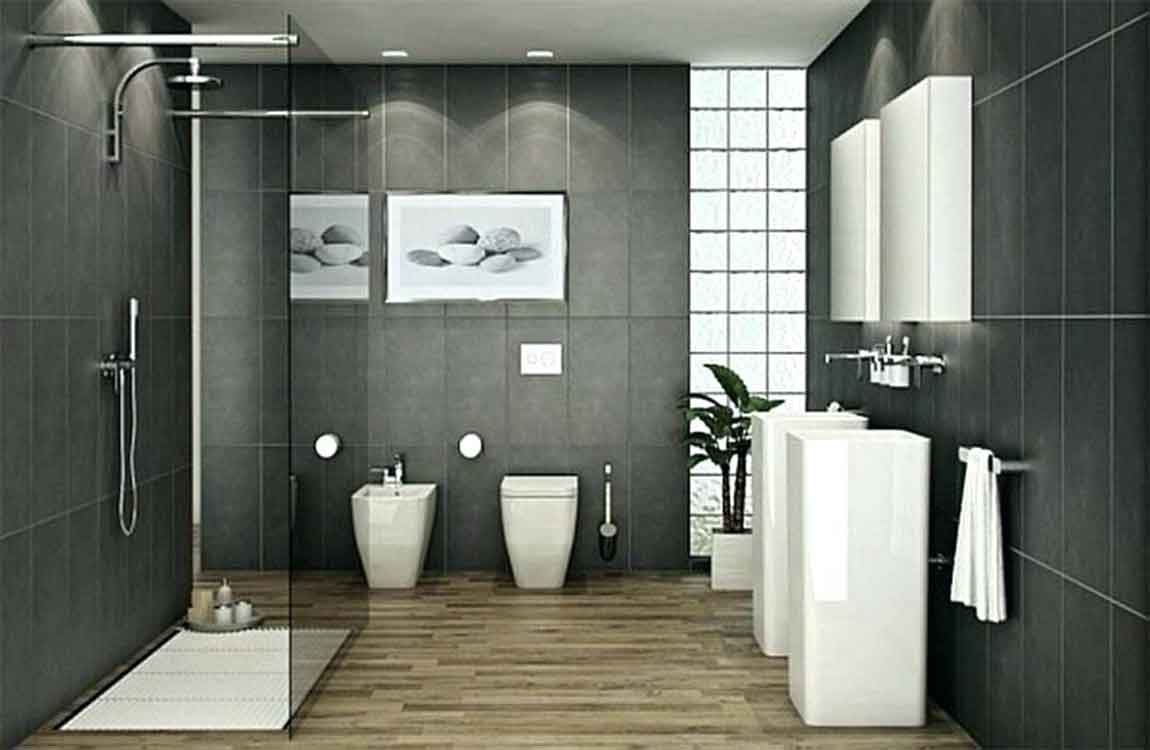
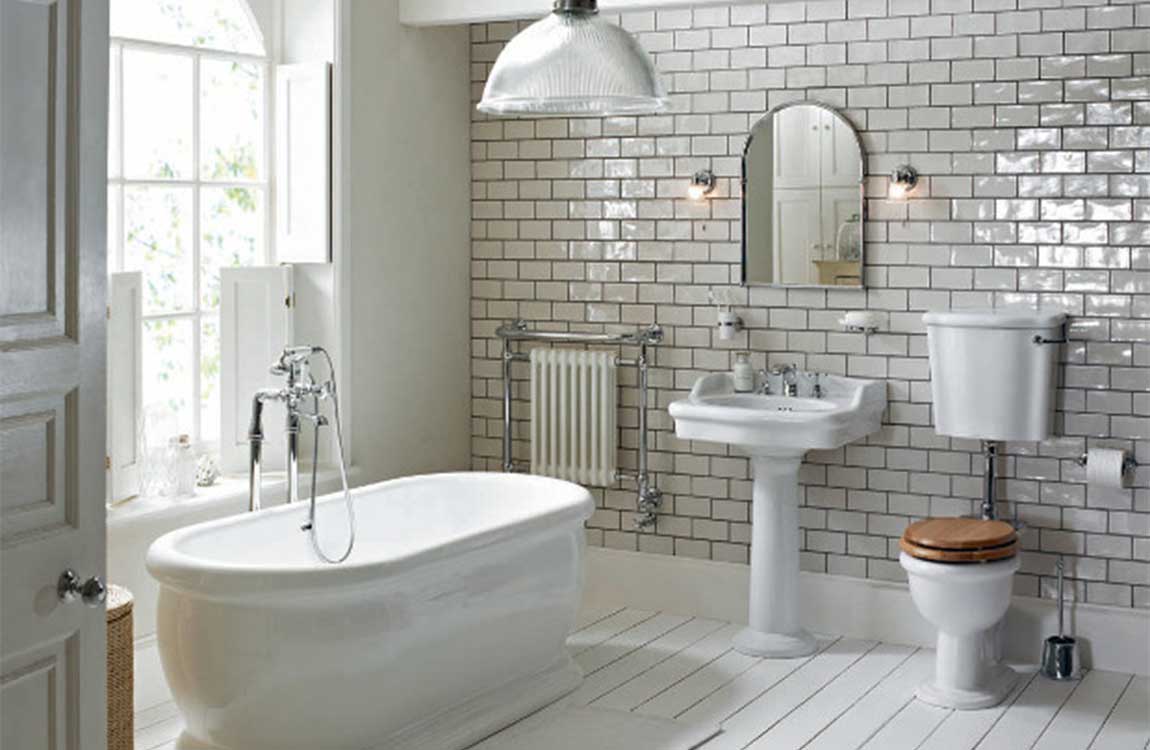
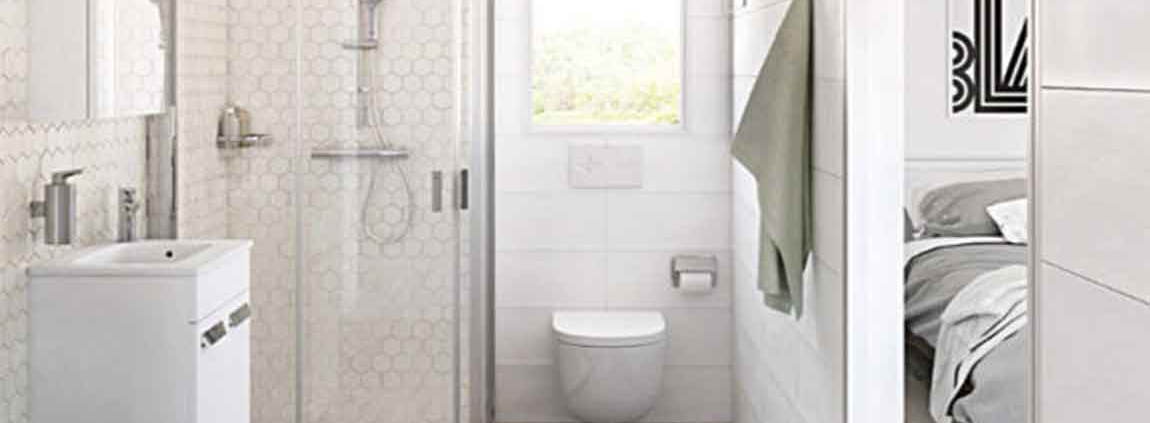
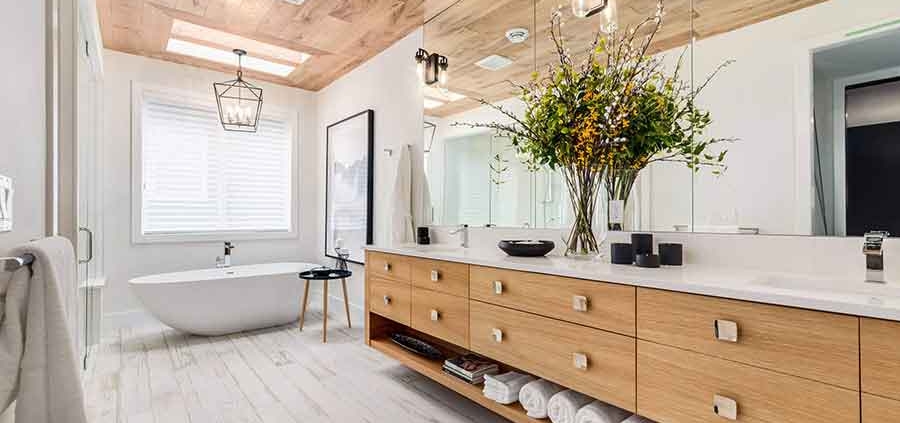
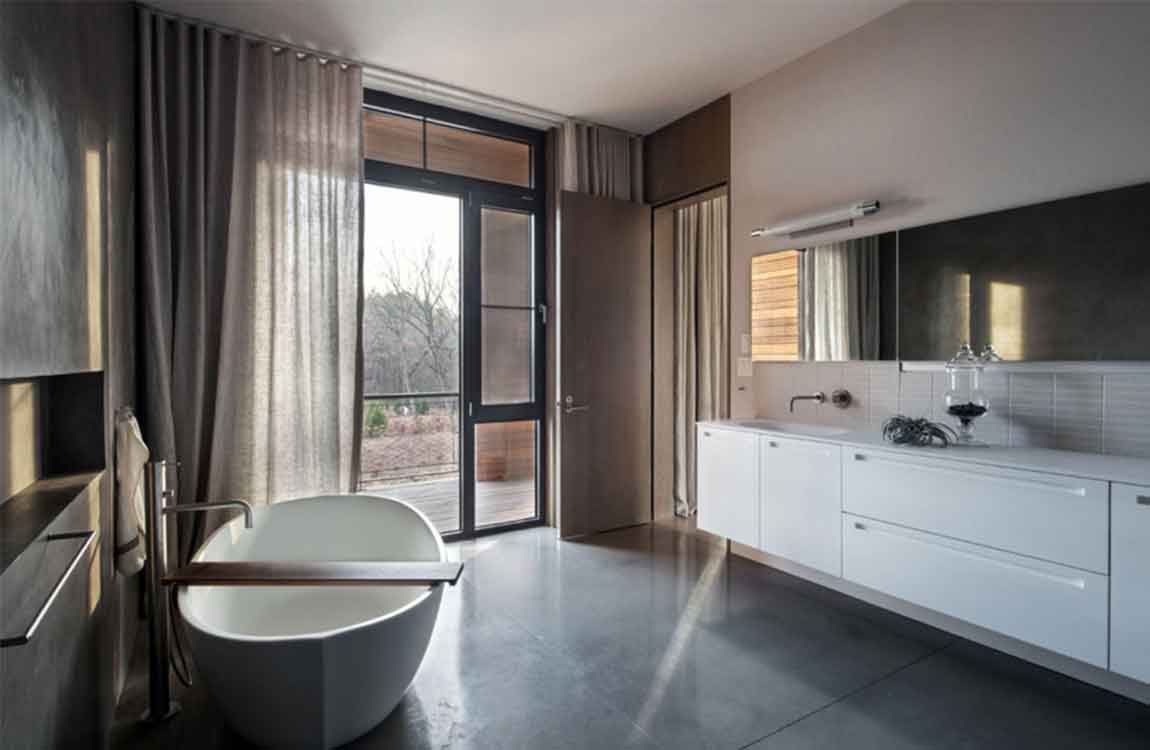
https://baranasanitary.com/wp-content/uploads/2018/10/How-To-Refining-Your-Bathroom-Decor-900600.jpg600900adminhttps://baranasanitary.com/wp-content/uploads/2017/01/logo-3.pngadmin2018-10-01 03:01:152019-08-21 06:50:51How To Refining Your Bathroom Decor?
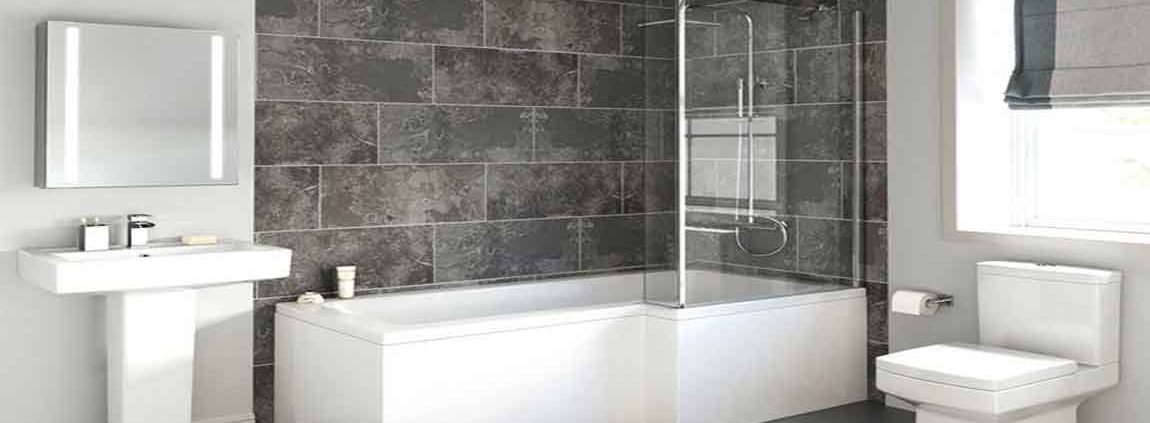
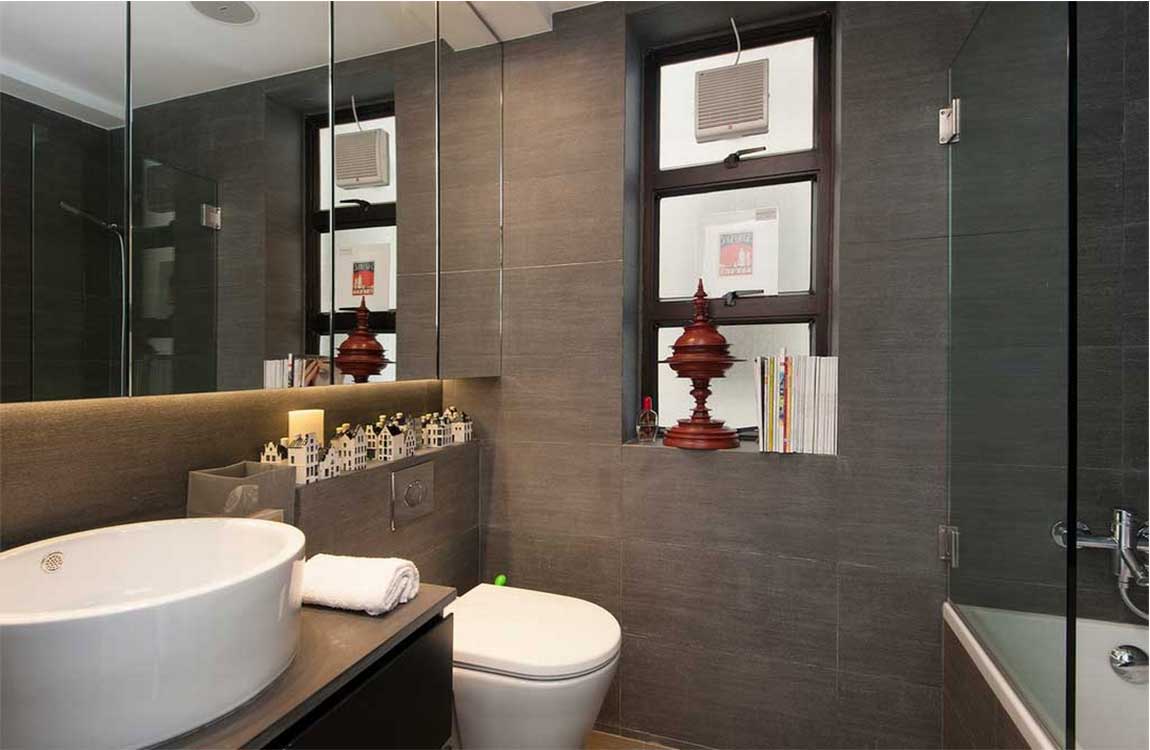
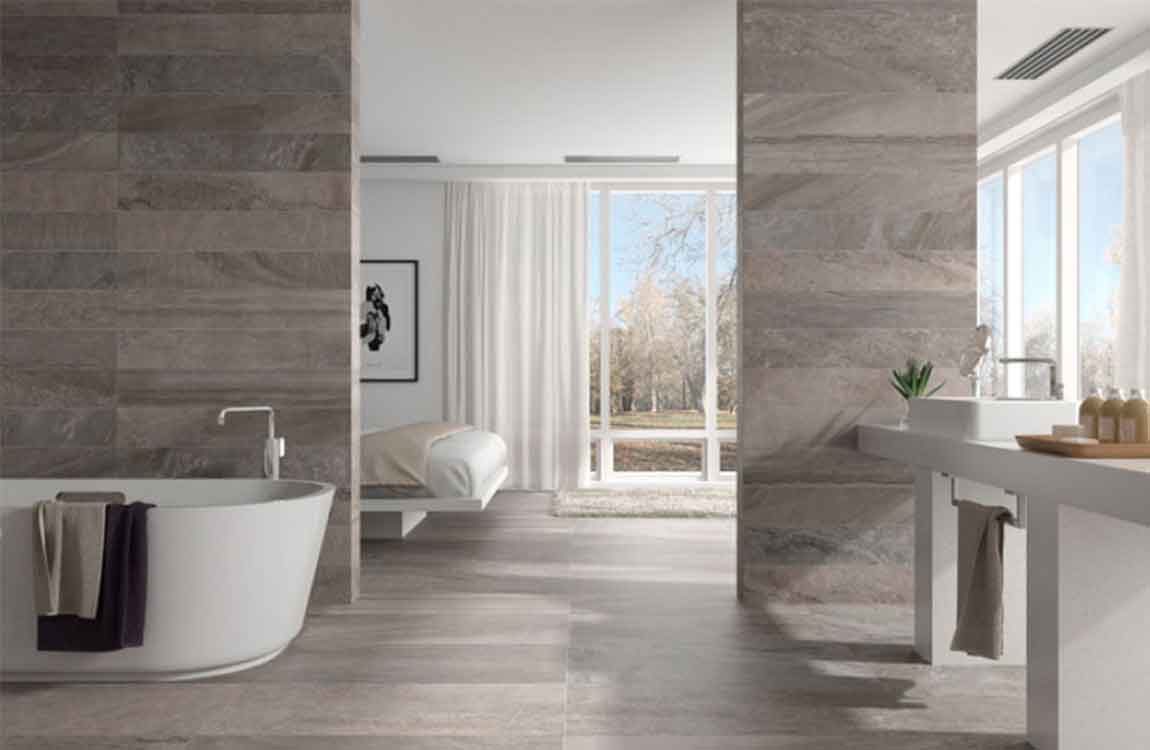
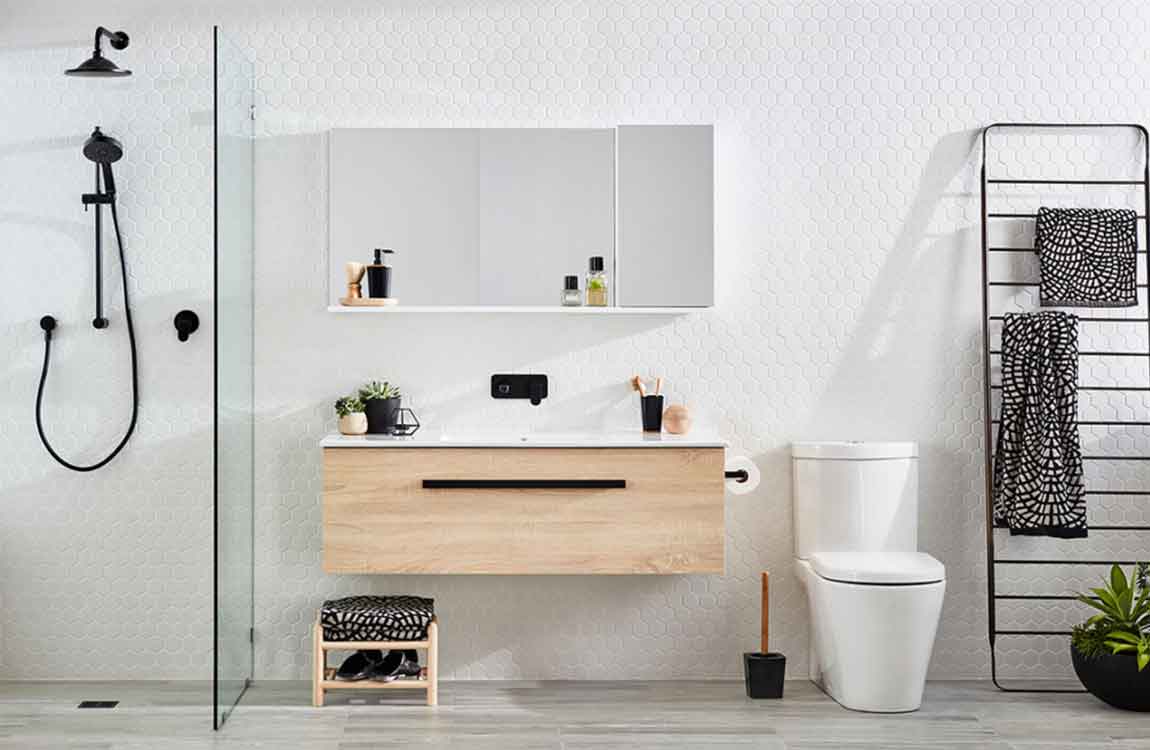
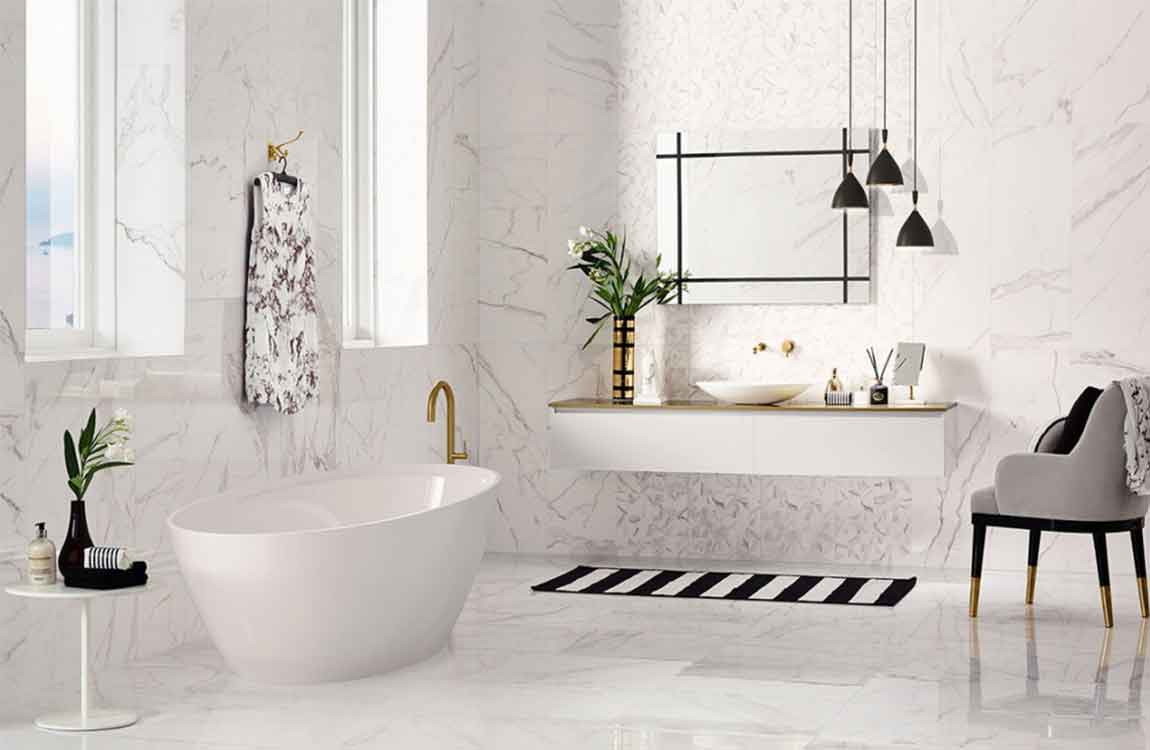
Replace your fixtures. Do away with old hardware, like faucets, towel racks and sink and drawer handles. With time, these pieces can rust, stain or just become tedious, making them unpleasant to look at. Spend a little time and money picking out new eye-catching fixtures that more accurately reflect your evolving tastes and design ideas for your bathroom. You’d be surprised how much difference a new set of knobs or shower curtain rod can make.
Though they’re small touches, your fixtures say a lot about the state of your bathroom. They tend to be in the areas that receive the most use, which means they’re one of the things people commonly notice. Choose fixtures with finishes that are the same or complementary to each other. Make sure you clean and polish your hardware regularly to keep it looking new.
Put in a new shower head. Chances are, you’re still using the original shower head your bathroom came outfitted with. While this is more equipment than decoration, investing in a new showerhead can do wonders for both your physical comfort and the look of your shower area. Consider which practical features you like, then shop around for different sizes and stylish designs and finishes.
You can readily find inexpensive shower heads in elegant finishes like brass or graphite, while more expensive shower heads will also allow you to control the flow and pressure of the stream.
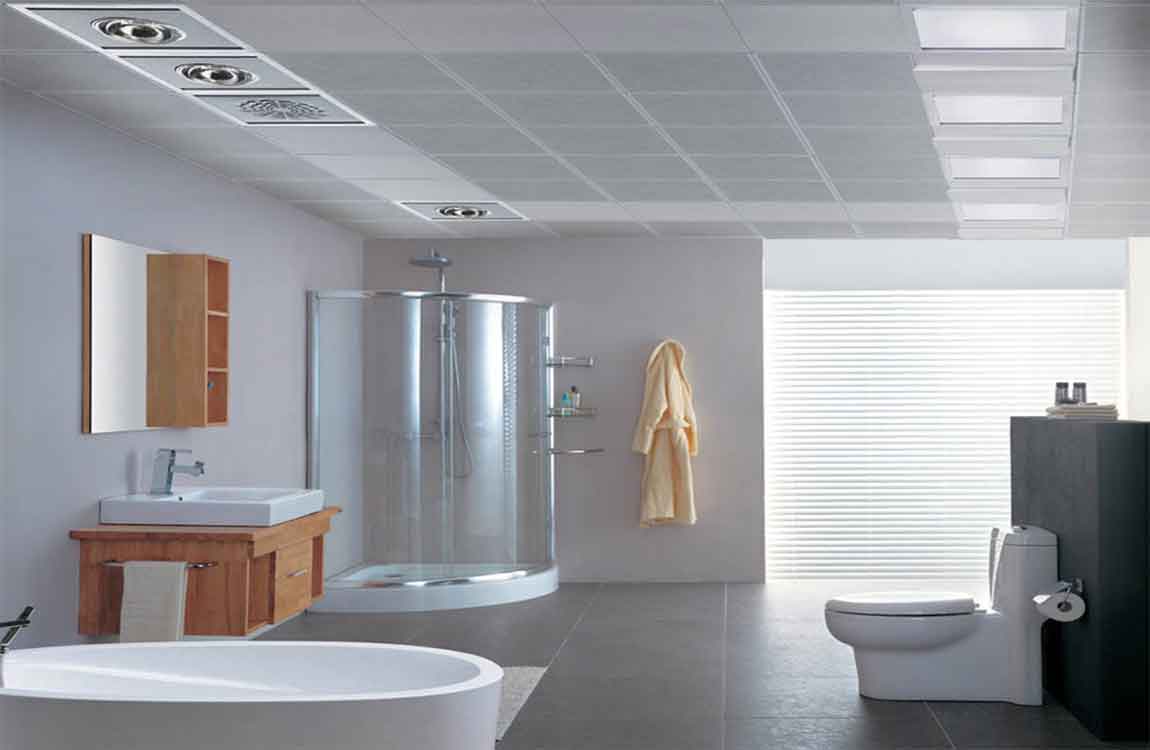
Make use of racks, shelves and cabinets. Forget about stowing everything away under the sink. Mount an extra rack or shelf, or make room for a small, open cabinet and use this to organize your bath items. With more storage space, you’ll not only be able to change the appearance of your bathroom, but also eliminate the kind of clutter that has a tendency to accumulate in the areas where you spend the most time getting ready.
Hang a standard kitchen spice rack and use it to store hand soaps, deodorant, shaving supplies and other items. Stow away toiletries you don’t want out in the open in an old repainted nightstand.
Install a dimmer light switch. One simple trick that can make your bathroom more cozy is to soften the lighting. By swapping your standard light switch for a dimmer, you can fine-tune the brightness of the room, cranking it up when you’re shaving or doing your makeup and lowering it to a soft glow when you want to treat yourself to a spa-like experience. Custom lighting can lend a bit of class and tranquility to an otherwise unremarkable room.
Lower light is perfect for taking a relaxing bubble bath, or for those times when you get up to use the restroom in the middle of the night and don’t want bright light shining right in your eyes. A good contractor can install a dimmer switch in just a few minutes, or you can look up instructions for how to do it yourself here. Alternatively, add ambience with candles (with real or fake flames). Candles are a cheap and easy way to spruce up your bathroom and also make the room smell great.
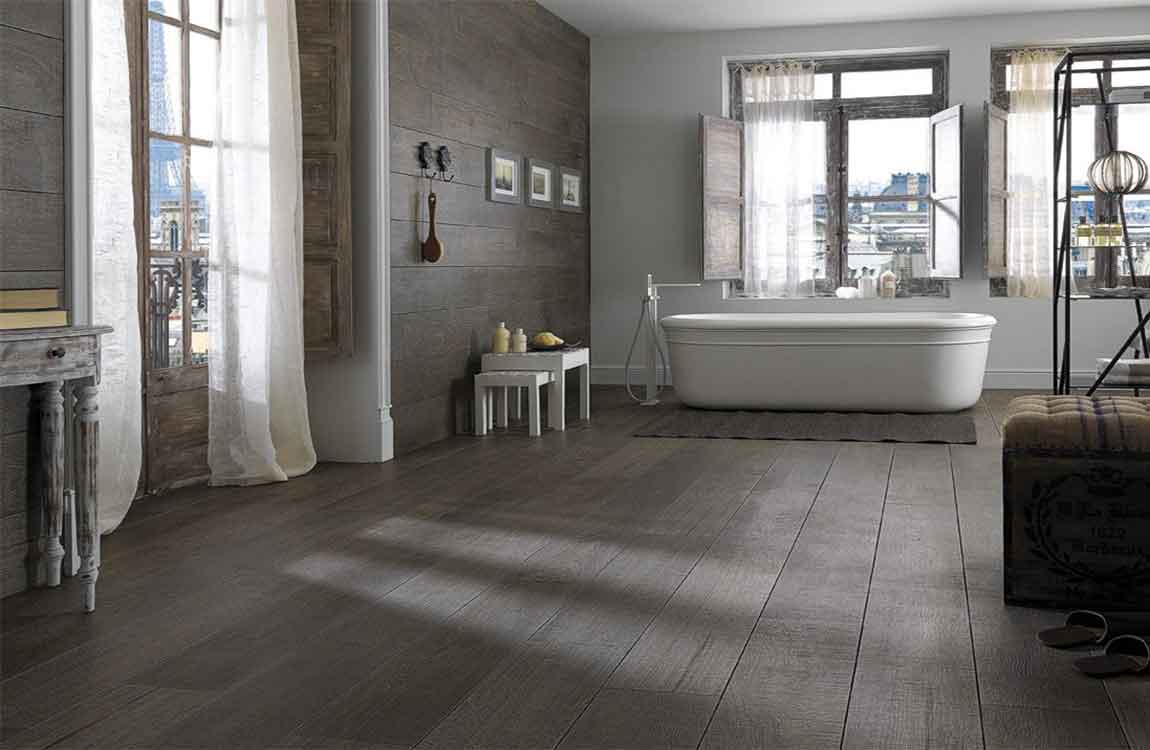
Put in new tile. Ceramic tile is a relatively inexpensive way to refresh the appearance of your bathroom, and, since it covers so much surface area, makes a big impact on the room’s appearance without the need to knock out a wall or have the plumbing redone. Natural stoneware or bright, colorful tiles can be used to cover up time-worn walls and floors, giving your lavatory the dressing up it desperately needs. While installing new tile is a bigger project than simply buying a new set of towels, it can usually be done in a single weekend, and allows you to fully customize the final outcome.
Provided you have the right budget to work with, you can install new tile yourself for only a few hundred dollars worth of tools and materials. This could save you thousands of dollars in contractor’s fees. Compare tiles in different shades, patterns and configurations to find the perfect match for your redesigned bathroom. If your tile is in good shape, you can paint it instead of replacing it, which is quicker and cheaper.
Chisel away tiles instead. This method is slower, but allows you to save some of the tiles for reuse. Scrape away some of the grout in a long line using a utility knife, grout saw, or rotary grinder. Place a chisel against the edge of a tile in this line, almost flat against a wall, and tap with a hammer. If all goes well, the tile will pop out. If it doesn’t budge or if a small piece chips off, remove grout from the sides and try again. This becomes easier once the first tile is removed. An electric chisel can speed this job up.
Remove adhesive. After chiseling away tiles, scrape away the adhesive with a putty knife or hand scraper. Try soaking the tiles in water first to soften the mortar.
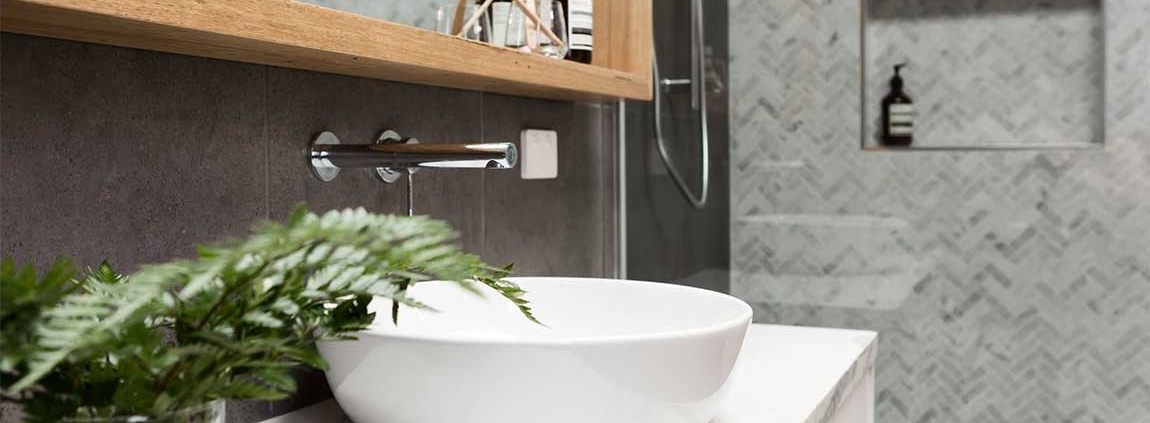
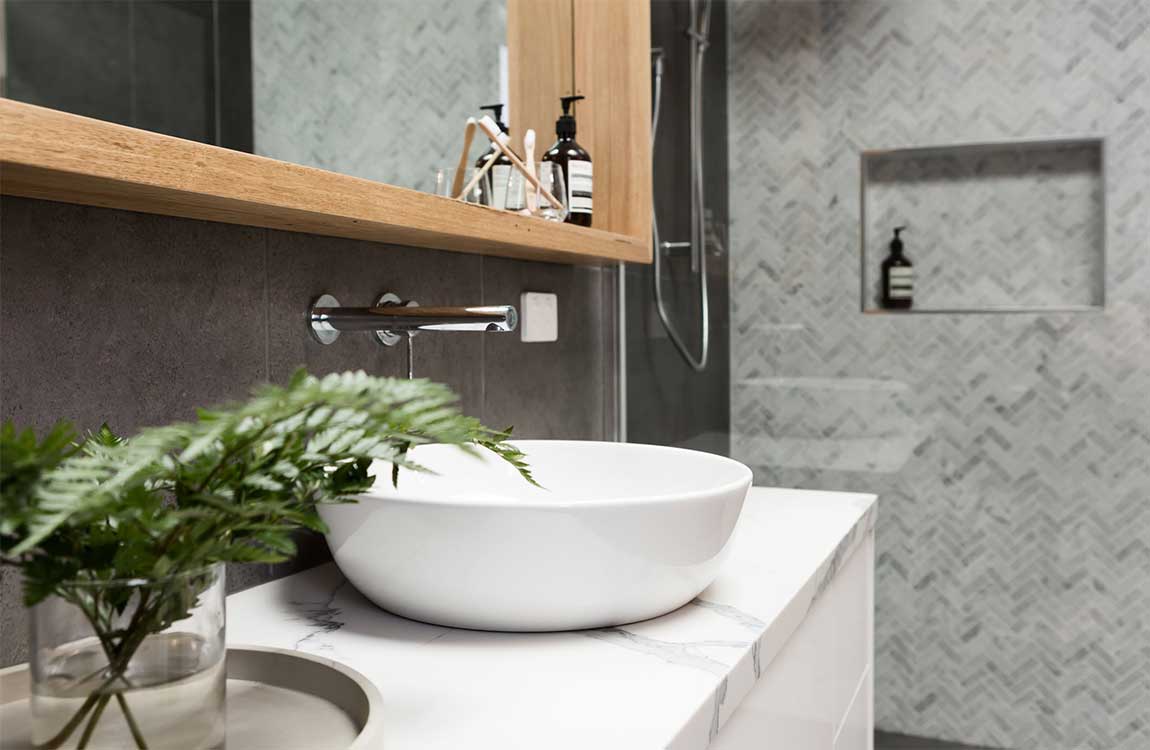
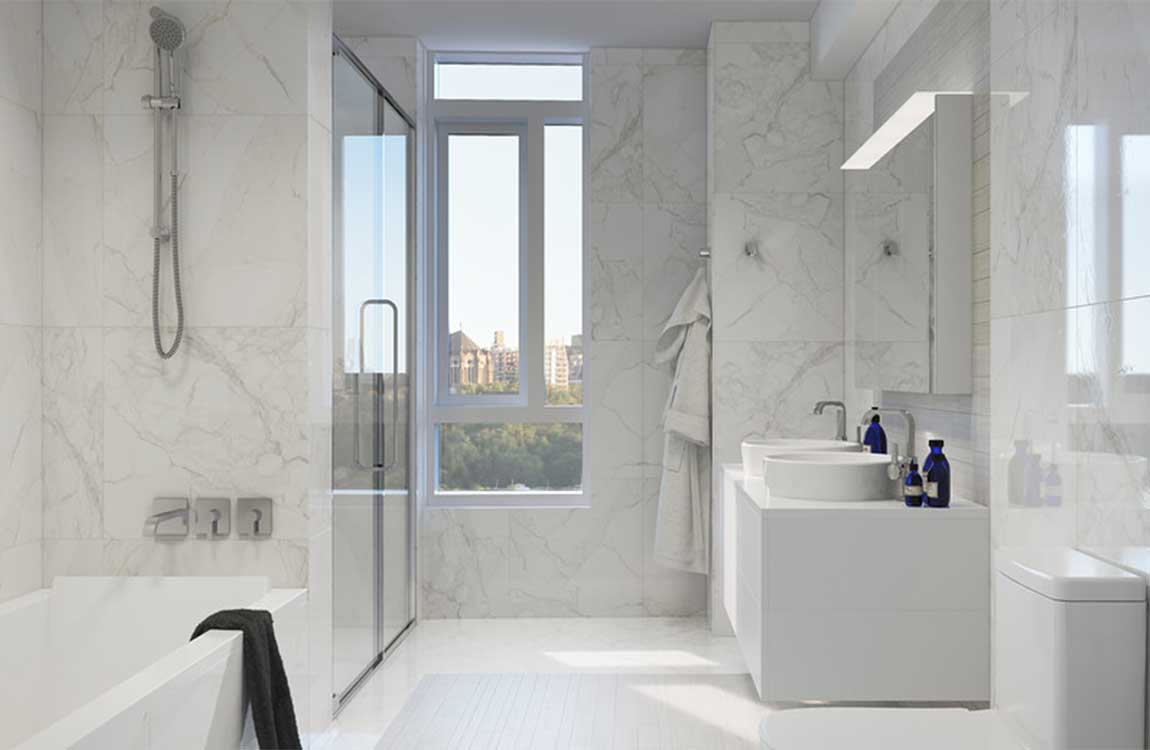
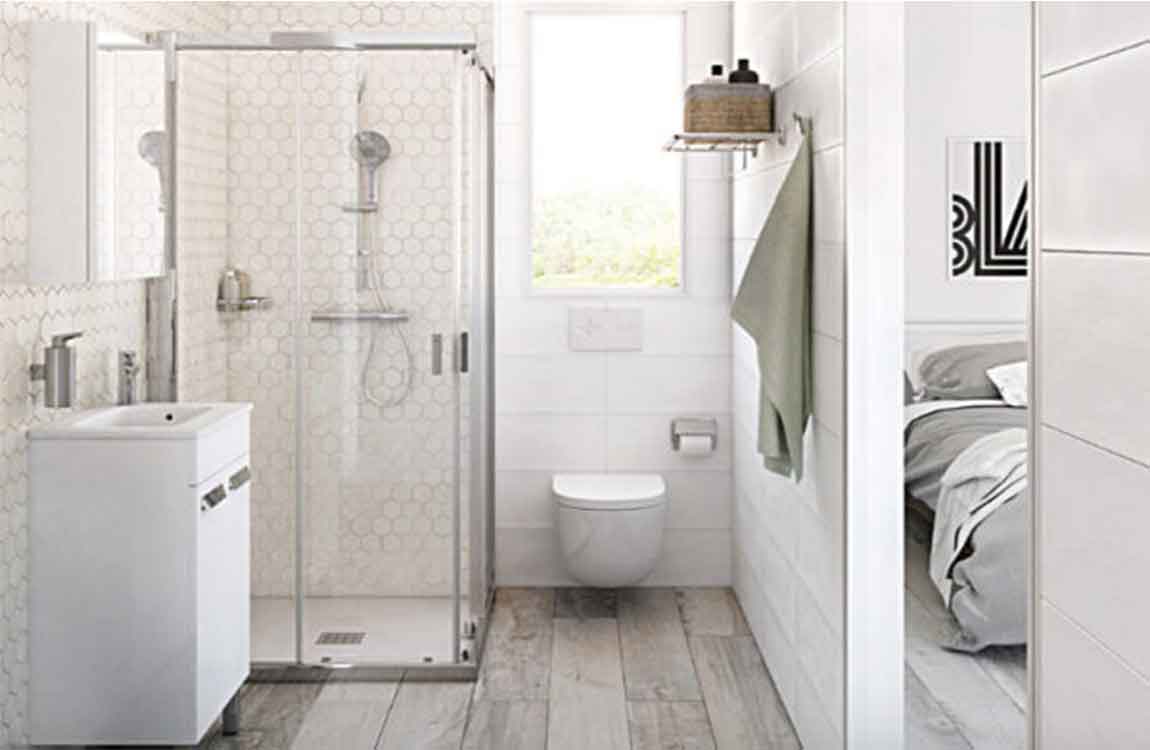
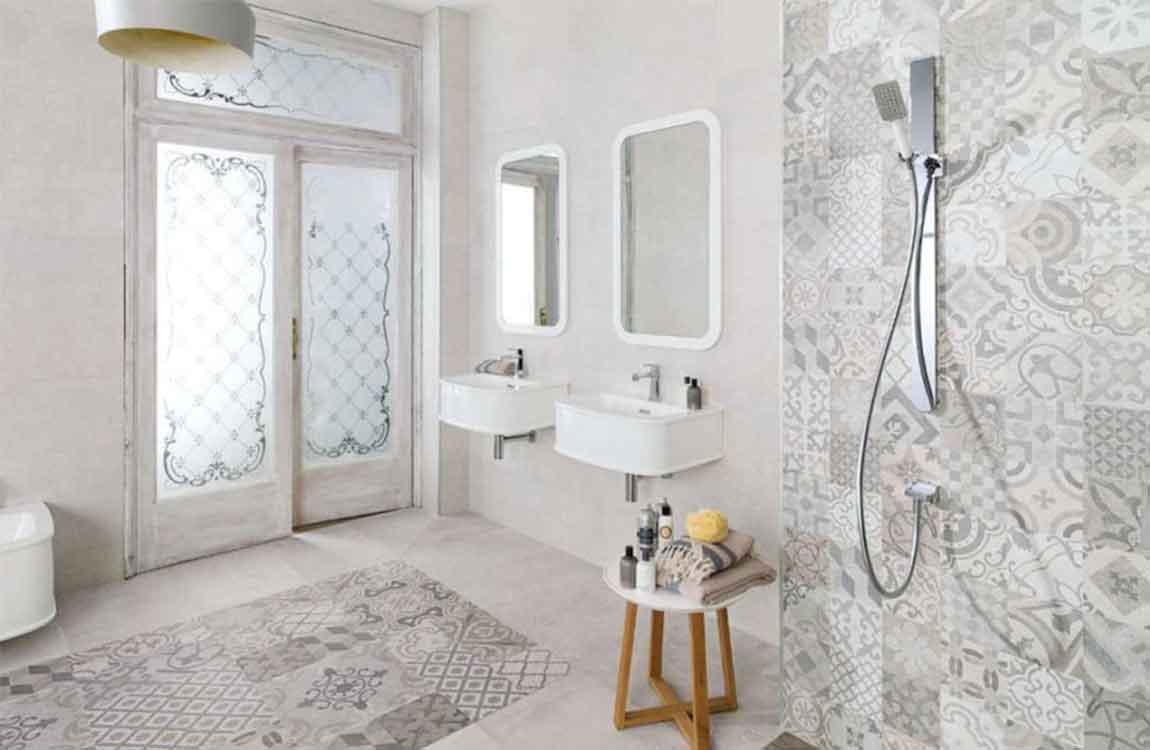
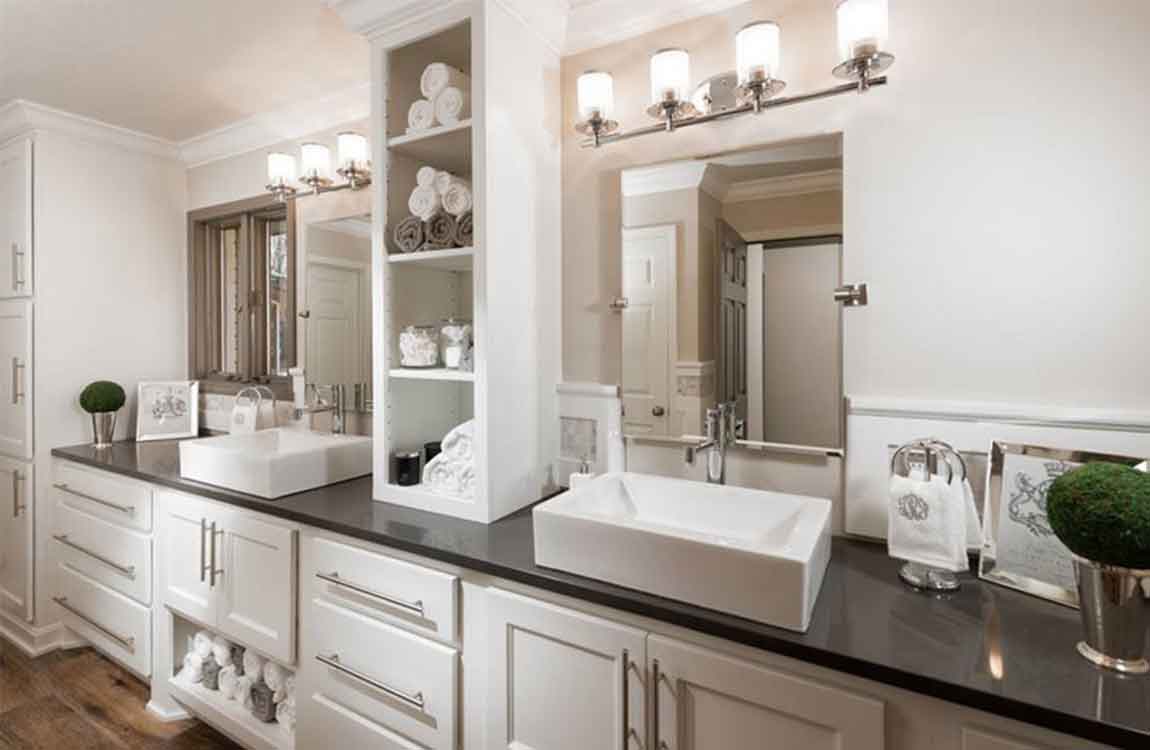
https://baranasanitary.com/wp-content/uploads/2018/09/How-to-Improve-a-Bathroom-Without-Remodeling-900600.jpg600900adminhttps://baranasanitary.com/wp-content/uploads/2017/01/logo-3.pngadmin2018-09-28 05:48:492019-08-21 06:51:41How to Improve a Bathroom Without Remodeling?