Posts

How Filling Gaps and Sanding the Tub?


Prepare the epoxy putty before applying it to any cracks. Wear rubber gloves to protect your skin, and read the manufacturer’s instructions before you begin. Open up the putty and tear or cut off a small section of the putty. Work the putty between your fingers until it is pliable, kind of like how you would massage a piece of play dough to work it into a new shape. If you can’t find epoxy putty, buy a similar kind of tub-repair paste from your local hardware store.


Fill any cracks or chips in your tub with the epoxy putty. Use your fingers to push putty into any chipped areas. Depending on how large the crack is, tear your putty pieces so the size is about right to just overfill the area. Make sure to push down on the putty firmly so that it makes its way into all the crevices. At this stage, it’s okay if the putty isn’t flat with the rest of the tub’s surface.


Use a putty knife to smooth over each of the patched areas. Take your putty knife and position the blade so it’s flat against the surface of the tub. Gently scrape it over the filled sections to remove any excess putty. Wipe off the blade from time to time with a damp paper towel. If your working on a curved area, you may need to adjust your knife’s position a few times to get the entire area smooth.


Sand the entire bathtub to work down the gloss and prepare it for paint. Use wet/dry sandpaper, and sand it with 400 grit sandpaper first, and then do it again with 600 grit sandpaper. Attach your sandpaper to a sanding block, and use a spray bottle to wet down the tub as you work. The wet-sanding will eliminate a lot of dust, but it’s a good idea to keep wearing your respirator, especially if you’re working in a small space.


Rinse out the tub and dry it completely before painting it. After the tub has been sanded, rinse out the interior and wipe down the exterior sides to remove any sandpaper and grit remnants. Use clean towels to dry it off thoroughly. The tub needs to be 100% dry before you start painting it, so use as many towels as you need to.

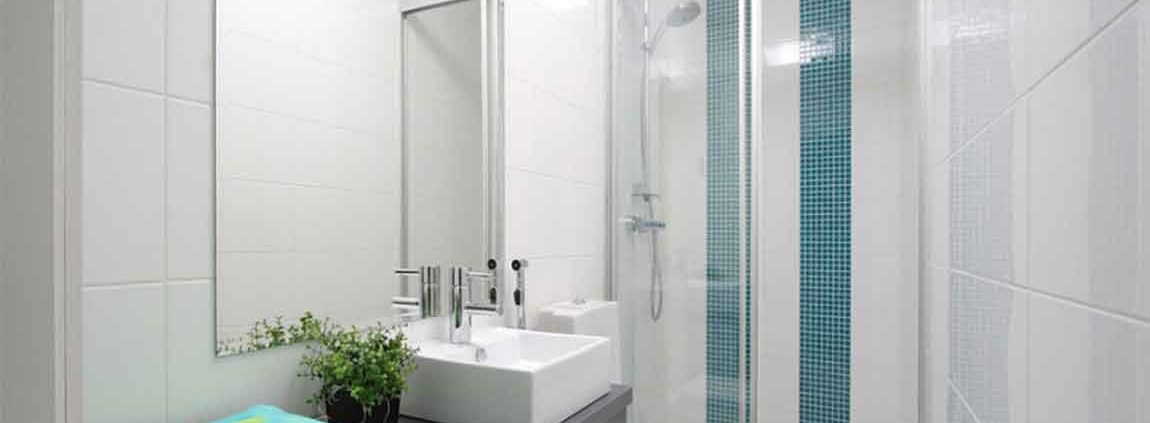
How Removing Tough Stains and Keeping a Sink Clean?

Sprinkle baking soda. If your bathroom sink is still dirty after you’ve done a light clean, you should sprinkle baking all over the sink. Cover as much of the surface as you can. The abrasive force of the baking soda will help remove tough stains. Make sure the sink is dry before you sprinkle the baking soda. Use as much baking soda as you need to cover the surface area of the sink. Take care to sprinkle some baking soda into the grout ring around the drain.

Scrub the sink. Take a clean cloth and scrub the sink down. You may have to apply a lot of pressure in areas that are particularly dirty. Without scrubbing your baking soda into the sink, you won’t be able to remove all stains. Swirl your cloth around in circles while you rub the baking soda into the surface of the sink. Consider using a regular cotton cloth. Microfiber may not have the abrasive power you need to remove some stains. In some instances, you may need to use a mildly abrasive dish sponge.

Rinse the sink. After you’ve scrubbed the sink, you need to thoroughly rinse it to remove all leftover baking soda. If you don’t rinse it immediately, some of the stains may re-set and all your work will be wasted. Make sure to run the water until all the baking soda has washed down the drain. If your sink doesn’t drain properly, you may need to wipe the baking soda out with cloth rags or paper towels.

Rinse the sink after every use. By rinsing the sink after every use, you’ll make sure that dirt and soap residue are washed out of the basin into the drain. This is important, as the dirt in your sink accumulates on a day-to-day basis. Run the water after you brush your teeth, otherwise toothpaste and toothpaste residue will build up in your sink. Make sure you use enough water to wash soap and soap residue down the drain after you wash your hands. If you notice any grime in your sink after you use it, run the water.

Don’t wash hair shavings down the sink. One of the easiest ways to keep a bathroom sink clean is to avoid washing hair shavings down it. Hair shavings not only dirty your sink, but they can partially clog your pipes. As a result, normal dirt and grime will build up in the basin. If you shave in front of the sink, put a towel over the sink so your hair falls into the towel. If you do wash hair down the drain of the sink, your sink will eventually clog up. When this happens, you’ll have to remove the accumulated hair with a coat hanger, or use a chemical clog removing product.