Posts

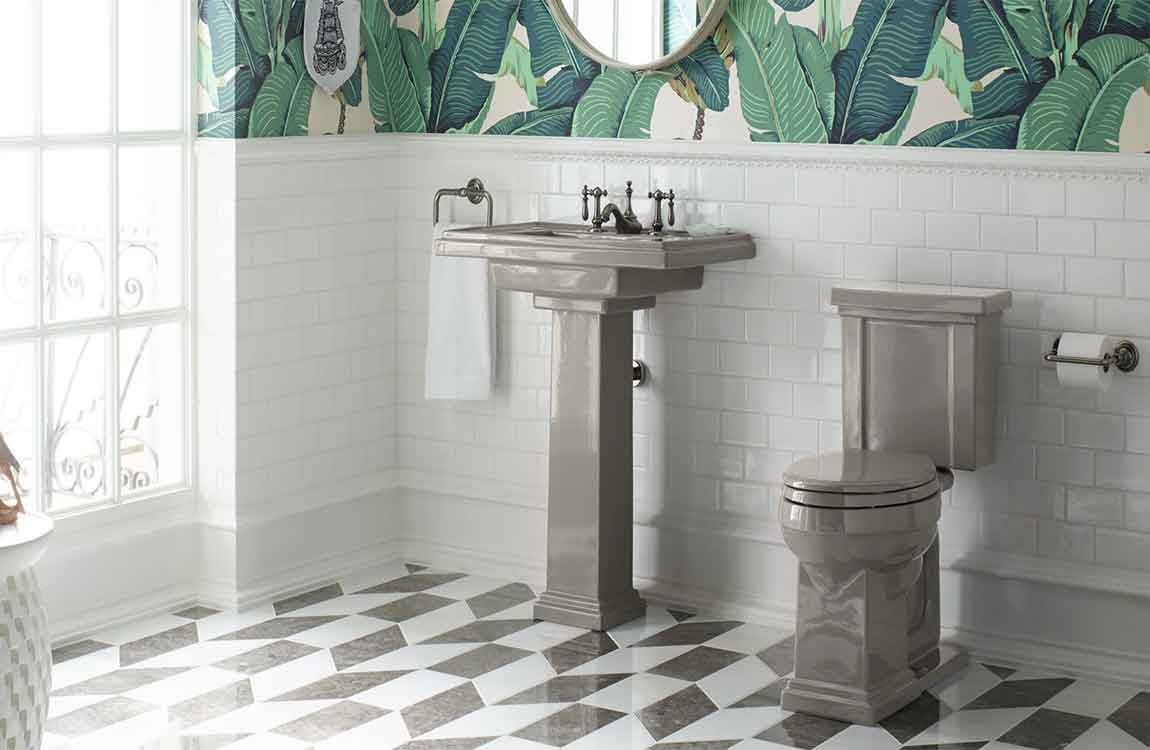
How to Clean Hair Out of a Shower Drain?


Unclogging hair from the drain can be gross, but sometimes you have to do it! You can use a snaking tool specifically made for hair clogs or make your own using a wire hanger. Using chemical drain cleaners is also an option if you’d prefer to not mess with tools. If your drain is still clogged after you’ve removed all the hair you can, you may need to contact a plumber.


Use a screwdriver to remove the drain guard. If your shower drain has a guard, you’ll need to take it off to access the actual drain pipe. Insert the tip of a screwdriver into each of the screw heads and twist to the left to loosen them. Then, remove them and set them aside. If the screws are smaller than the holes on the drain, place painter’s tape over the holes to prevent the screws from falling in.


If you have a tub and shower combination, you might be able to remove the drain guard by pressing the guard downward and twisting it to the left. Use pliers or tweezers to remove any visible hair towards the surface. If you see any obvious globs of hair gathered at the top of the drain pipe, use pliers or tweezers to dig it out. Discard the grimy hair into a plastic bag for an easy cleanup.


If possible, use an old pair of tweezers that you don’t use for other purposes. Insert a plastic snake tool all the way into the drain pipe. Insert the end of a plastic drain snake into the pipe until the small handle is at the top of the drain opening. The snake tool looks like a long zip tie with small thorns and a handle on the end. Be careful handling it because the thorns are sharp!


You can buy plastic unclogging tools online or at any home hardware store. If the tool resists going down, try rotating the angle at which you’re pushing the tool into the drain. Pull it out slowly, wiggling it as you pull upwards. Grasp the tool’s handle with your thumb, index, and middle fingers and slowly pull it out of the drain. In order to grasp the most hair, it may help to wiggle and twist it around as you pull it out.

How to Replace Faucet?

Remove the large nuts that hold the faucet in place. This is where you’ll want to use a basin wrench if you have one. You may have one, two, or even three nuts. Your sink may look different because they may be hard plastic, brass, or silver-colored metal. This may be the hardest part of the job, since the threads are often quite long and they may be corroded so that the nuts are difficult to turn. Hang in there! It gets easier from here. Lift the old faucet up, tubes and all, right out of the sink.

Now, examine the tubes carefully. If they are damaged in any way, take one with you to the store where you bought the wrench and buy two, new, gray plastic tubes the same length. They come with new nuts and end fittings.

Before installing your new faucet, give the sink a good cleaning where the old faucet was mounted. You may have to scrape and scour to remove hard water deposits, although depending on the new faucet, some of the area may be covered. Try vinegar or an acid cleaner to help dissolve hard water deposits.

Check your new faucet base and see if they include a soft plastic gasket. You need something like this to seal around the base to keep water from getting under it. If not, buy some plumbers’ putty. It’s gray in color and is something like chewing gum. Stick a bead of it around the base before you mount the new faucet. When you tighten down those two big nuts, it will squeeze a little of this putty out but it’s easy to clean up with rubbing alcohol.

Attach the new tubes to the new faucet before you install it in the sink. Assemble the new faucet. Sometimes there is a separate flange or plate that slips over the bottom. If you want this flange installed, or if there are any additional hoses to assemble, do so now. Slip the new faucet through the holes in the sink. Tighten the new nuts from below the sink, but stop when you get close.

Before you get those two big nuts tight, take a look at your new faucet, see if it is straight or angled one way or the other, then finish tightening up the nuts. Insert the tubes into the valves under the sink and tighten up the tube nuts. Turn on the water and check for any leak. Wait for ten minutes and check for leaks again. If everything seems fine, you’re done; if not, tighten the fittings a little more and check for leaks again.