Posts

How Using a Bleach Solution?
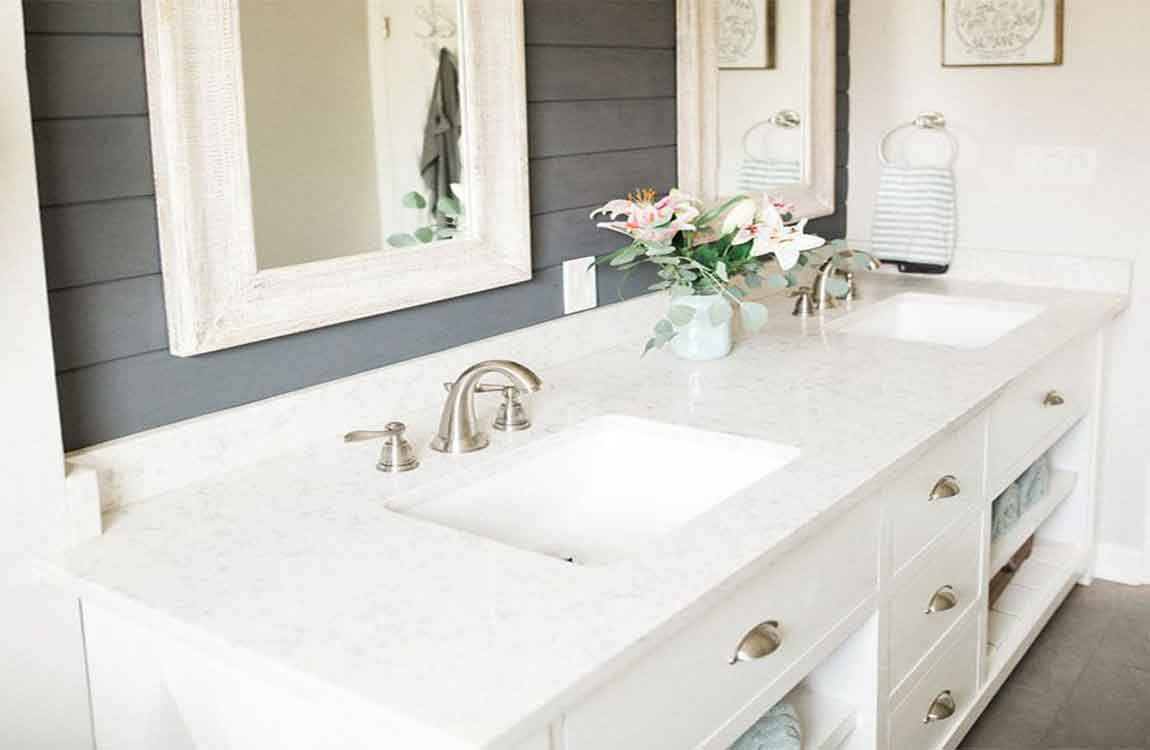

Open the windows and doors in the area for ventilation. When using bleach, it’s always a good idea to create good ventilation. Try to open as many nearby windows as you can, particularly if there’s one in the bathroom. If there’s not a window in the bathroom, place a fan blowing air out of the bathroom toward an open window.
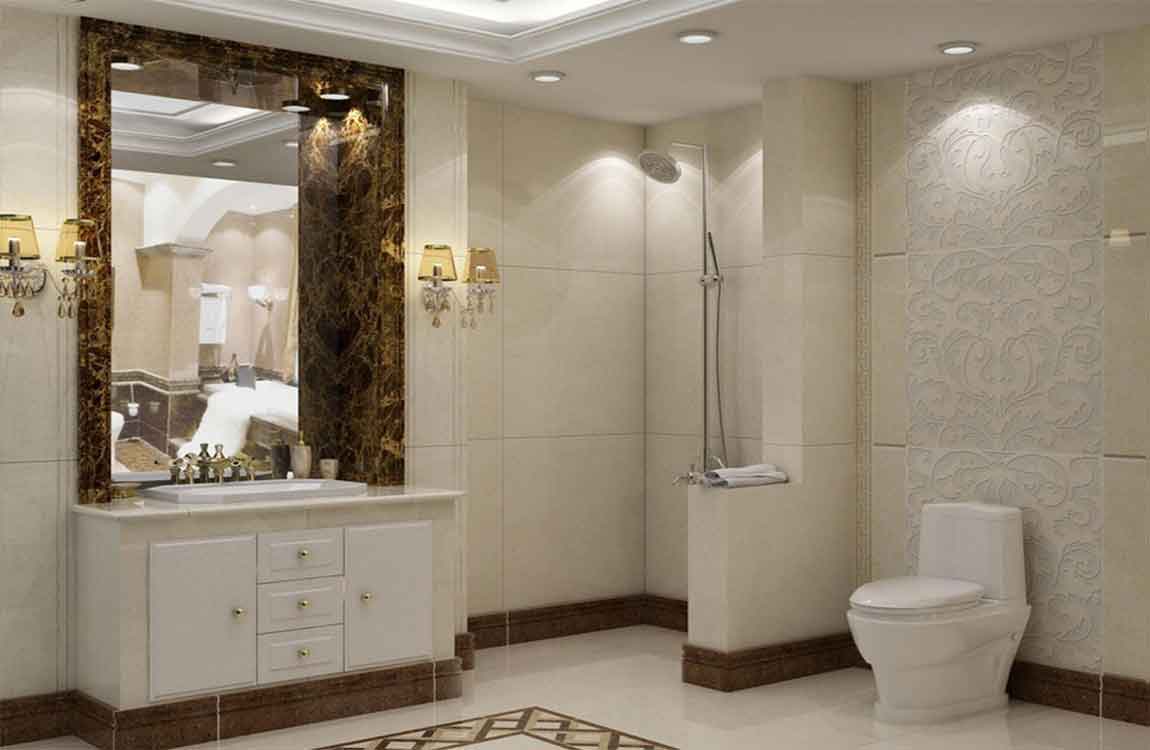

Put on gloves and goggles. Choose gloves that won’t let the mold through, such as rubber cleaning gloves or latex gloves. Don’t touch the mold with your hands. Similarly, goggles are a good idea, as you don’t want to flip mold spores into your eyes accidentally. You may also want to wear a dust mask that filters out mold. These precautions will also protect you from the bleach.

Mix 1 cup (0.24 L) of bleach into 1 gallon (3.8 L) of water. Measure out the water first, and then pour the bleach into the water. Use a spoon or a paint stick to stir it together so it is is well mixed. Try not to splash it as you’re stirring. Make sure you never mix bleach with ammonia, as it creates toxic gases.

If you prefer, you can start out with an antifungal cleaning solution that doesn’t contain ammonia, then follow up with bleach after you get most of the mold off. Dip a sponge or cloth into the bleach solution and scrub down the mold. Squeeze out the excess and begin scrubbing the moldy areas. Knock off as much mold as you can and dip the cloth or sponge back into the bleach solution as needed.

You can also rinse out the cloth in running water before dipping it back in the solution so you’re not returning as much mold to your cleaning solution. Use a scrubbing brush where the mold won’t come off. If you have areas where you’re having trouble removing the mold, dip a toothbrush or other scrubbing brush into the cleaning solution. Run it over the moldy areas, using a small circular motion to get the mold off.

How to Cleaning Surfaces Before Clean a Bathroom?

Clean the walls, windows and/or ceiling. If you have mold on the ceiling start with spraying a water bleach/disinfectant solution on it and let it rest for a couple of minutes, do the same with the walls ( if they are tiles) or use another cleaning product. With a sponge or a clean rag, scrub the tile surfaces you’ve sprayed. Rinse it carefully to avoid any stripes and dry it with a clean rag. It’s a good idea to wear rubber gloves while you’re scrubbing, to keep your hands from drying out if you’re using harsh products.

Clean the shower. Spray cleaning product on the shower walls, and the shower head and let it rest for a couple of minutes. Spray cleansers made especially for getting rid of soap scum work very well on tubs that haven’t been cleaned in a while.

For hard water areas that are prone to green and rust-colored stains, a cleanser made for eliminating calcium, lime and rust is probably what you need. Never use abrasive cleaners or green abrasive scrub pads or steel wool on porcelain fixtures, as they will quickly dull the finish. Soak the showerhead. If eventually the showerhead becomes quite clogged with hard water build up or soap scum, you can remove it and soak it overnight in a vinegar/water mixture, and then clean with a toothbrush.

Go back over the shower and scrub the walls, faucet and shower head, rinse well with the hottest water and or dry with a towel. You can shine the faucet with a paper towel or a towel. Don’t forget the shower curtain; it is also prone to mildew. A solution of about 2/3 water, 1/3 bleach in a spray bottle can be handy for getting rid of mildew spots. Or you can take it down and wash it in hot water with a small amount of soap and bleach.

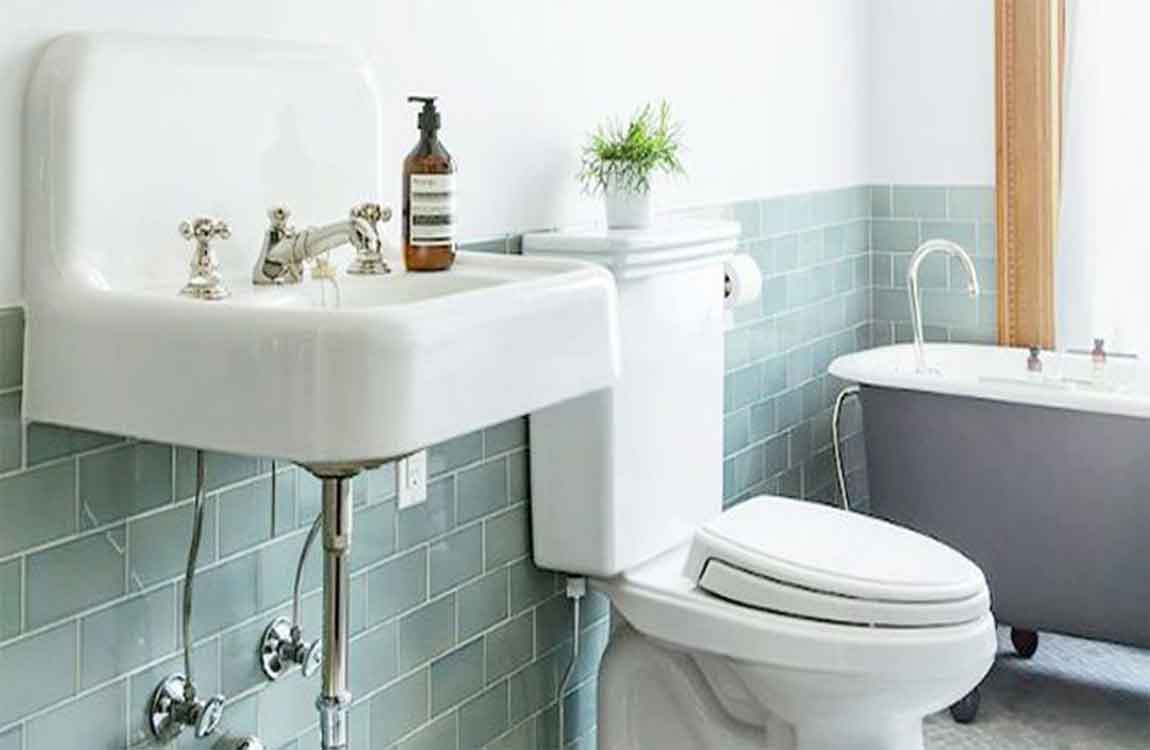
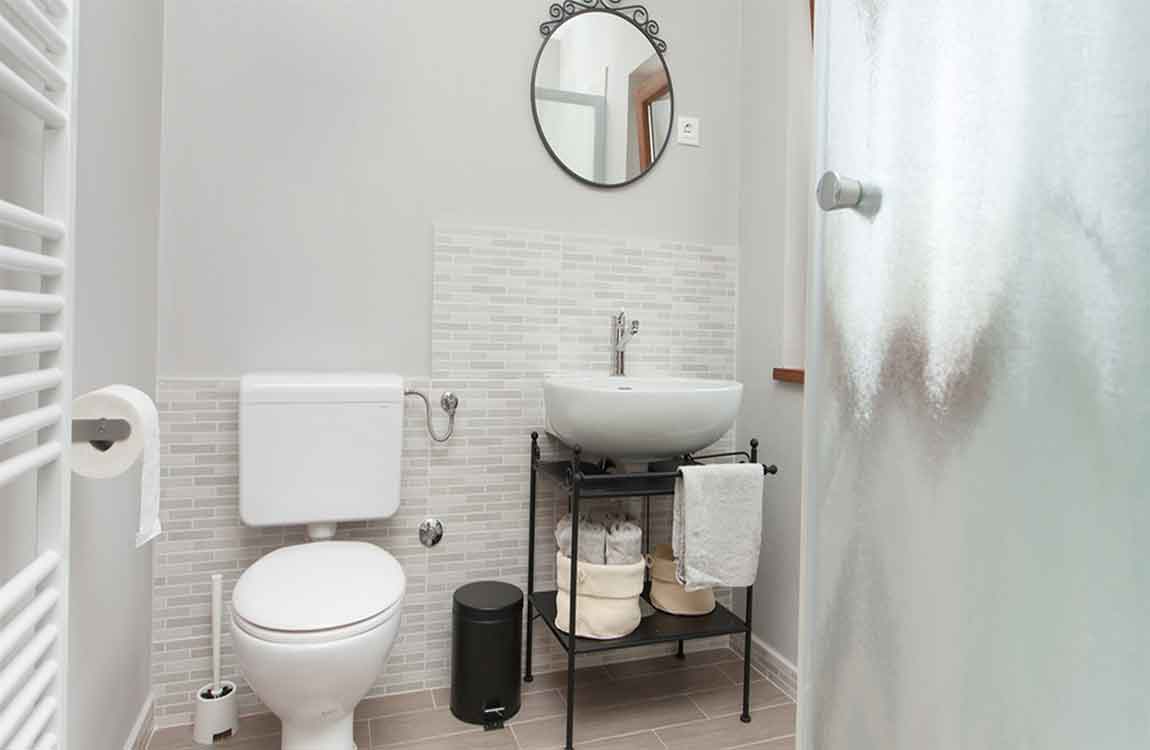
Clean the sink and counter area. Scrub all the soap scum and toothpaste off with a small amount of cleaner, rinsing your sponge thoroughly as you go along. Don’t forget to clean your trashcan, tissue holder and other items which regularly remain in your bathroom. An old toothbrush or cotton swabs can be handy for getting the junk out from between the tap and handles.

Be sure never to clean the sink and counter area with the same rag or paper towel you used to clean the toilet. This can spread leftover disease-causing germs to your sink and counter area. To prevent this you can use a specific rag which you use to clean only the toilet. Wipe off the fronts and tops of cabinets and drawers. You’ll probably want to use hot, soapy water for this purpose. If you’re worried about germs on these surfaces, add a bit of bleach to your soapy water.

How to Quick Cleaning a Toilet?

Grab your tools. If you’re repulsed by the thought of cleaning a toilet, you’ll want to have everything you need ready to go beforehand so the process is as quick as possible. Grab rubber gloves, which are essential, plus as many of the following things as you can find: a toilet brush, sanitary wipes, an old, out-of-use toothbrush, clean rags (or paper towels), and/or toilet cleaner.

Here’s a sanitation tip – keep a pair of rubber gloves solely for the purpose of cleaning the toilet. Buy them in a distinct color that’s different from every other pair of gloves you own. This way, you won’t accidentally use them for washing dishes, etc.

You may also want to have some all-purpose cleaner handy. You can find this at the grocery store, but, if you want to save cash, you can also make your own cleaning solution by adding 1 tbsp dish soap to 6 oz of water.

Scrub the bowl. You can clean the different parts of the toilet in any order you like, but, if you’re in a hurry, you may find that it’s smartest to start with the bowl. This way, if you splash any dirty water out of the bowl while you’re cleaning it, it won’t get parts of the toilet that you’ve already cleaned dirty.

Use a toilet brush to scrub away any stains or mineral deposits you see. You may need to apply some pressure to eliminate caked-on stains. For added cleaning power, drop a little toilet cleaner or all-purpose cleaner into the water, then dip the brush in it.

How To Refining Your Bathroom Decor?

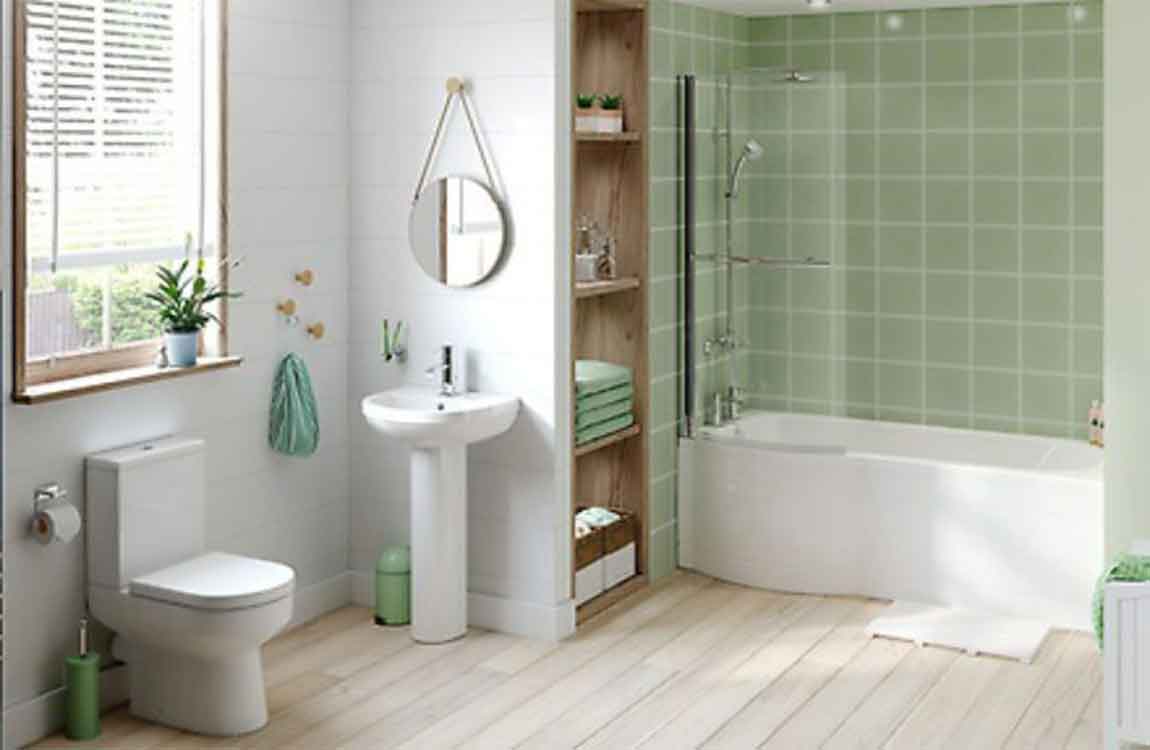
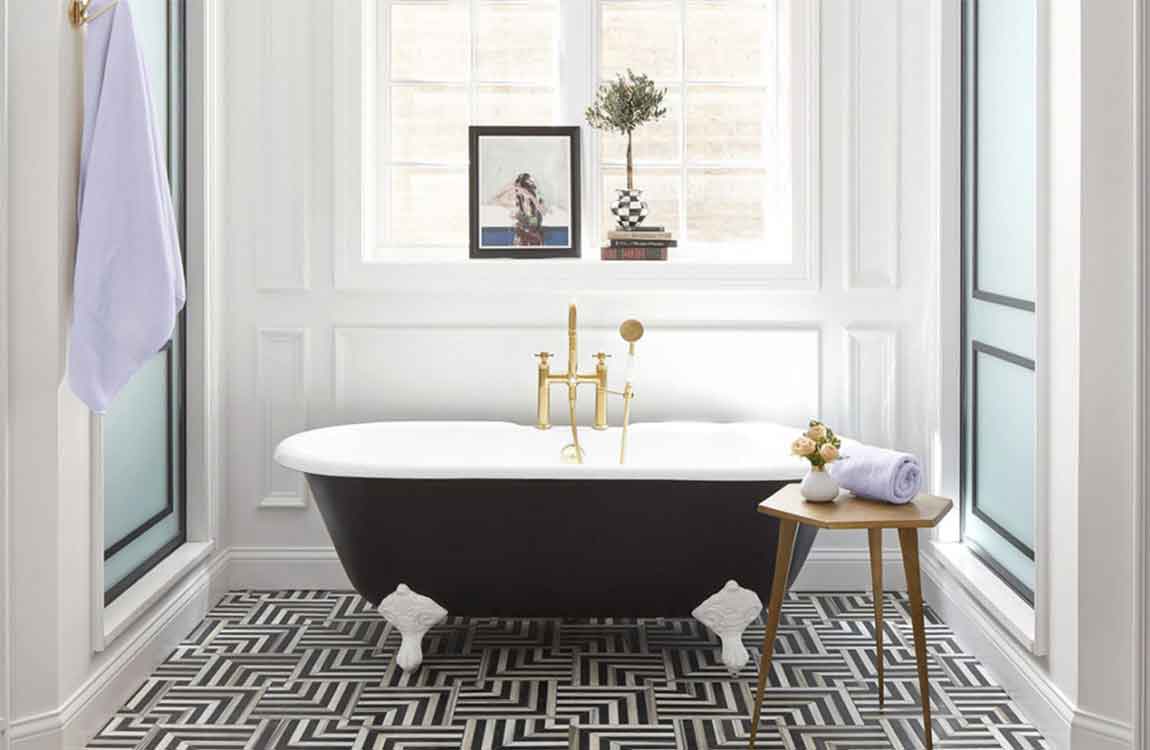
Get color coordinated. Even if you don’t lay down new tile or paint over your monochromatic walls, you can liven the place up a bit by simply introducing new color schemes. Keep things quaint and homey with bright pastels and elegant designs, or create an “executive suite” feel by doing your towels, mats, curtains and other accents in black and gold. Bath accessories come in a huge range of colors and patterns, so don’t be afraid to get creative when it comes to mixing and matching.

Buy multiple sets of towels and other items and swap them out periodically to keep things looking and feeling fresh. Different bath accessories can be used to alternately complement or provide a pleasant contrast to the color and lighting of the bathroom.

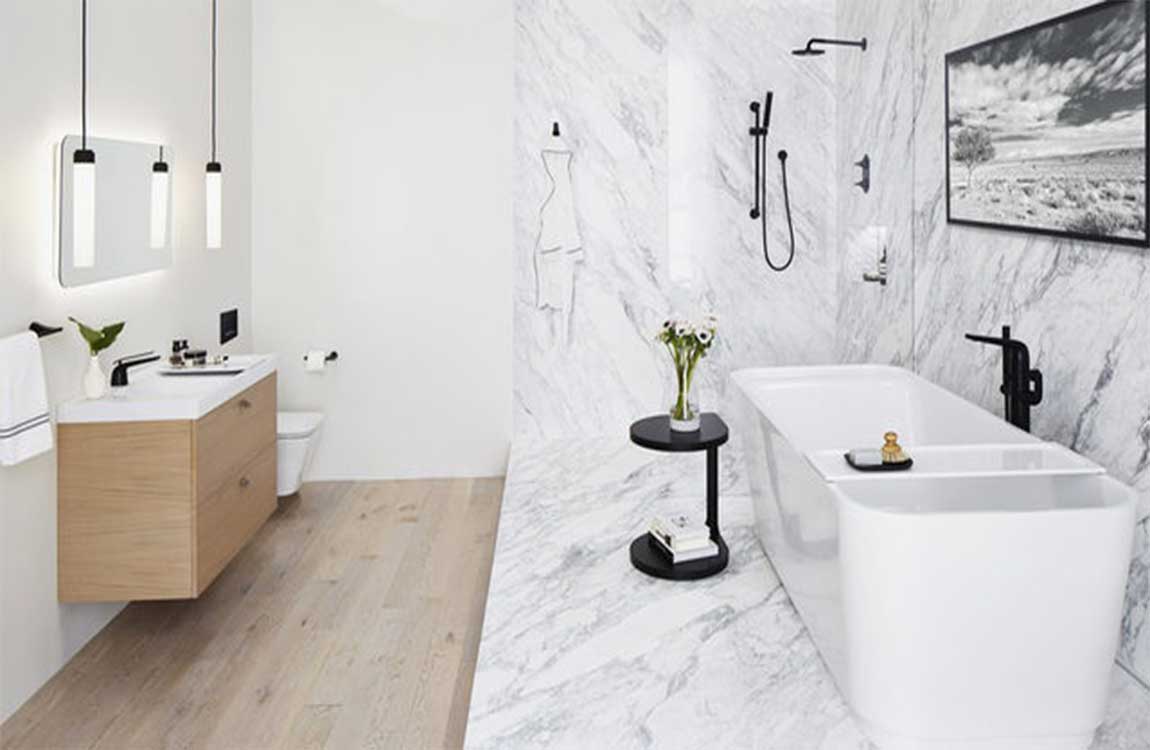
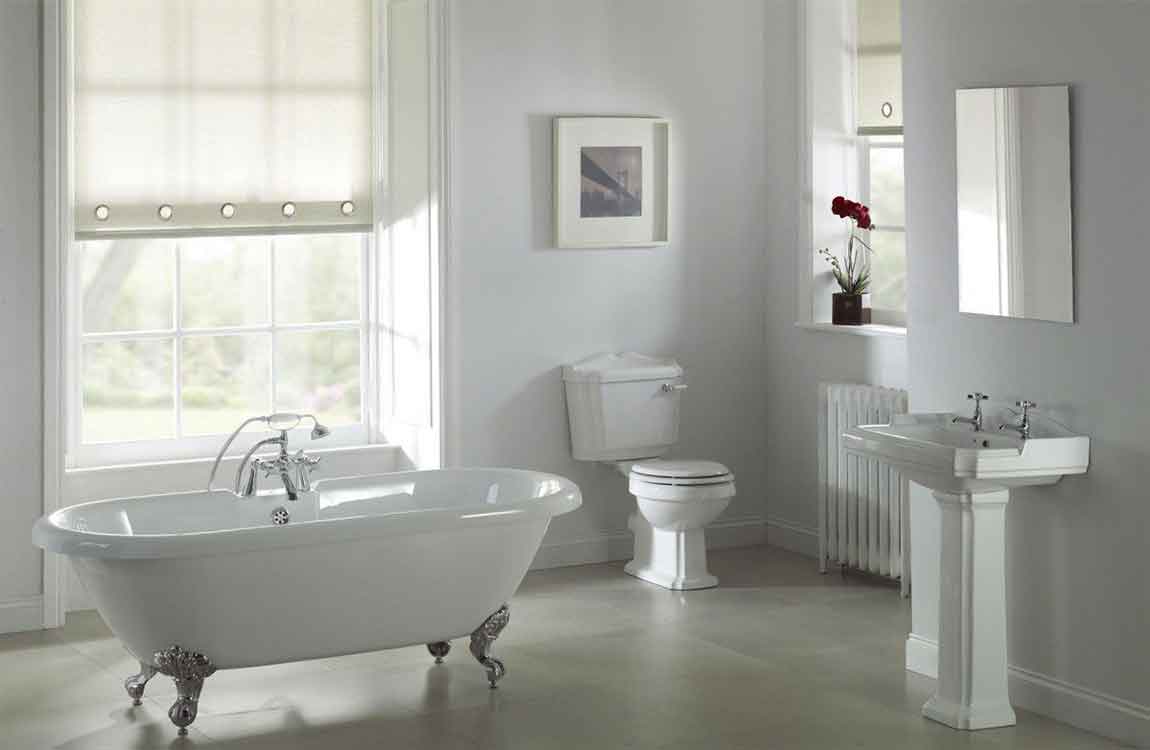
Include some artwork. It may be that your bathroom is just missing something. A few pieces of well-displayed artwork can really help tie together the furnishings of the room and make it feel more full. Keep an eye out for tasteful photographs, traditional paintings or zany modern works that you think might make your washroom more visually interesting. A single captivating piece can be the difference between empty and engaging.

When shopping around for bathroom art, consider your own personality and go with something that reflects your own style and interests. Remember that moisture builds up in bathrooms, so choose framed pieces and be sure to hang your expensive artwork elsewhere.

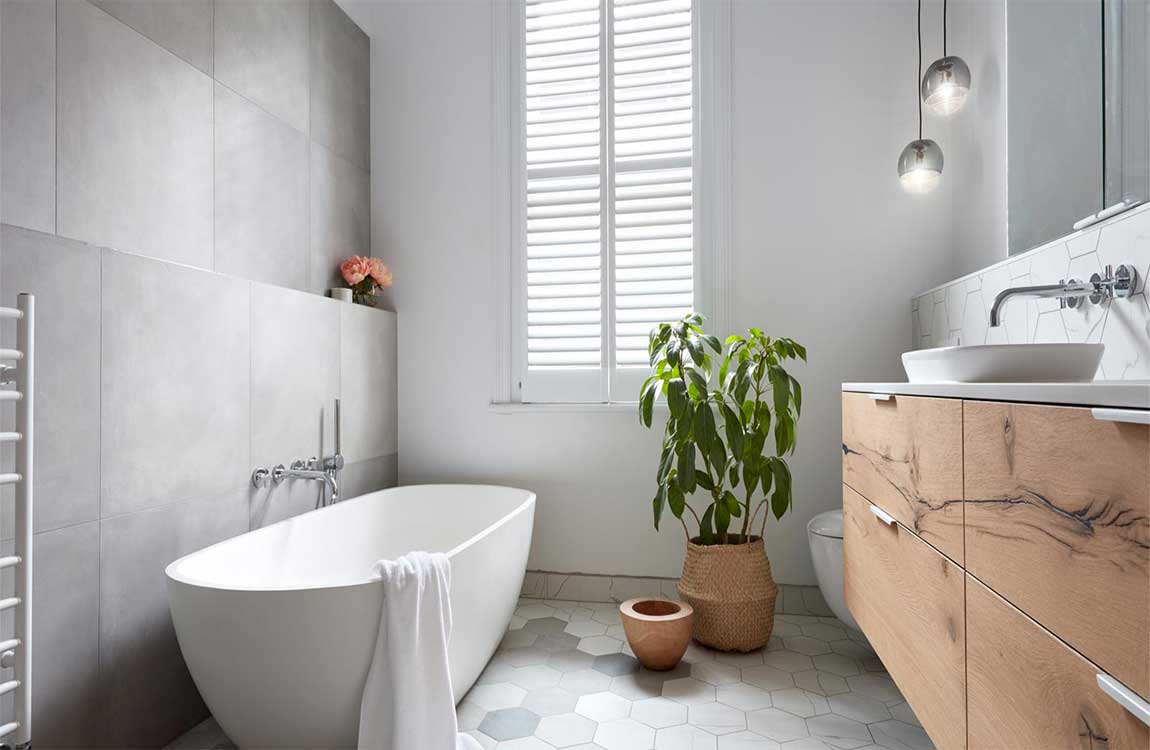
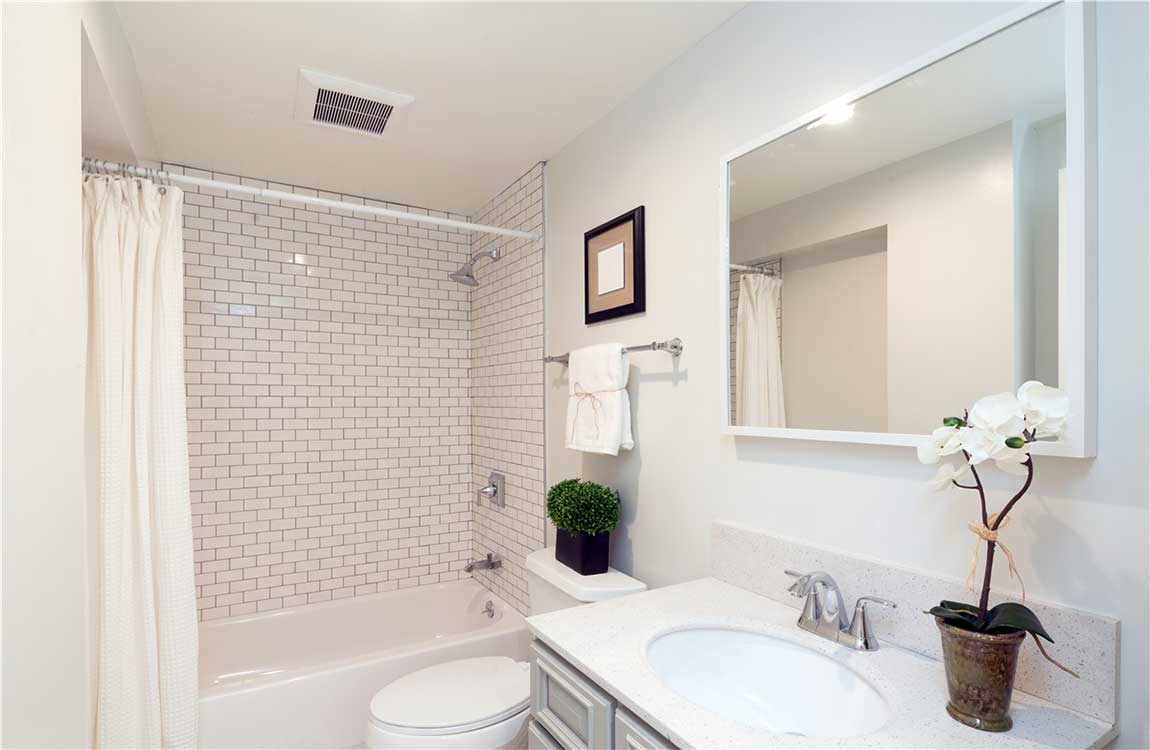
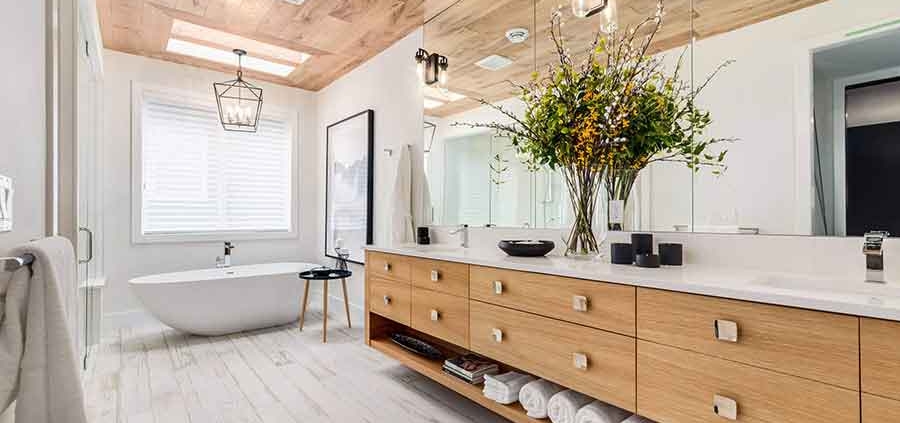
Add a little flora. Flowers aren’t just for your kitchen table. Try placing an arrangement of chrysanthemums on the counter alongside your sink, or work a fern or a few stalks of bamboo into a vacant corner or a nook opposite the shower. The natural appeal of plants can pleasantly offset a bathroom full of hard, flat materials like porcelain, tile and metal.

Orchids make great flowers to keep in your bathroom because they develop beautiful, vibrant coloring and tolerate heat and moisture well. Bamboo is another great option as it is easy to maintain and doesn’t require much light. The vibrant green adds a pop of color and a spa-like feel.

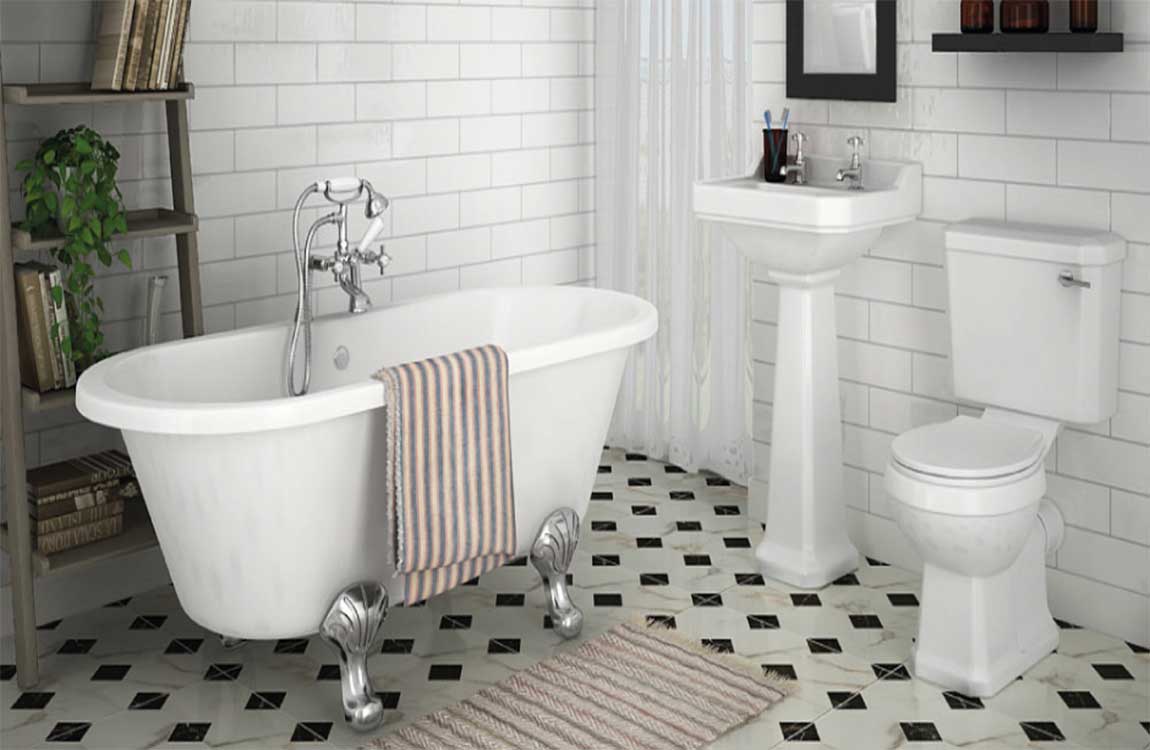
Give the room a theme. Devise a theme for you bathroom and hand pick your decorations accordingly. Why settle for a plain white-on-white when you could perform your daily hygiene in a hunter’s lodge or Victorian garden aesthetic? By choosing complimentary fixtures, accessories and ornamentations, you can distinguish your bathroom and give it even more personality than other rooms in the house.

For example, you could deck out a half bath with a beach or nautical theme, complete with seafoam and coral tones, jars of sand and seashells and a framed watercolor painting of a schooner. You might also do a bathroom in a “farmhouse” style, with unfinished wood racks and cabinets and a repurposed old-fashioned toolbox to hold your soaps and shampoos. If you have multiple bathrooms in your home, decorate them all in different visual themes.