Posts

How Finishing up Tile a Shower?

Grout the tile. Mix up a batch of grout and let it rest for 5 to 7 minutes. Lightly wet the area you’ll be grouting with a damp sponge and dump a bit of grout onto the area. Use a rubber float to smooth it into the joints, attacking each joint at a diagonal angle. After 30-40 minutes (check the directions on the bag of grout) you want to wipe the excess grout with a damp sponge and a circular motion.


Keep wiping with a clean sponge until the tile is clear. The tiles may look a bit hazy even after wiping, so you may have to buff them with a clean sponge to get rid of this haze. Let the grout cure for approximately 3 days before sealing. Then, seal the grout. Run a thin bead of liquid grout or aerosol grout sealer onto the grout line and wipe away.


Let dry and then test its water resistance by dropping water onto the sealed grout. Correctly sealed grout will cause the water to bead up on top of it. Caulk any needed areas. Make sure to use a grout caulk to match the colors. As you caulk, remember to pull the caulk gun relatively quickly across the joint.


Most amateurs caulk too slow and end up dropping too much caulk down on the joint. Other things to remember: Keep the tip angled as you run the bead along the joint. Match the speed with which you pull the caulk gun trigger with the rate at which you pull the gun along the joint. You don’t want to be pulling the gun fast but triggering slowly, or vice versa.


After applying the bead of caulk, “bed” it by running a damp finger across the bead with light pressure. Make sure that your grout chalk matches the grout. Let the caulk dry and redo it if you are not happy with the results. Let the tile set for 48 hours. This will make sure that the mortar has adhered properly to both the tile backing and the cement board backer.

How to Fix a Bathroom Faucet?

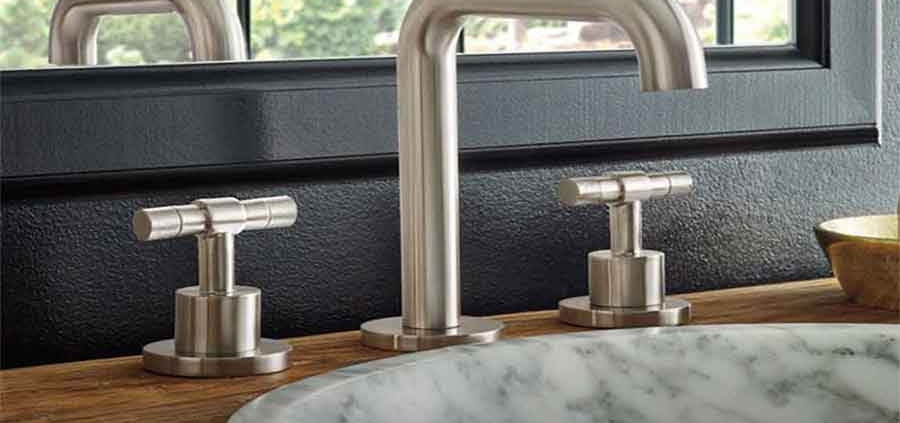
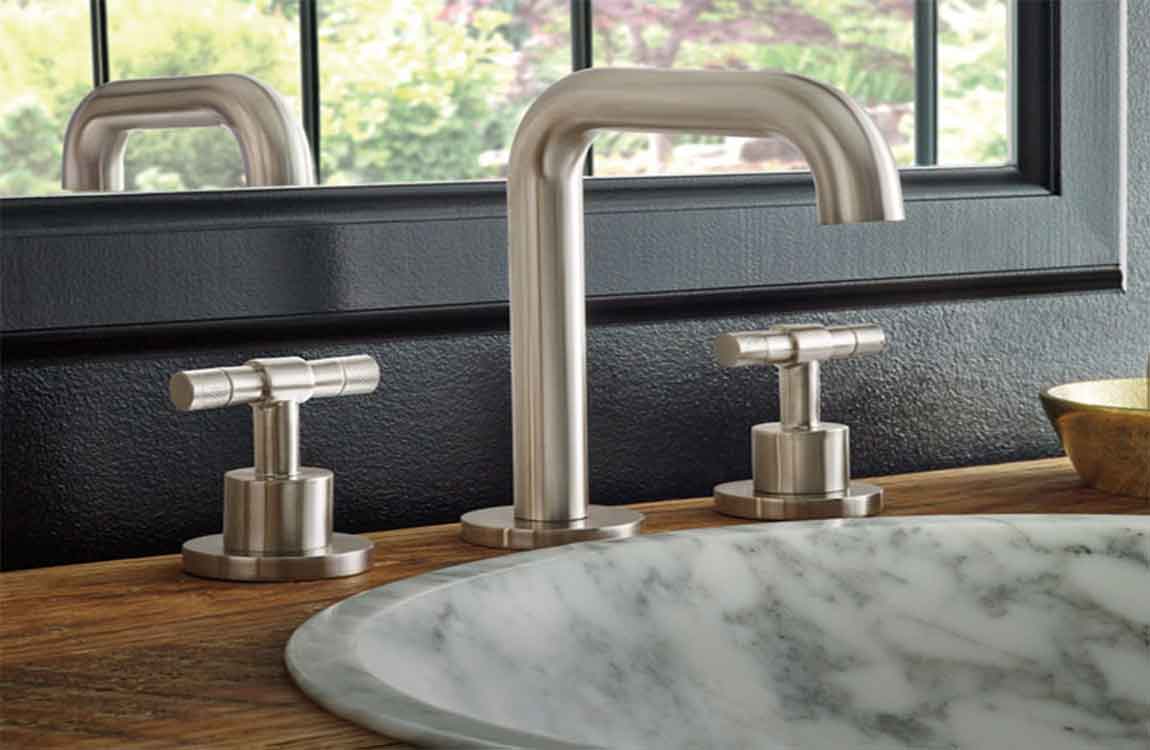
Most of the time, a problem with a bathroom faucet involves a leak. Usually, faucet leaks are caused by worn washers or seats in the faucet assembly and these are easily replaced. There are several types of faucets, some that no longer use washers to create a seal in the assembly. Make sure that you recognize the type of  faucet that you have before attempting to fix a leak because different assembly parts and tools might be needed. In some cases, you might need to purchase a faucet repair kit that contains special tools for fixing specific faucets. In any case, fixing a bathroom faucet can be done in a matter of minutes with just a few replacement parts.

Locate the water valves under the sink and switch them off. Cover the sink drain to prevent parts from getting lost. Pry off the cap from the sink handle. Remove the screw that holds the handle on. Remove the faucet handle. Unscrew the nut. Unscrew the stem. Coat the new washer with plumber’s grease. Replace the seat washer. Remove the stem from the packing nut. Coat a new O-ring with plumber’s grease. Replace the O-ring. Reassemble the faucet.

Ball-Type Faucet. Purchase a faucet repair kit for this type of faucet. Remove the handle by unscrewing the set screw and lifting the handle. Remove the cap. Remove the collar. Loosen the cam and lift it out. Remove the seals and springs from inside the faucet with a needle-nose pliers. Remove the old O-rings. Roll on the new, greased O-rings. Install new springs. Install new valve seats and washers. Reassemble the faucet.

Cartridge Faucet. Remove cap. Remove the screw on the handle. Remove the handle by tilting it toward the back of the sink. Remove the retaining clip (if present) with a needle-nose pliers. Pull cartridge up and out. Cut off the O-rings with a utility knife. Install new, greased O-rings. Reassemble the faucet.

Ceramic-Disk Faucet. Locate the handle set screw and remove. Lift the handle off. Remove the cap. Remove the cylinder mounting screws. Lift the cylinder out. Remove the seals from the cylinder. Clean the cylinder openings with vinegar and rinse. Replace the seals. Reassemble the faucet. Place the handle to “on” and turn on the water very slowly so as to not damage the ceramic disk.