Posts

How Creating Holders?


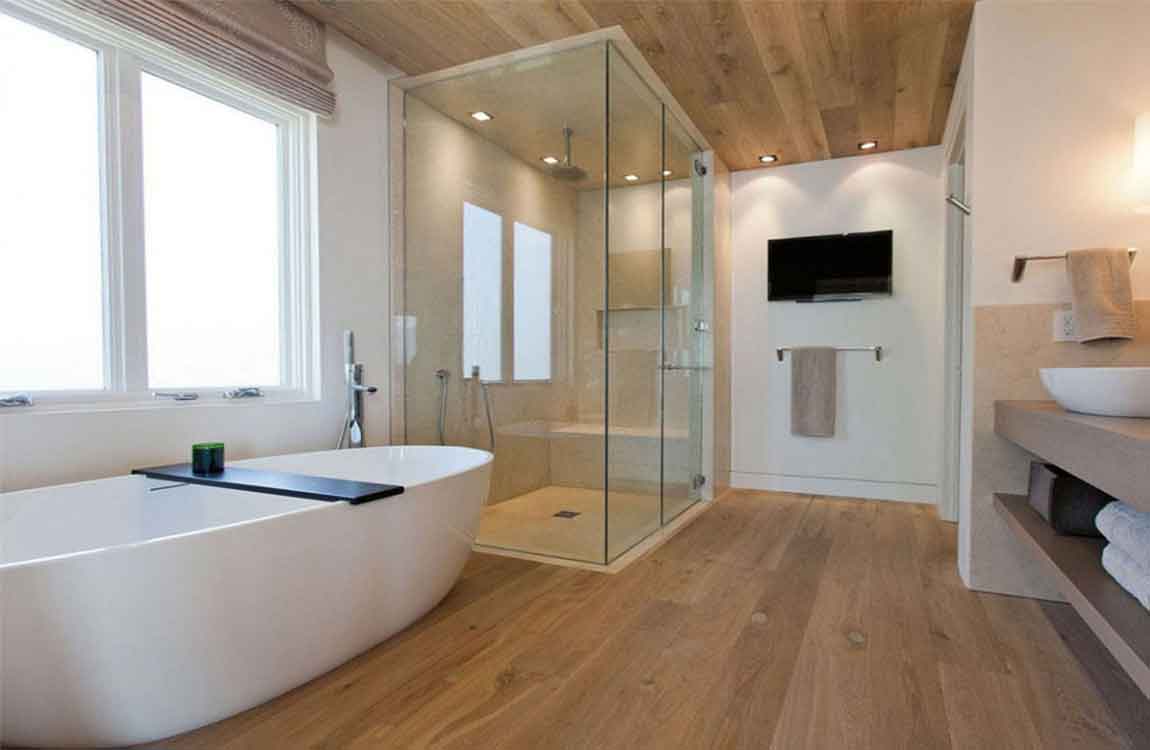
Decide which objects need them. If you’ve decided on creating holders in a second piece of wood, consider what you intend to bring into the tub with you. Out of those, decide which would be most disastrous if they were to fall into the water (or even out of the tub entirely). These could be: Paper materials, like books or magazines. Glass objects, like a mug or wine glass. Open flames, like candles.


Map out their placement. Depending on what you’re creating holders for, think about where on your tray is best to place each object. Consider what else you will be holding on your tray and how often you will be reaching for each item. Also consider which of your hands is dominant and most likely to do all the reaching.


Placing a holder for a candle toward the back of the tray is always a good idea. This way you won’t be reaching over an open flame for anything else. If you’re right-handed, placing a cup holder on the right side and a candle holder on the left is advisable since you will be reaching for your cup more frequently than the candle, and vice versa if you’re left-handed.


Also keep in mind that your hands and arms will probably become wet at some point. So if you’re creating a holder to place a book after reading, set this toward the rear or to the side of your cup holder so you don’t drip water over it when you take your next drink. A hole 3⁄4 inch (19 mm) deep with a slot 1⁄2 inch (13 mm) thick can hold most wine glasses so they don’t spill.


Mark and cut your top board. First, designate 1 piece of wood to be the base of the tray and set it aside for now. Use the other piece as your topper. Now, for each object that will receive a holder, measure its bottom. Use these measurements to trace an outline on your topper to then cut out with a saw.

Give Your Bathroom with A Designing Permanent Bathroom Fixtures

Make a DIY shell mirror. Many people collect shells from their travels, but don’t know how to incorporate them into their decor. An excellent way to do this is by framing a mirror with shells. Purchase a mirror with a wooden frame. Then, using super glue, attach a variety of shells to the frame. Cover the entire frame with shells. Mix and match a variety of different types of shells to provide more texture and colour. You can also use shells that you have purchased from a store.

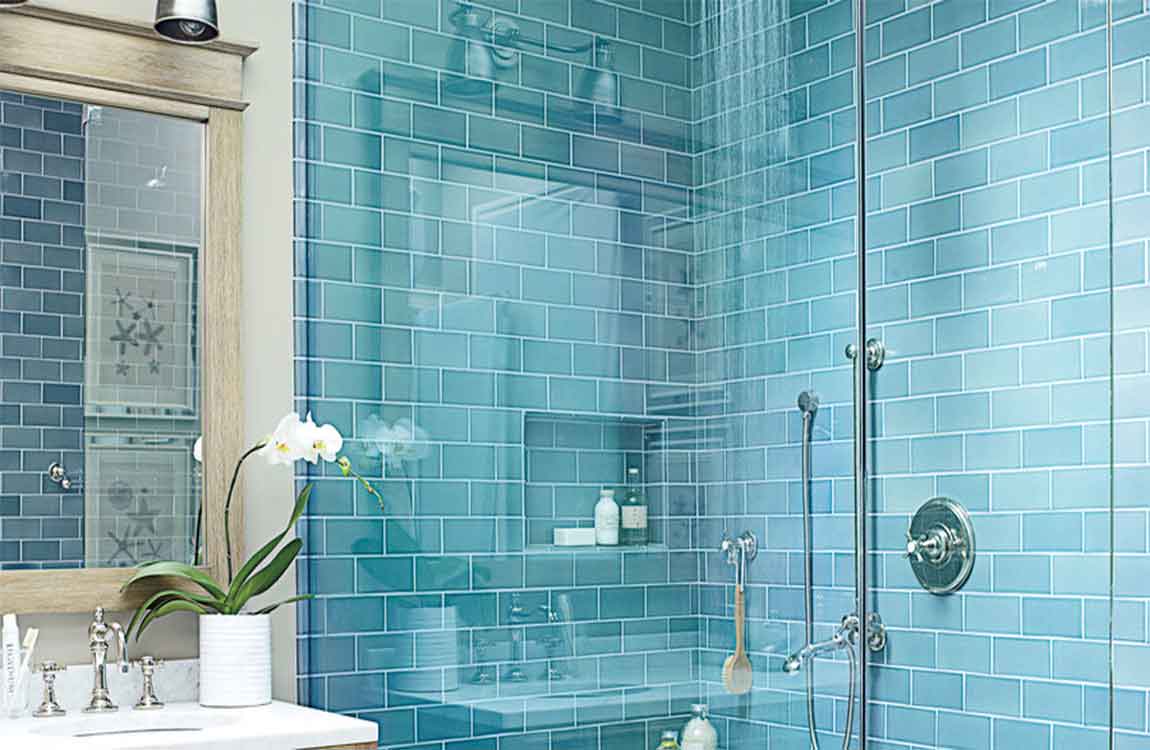
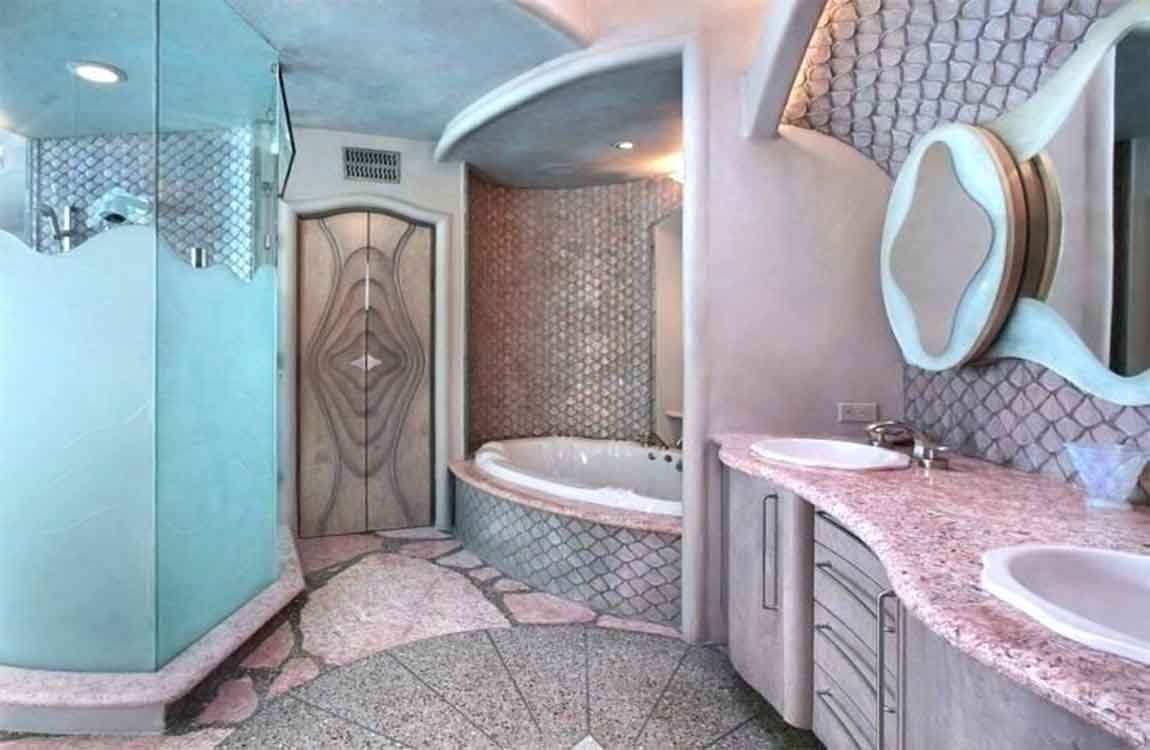
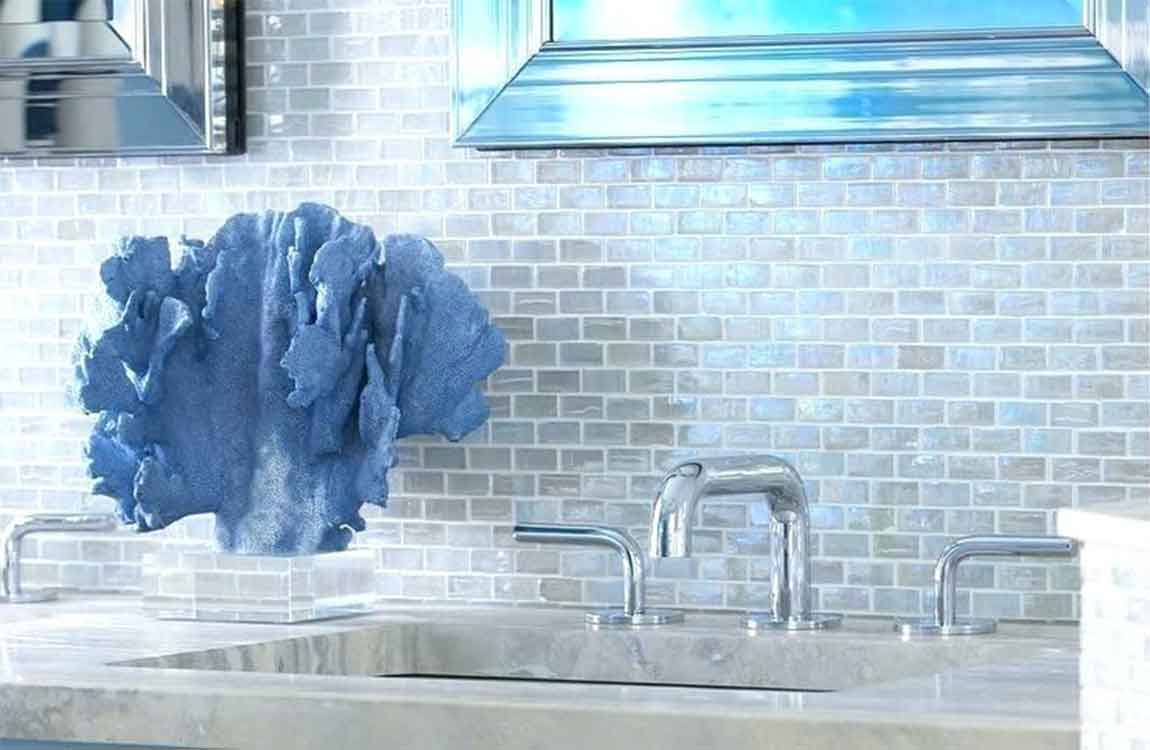
Use tiles to create an aquatic shower. Design an aquatic shower by using blue tiles. This will give the appearance of showering in the ocean. For example, you could use marble with a blue hue to give an underwater feel. Alternatively, you could use blue and green subway tiles or mosaic tiles to create an ocean feel. You may want to avoid using themed tiles or tiles with pictures on them. These are expensive to change out once you get sick of them or they become dated.

Install a boat tub. It is also possible to design a bathtub that looks like a wooden boat. This is a great beach themed embellishment that will give your bathroom design a unique, yet sophisticated look. You may need to work with a designer to create a custom boat tub.

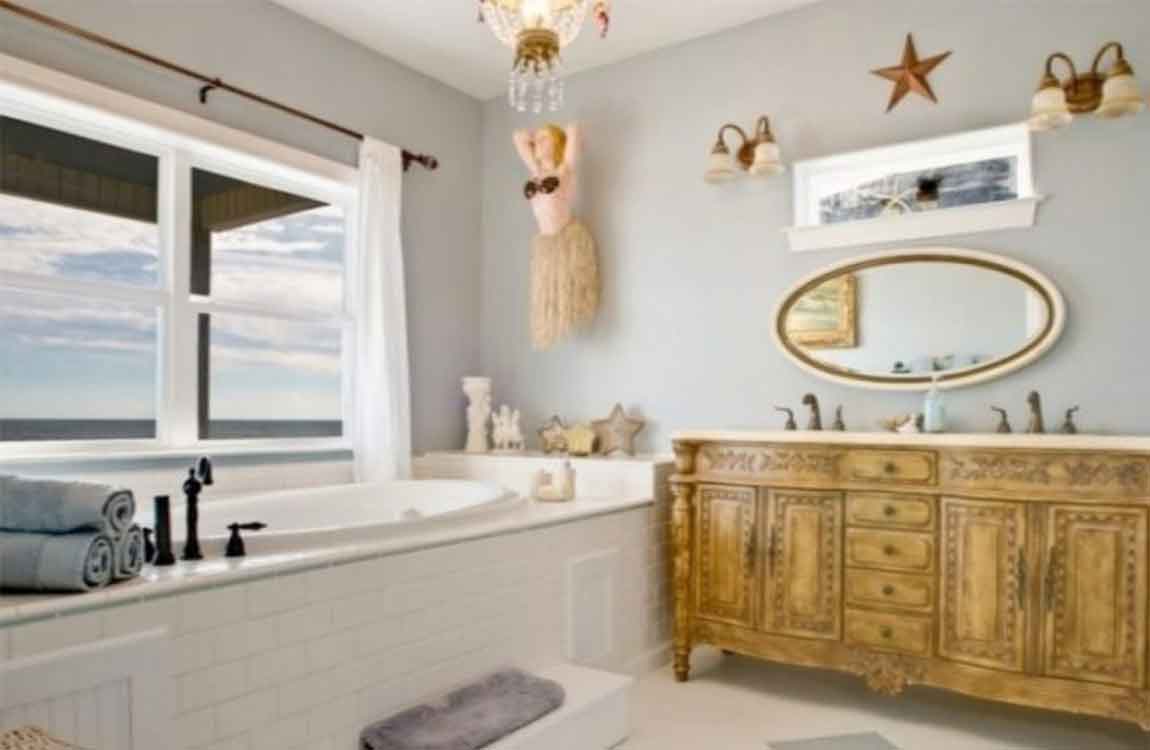
Consider a shell-shaped sink. You can accentuate the beach theme of the bathroom by installing a shell-shaped sink. Purchase a vessel style sink that sits on the countertop. You can find vessel sinks that are designed to look like a seashell. Search for a shell-shaped sink at your local home improvement store. Provide natural light. One of the reasons people love the beach is because of the warm sunshine. Take that into consideration when designing a beach themed bathroom. Provide natural lighting with windows. You can cover them with shutters to allow for privacy.

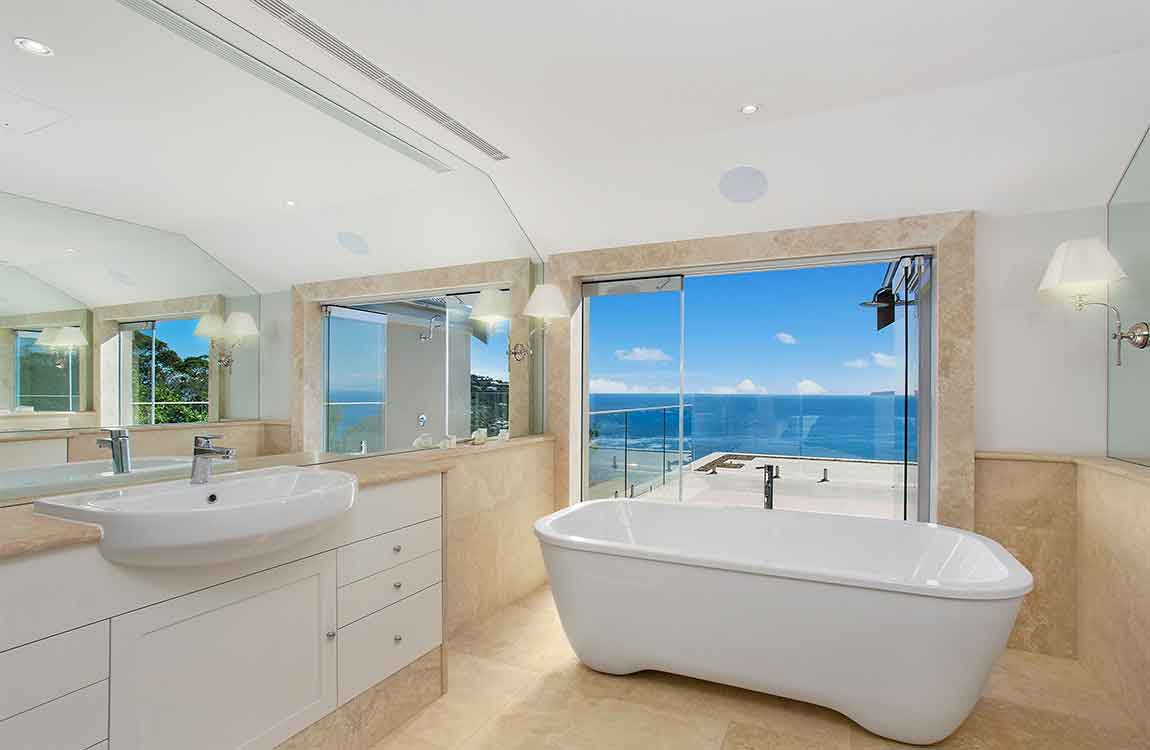
If your bathroom faces the ocean, incorporate large windows so that you can easily see and hear the beach. If you don’t have a lot of natural light in your bathroom, add string lights or pendant lights over your sink to create a bright glow.