Stir your ceramictile adhesive. Tile adhesive and caulk are available at home improvement stores. Apply the adhesive to your countertop surface with a trowel. Spread it evenly before placing your tile on the surface.
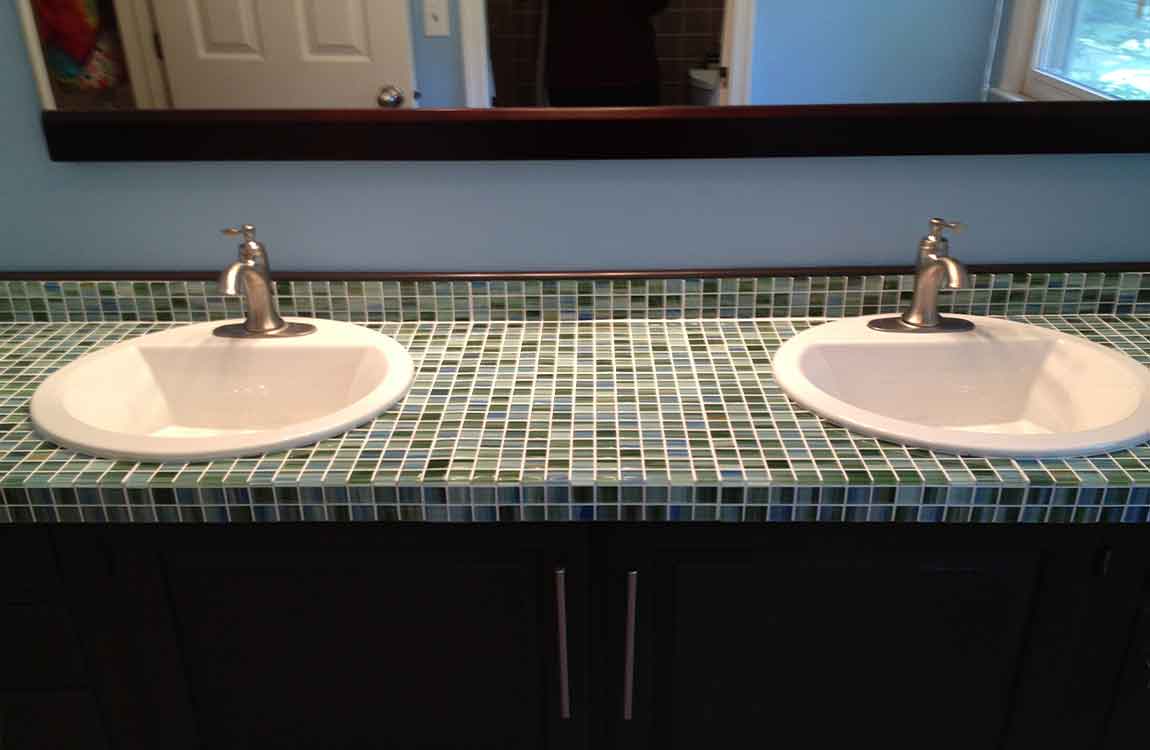
Place your tiles onto the adhesive 1 by 1, according to your design. Place them approximately 1/2 inch (1.3 cm) apart from the next tile, to create the mosaic look. Make sure not to press them too deep into the adhesive, as the top should remain clean, with room for grout on the sides.
Continue adding tiles to your mosaic until all of the pieces are placed on the countertop. Allow the tiles to dry for 24 hours, or as long as the adhesive directions indicate. Mix your sanded grout according to package directions, or buy a pre-mixed grout.
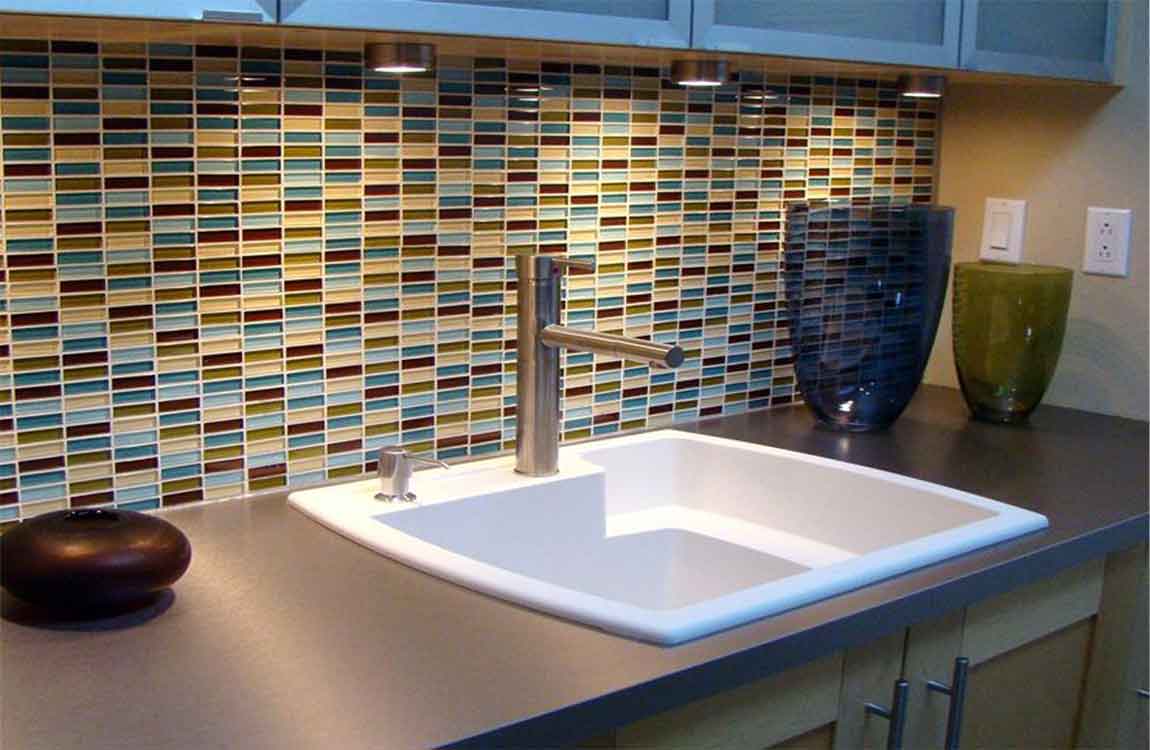
Apply the sanded grout with a sponge squeegee. Do small areas of the countertop 1 at a time, so that you can be sure you have filled the spaces completely with grout. Move the squeegee diagonally across the surface before moving vertically or horizontally.
Mix a weak solution of white vinegar and warm water to clean your tiles while the grout is still wet. Dip a sponge into the solution and wring out the excess liquid. Wipe your tiles until they appear clean.
Leave your grout to dry according to package instructions. Apply 1 to 2 coats of water-resistant sealer to your bathroom countertop with a paint brush or sponge. This will help to avoid mold growth and make the counter easier to clean. Allow the sealer to dry well between coats.
You’ve decided to renovate your bathroom. The next step is to plan, plan, plan! The better your planning, the better your result. Don’t rush through this part of the process. You can’t plan for everything, but you can prepare in ways that’ll help you deal with whatever might come up. Determine your budget. What are you able or willing to spend on your renovation? Write it down and stick to it. There are so many options out there that it’s easy to get carried away once the project is in progress.
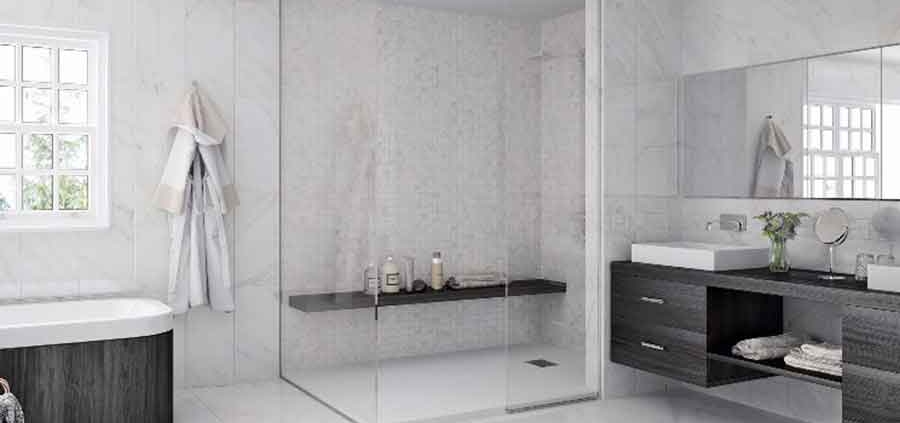
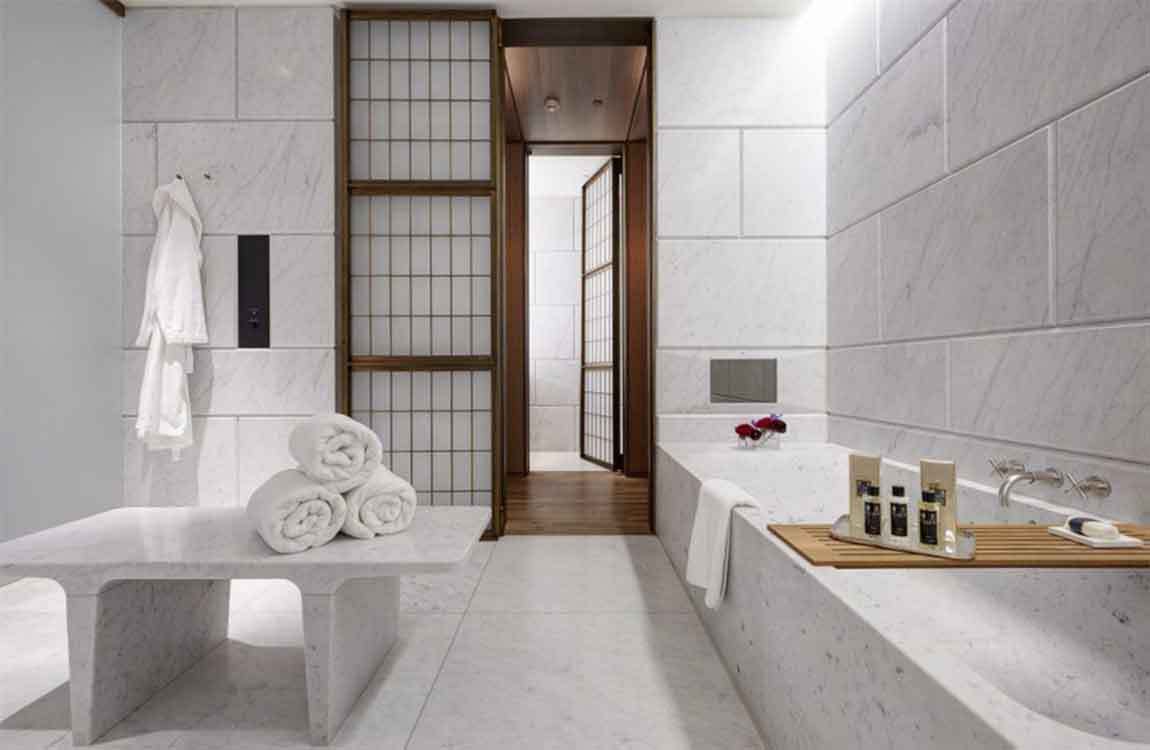
Get inspired. Start a board on Pinterest of all the bathroom designs and features that you like. Collect inspiration for your vanity, fixtures, flooring, lighting and colours. Once you have collected a number of images you’ll usually start to see a trend emerge. Weed out all the images that don’t fit with this trend, or your needs, and you’ll have a good starting point for the look and feel of your new bathroom.This step will also get you well acquainted with all of the amazing fixture options out there.
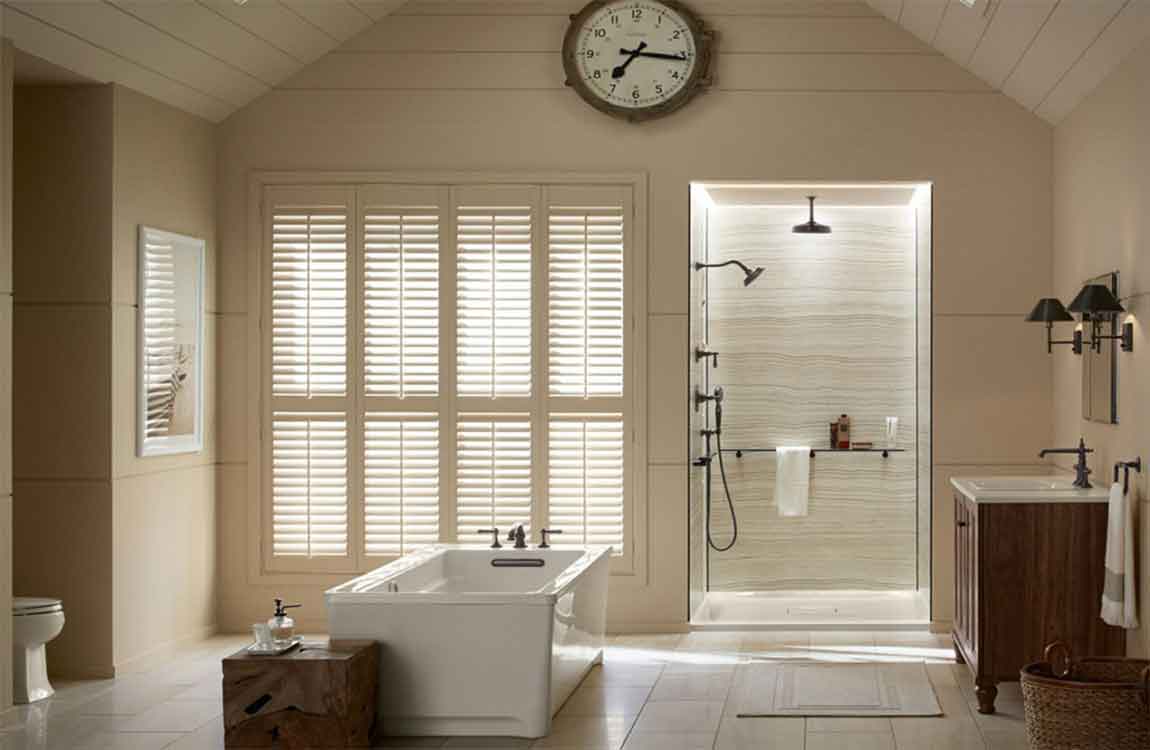
Measure. Plot out your space on graph paper and cut out a toilet, vanity, tub, etc. to move around till you have a layout you’re happy with. There are plenty of online resources for bathroom layouts. Here are some space requirements that you’ll want to keep in mind: leave 30″ of clear space in front of any fixture. 18” from center line of. Toilet to wall/other fixture. Recommended minimum of 36 x 36 interior for shower. A separate toilet compartment should be a minimum of 36 x 66 with a swing out or pocket door.
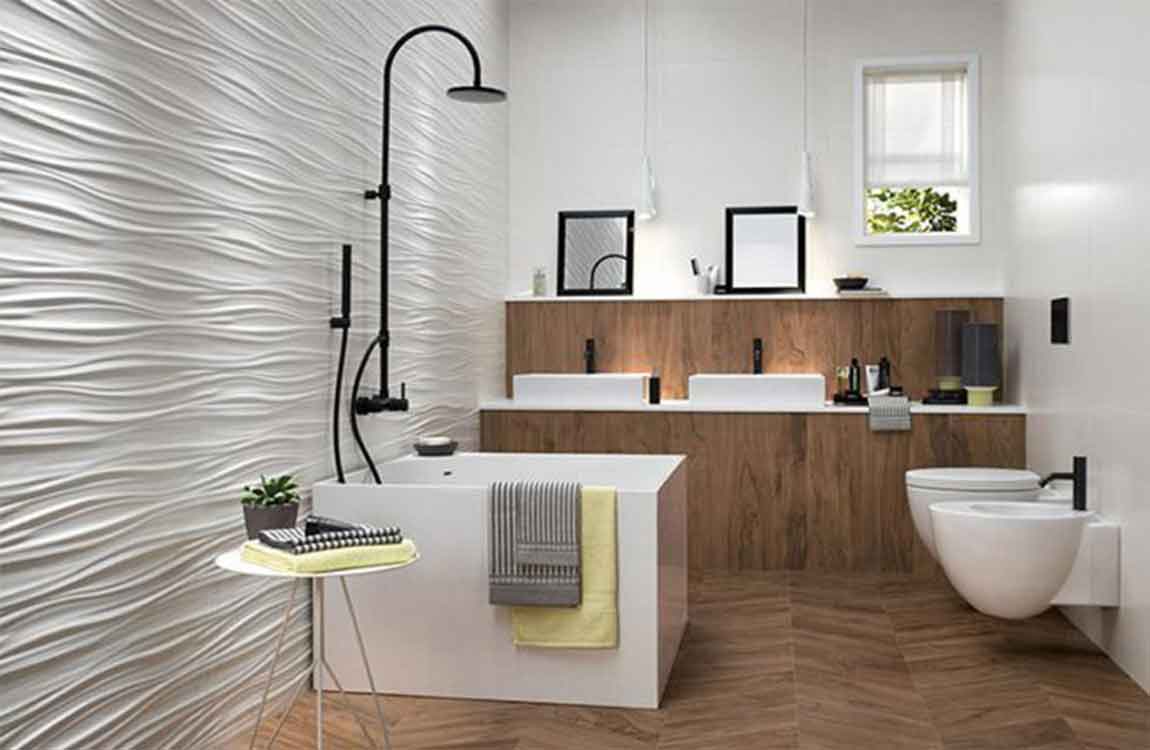
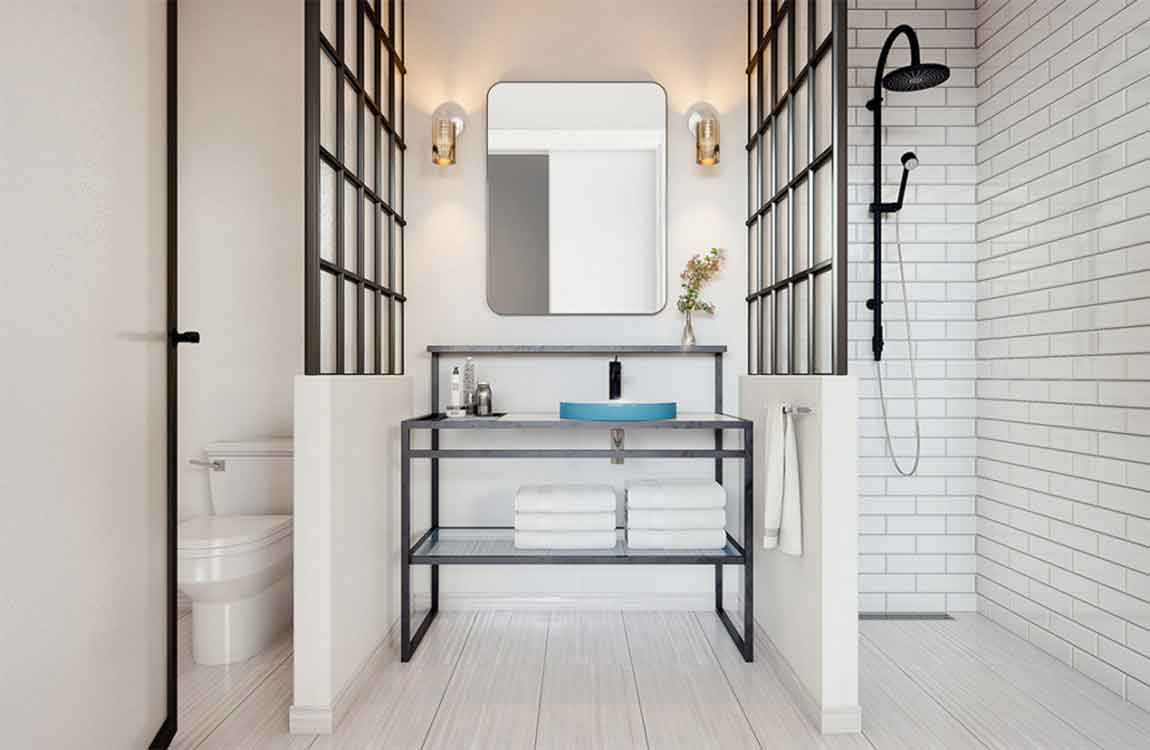
Start sourcing your fixtures. Now that you have a budget and floor plan to work within you should have a good idea of what you require. Make a list of all the items needed and start sourcing your fixtures based on your budget and style board on Pinterest. If you’re doing your research online make sure to pin any items you’re interested in to your Pinterest board. If you’re visiting a shower room or big box store take pictures and note the size and price for reference later on.Things you’ll need: toilet, vanity or pedestal, tub, tub/shower, shower base + glass, or shower unit, shower valve and trim, faucets, tiles, grout, mirror, lighting, bathroom accessories (toiletpaper holder, towel ring or bars, robe hooks).
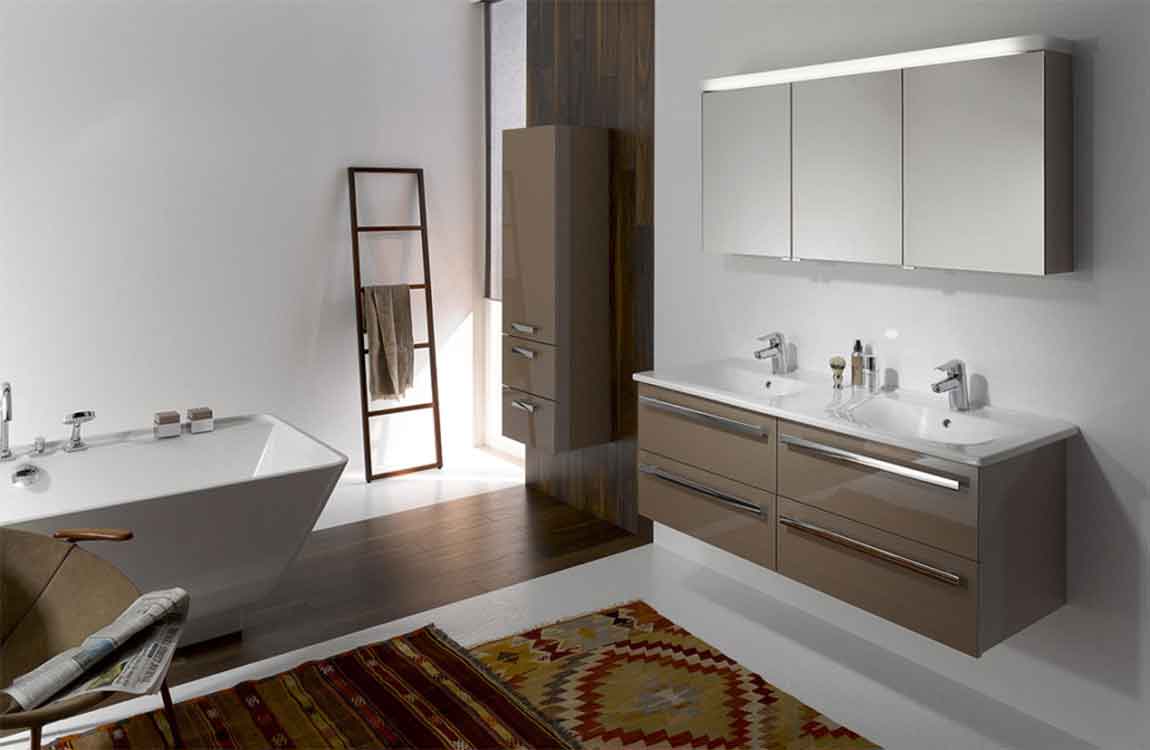
Start talking to contractors/plumbers if you aren’t going to DIY. You now have a pretty good idea of the scope of your project and this will make it easier for your contractor or plumber to price the job for you. Show them your plan and fixture ideas so that if there is anything problematic they can bring it to your attention now and you can address it before the renovation begins.
Once you’ve decided on your contractor/plumber and have a date set for the project to begin, start purchasing your fixtures and finishes. Most items, unless they are in stock, will take between 2 to 4 weeks to arrive. You don’t want anything to hold up your project once you begin and by having all the pieces readily available you will limit the amount of time your house is turned into a construction zone.
If this is your only bathroom in the house, try to have a plan in place for dealing with the inconveniences. Do you need to rent a port-a-potty for the backyard for a few days or can you use your neighbour’s or families facilities? Know that there are usually hidden problems that crop up when renovating and you could be without a bathroom for a few days longer then expected.
https://baranasanitary.com/wp-content/uploads/2018/09/How-to-Plan-a-Bathroom-Renovation-900600.jpg600900adminhttps://baranasanitary.com/wp-content/uploads/2017/01/logo-3.pngadmin2018-09-10 06:17:382019-08-21 06:58:08How to Plan a Bathroom Renovation?