Posts

How to Design Your Bathroom Look Larger?

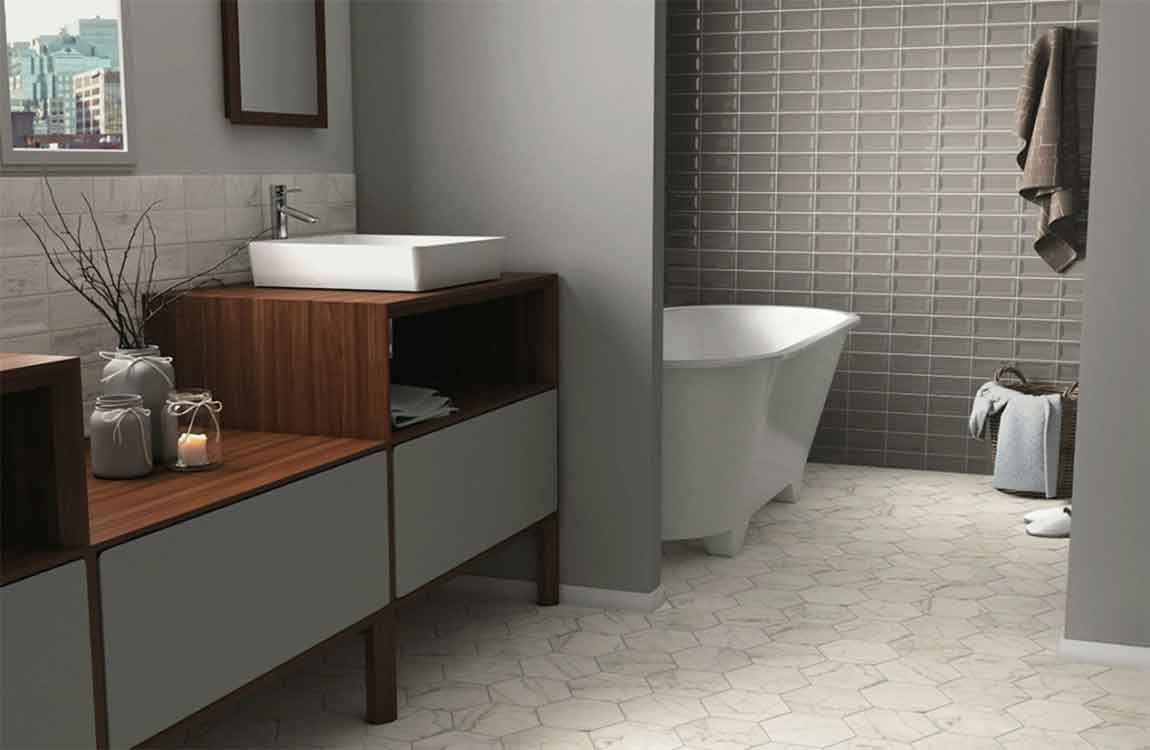
Items that are infrequently used should be stored out of sight. This doesn’t mean you have to hide everything out of sight, though. There are plenty of attractive smaller storage options that allow you to put your items in place and on display at the same time. Tall and thin cabinets always come in handy when space is at a premium.

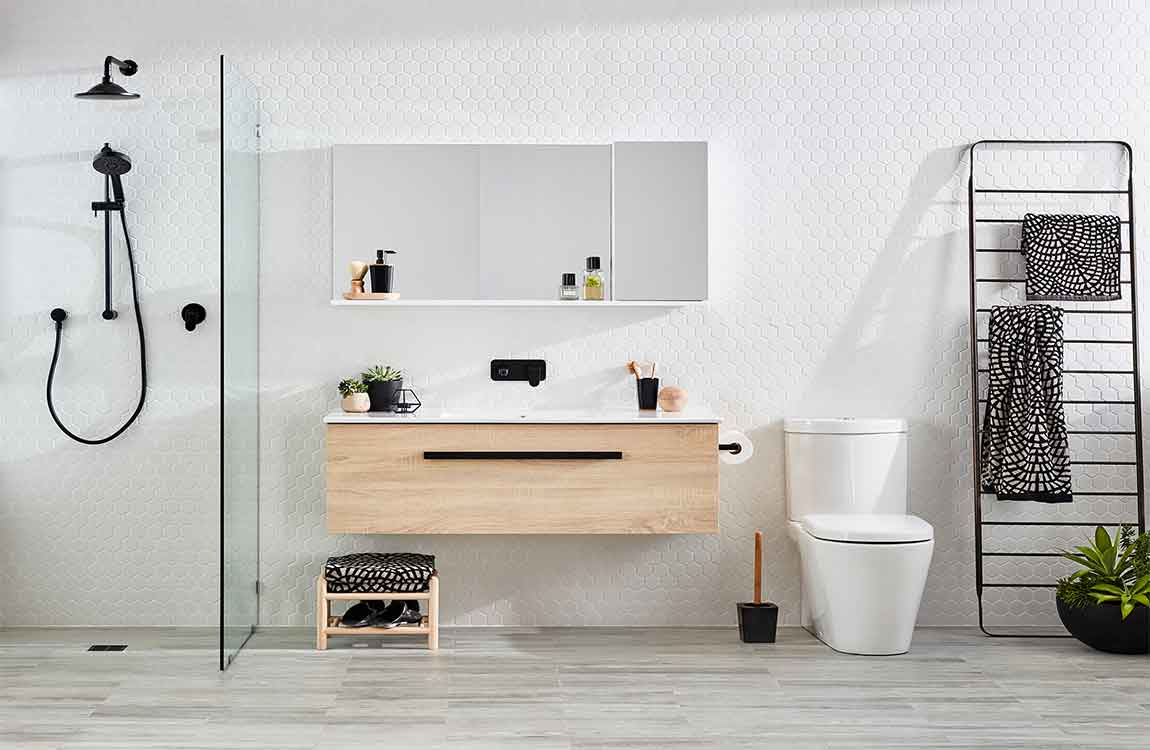
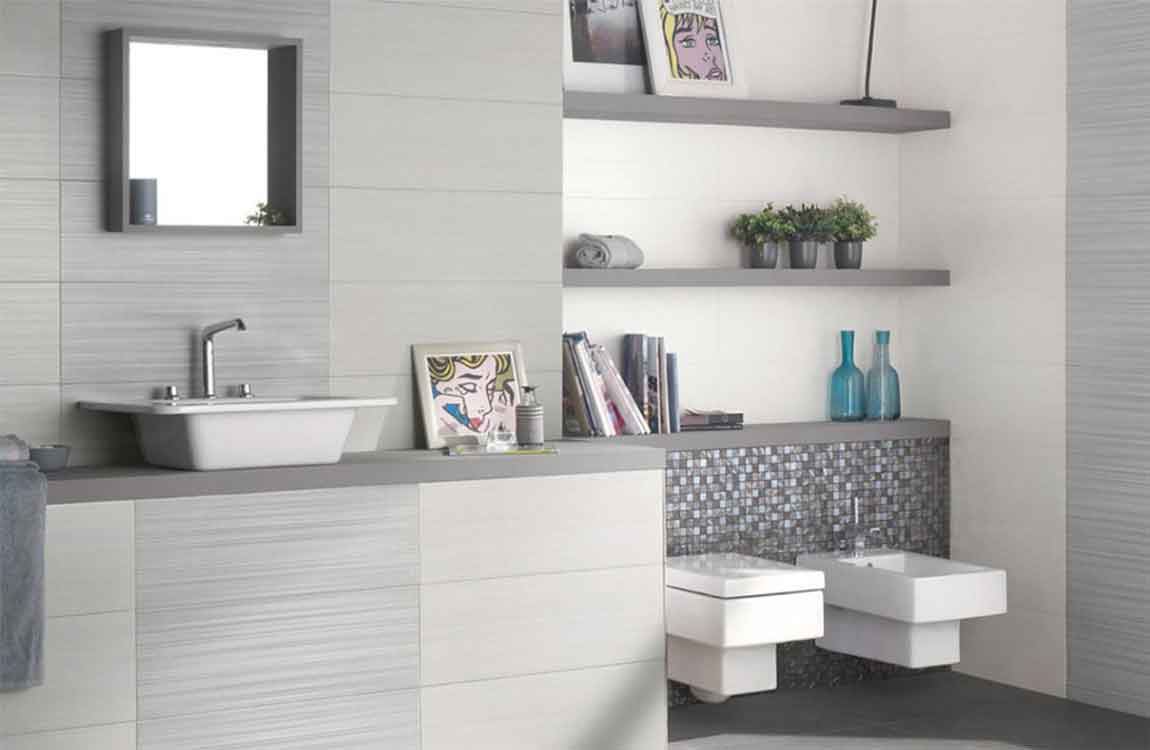
Vertical displays also create an illusion of greater space in height. Narrow shelving over the toilet will not impinge upon floor space. Fold towels in thirds to stack neatly on the shelves. Store cosmetics in a basket on the shelf. Include a toothbrush case, toothpaste and a small glass in a separate basket. Place the more cluttered basket on a higher shelf so that the contents will not be within view. Provide space for a tissue box. Keep these shelves limited to a few items that require quick access on a daily basis.

Avoid multiple dispensers and holders around the sink. Replace a wide soap dish with a thin liquid soap dispenser. Place a towel hook near shower and sink. Place a garment hook on the back of the bathroom door. Try to avoid using a rack with multiple hooks in an already crowded space. One hook and one item on the hook provides for a neat appearance. Once dressed, remove all garments from the bathroom.

Decide what items can be kept elsewhere – other than in the bathroom. Store your bathrobe on a hook in your bedroom closet instead of on the back of the bathroom door. Store your laundry in a pillowcase hung on a hook in your bedroom closet. Store your scale beneath your bed or a bedroom chair.

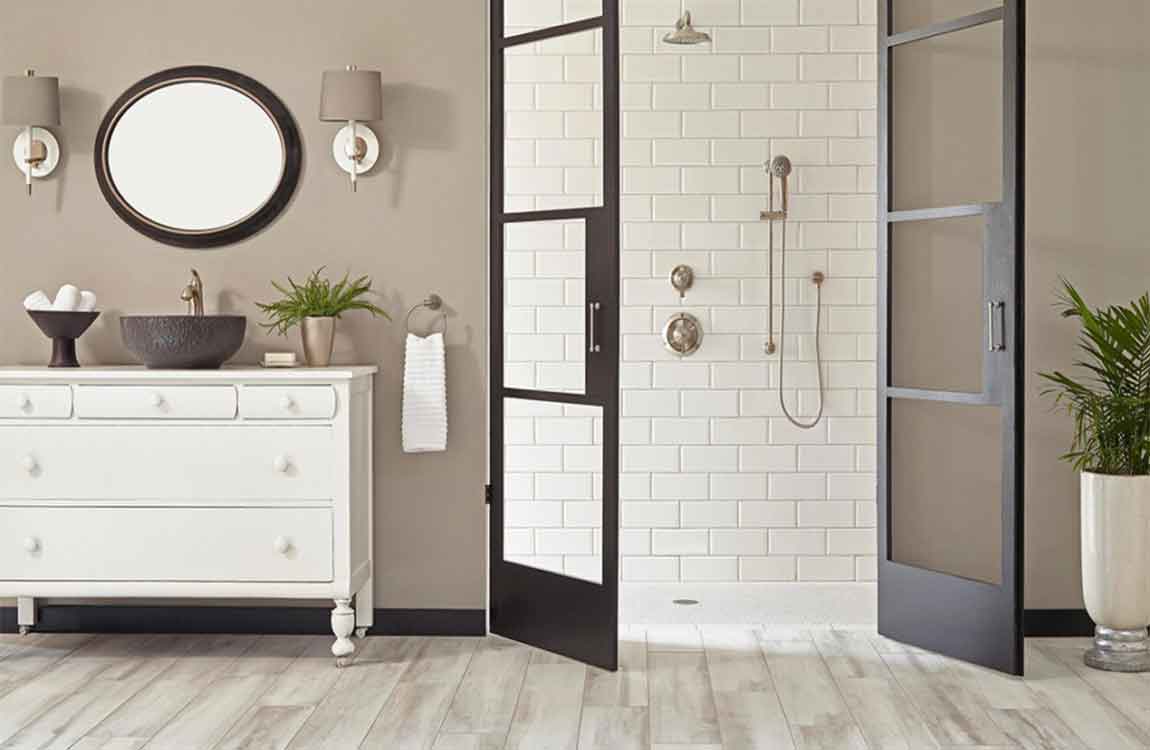
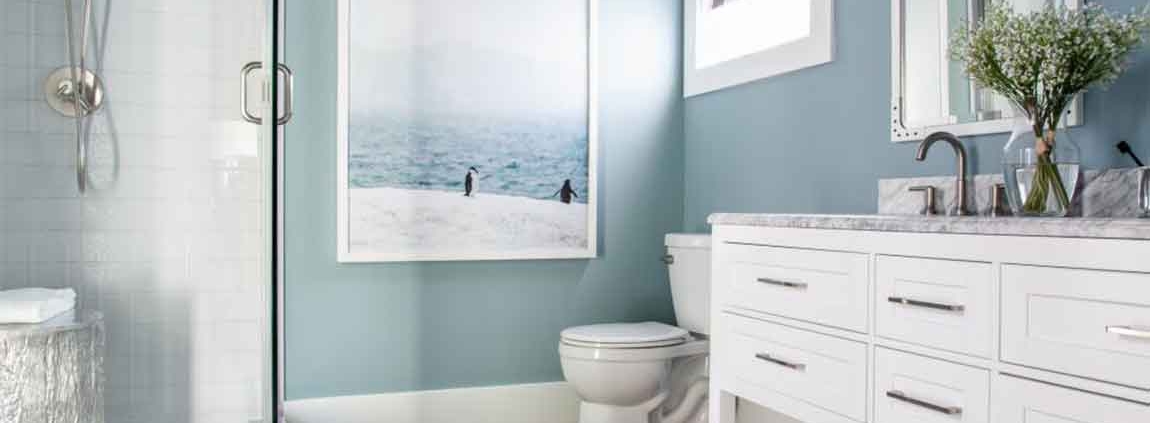
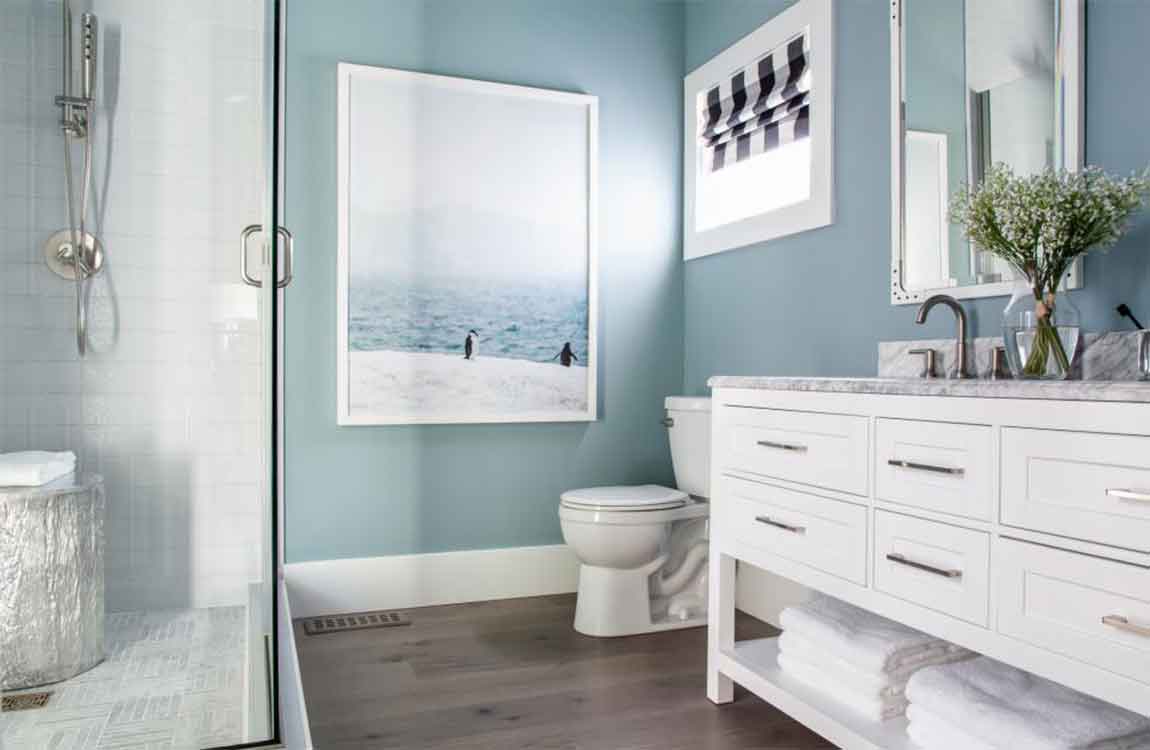
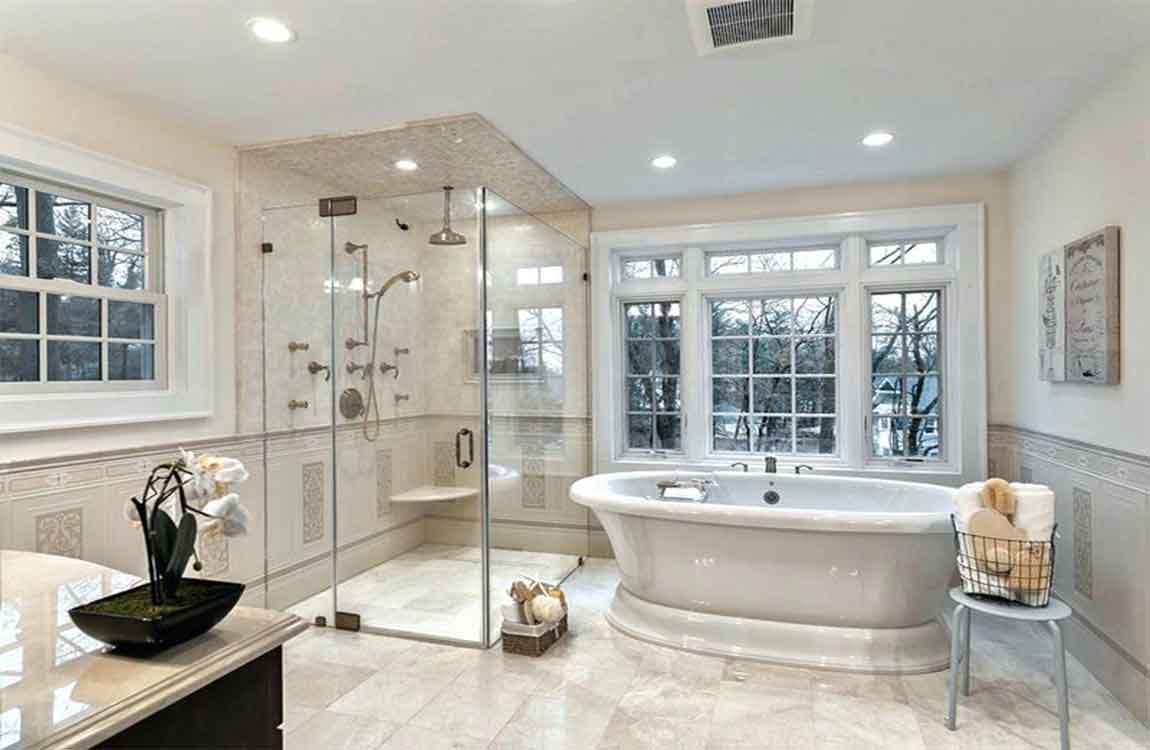
With a single swoop of the arm – push back the shower curtain to one side when it’s not in use. If you can see all the way to the back wall (instead of just to the curtain), your eye will think the room is larger. One sheer curtain covering the entire window will provide privacy and abundant light during the day. A shade behind the curtain can be pulled down at night. If fixtures are being replaced, consider a small corner sink.

How to Install a bathroom sink?

Whether you’re installing a new sink in a recently constructed home or replacing an old one, you can learn to plan properly and install your new sink securely. While different sinks will need to be installed depending on the variations of the kit you’re using, the basic steps in the process are usually the same. Learn how to assemble and fit your new sink into place quickly and efficiently.

Get the necessary tools for the job. You can install a new sink with basic tools and new components that match the valves already installed in your plumbing. Make sure you have: Silicone caulking. Plumbers’ wrenches, either pipe wrench or slip-joint pliers. Basin wrench. Set of plumbing sockets.

Turn off the water supply valves. Typically located beneath the sink, it’s critical that you shut off the water supply to the sink before you remove it. If the valves are not beneath the sink, then you’ll have to turn off the main water supply. This is typically located on a lower level or the basement near the water meter. To test, turn on the hot and cold water on your sink and make sure no water comes out before proceeding.

Remove the old sink, if necessary. If you’re replacing a sink, you’ll obviously need to remove the sink that’s in place before installing the new one. Disconnect the supply and drain lines from the faucet, using locking pliers or a crescent wrench. A small amount of water may leak out when you do this, which is normal. Just use a bucket or a towel to handle the water that leaks out.

Locate the large nut that connects the sink to the drain and disconnect it. This metal or plastic nut will be located either in the wall or the floor. Use your hands or locking pliers to unscrew the nut. Remove the current sink by sliding the edge of a putty knife around the perimeter of the bathroom sink, loosening any caulk that connects it. Pull it loose.

Measure the new sink to make sure it fits the space. All new sinks should come with a template of the mounting opening, marking the location of the faucet holes, including a cutout for the sink. You can use the template to make sure the sink fits in the desired location. If it doesn’t, you may need to do some trimming or, or cut the entire opening if you’re installing a sink in a house under construction. Most new sinks come with clips and screws that are used to hold the sink in place. If you buy a faucet, sometimes it’ll come with the drain and tailpiece for the sink. If it isn’t included, get one before you start. The supply lines for the faucet need to correspond to the faucet and valves under the sink, so make sure they match before you get started.