Posts

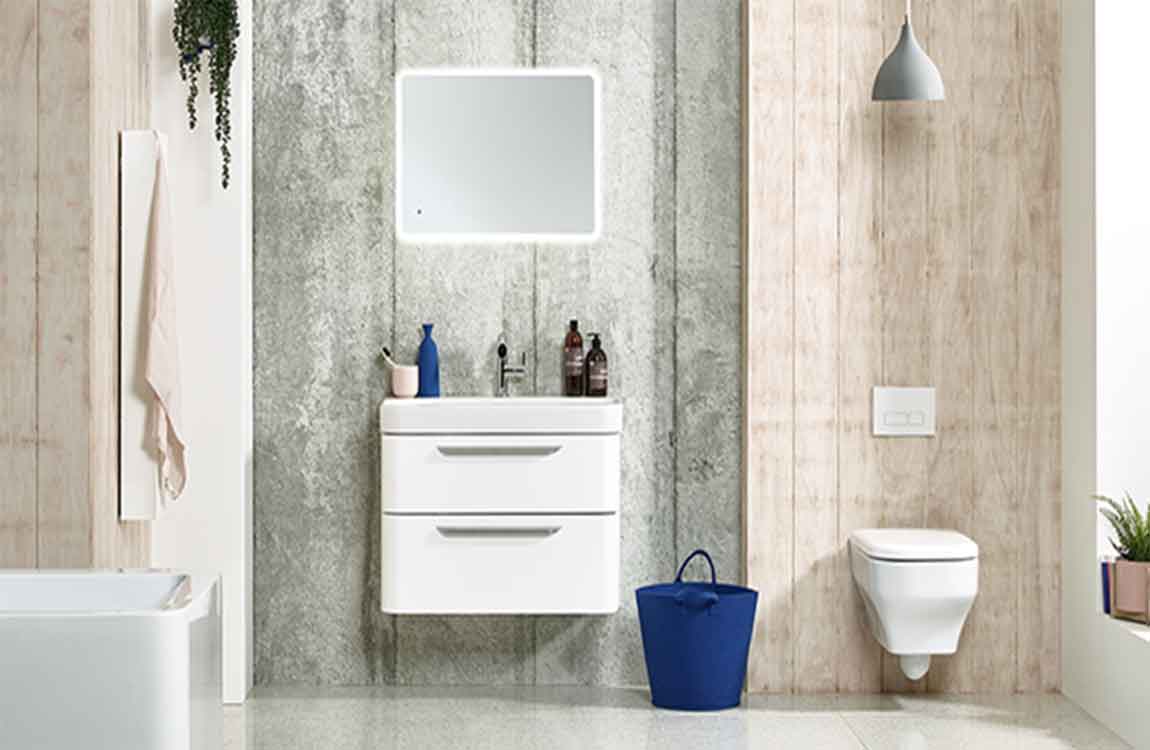
How Finishing up Tile a Shower?

Grout the tile. Mix up a batch of grout and let it rest for 5 to 7 minutes. Lightly wet the area you’ll be grouting with a damp sponge and dump a bit of grout onto the area. Use a rubber float to smooth it into the joints, attacking each joint at a diagonal angle. After 30-40 minutes (check the directions on the bag of grout) you want to wipe the excess grout with a damp sponge and a circular motion.


Keep wiping with a clean sponge until the tile is clear. The tiles may look a bit hazy even after wiping, so you may have to buff them with a clean sponge to get rid of this haze. Let the grout cure for approximately 3 days before sealing. Then, seal the grout. Run a thin bead of liquid grout or aerosol grout sealer onto the grout line and wipe away.


Let dry and then test its water resistance by dropping water onto the sealed grout. Correctly sealed grout will cause the water to bead up on top of it. Caulk any needed areas. Make sure to use a grout caulk to match the colors. As you caulk, remember to pull the caulk gun relatively quickly across the joint.


Most amateurs caulk too slow and end up dropping too much caulk down on the joint. Other things to remember: Keep the tip angled as you run the bead along the joint. Match the speed with which you pull the caulk gun trigger with the rate at which you pull the gun along the joint. You don’t want to be pulling the gun fast but triggering slowly, or vice versa.


After applying the bead of caulk, “bed” it by running a damp finger across the bead with light pressure. Make sure that your grout chalk matches the grout. Let the caulk dry and redo it if you are not happy with the results. Let the tile set for 48 hours. This will make sure that the mortar has adhered properly to both the tile backing and the cement board backer.

How to Replace a Bathroom Faucet?

Install the gasket. The gasket is a rubber or plastic piece that sits between the faucet and the sink to ensure a proper seal and prevent leaks. Fit the gasket over the bottom of the faucet, matching the holes in the gasket with the tailpipes and valves on the faucet. Plastic gaskets generally snap onto the faucet, so be sure to seat them properly so the faucet is tightly sealed. If your faucet didn’t come with a gasket, you’ll need to apply sealant or plumber’s putty before installing the faucet. Follow the manufacturer’s directions and lay down a thin layer of sealant or putty right before you put in the faucet.

Wrap all the threads with plumber’s tape. Plumber’s tape is designed to lubricate fittings and create a better seal between components. Wrap the end of the faucet tailpipes with a layer of plumber’s tape, making sure the tape doesn’t extend beyond the end of the pipe. The tailpipes are where the water supply hose will attach to the faucet, and the tape will prevent leaks.

Insert the new faucet. Hold the faucet in both hands and carefully set it into the mounting holes. Match the tailpipes and valves with the proper holes, and place the faucet into position. Once the faucet is in the mounting holes, insert a washer over each tailpipe, and then twist on the nuts by hand. To tighten the nuts, turn them to the right (clockwise). When you’ve tightened the nuts by hand, finish tightening them by turning them another quarter turn with the adjustable wrench if necessary. Avoid tightening the nuts any further, or you could damage the sink.

Attach the water supply hoses. Start by attaching the hoses to the faucet first. Attach each hose to the tailpipe of the faucet, and then tighten the nut by hand. To finish tightening the nuts, use the basin wrench to turn each nut a quarter turn to the right (clockwise). Once the hoses are attached to the new faucet, reattach them to the water supply. Turn the nuts by hand to the right (clockwise), then tighten them the rest of the way with the adjustable wrench.

If you are attaching the supply lines to copper pipes with threaded fittings, hold the copper pipe securely while connecting the supply lines to ensure the pipes don’t twist or break. Turn on the water and test the faucet. When everything is connected and tightened, turn the water back on by turning the shutoff valve to the left (counterclockwise). Then turn on the taps to flush out the new faucet. When the water is running, check for leaks and drips. To flush the faucet, simply let the hot and cold water run for 1 to 2 minutes.

How to Removing the Old Faucet?

Disconnect the supply tubes. These are the tubes that connect the faucet to the water supply. Use the adjustable wrench to loosen the nuts where the hoses attach to the water supply. Use the basin wrench to loosen the nut attaching the hoses to the faucet. Turn the nuts to the left (counterclockwise) to loosen them. Once you’ve loosened the nuts with the wrenches, you can remove them the rest of the way by hand. Wipe up any water that drips onto the bottom of the vanity immediately to prevent damage or warping.

Loosen the lock nuts to take out the old faucet. Most faucets are attached to the sink by locknuts attached to the tailpieces under the sink. Use your hands or an adjustable wrench to loosen the nuts and unthread them from the tailpieces. Turn them to the left (counterclockwise) to loosen them. Remove the nuts and the washers from the tailpieces. Once you’ve removed the supply lines, nuts, and washers, the faucet will be loose. Hold the faucet in both hands and pull it straight out from the mounting holes. Remove the gasket if there is one and set it aside with the faucet. Use the flashlight to locate the nuts under the sink if you’re having trouble locating them.

Scrub the faucet holes. With a sponge or gentle abrasive pad, scrub the mounting holes around the sink where the faucet sits. Use soap and water or your favorite cleaner or detergent. Once the area is clean, rinse it well, pat it dry, and let it air dry completely. To remove old sealant or silicone, dampen a sponge or rag with mineral spirits and wipe the area clean. Then rinse the area with clean water and pat it dry.

Determine what kind of faucet you have. Once you’ve removed the old faucet from the mounting holes, you can figure out what hole configuration you’re working with and the type of faucet you need. There are three major types of faucets:

Single hole, where the sink will only have one hole for the faucet, and the faucet will all be one simple piece with a single handle. Center-set, where there will be three holes in the sink and the one-piece faucet will have separate handles controlling the hot and cold water. Widespread or split-set, which work with three-hole basins, but the spout and two handles come in three separate pieces.

Purchase a new faucet. Before you go to the home or hardware store for a new faucet, determine the type of faucet you have, look at your basin hole configuration, and measure the distance between the holes so that you get the right replacement faucet. Write down the number of holes your basin has, the type of faucet that was on there, and the distance between the holes. If you want to replace your old faucet with a new kind, you’ll have to replace the basin as well.

How to Clean a Bathroom Sink?

Bathroom sinks get a lot of use. Not only do you use them in the morning to get ready for work or school, but you use them throughout the day. Because of this, your bathroom sink may accumulate a lot of dirt and grime. Thankfully, there are many ways to effectively clean your bathroom sink. By doing routine cleans, taking steps to remove tough stains, and taking steps to keep your sink clean every day, you’ll have a cleaner bathroom.

Wipe down the sink. Take a clean, wet cotton cloth or dish sponge and wipe down the interior of the sink. Try to get as much debris and grime as you can. Make sure to wipe around the drain. If your sink is especially dirty, you may need to switch out for a fresh cloth. In many cases, it is best to wipe the sink down when it is dry, so you’ll be able to remove hair, grime, and other debris easily. Wipe down the sink on a daily basis, if needed.

Rinse the sink. Make sure to rinse the sink before you use a bathroom cleaning product. If you don’t rinse the sink, you’ll have to contend with a lot of dirt when you spray the sink down. Turn on the faucet and run hot water into the sink. Hot water will loosen soap scum, grime, and dirt. Splash the water around the surface – including the sides – of the sink. You may need to use a clean cotton cloth to wipe down the sides of the sink with hot water.

Spray the sink with a cleaner. Choose a bathroom cleaner of your choice and liberally spray the sink. Make sure to get all parts of the sink, including the faucet and behind the faucet. Most bathroom cleaners are formulated to clean bathroom sinks. You may be able to use a tub and tile cleaner or a cleaner formulated for the type of material you sink is made of. In most cases, this is porcelain. Make sure the cleaner is a disinfectant. This is important as bathroom sinks can potentially accumulate a variety of germs.

Wipe the sink. After spraying your cleaner, take a clean cloth and wipe down the entire surface of your sink. Pay special attention to especially dirty areas and apply pressure when you need. You may need to use several clean cloths. If you need to spray more cleaner while you’re wiping the sink down, do so.

Sprinkle baking soda. If your bathroom sink is still dirty after you’ve done a light clean, you should sprinkle baking all over the sink. Cover as much of the surface as you can. The abrasive force of the baking soda will help remove tough stains. Make sure the sink is dry before you sprinkle the baking soda. Use as much baking soda as you need to cover the surface area of the sink. Take care to sprinkle some baking soda into the grout ring around the drain.

Scrub the sink. Take a clean cloth and scrub the sink down. You may have to apply a lot of pressure in areas that are particularly dirty. Without scrubbing your baking soda into the sink, you won’t be able to remove all stains. Swirl your cloth around in circles while you rub the baking soda into the surface of the sink. Consider using a regular cotton cloth. Microfiber may not have the abrasive power you need to remove some stains. In some instances, you may need to use a mildly abrasive dish sponge.

Rinse the sink. After you’ve scrubbed the sink, you need to thoroughly rinse it to remove all leftover baking soda. If you don’t rinse it immediately, some of the stains may re-set and all your work will be wasted. Make sure to run the water until all the baking soda has washed down the drain. If your sink doesn’t drain properly, you may need to wipe the baking soda out with cloth rags or paper towels.